Trek Planner Insider Content
Thank you for being a member!
The Trek in a snapshot
Location
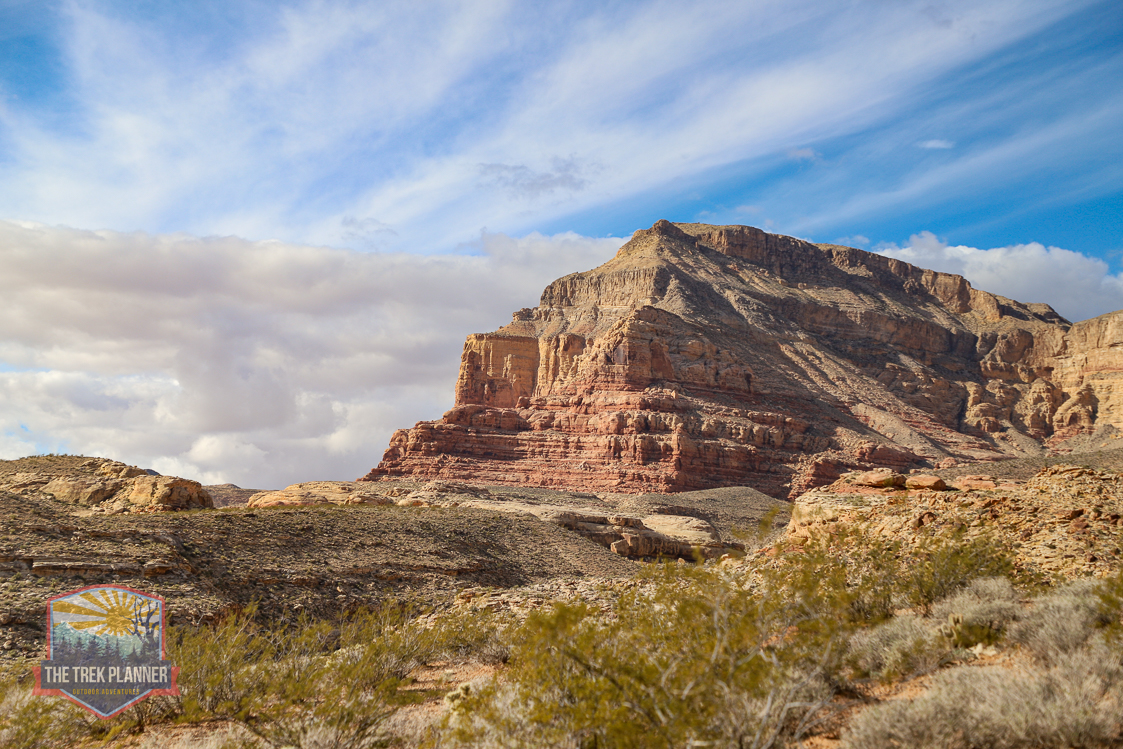
Greater Moab area, Utah
Managing Agency
BLM
Pets
I wouldn’t bring pets on this
Fees
None
Restrooms
None
Camping
Allowed if you want
Trail Condition
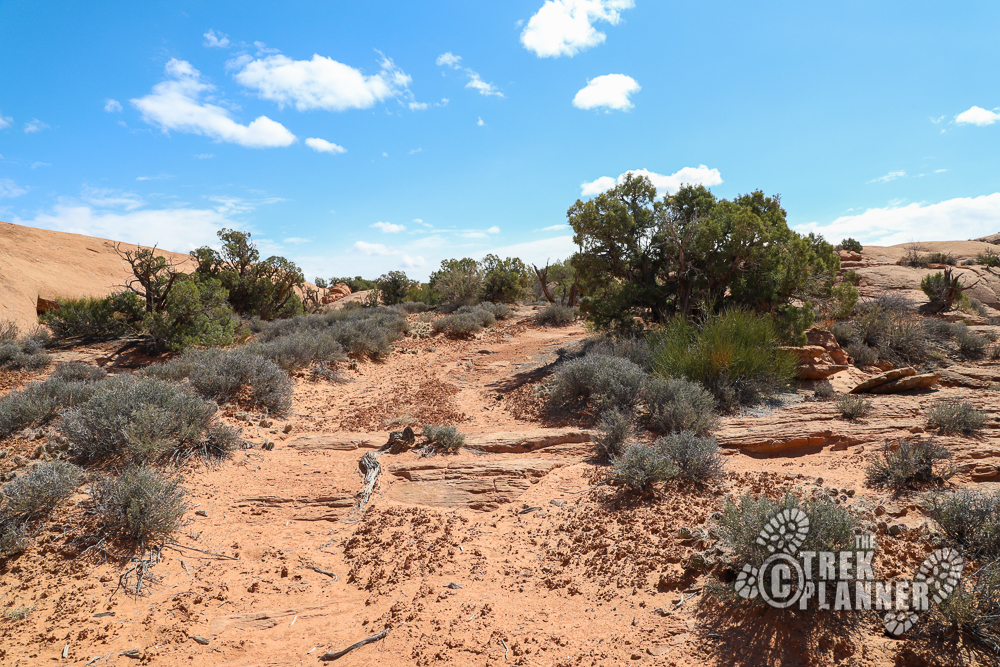
No trail. Just follow dry washes and sandstone surfaces as much as you can. You will encounter tons of precious cryptobiotic soil which provides the building blocks to the delicate desert life – watch your step.
Sights
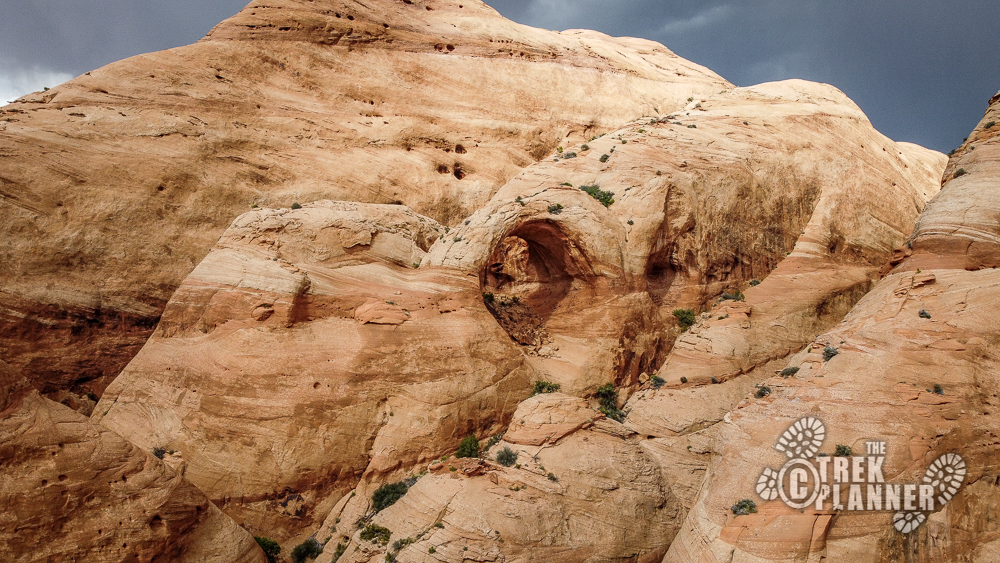
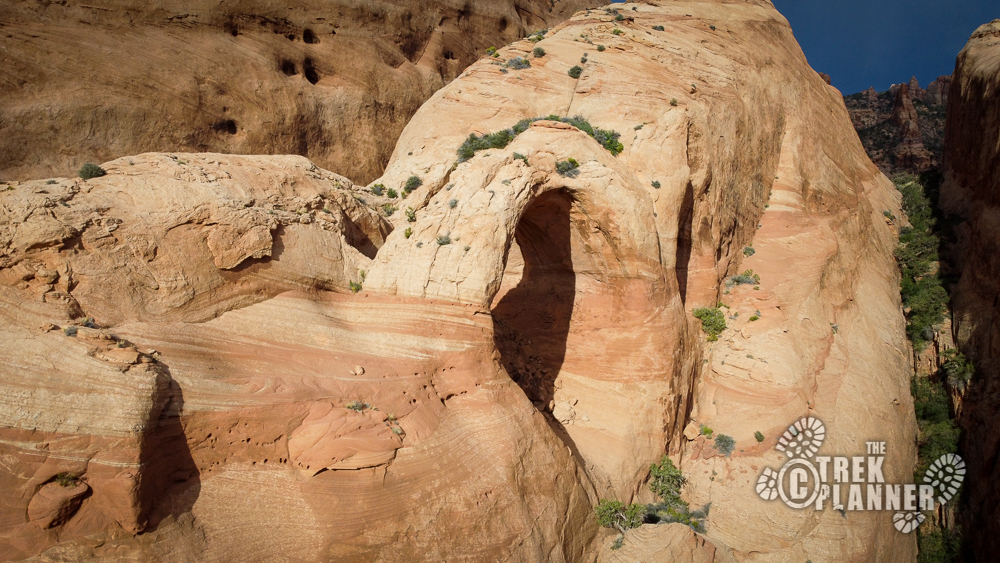
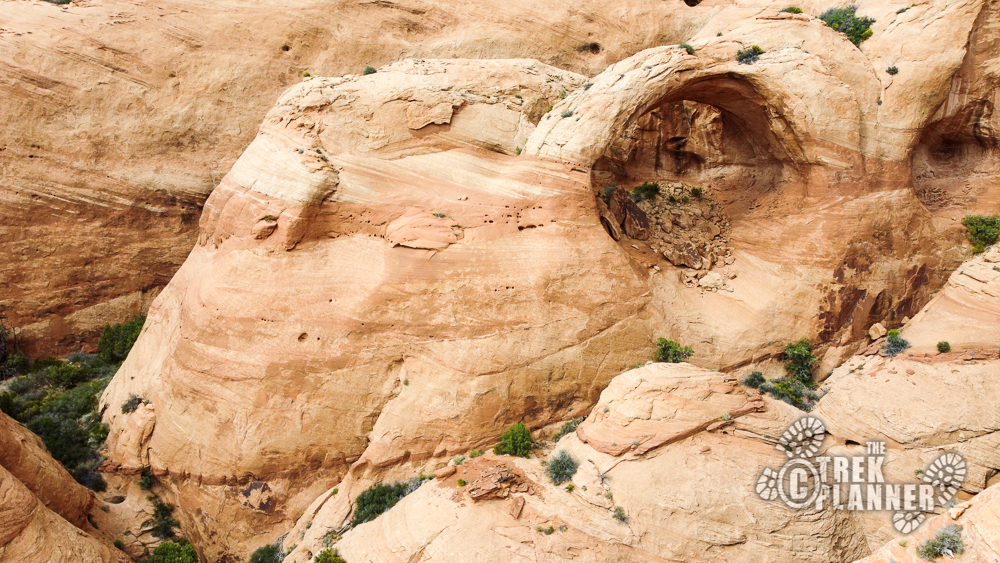
Dragon’s Eye Arch
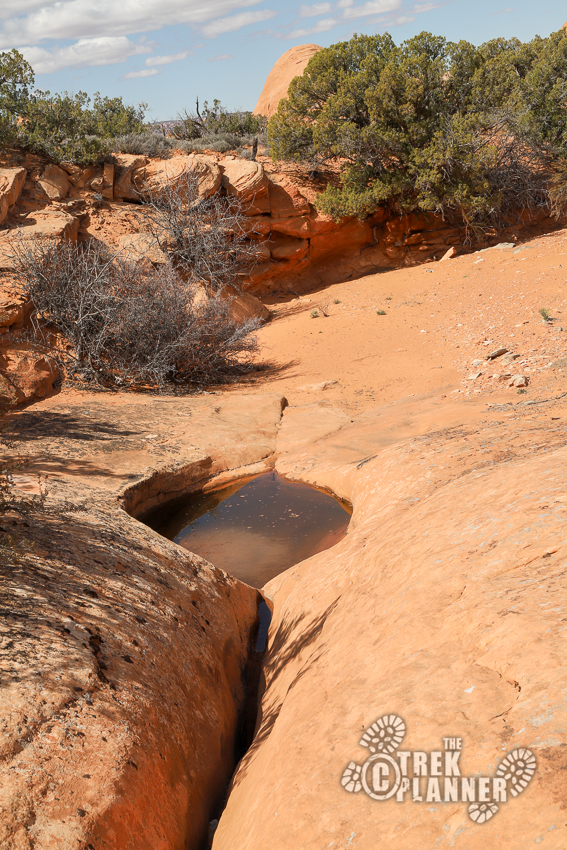
Water Info
Bring 3-5 liters of water per person. I would bring a frozen Gatorade or something similar too.
Best Season
Spring, fall, winter. This is NOT a hike to do in the summer
Distance
6.80 miles roundtrip
Time Required
4-6 hours
Parking Elevation
3998 ft.
Summit Elevation
5090 ft.
Elevation Difference
1092 ft

Trek Planner Maps
Parking: 38.54676, -109.59303
Challenging Climbing Spot: 38.54763, -109.58762
Cave: 38.54499, -109.57122
Viewpoint for Dragon’s Eye Arch: 38.53428, -109.55344
Dragon’s Eye Arch: 38.53501, -109.55199

Experience. Discover. Explore.
Follow along on our adventure then go out on your own!


Caution! This is a very remote and difficult area to traverse. There are no services, restrooms, visitor centers, or anything to aid you on this adventure. You will need to be self-sufficient including knowing your way around and have basic orientation skills and being aware of where you are going at all times. You will encounter tall sandstone fins that confuse you and make things difficult for hiking. One wrong turn could be deadly. Do NOT hike this in the summer.
Note: On my first attempt, I took many wrong turns and had many unforeseen obstacles came up to add to the difficulty and length of this hike. On my second attempt, my friend Kevin joined and we stuck to a different route that worked immensely better than my first route. Is there a better way to the arch? Most likely, but this route was pretty good overall and we saw some amazing things along the way!
To read more about my first attempt, click here.
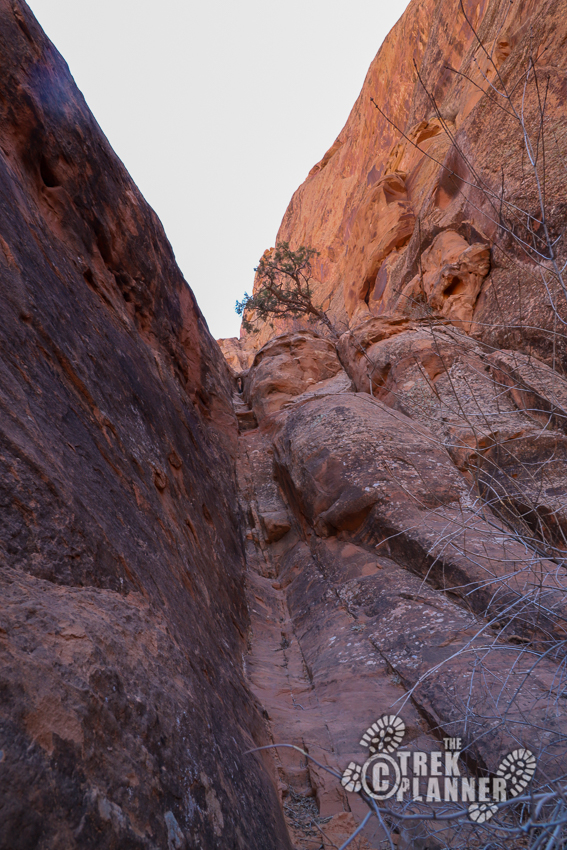
You will begin this hike with a tricky rock scramble. It wouldn’t be so difficult if you have a handline or some rope. We brought my 100 ft. 6mm rope and used the bag to wrap around a rock in order to climb up. This tricky spot has some Moki Steps that were carved by the ancient peoples of this area to access the mesa above. This area is tricky because the angle at which you climb and also the narrowness of the path here. Also, if you fell here, you could possibly fall down about 50-60 ft. If you do not have any experience rock scrambling or climbing, I wouldn’t attempt this hike.
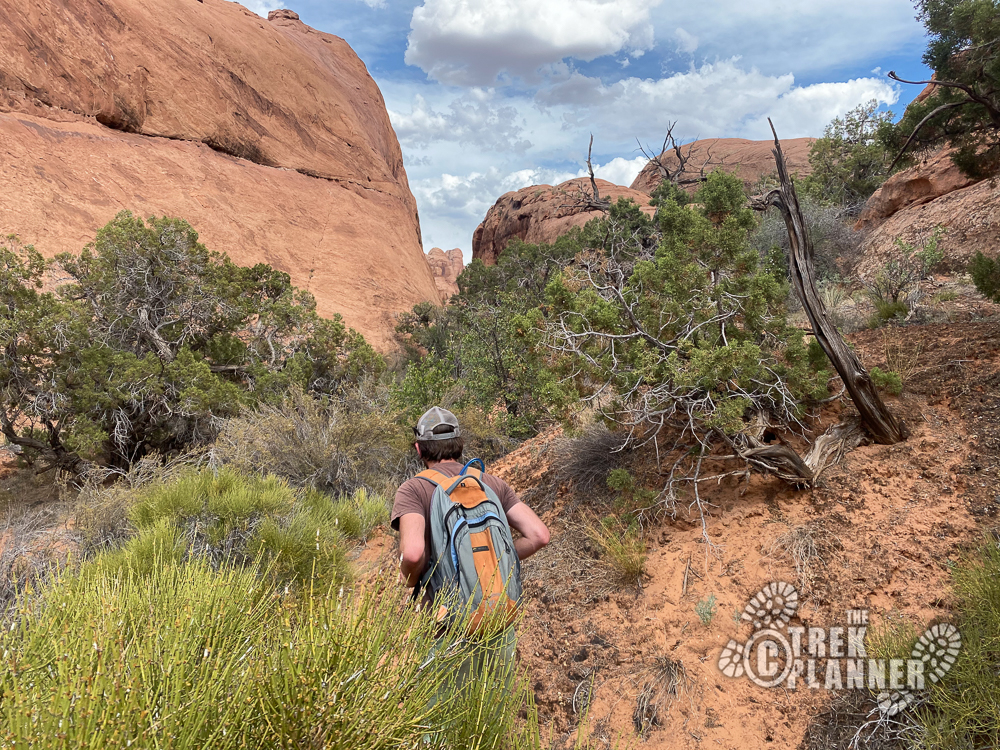
Once at the top of this climb, you will continue hiking up the narrow passage until you get to the mesa top. You will gain roughly 550 ft. in only 1/3 of a mile. It’s pretty dang steep and tiring and I found that I lost a lot of energy just on this part alone. Once you reach the top, find some shade underneath juniper or cedar tree and rest up. You won’t find much shade the rest of the way.
I first attempted to find Dragon’s Eye Arch several months before this and was unsuccessful. I chose a trail that eventually had a deadend and it was too late in the day to continue on or try and find another way. This time, I was much more prepared. I had drawn a map and downloaded to use on my phone. This route cut off about a full mile from my previous attempt and I thought it was fairly straightforward. This area can still be very tricky to navigate and some paths may seem easy now, but you could eventually come to another deadend down the road. This is why I HIGHLY recommend you stick to a route. I would encourage you to download my map to use.
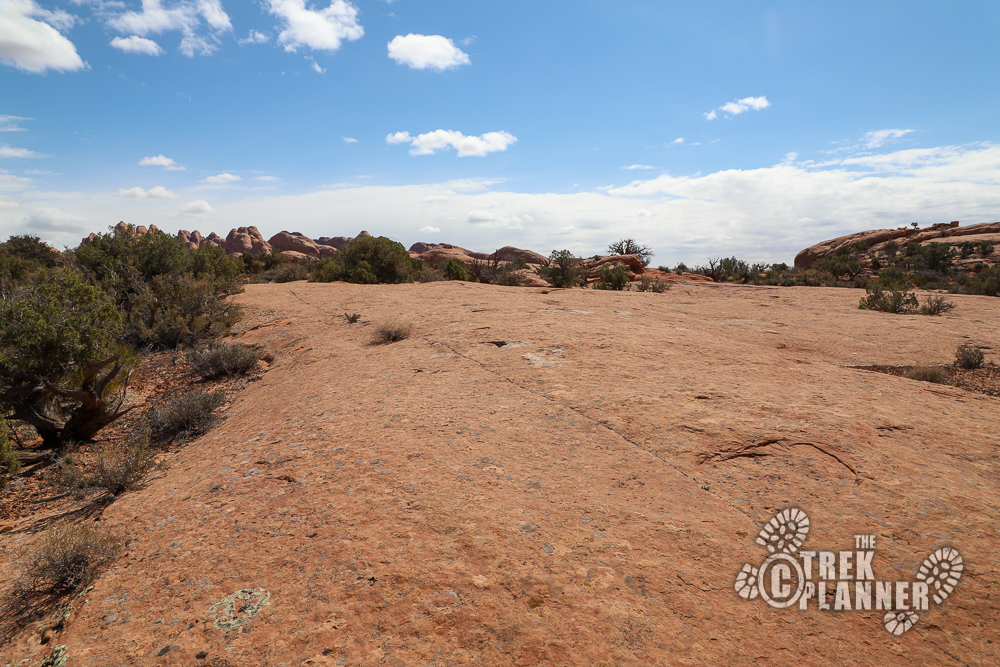
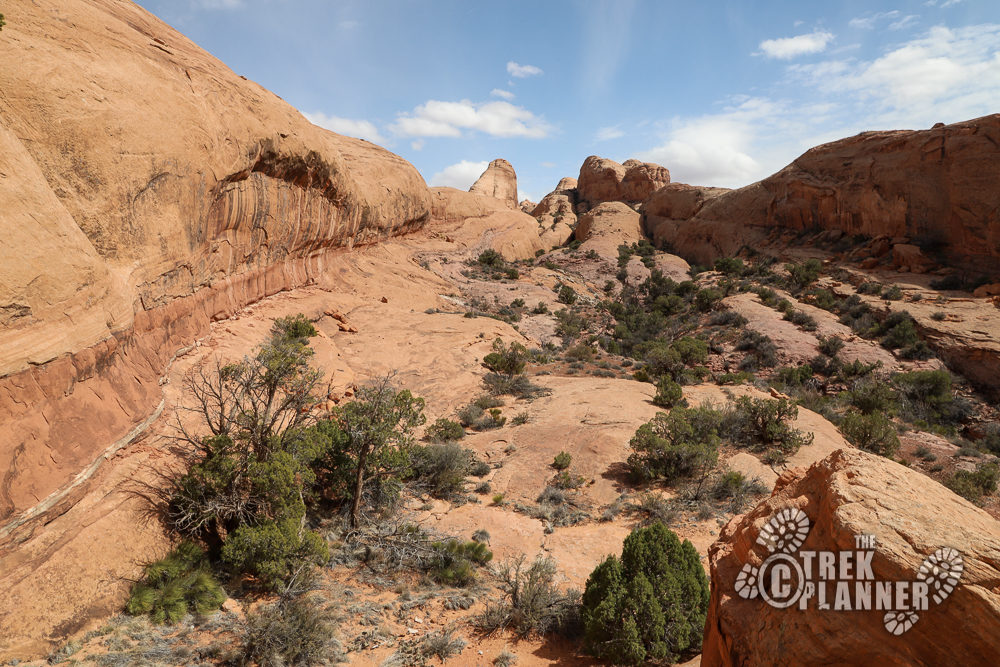
On my second attempt, my friend Kevin joined. We strictly followed dry washes, game trails, and hard sandstone surfaces to avoid the cryptobiotic soil that was literally at every turn. Please be respectful and do the same.

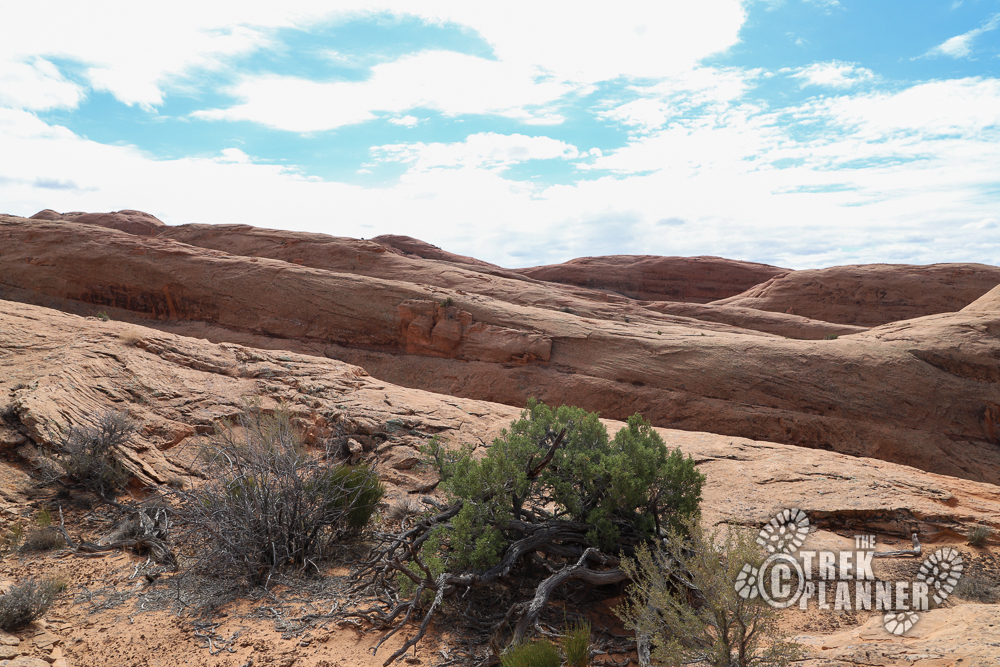
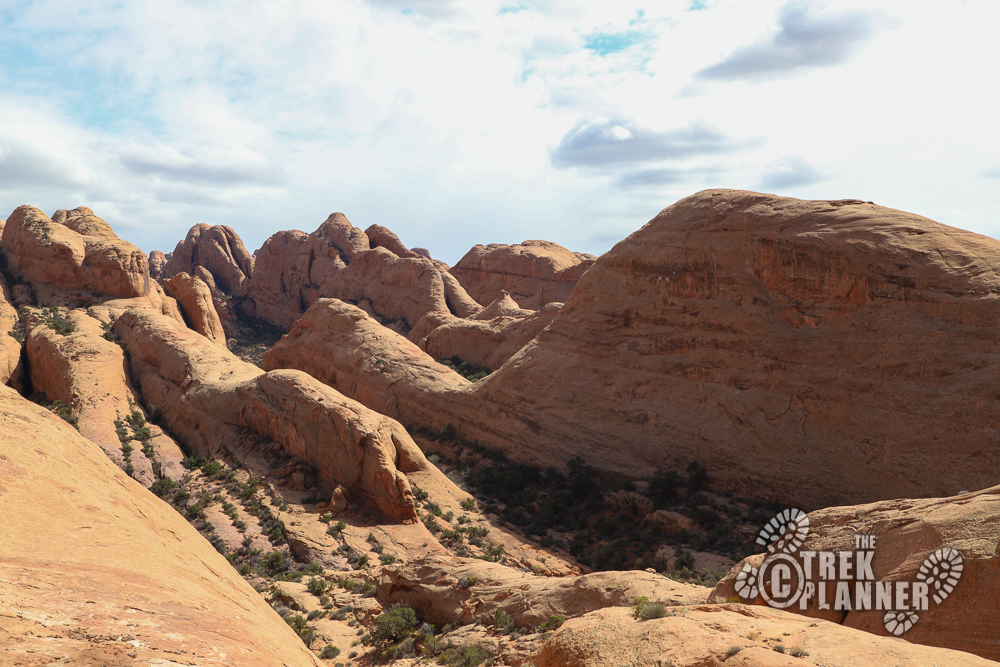
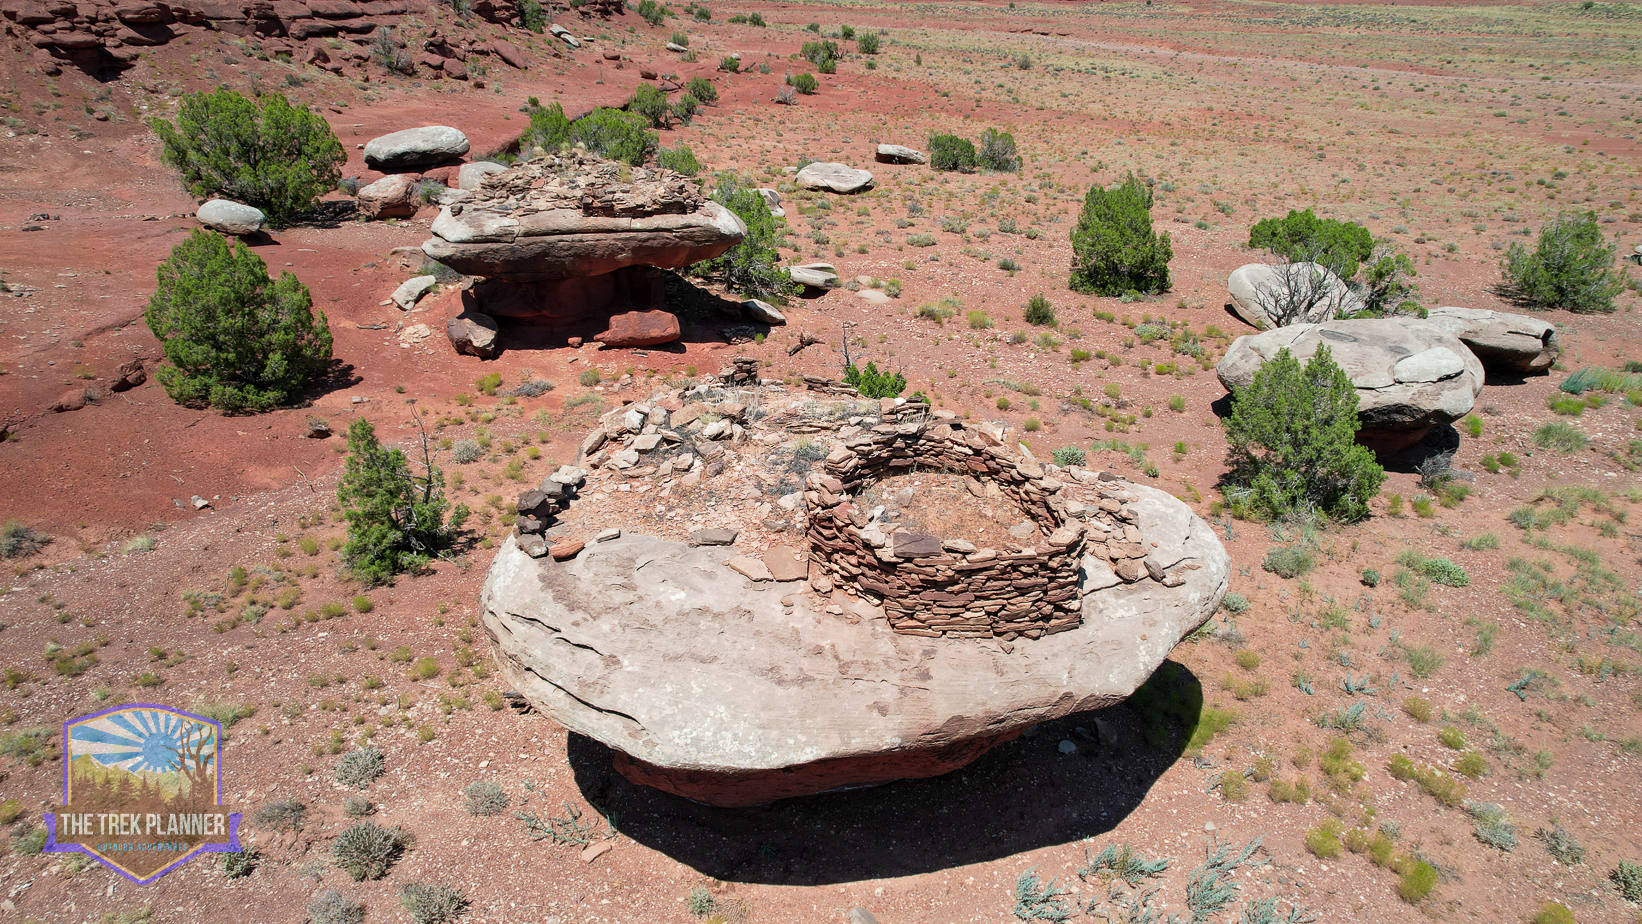
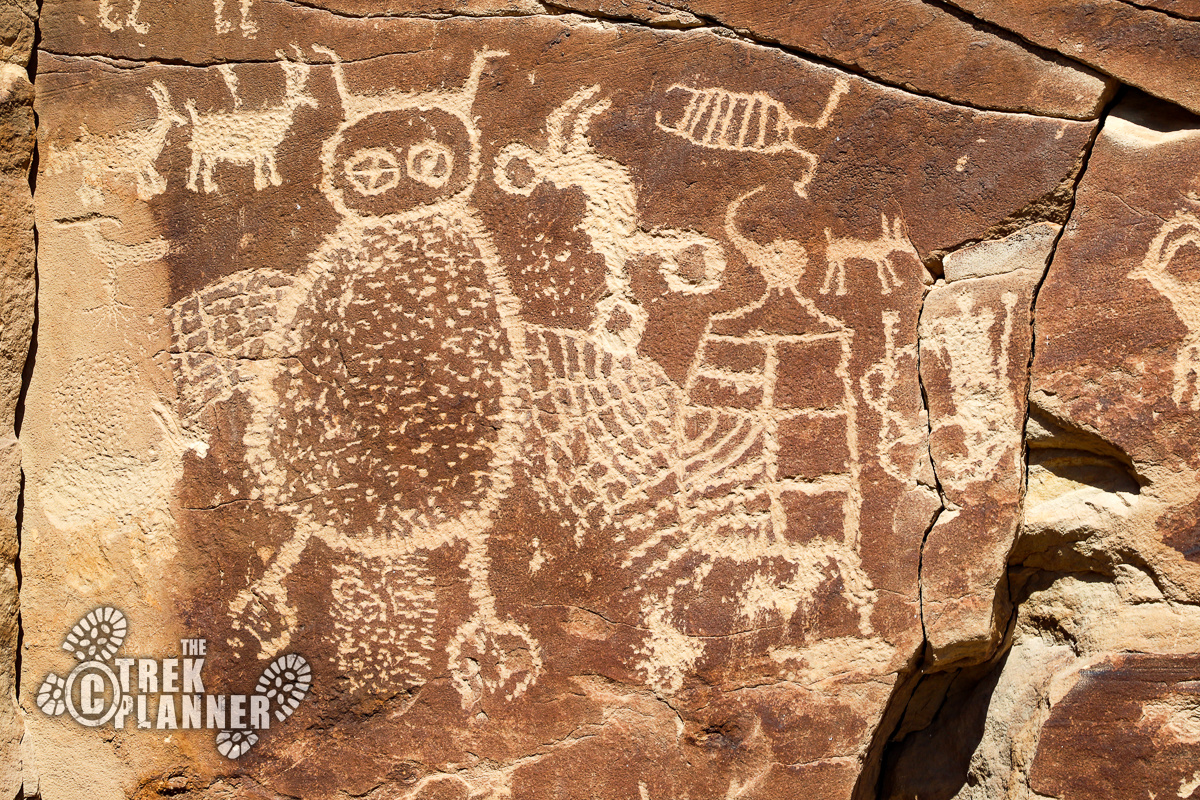
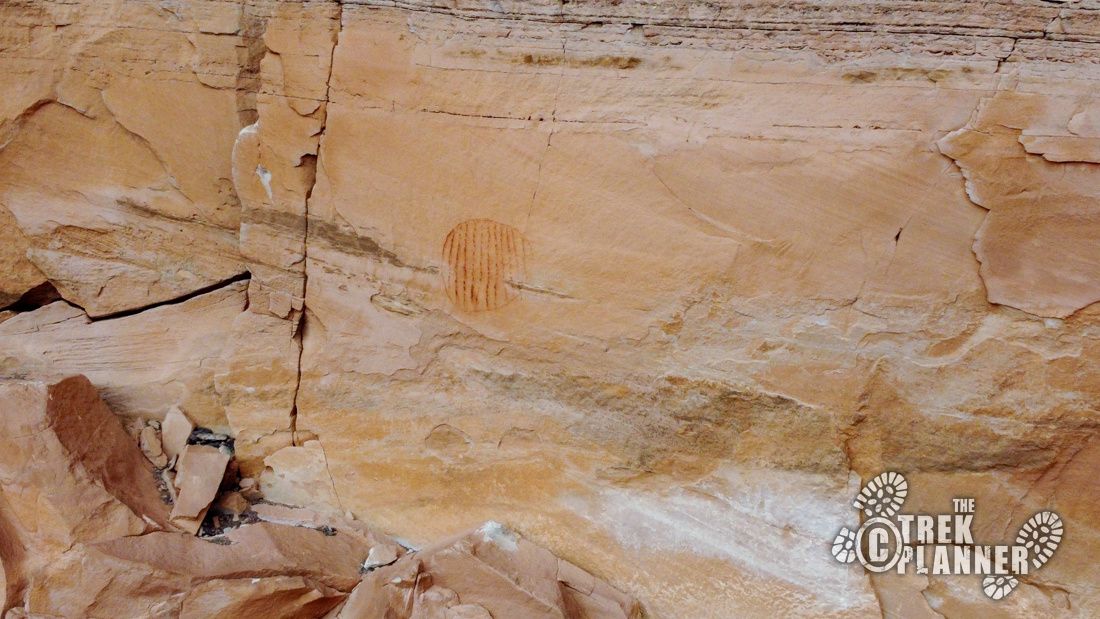
Our route gradually gains elevation as you go along. You will go up and down through narrow canyons (nothing dangerous) and follow the tops of ridges and fins in order to cross more difficult terrain. On my first attempt, I found a small cave (more like an alcove) that had lots of historical graffiti and what appeared to be remnants of a ruin. Sadly, I feel like someone completely destroyed the ruin many years ago, so we don’t know what it was. There are what appears to be knife cuts in the large boulder that is in the cave too. This is a great place to rest for a bit. If you visit the cave, it will add almost a mile roundtrip to your already long hike.
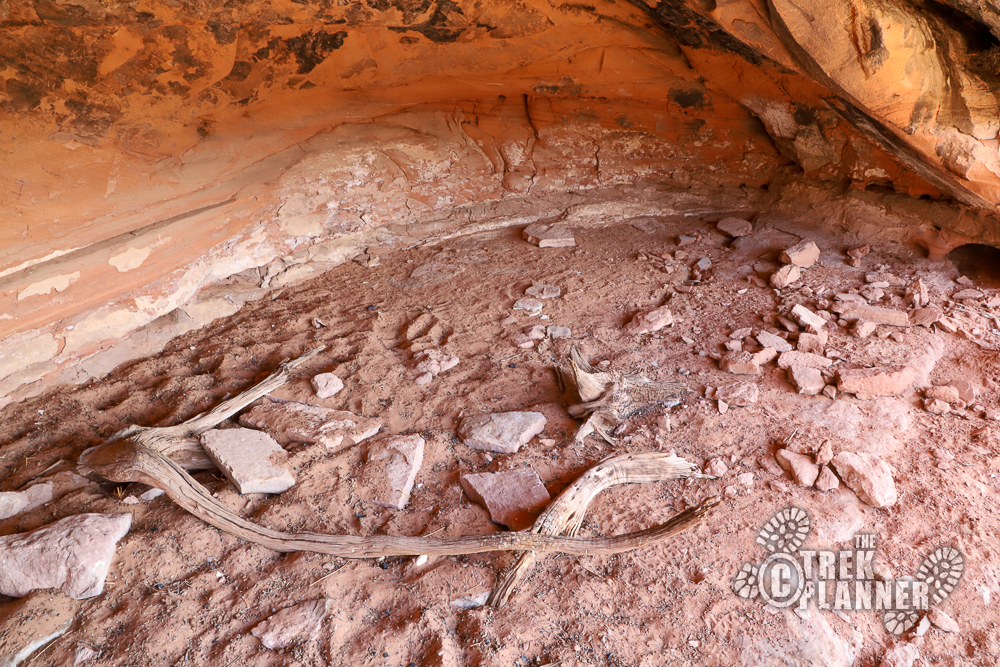
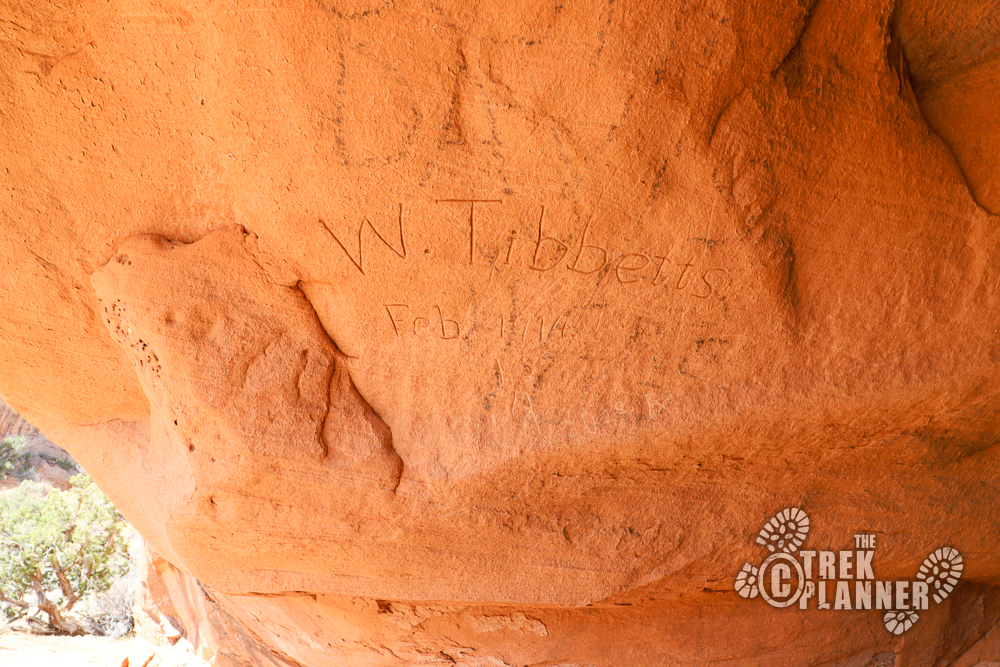
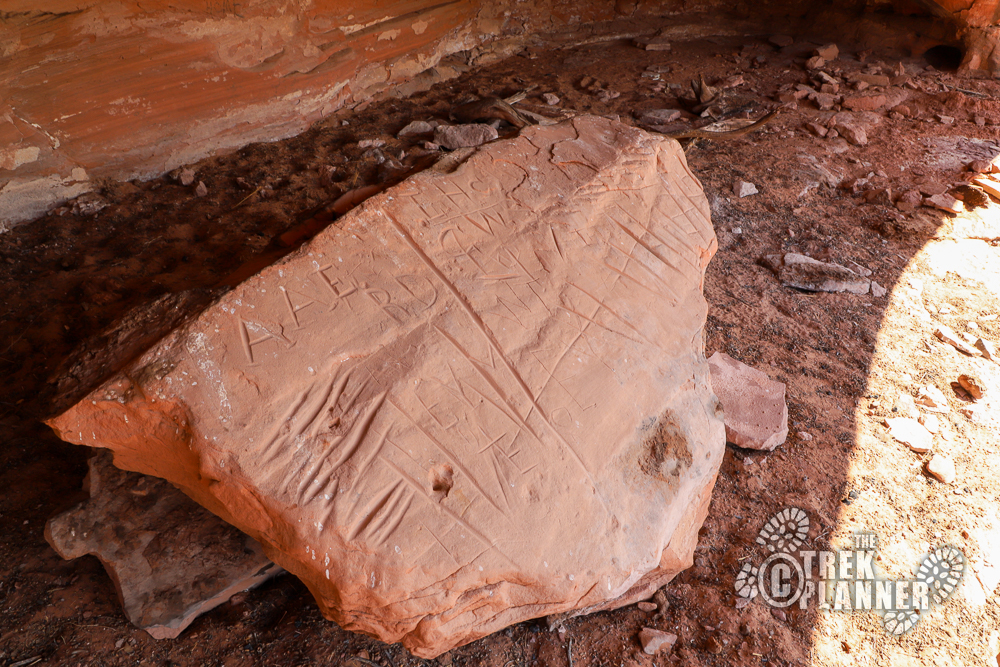
There isn’t anything earth shatteringly wonderful in the cave, but if you want to see some pioneer or cowboy names carved on the cave walls then this is a decent side trek.
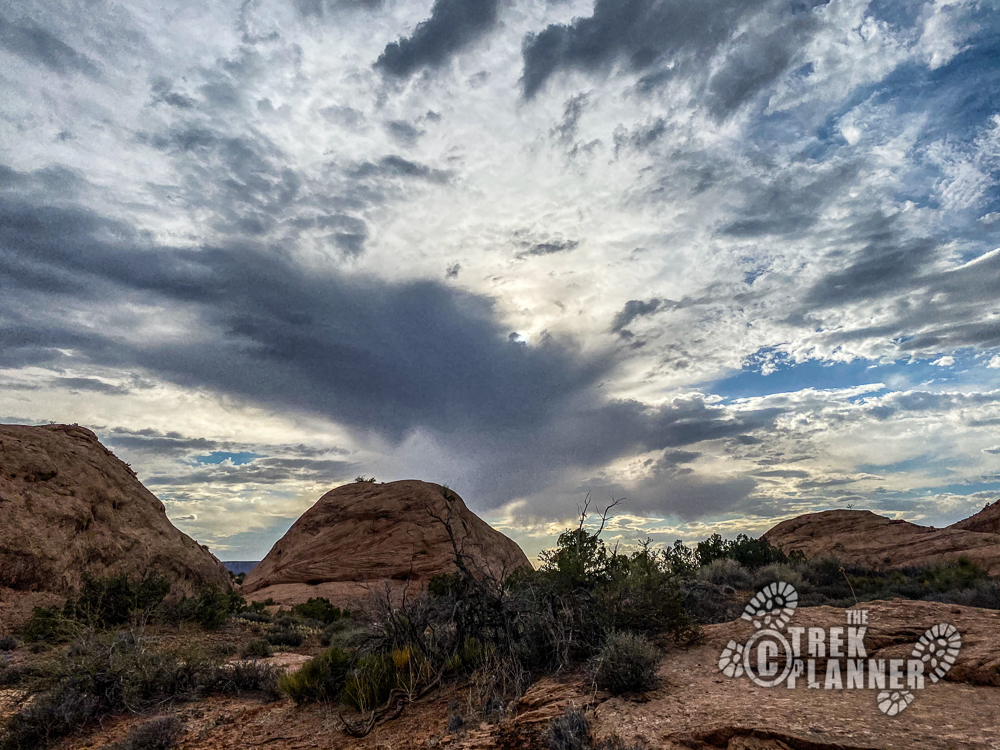
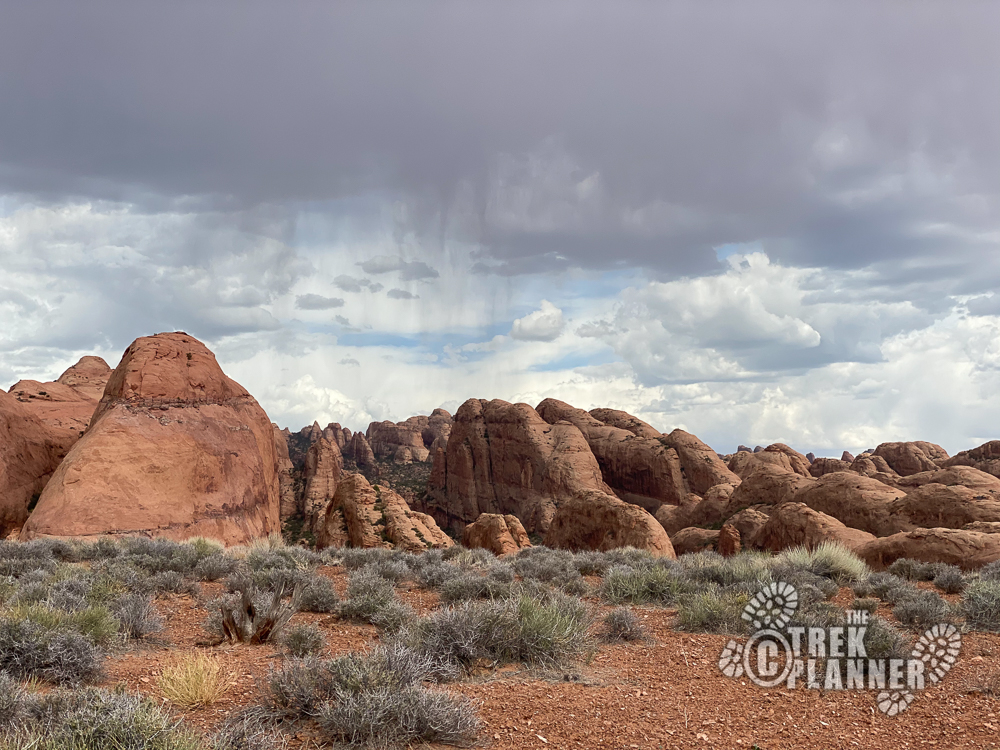
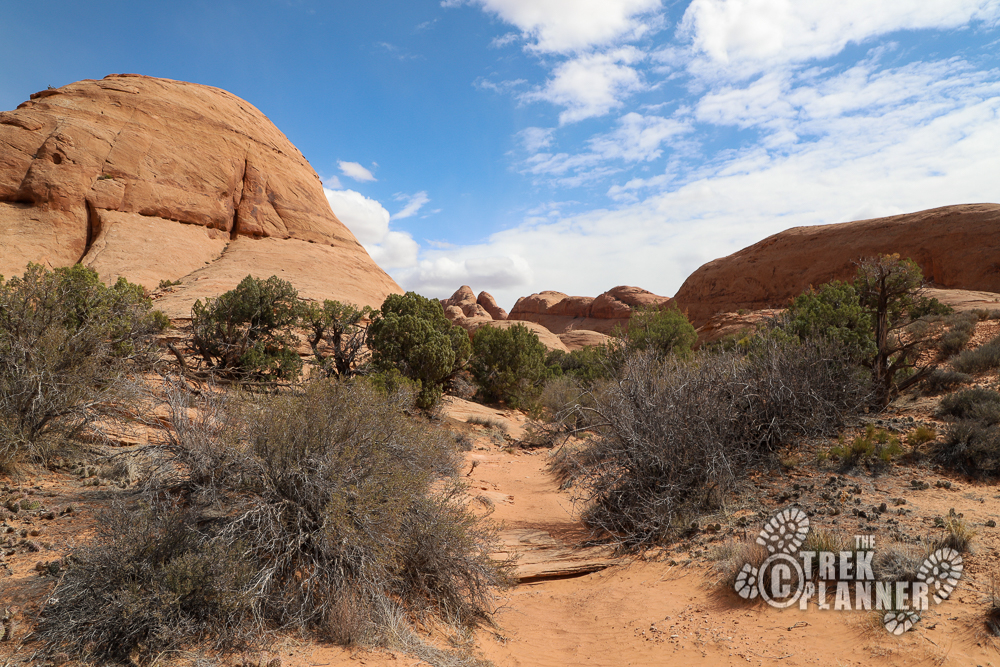
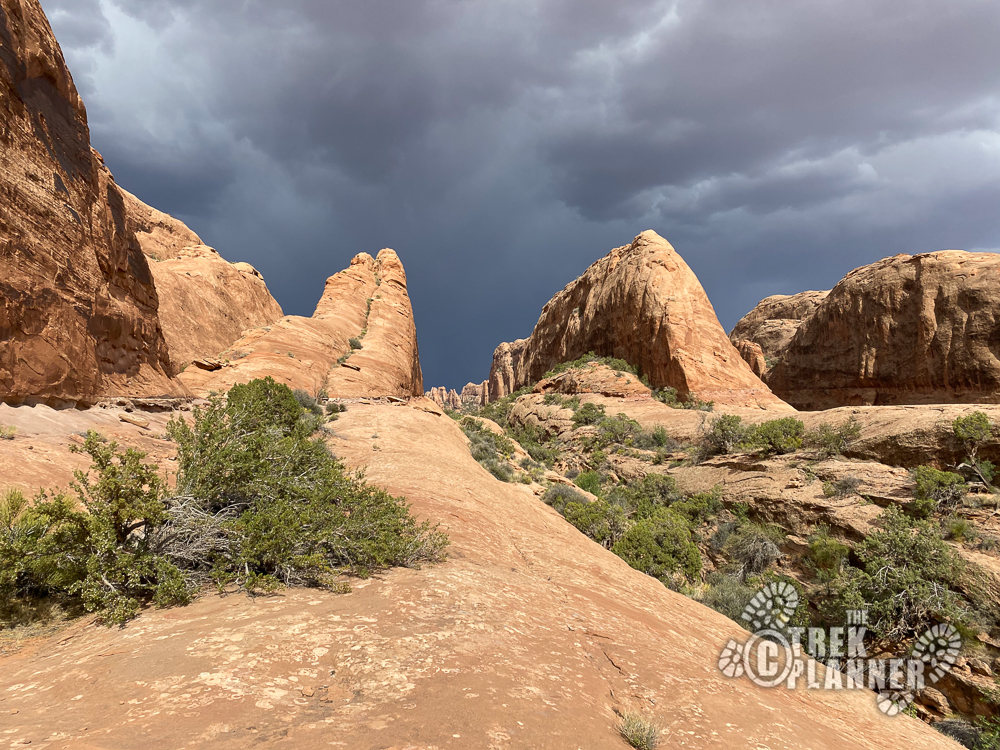
Kevin and I continued on the trail and came to a large flat area. It was here that it began to sprinkle rain a little bit! We were already playing a waiting game with the clouds since the beginning of our hike and the rain made it so much better! It was an incredibly hot day when we did this and we were pretty dumb to decide to hike anyway. Yet, we would hike a little ways while the sun was hiding behind some clouds, then we would rest under some shade and repeat this cycle until we came to Dragon’s Eye Arch. This saved us on this hike.


By this point, we were getting tired and almost ready to turn back. After about a 20 minute rest and nap we decided to continue on to the overlook of Dragon’s Eye Arch and complete our hike! We had the drone and scouted out the area in front of us and found a suitable route through the juniper trees other obstacles.
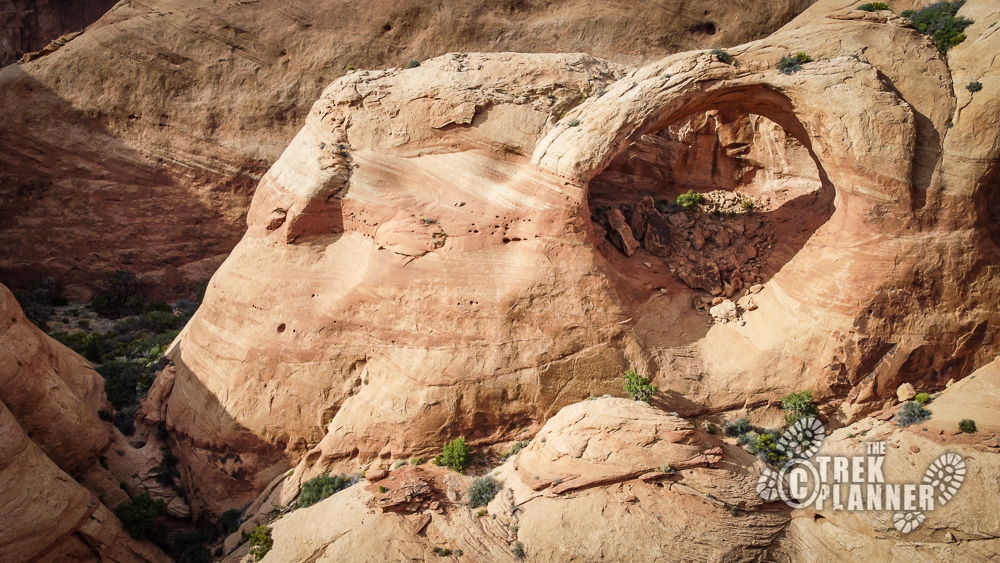
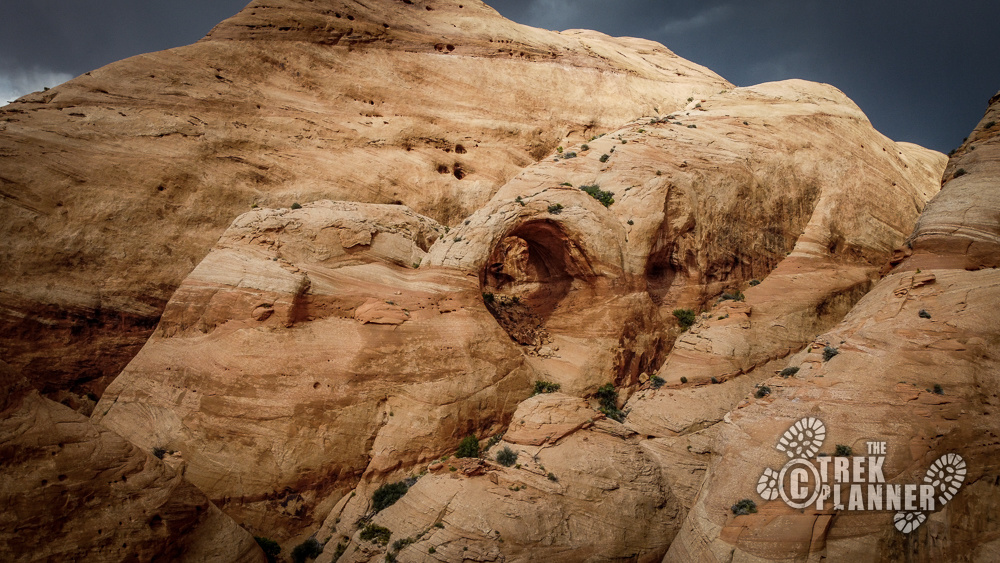
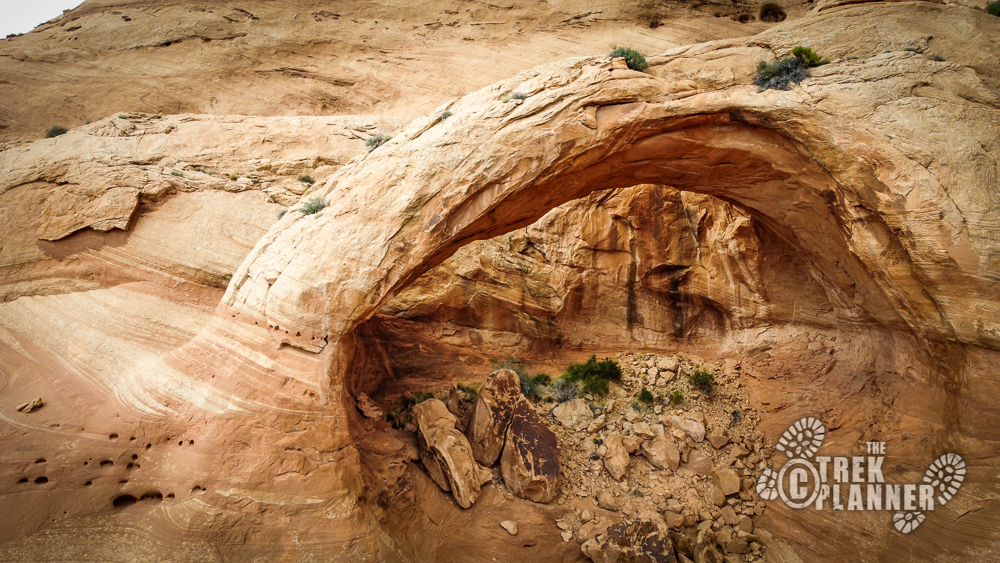
At last we saw it! Dragon’s Eye Arch! It looks like a sleeping dragon with its head on the ground hiding between two giant sandstone fins! It is a fairly large arch that is hidden from view until you are almost right on it. The overlook is just a little hike up to an area where you can see it almost directly in front of you. This is the best spot to view the arch. We didn’t see another person on this adventure and you can expect to have the same.


Personal Thoughts
I know this is a very difficult adventure that not everyone would enjoy hiking. The distance and remoteness of the hike are enough to make me not want to do it again for a very long time. I'm glad I was able to finally see the arch in person after my first failed attempt. This area is unforgiving and one small mistake could easily trap you in a deep canyon. That being said, it was a true adventure and one that I will remember forever!
[…] an Insider Member!Click to See Full Trek (Insiders Only) Dragon's Eye Arch Moab Southern Utah […]