
The Trek in a snapshot

Trek Planner Maps
Trail Map is for Trek Planner Insiders only
This content is locked
(memberships are currently unavailable)
13 GPS Coordinates are for Trek Planner Insiders only
This content is locked
(memberships are currently unavailable)
Experience. Discover. Explore.
Follow along on our adventure then go out on your own!


Mile Markers
Note: the mile markers are approximate according to MY map. You may have different mile markers depending on the route, GPS signals, etc. My GPS coordinates, Trail Map, and mile markers are to serve you as a guide and not to be exact.
This Trek is divided into four parts: The Approach, Slot Canyons, East Fork Virgin River, and The Exit. The Approach is where you will gain all of the elevation until you drop down to the Slot Canyons portion. The Slot Canyons are where the technical canyoneering aspects are expected. The East Fork Virgin River is the short narrows portion where you will be river walking. The Exit is the long hike back to your car.
Our group of 11 started early one Saturday to hike Fat Man’s Misery Canyon. It’s called Fat Man’s Misery because I guess there was a part where you could squeeze through in order to bypass a rappel or something. This obstacle is apparently gone due to erosion, but this hike is still considered a misery because once you are done with the fun slot canyon stuff, you have the long miserable hike back to your car.
This adventure isn’t for the casual hiker or for someone trying canyoneering for the first time. Unless, there are people in your group who are experienced canyoneers and able and willing to help. In our group we had three kids younger than 11 years old. One of which was brand new to canyoneering, but was more than excited to do this very long trek.
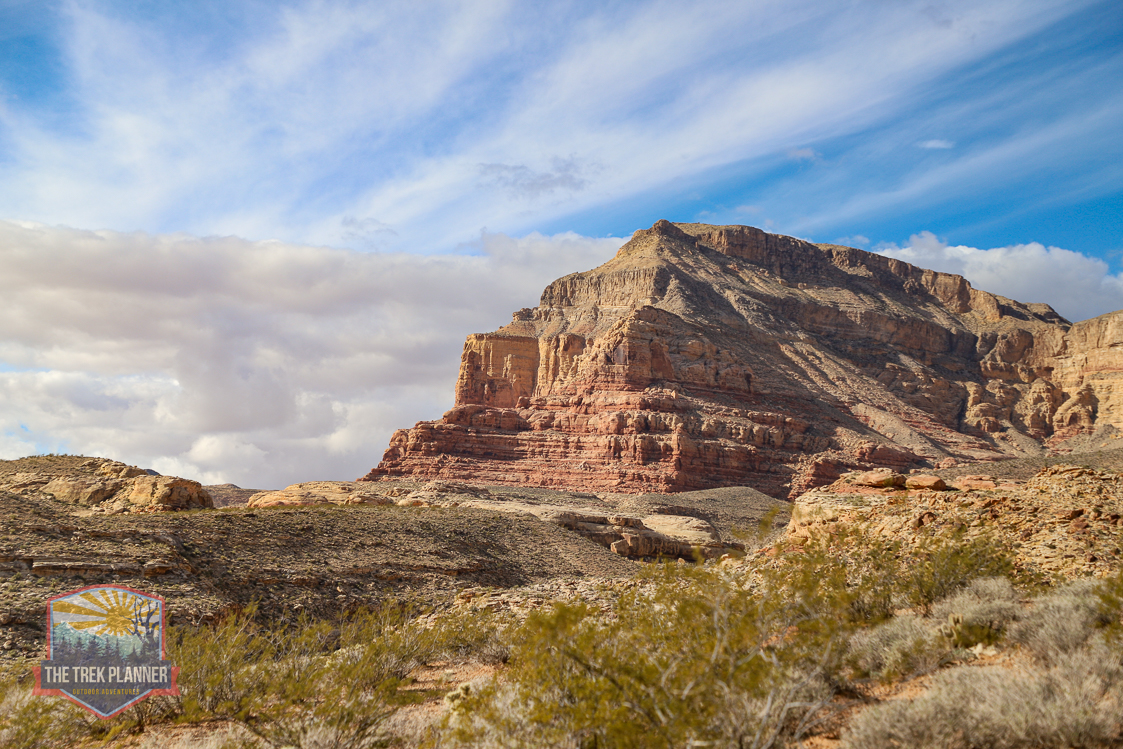
You will begin this adventure near Checkerboard Mesa, which is in the upper Zion area on the east side of the national park. It’s important to note that a big chunk of this adventure travels through Zion National Park, but the slot canyons and rappels are outside the national park border in glorious BLM land. This means, you do NOT need a permit to do this hike.
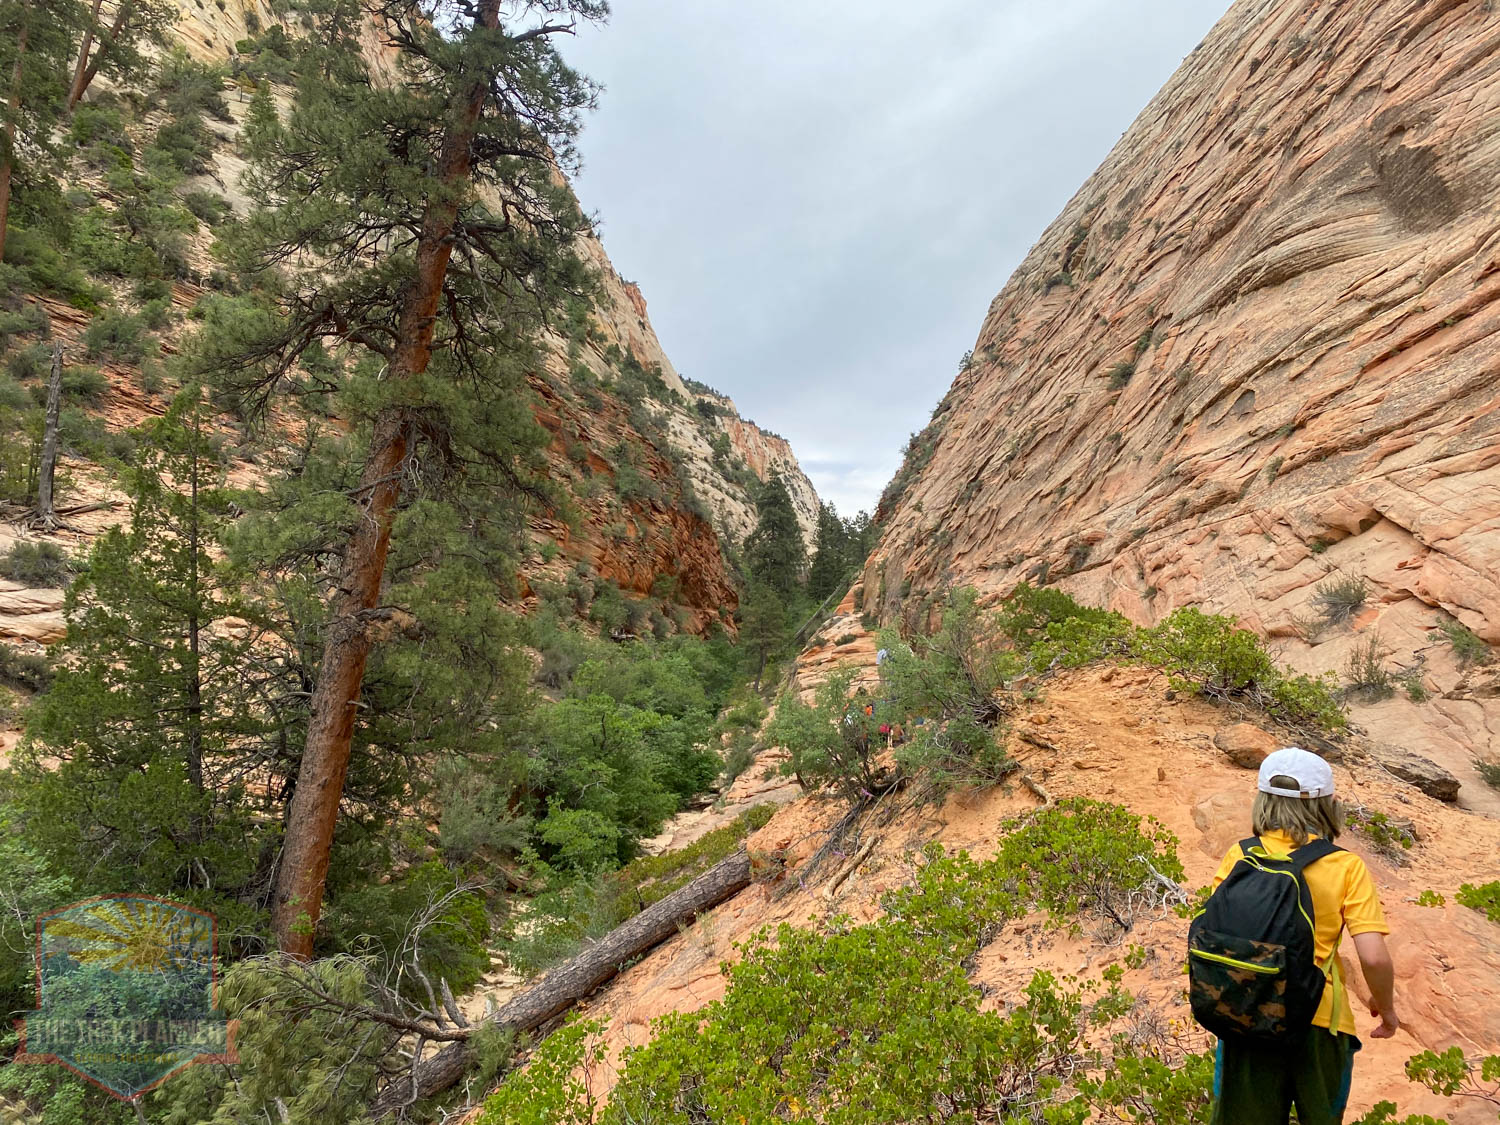
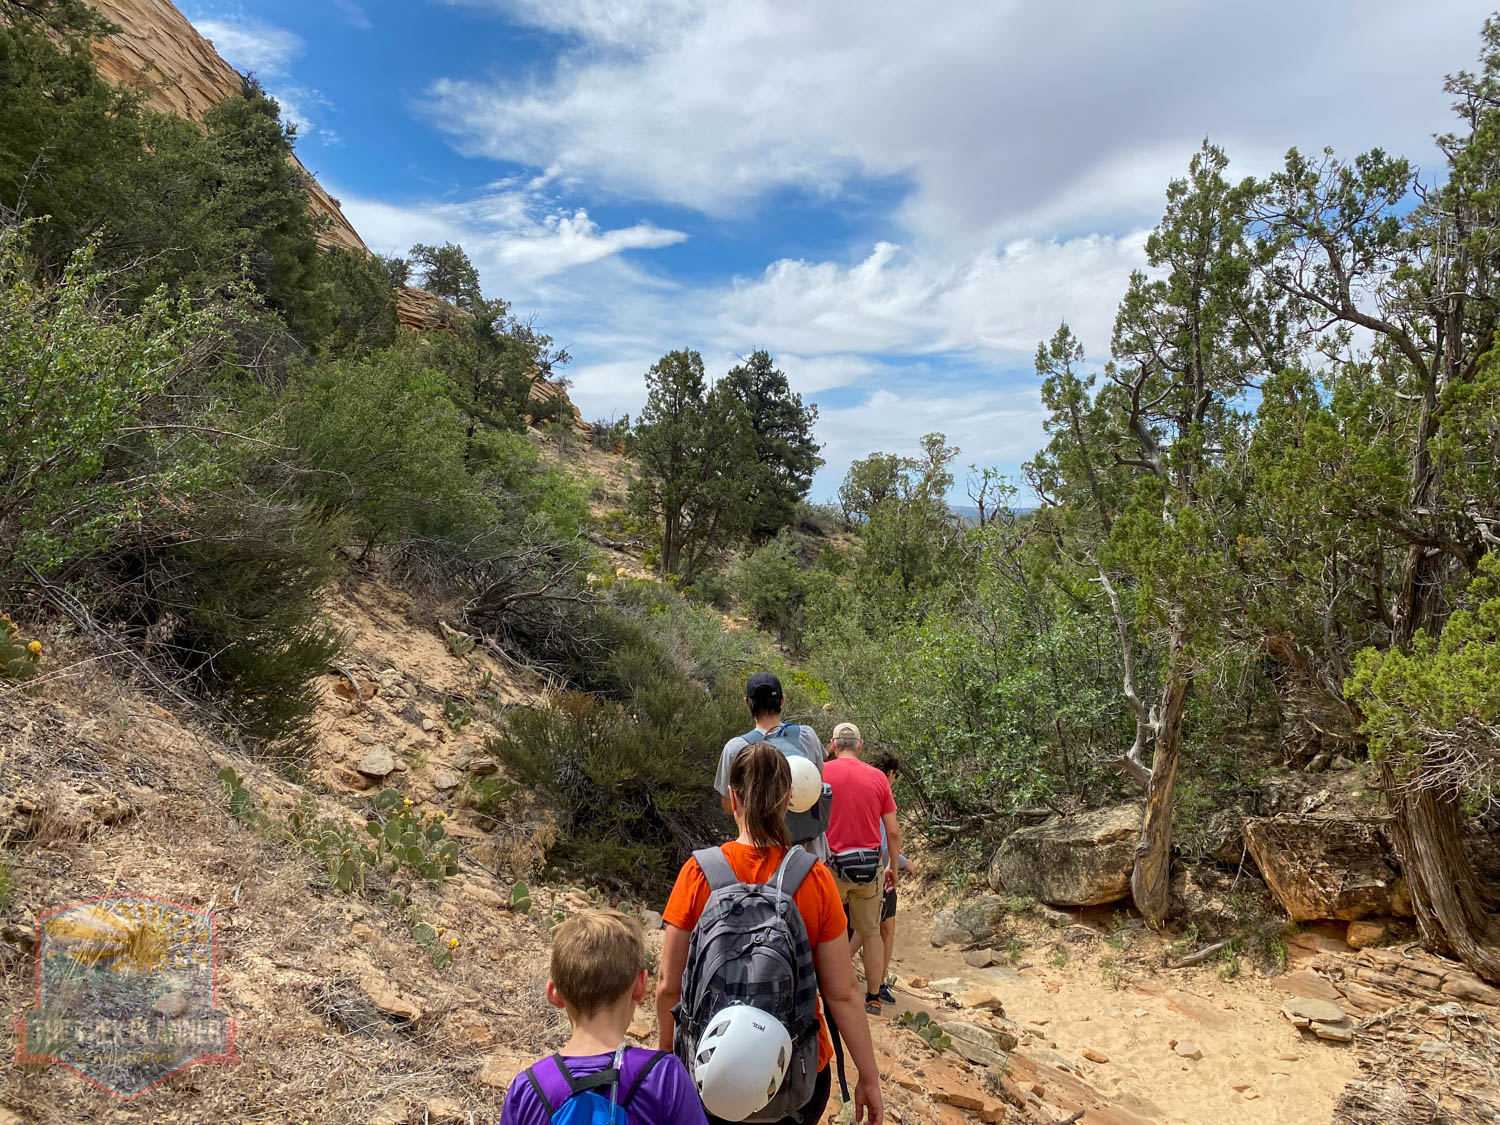
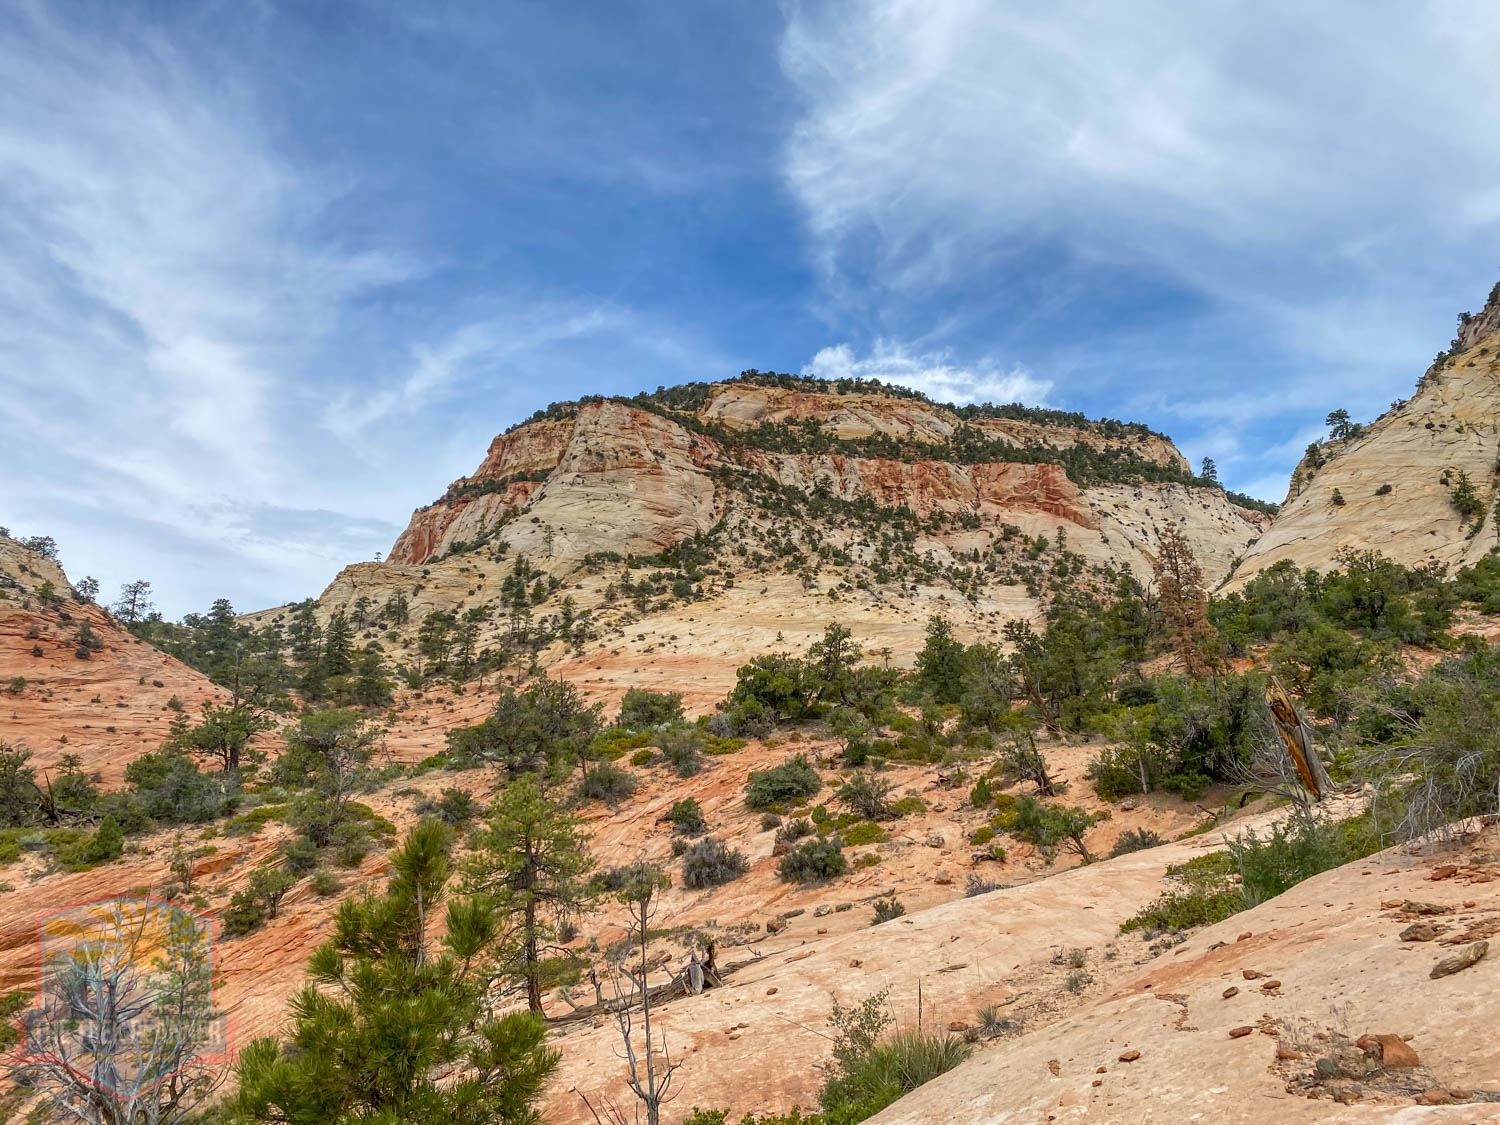
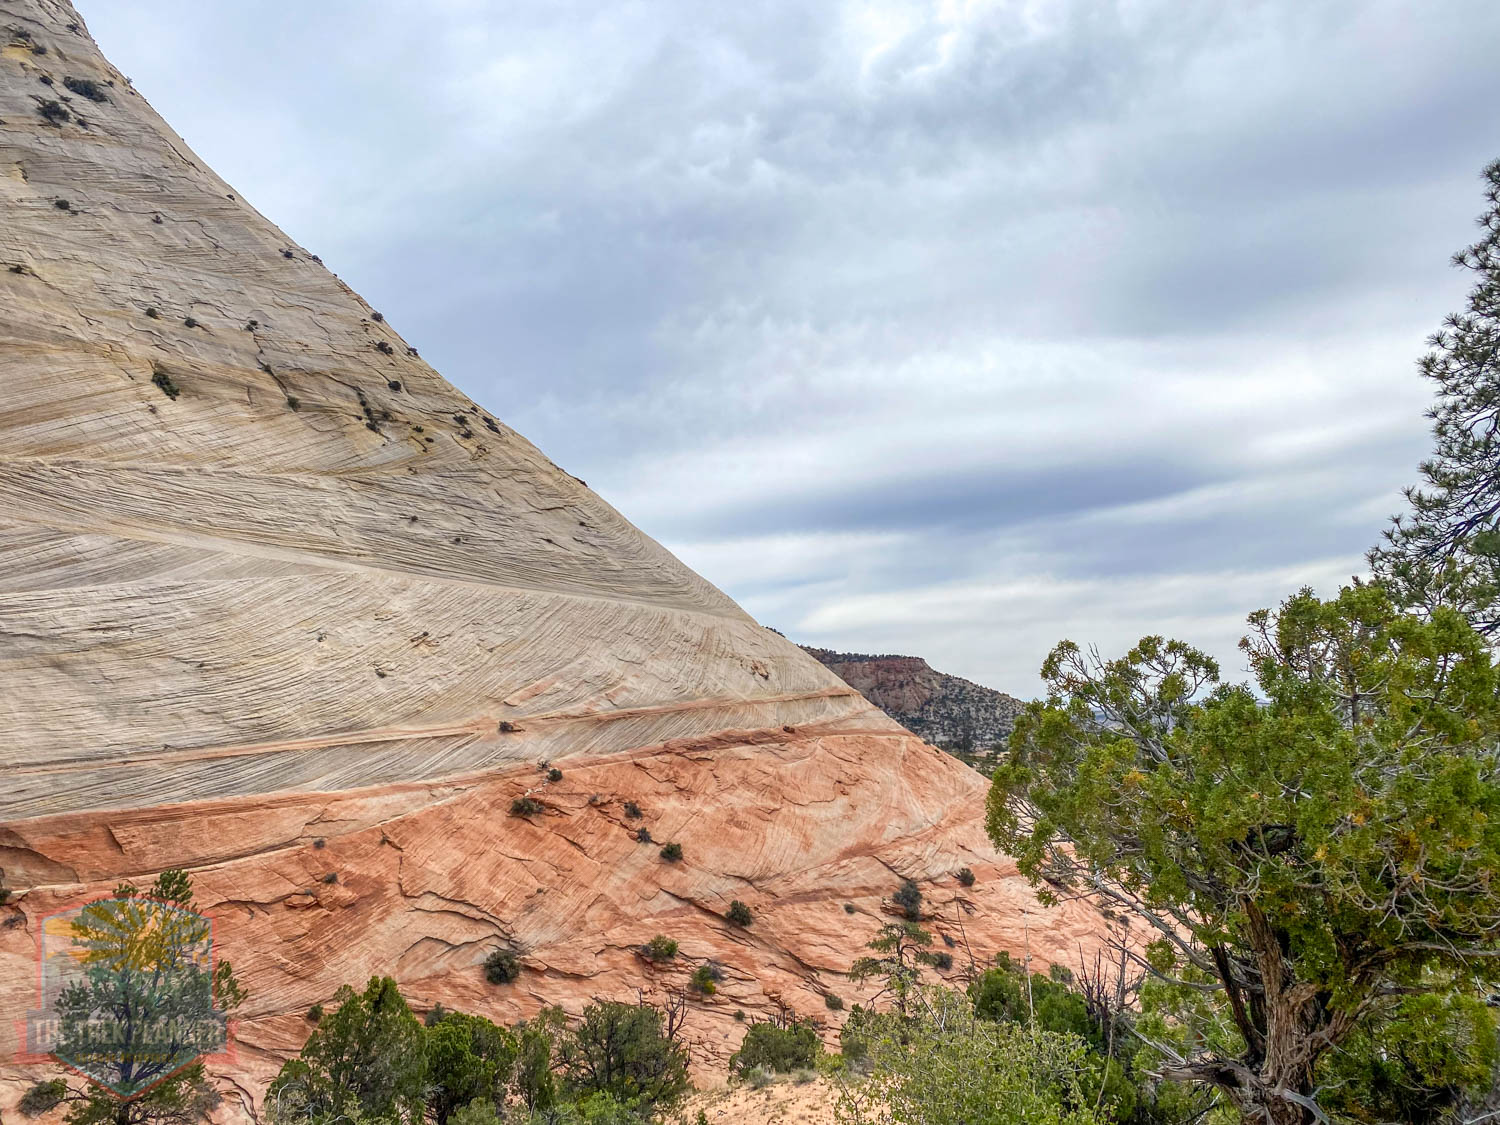
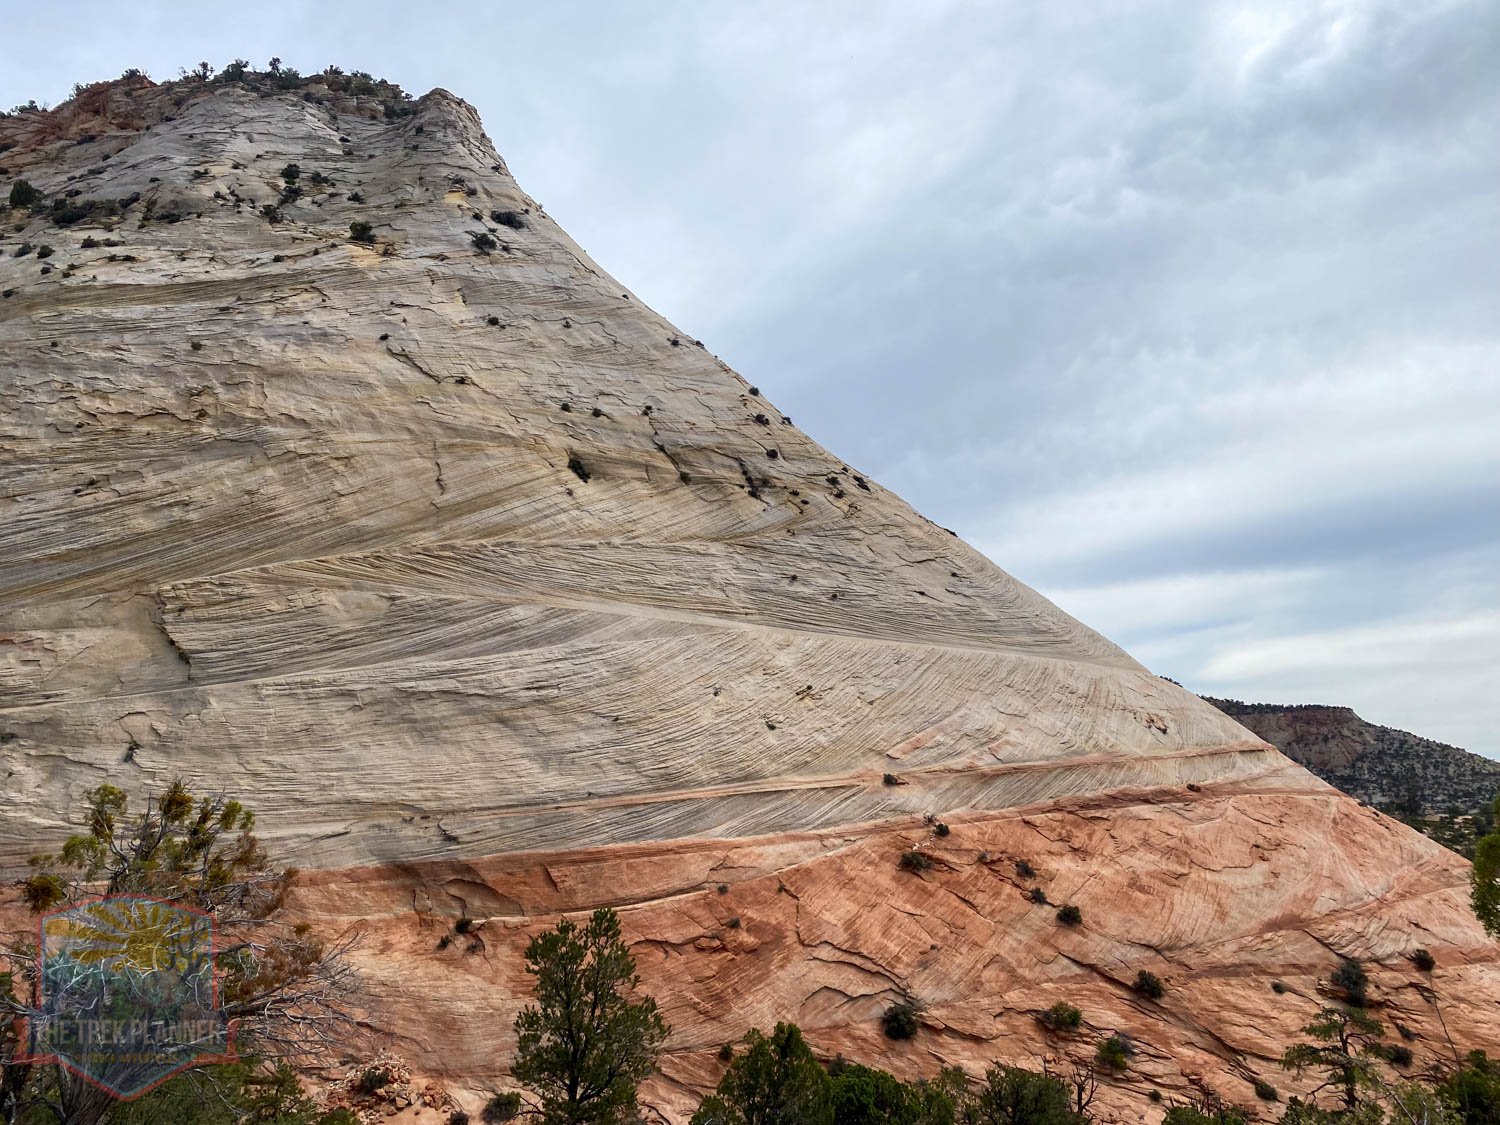
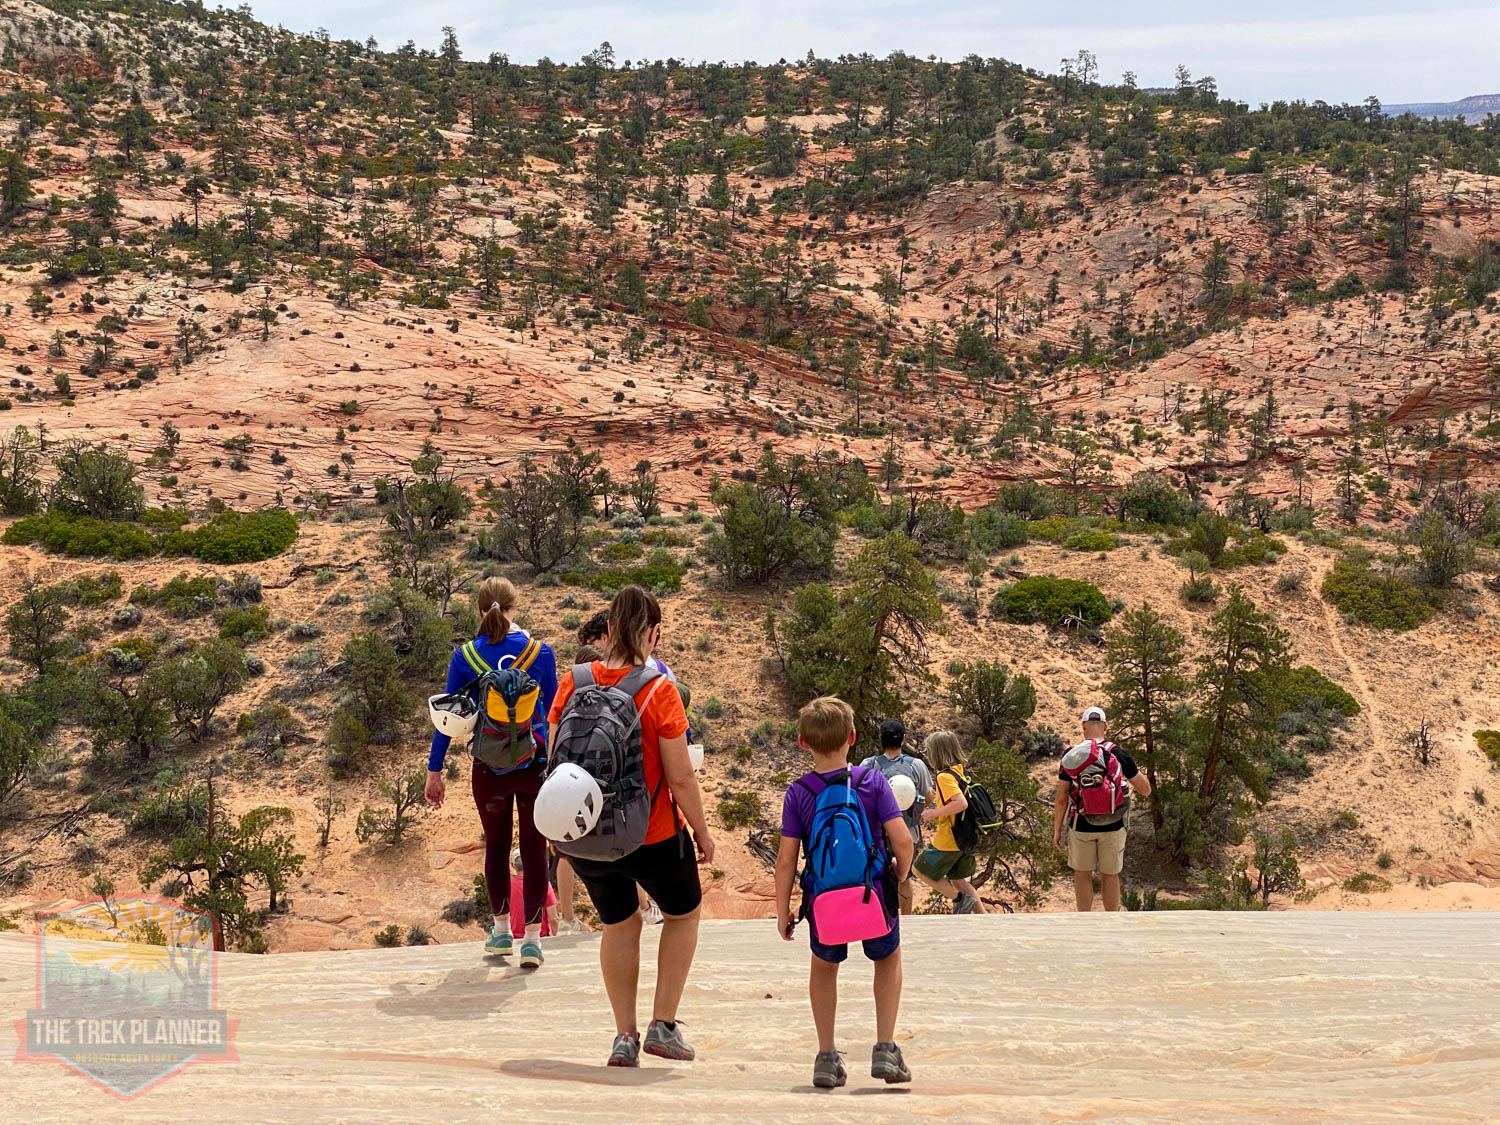
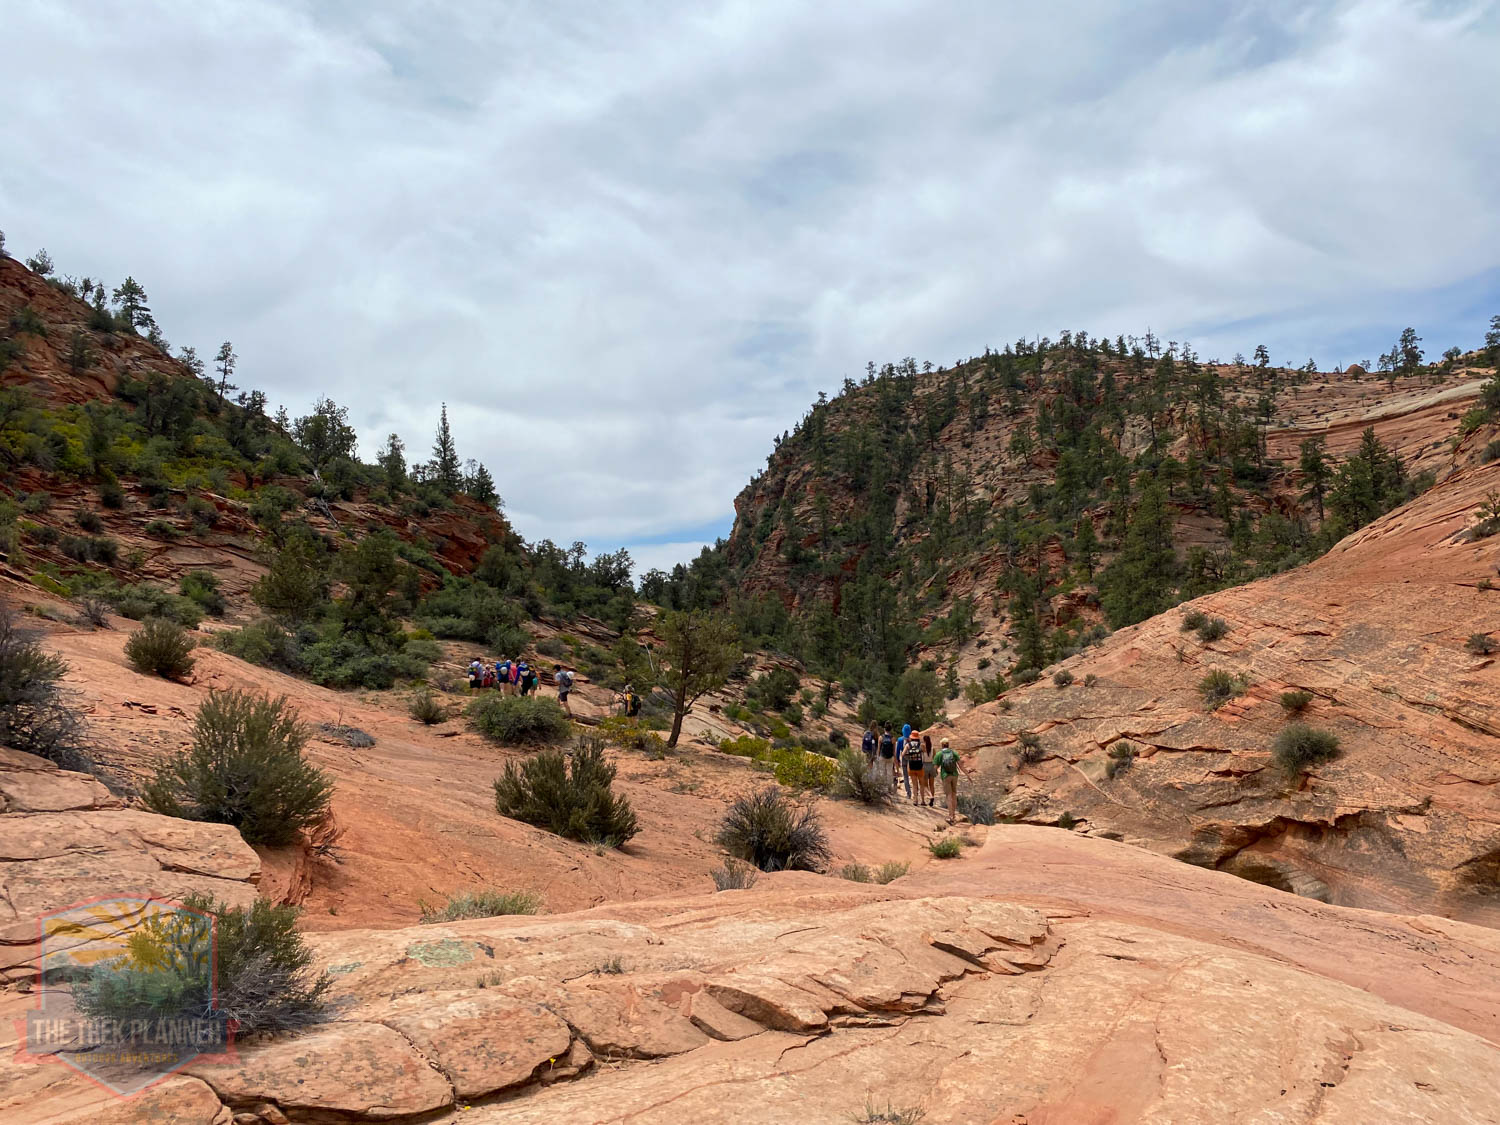
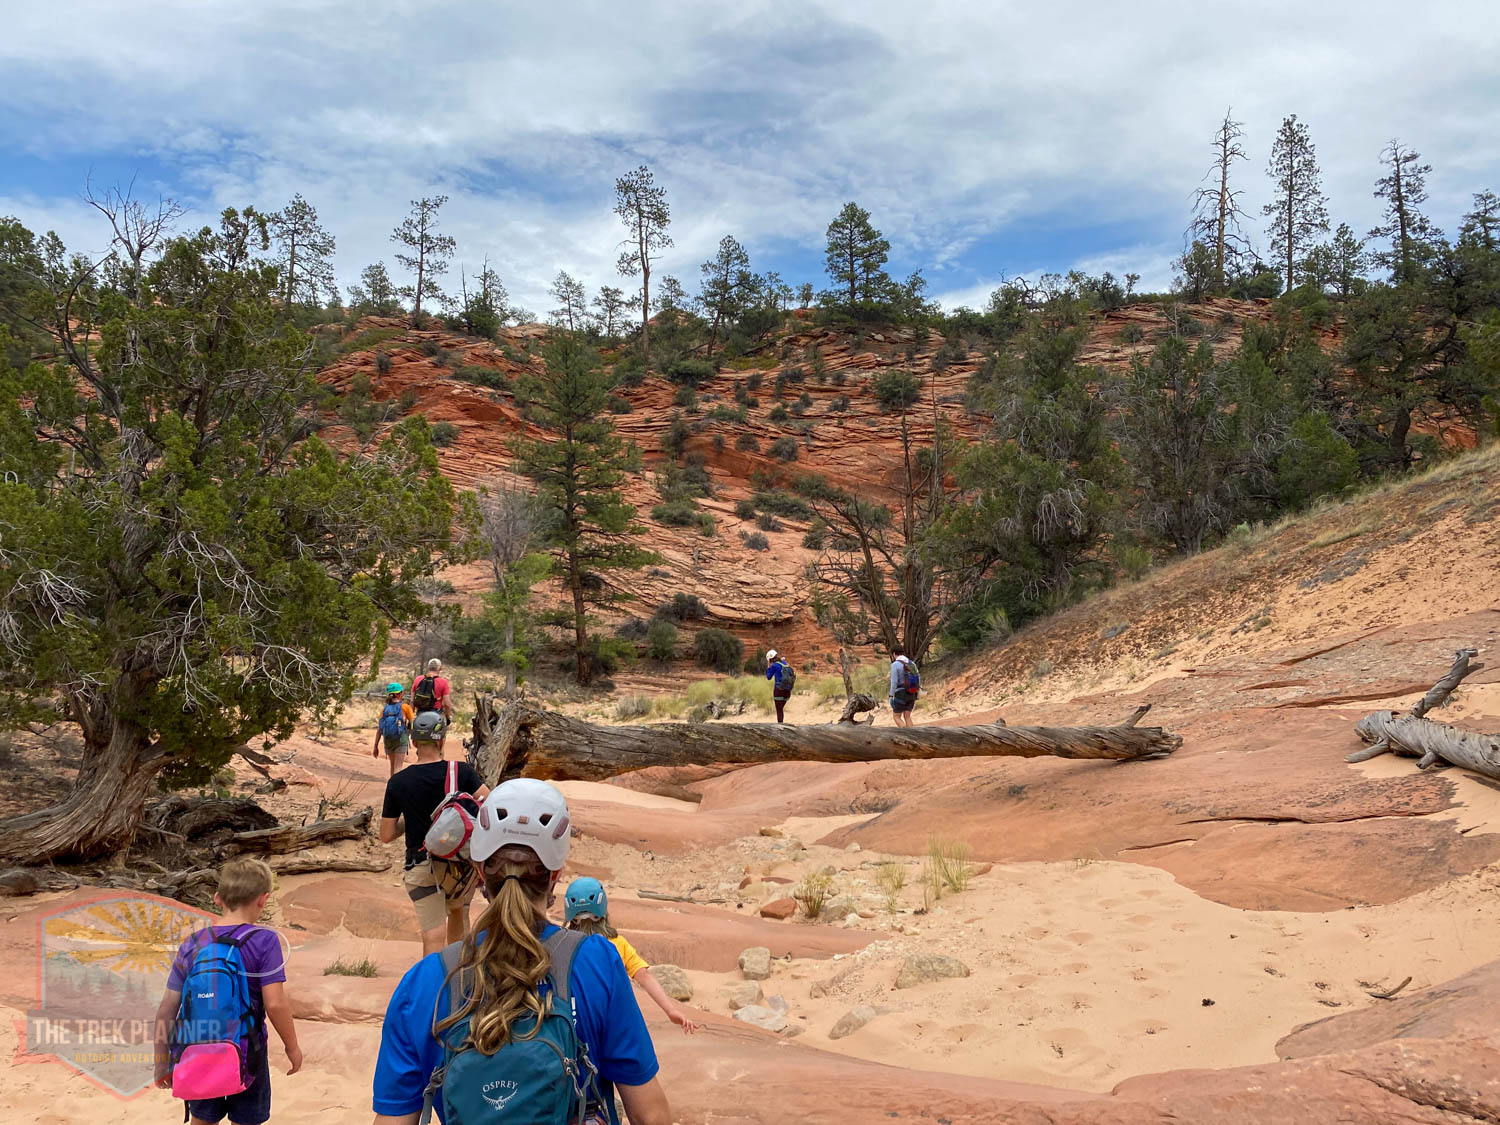
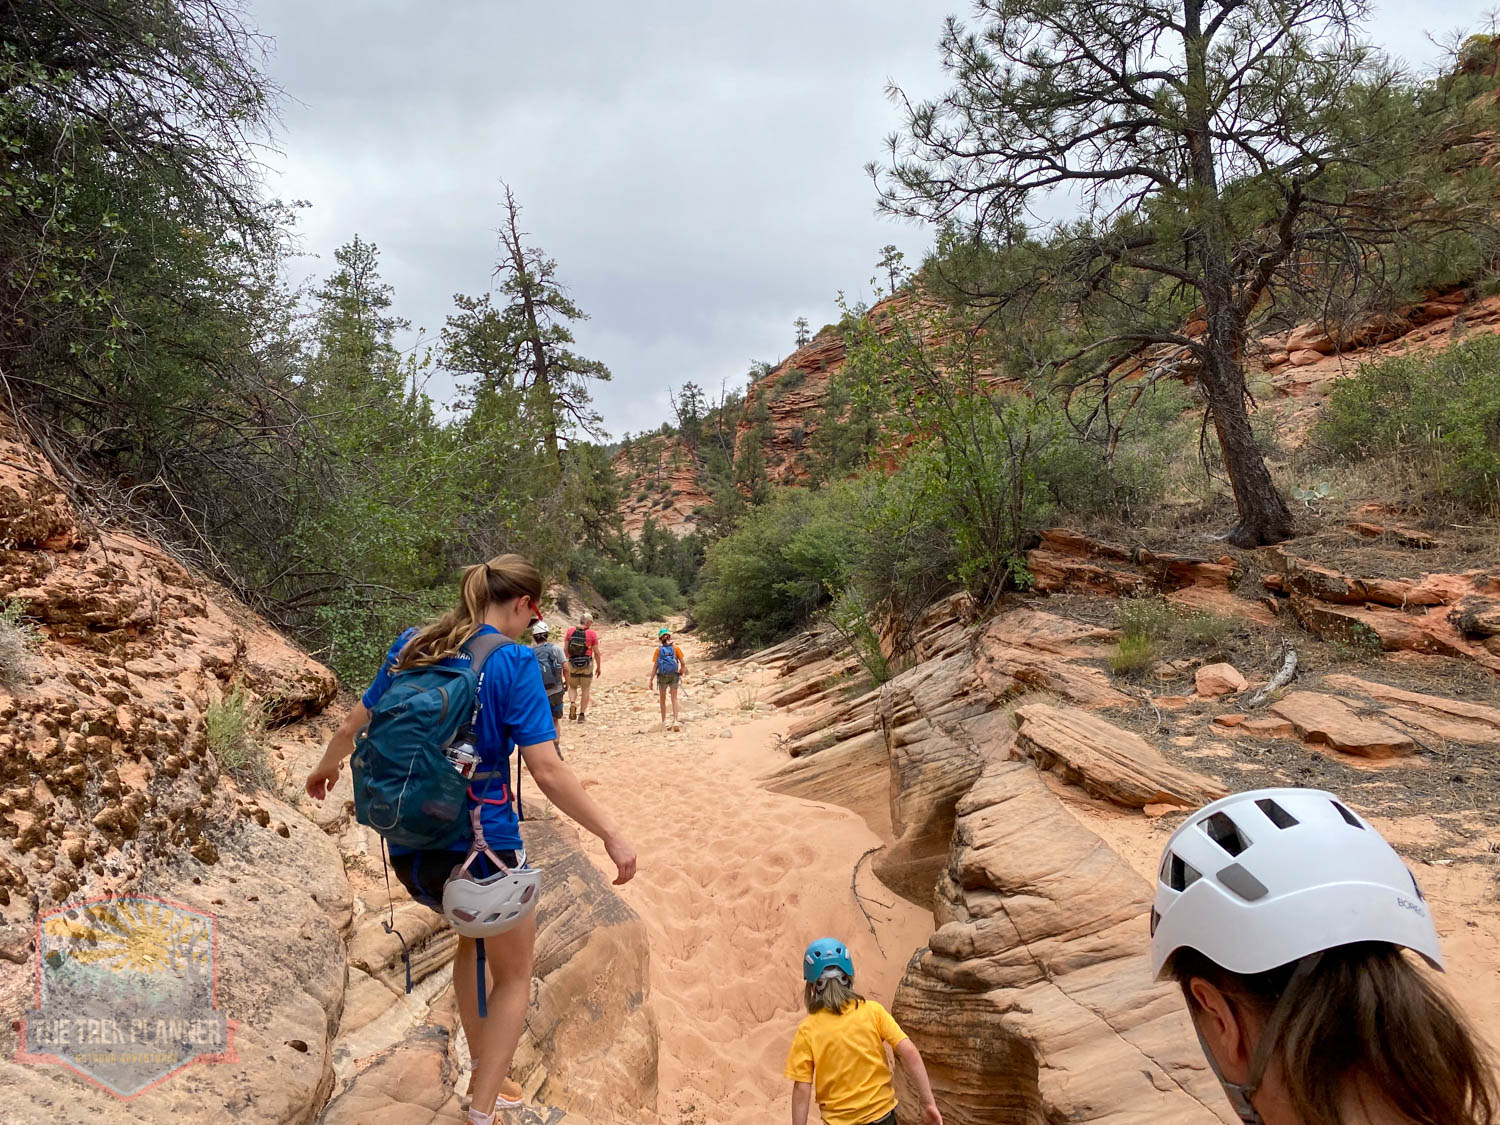
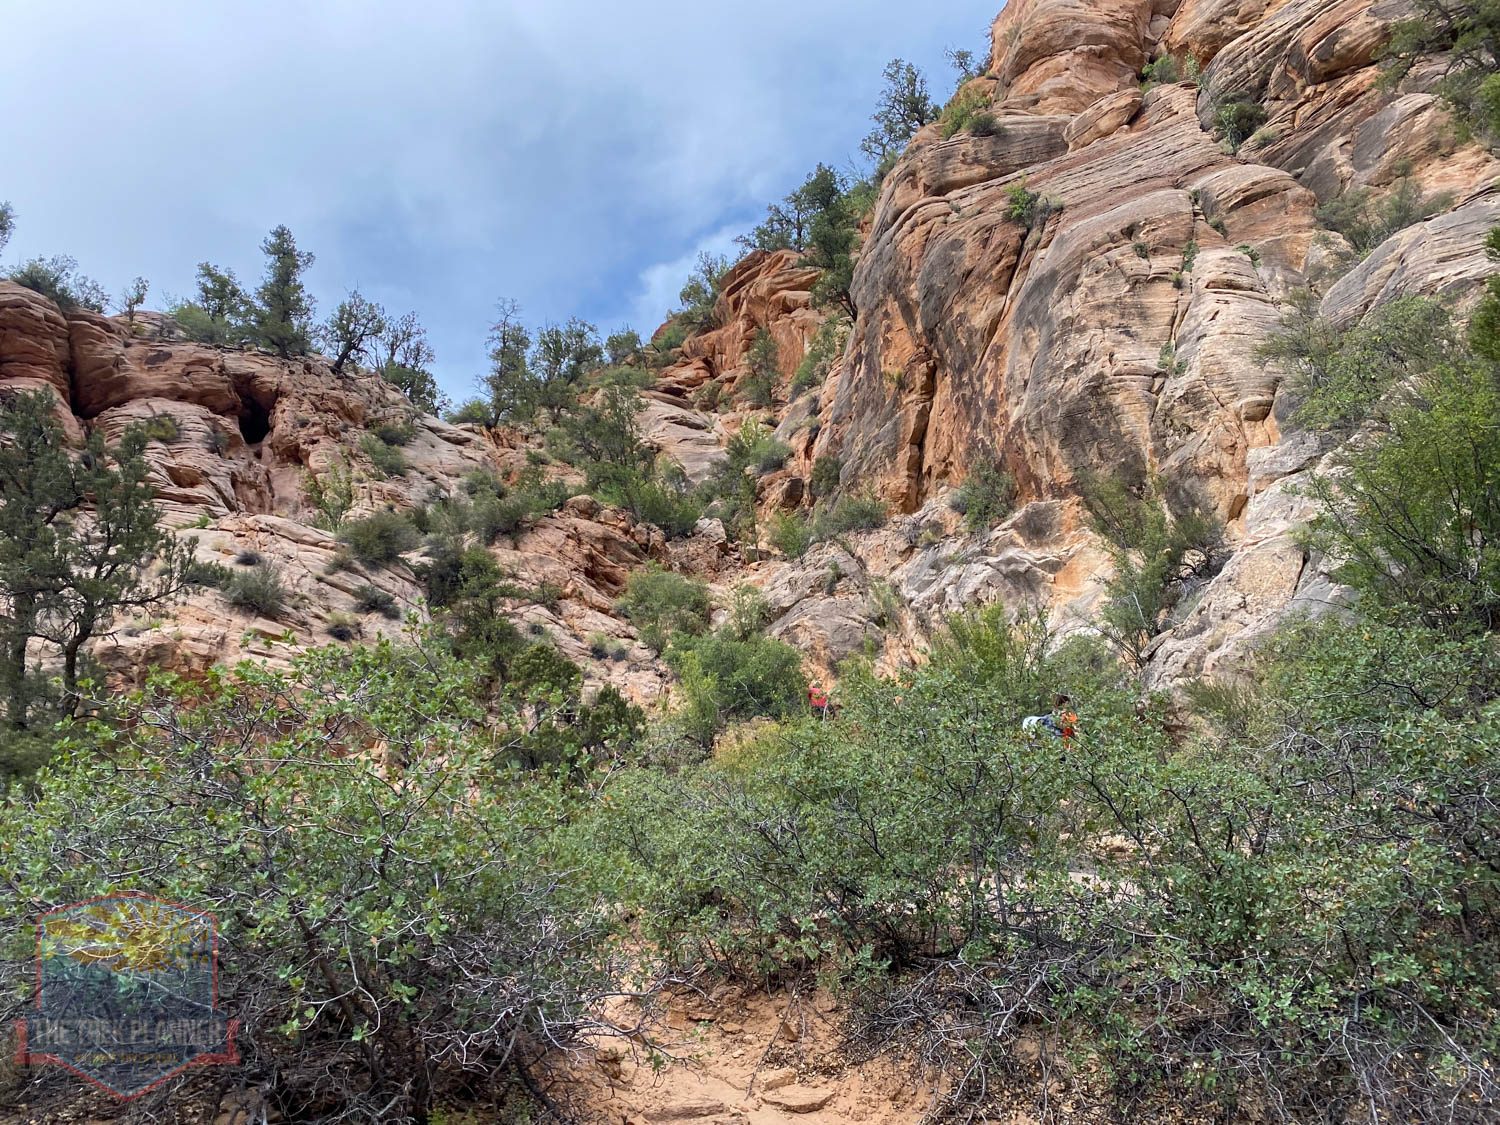
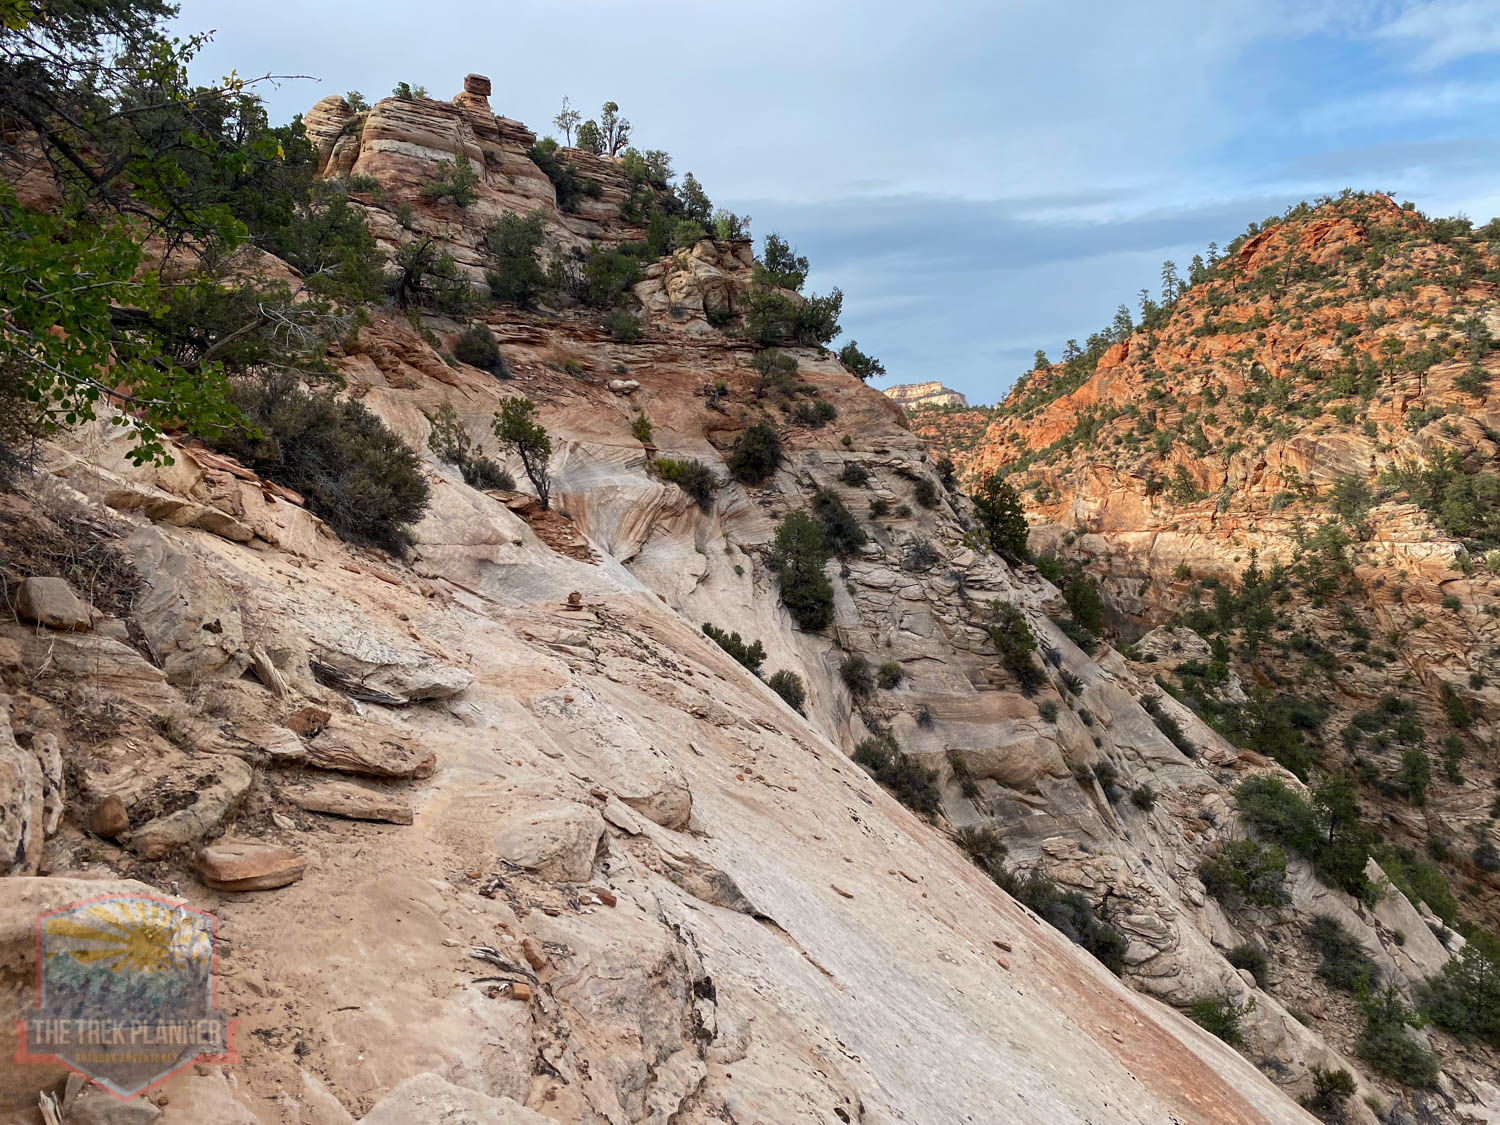
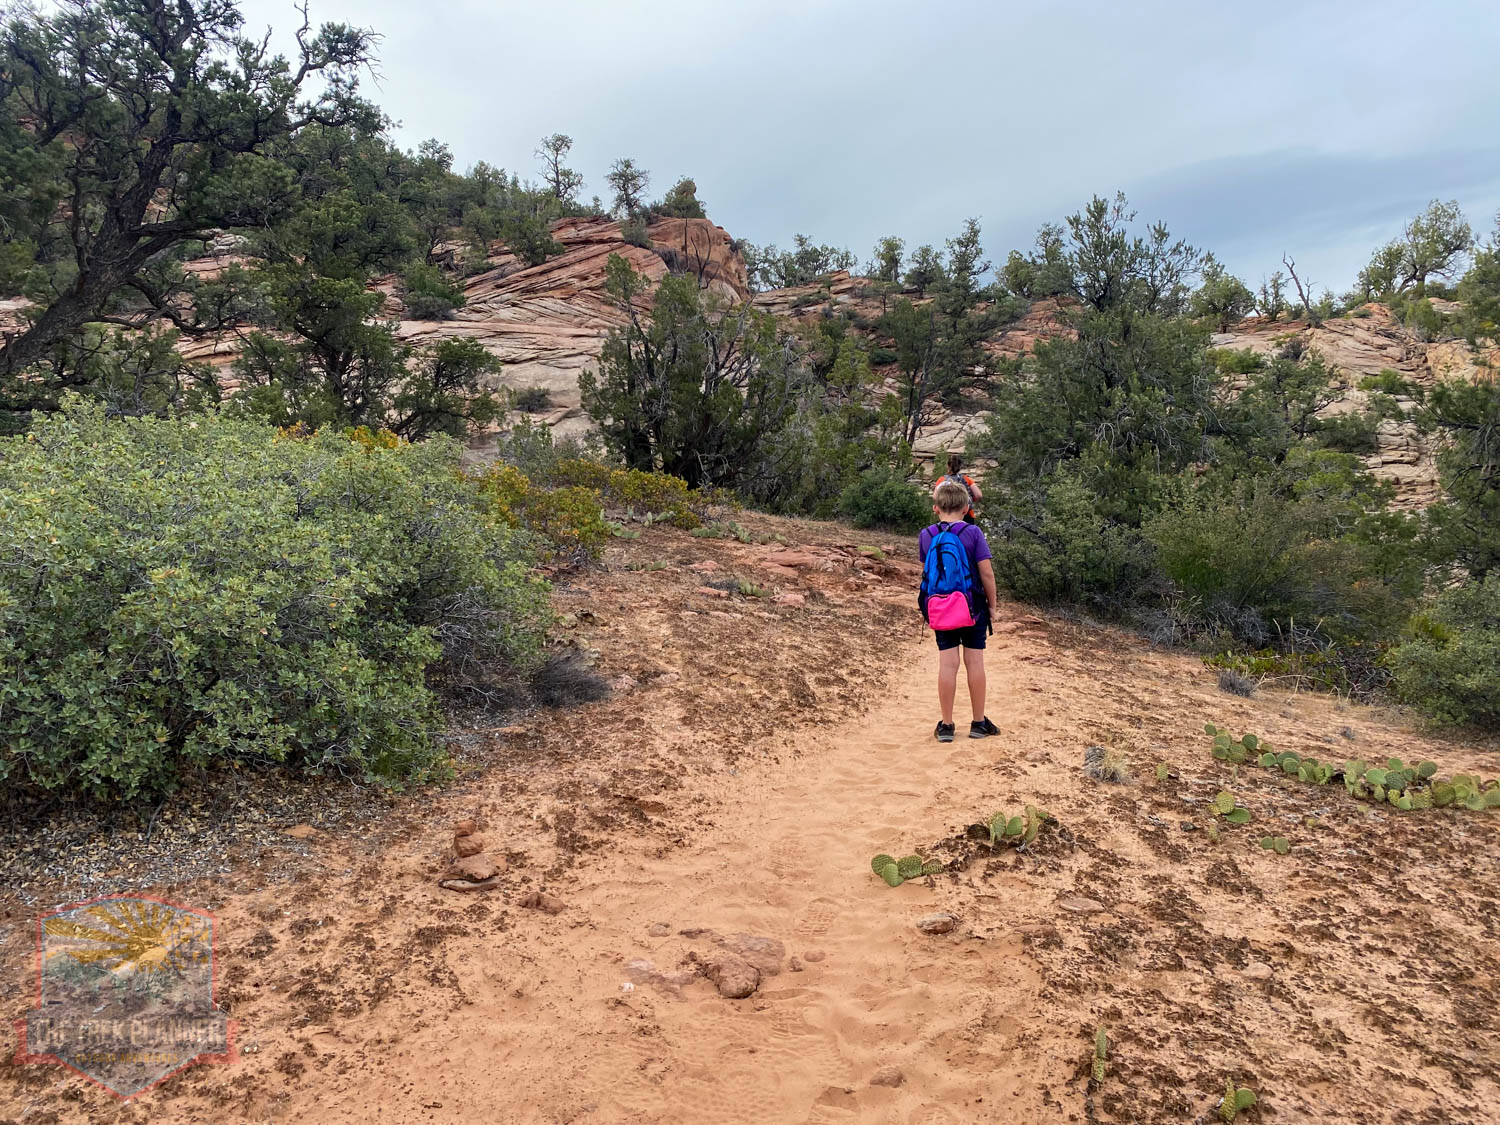
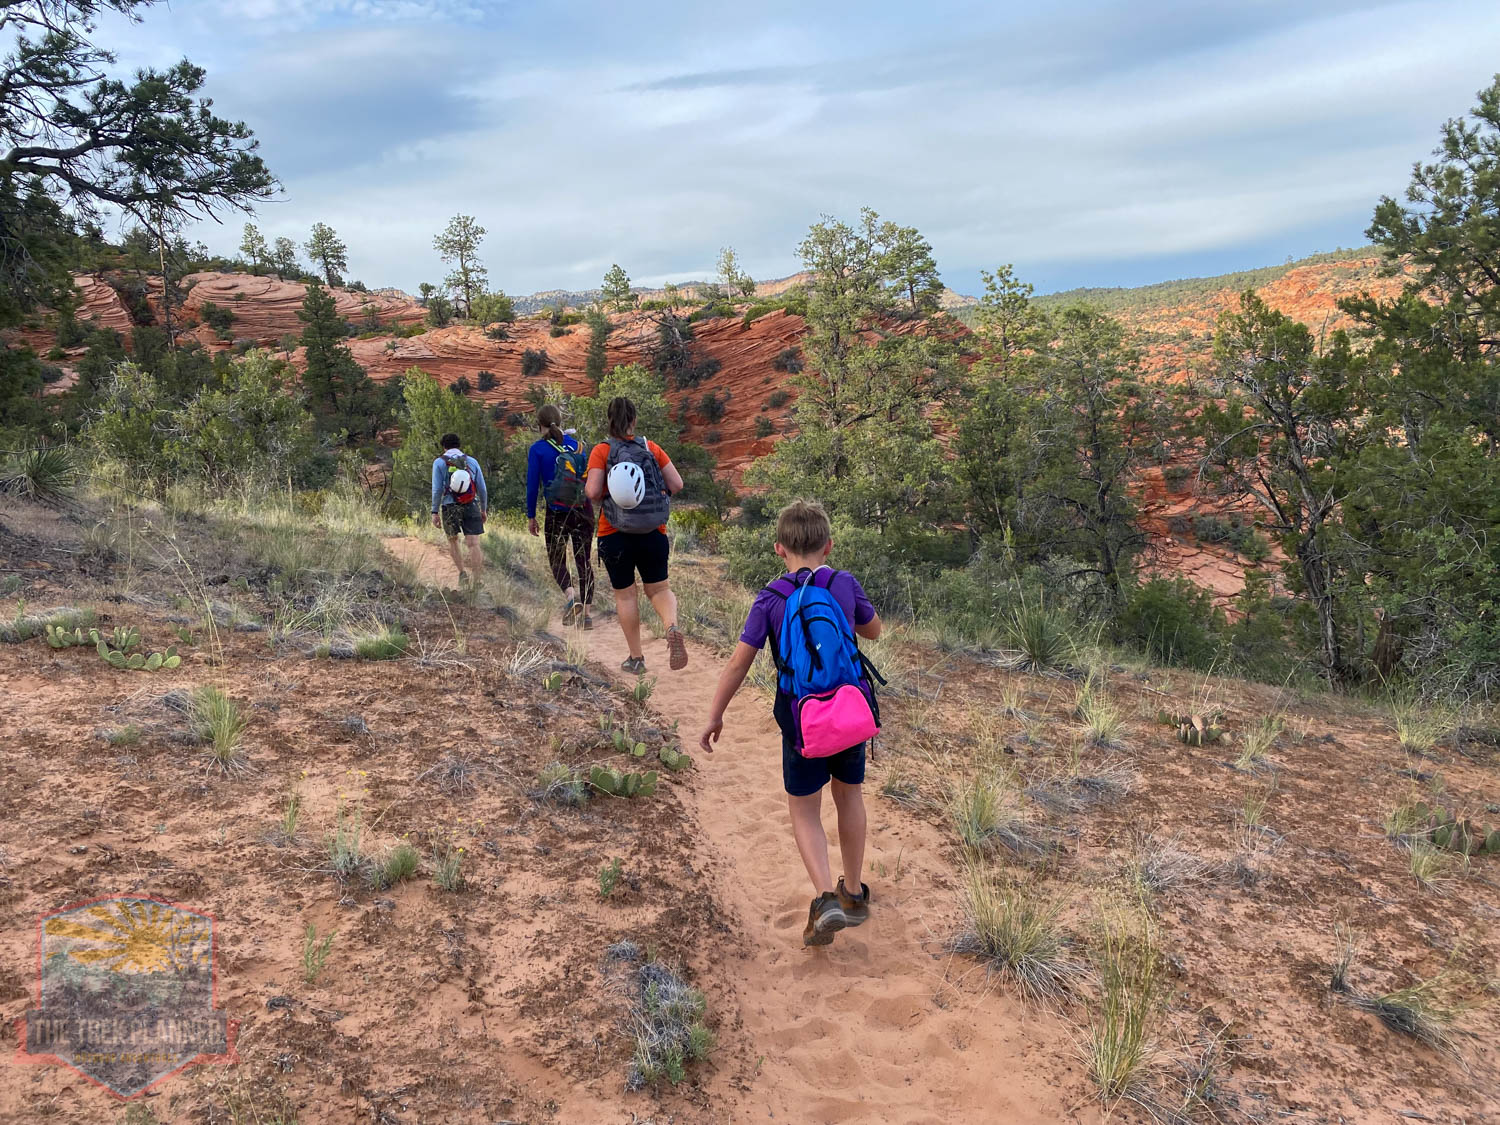
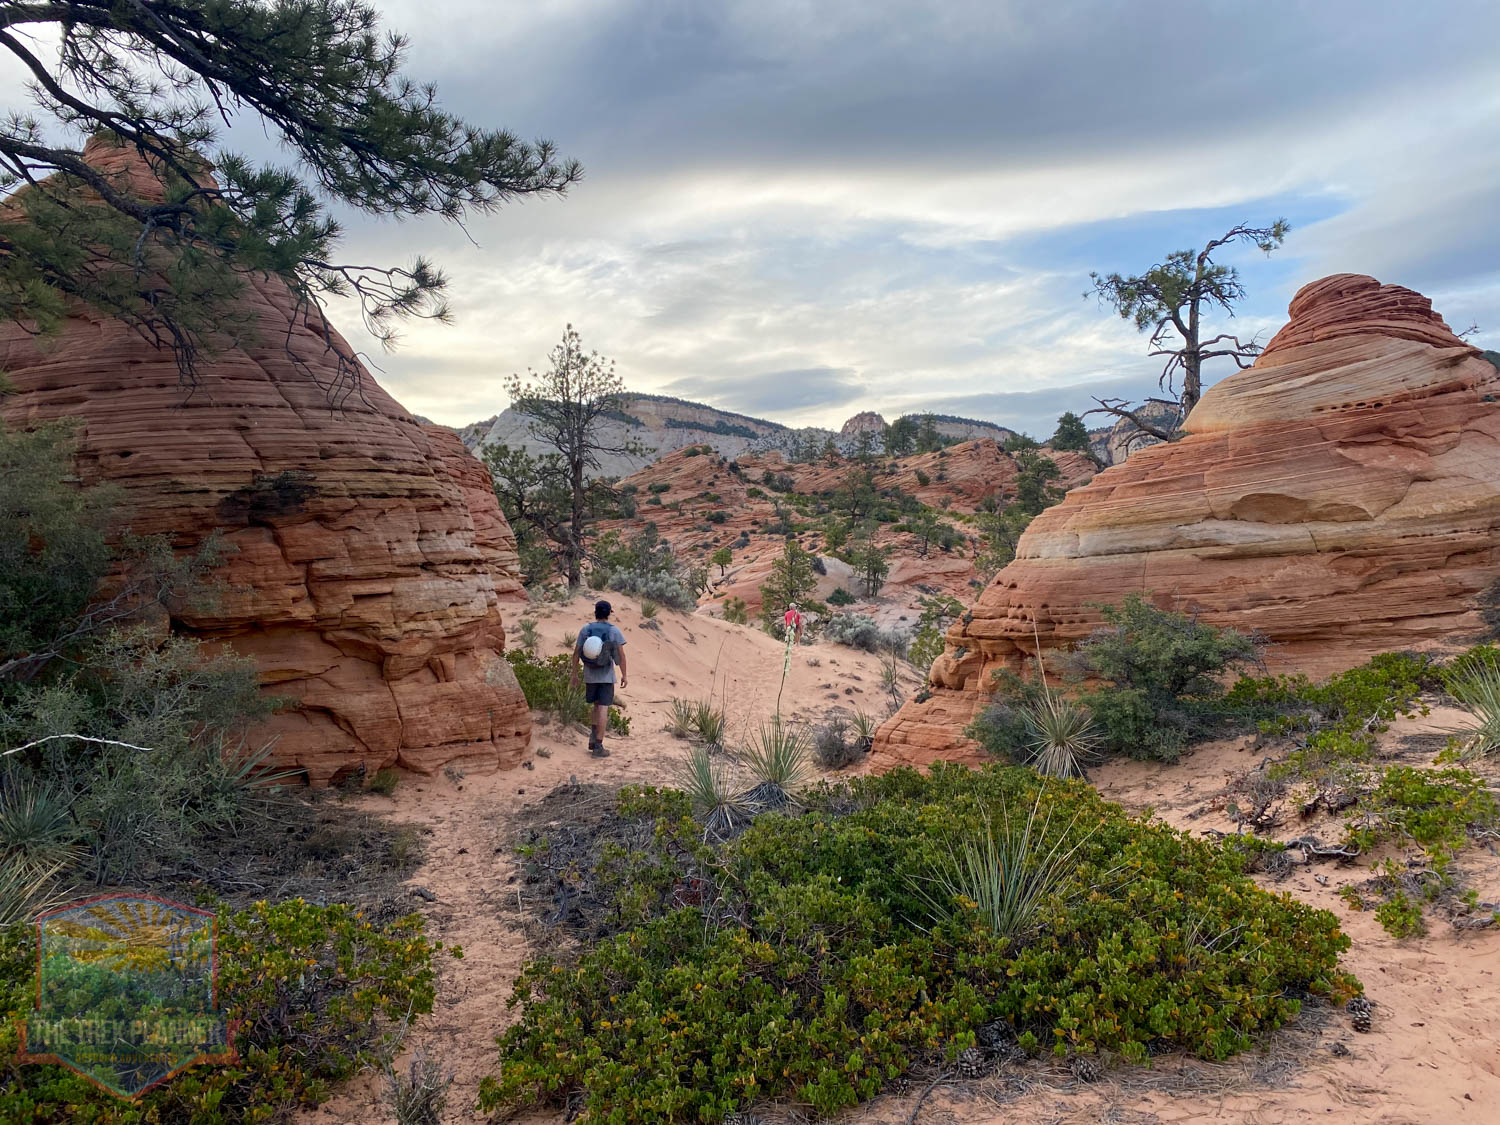
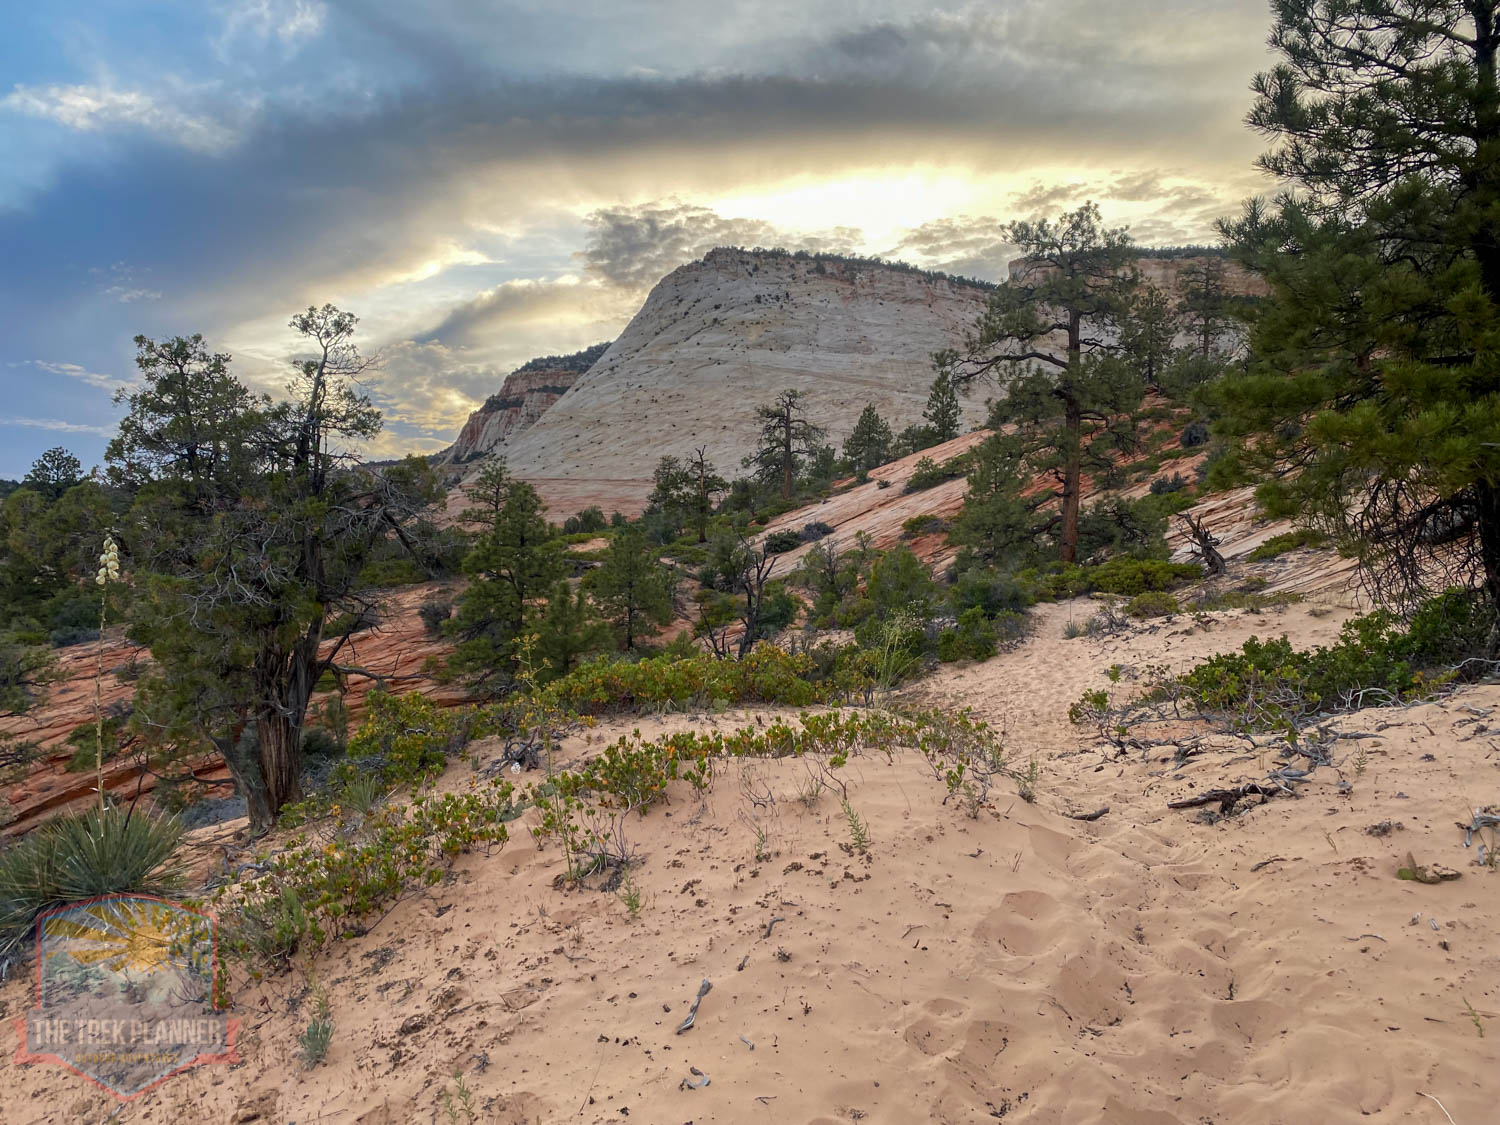
After you have found parking, head west down the park road for about 600 feet until you see a wash on the south side of the road. Begin hiking on this wash and continue south. You will head south through this canyon for approximately 1.17 miles until you come to the summit of this adventure. This part passes through trees and shrubs but will eventually climb several hundred feet in elevation on sand and dirt until you can see into the Zion wilderness to the south.
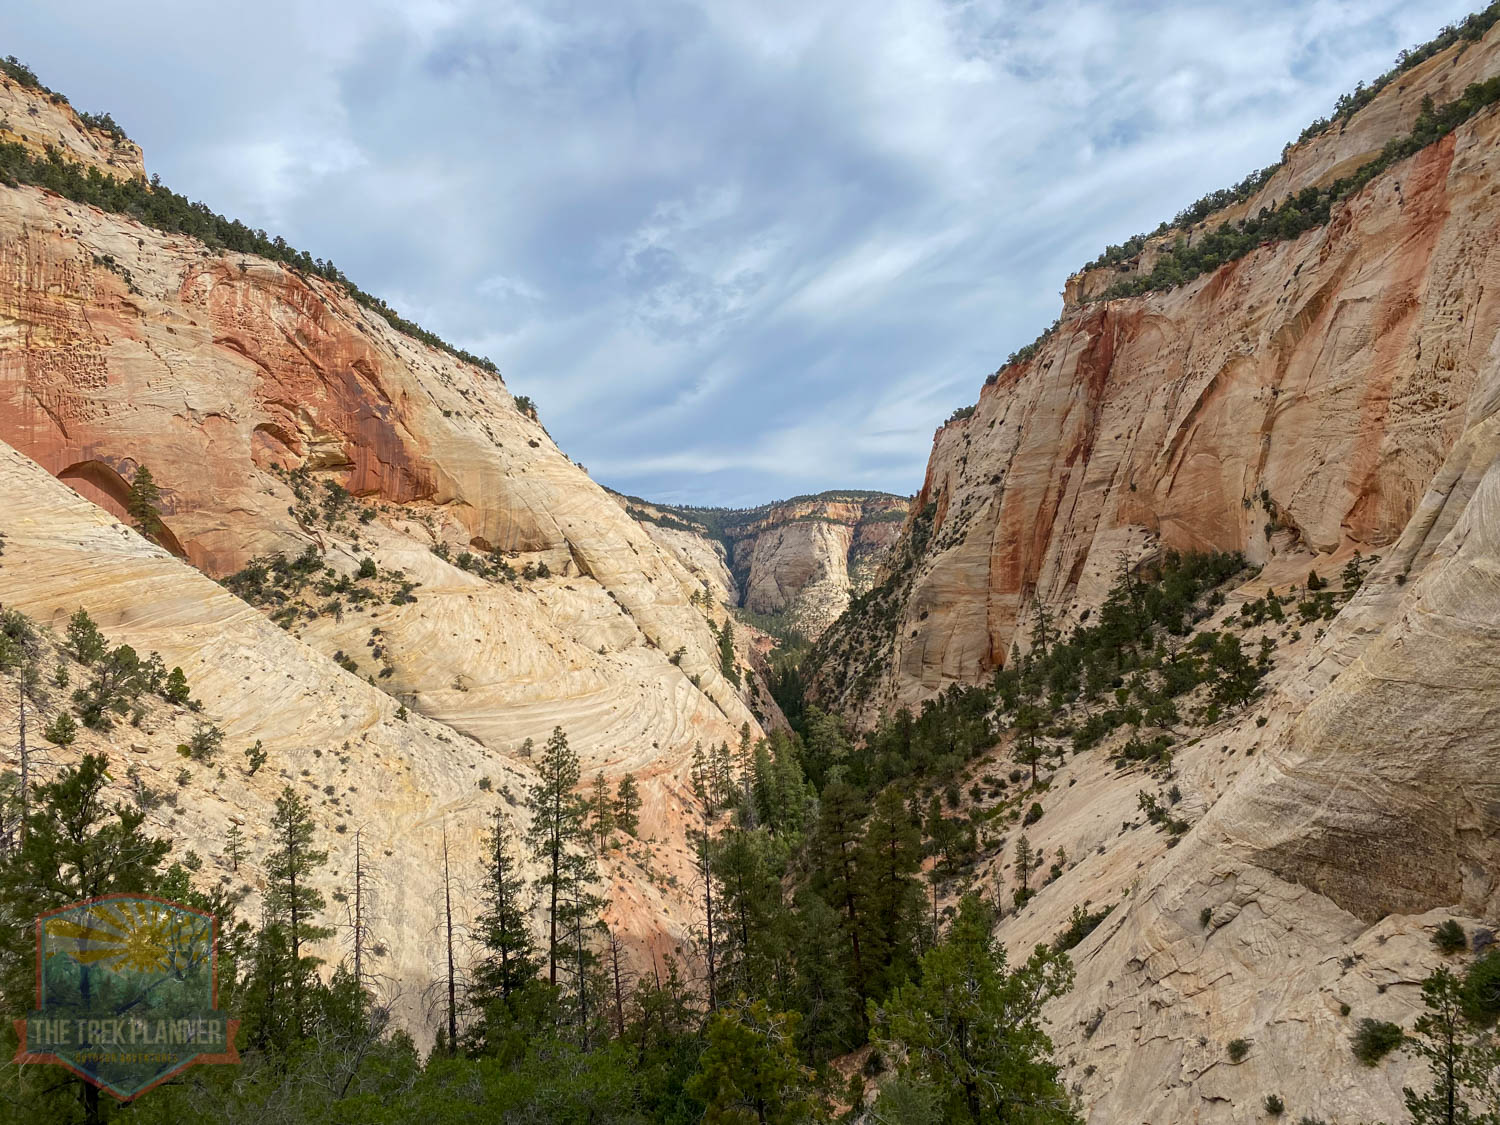
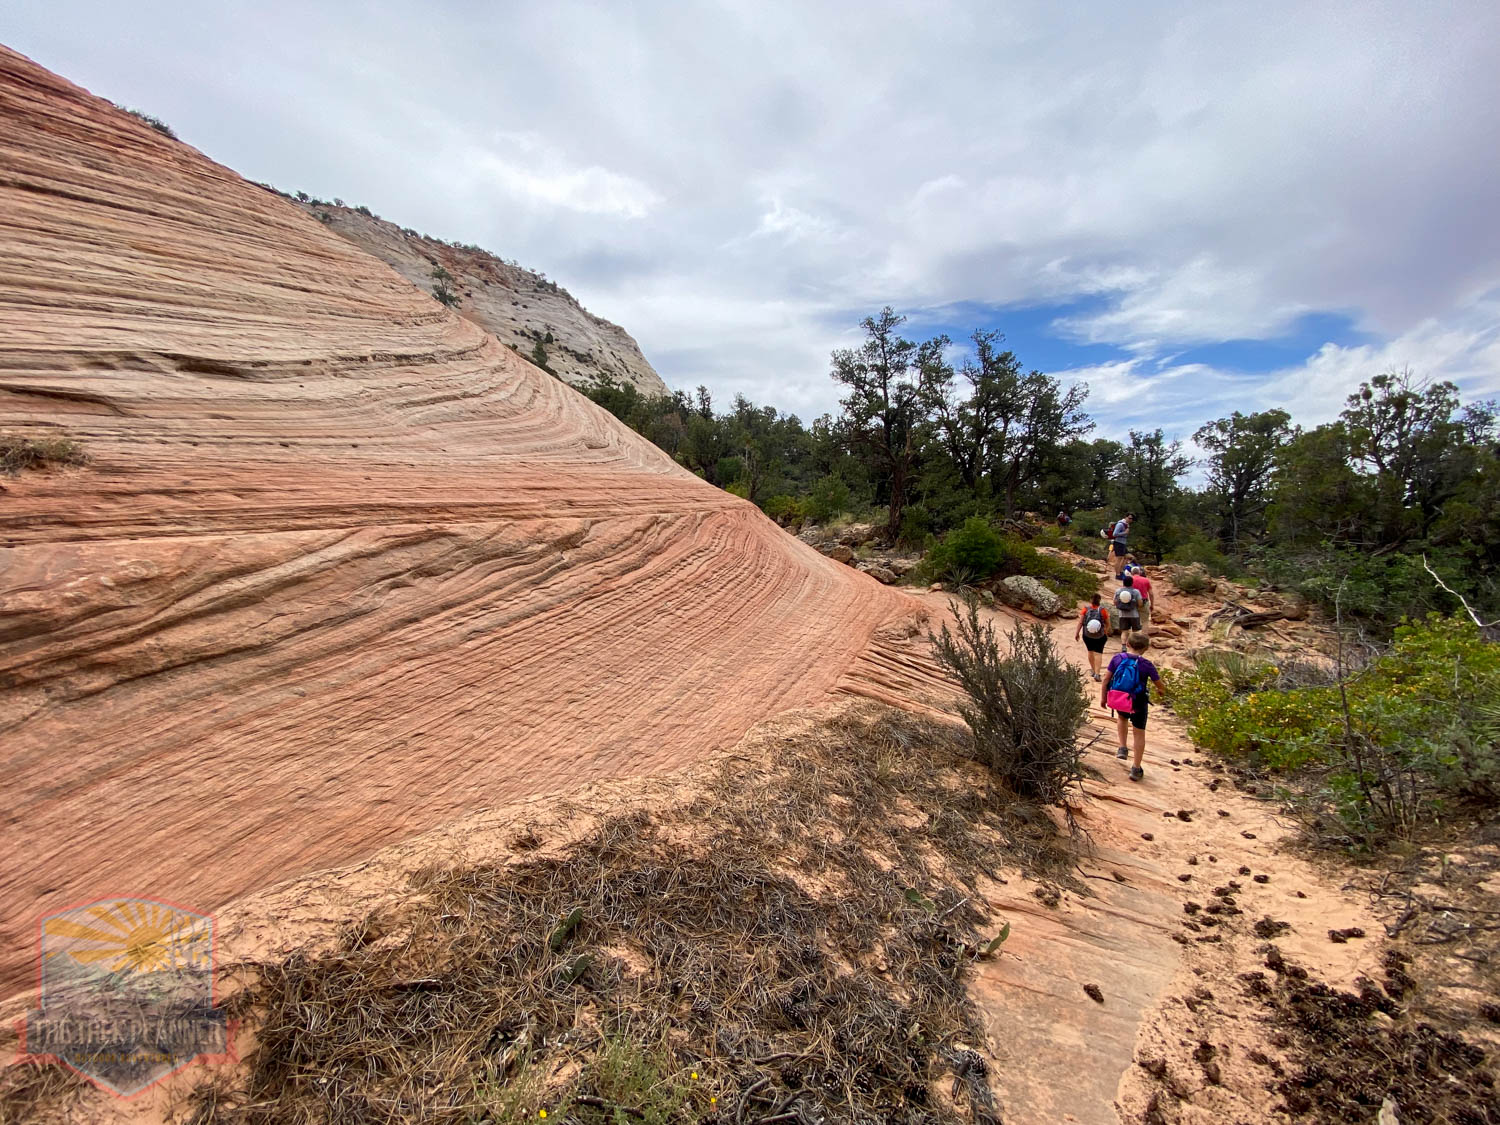

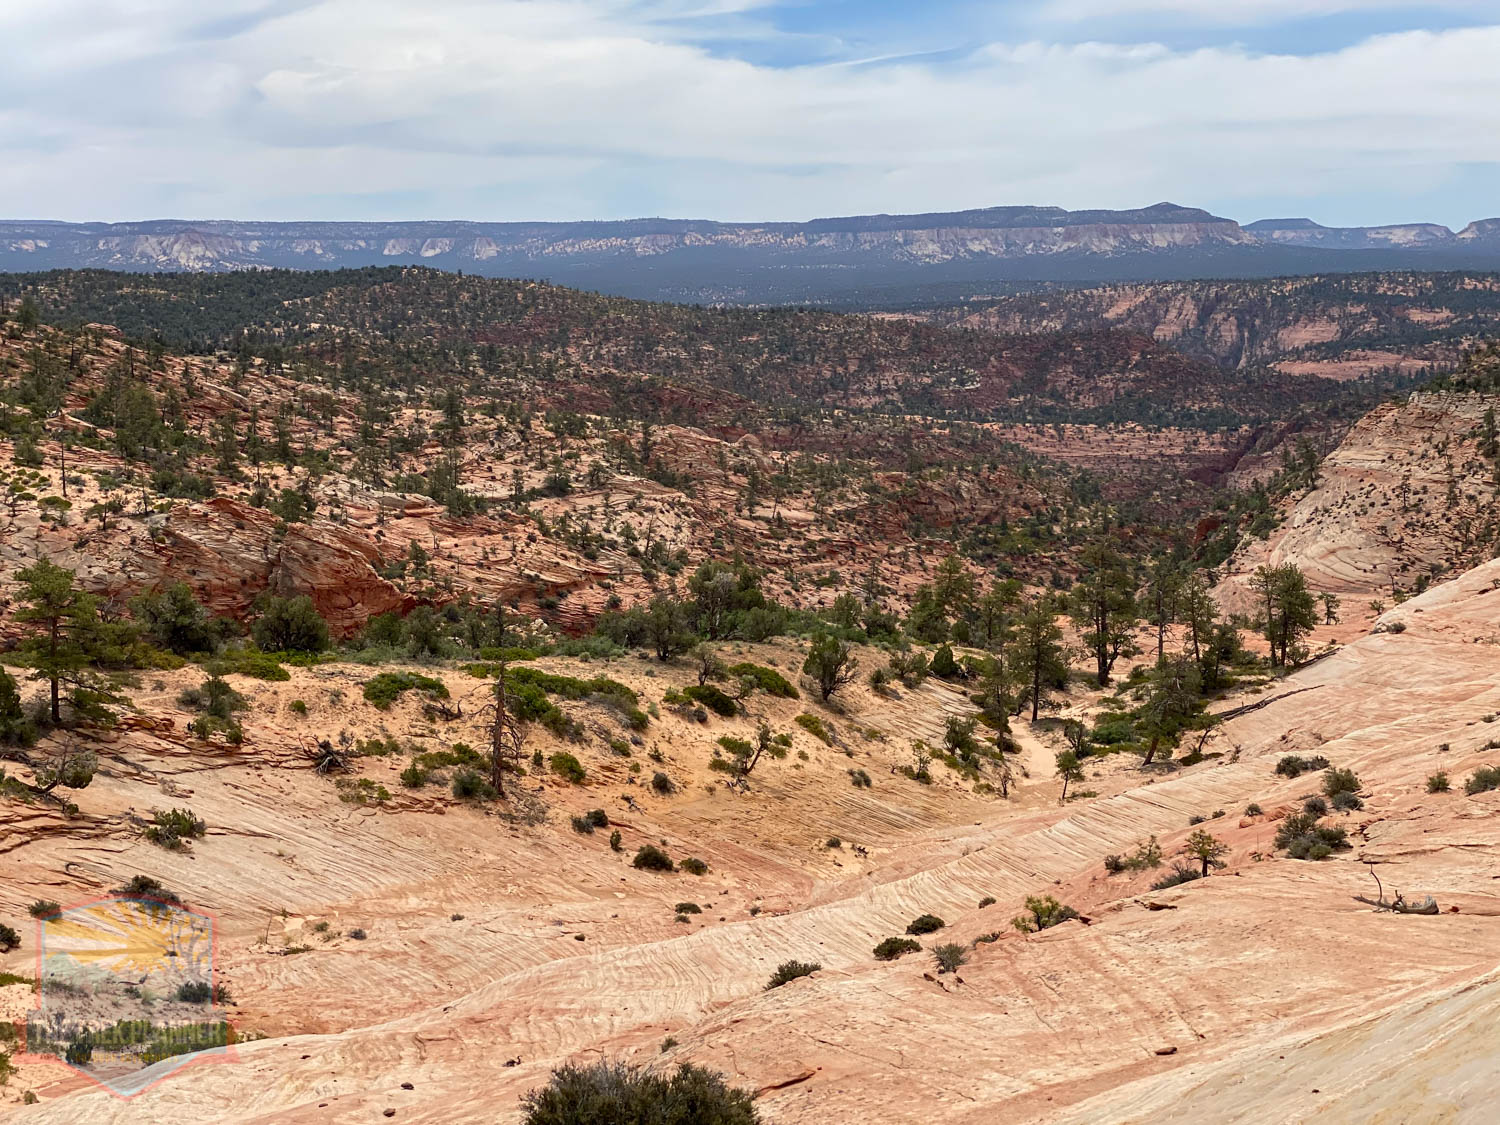
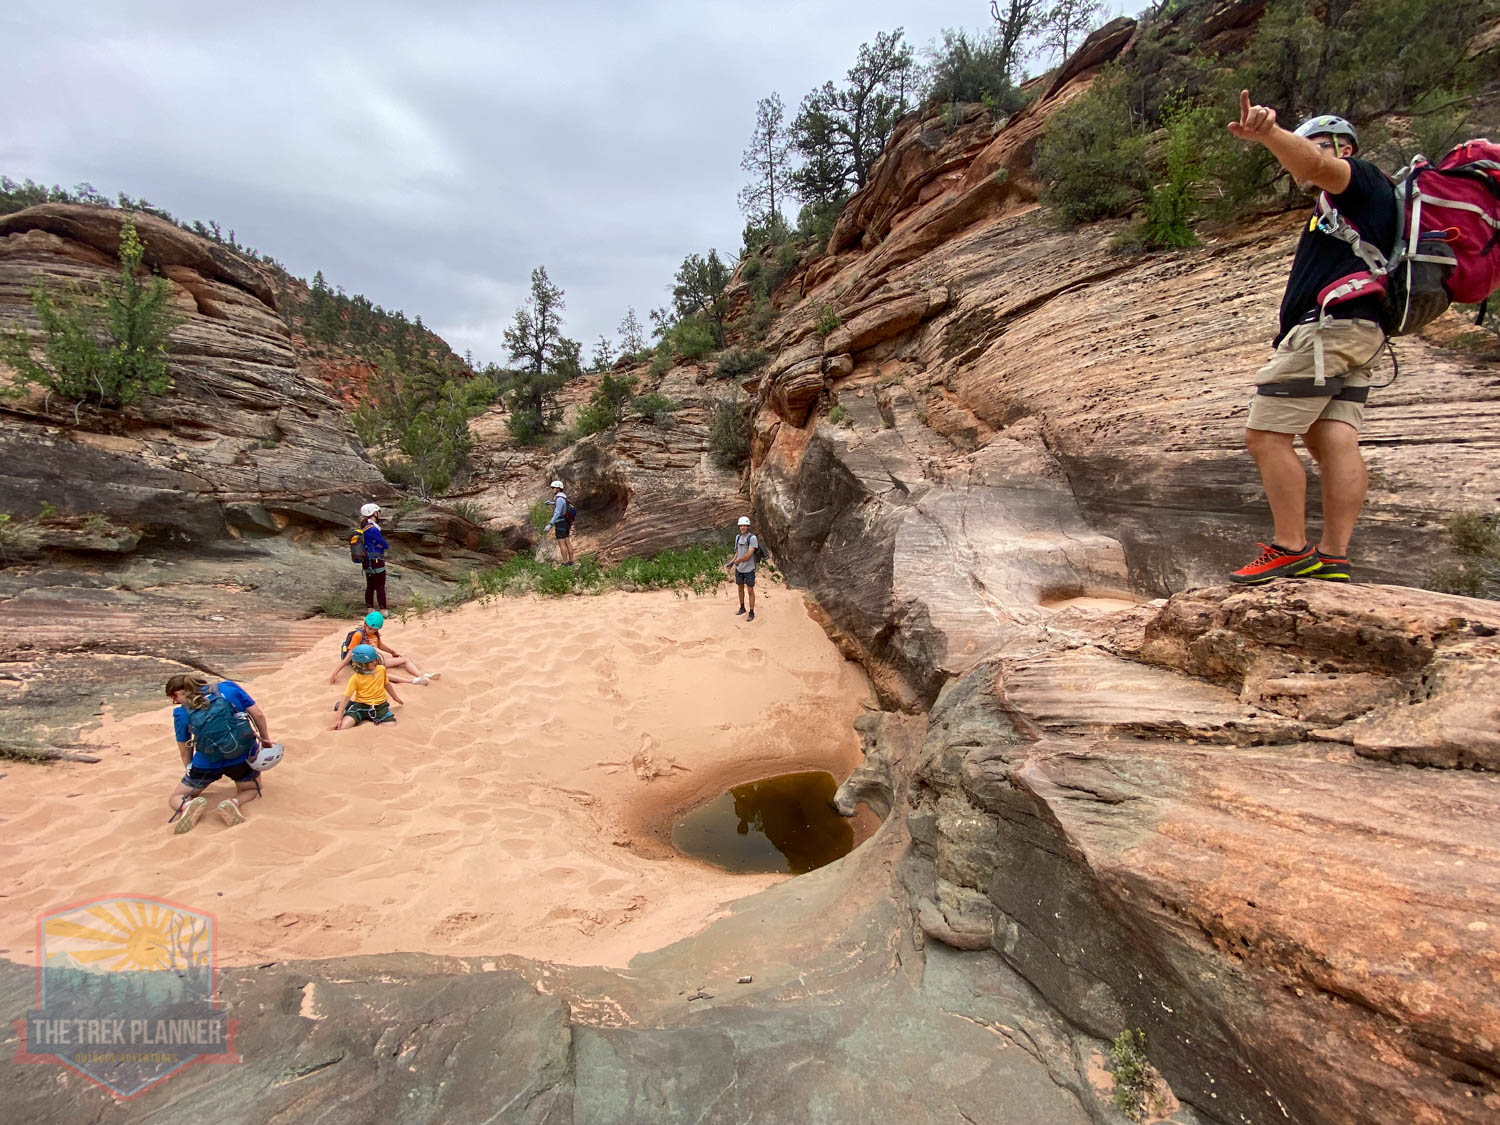
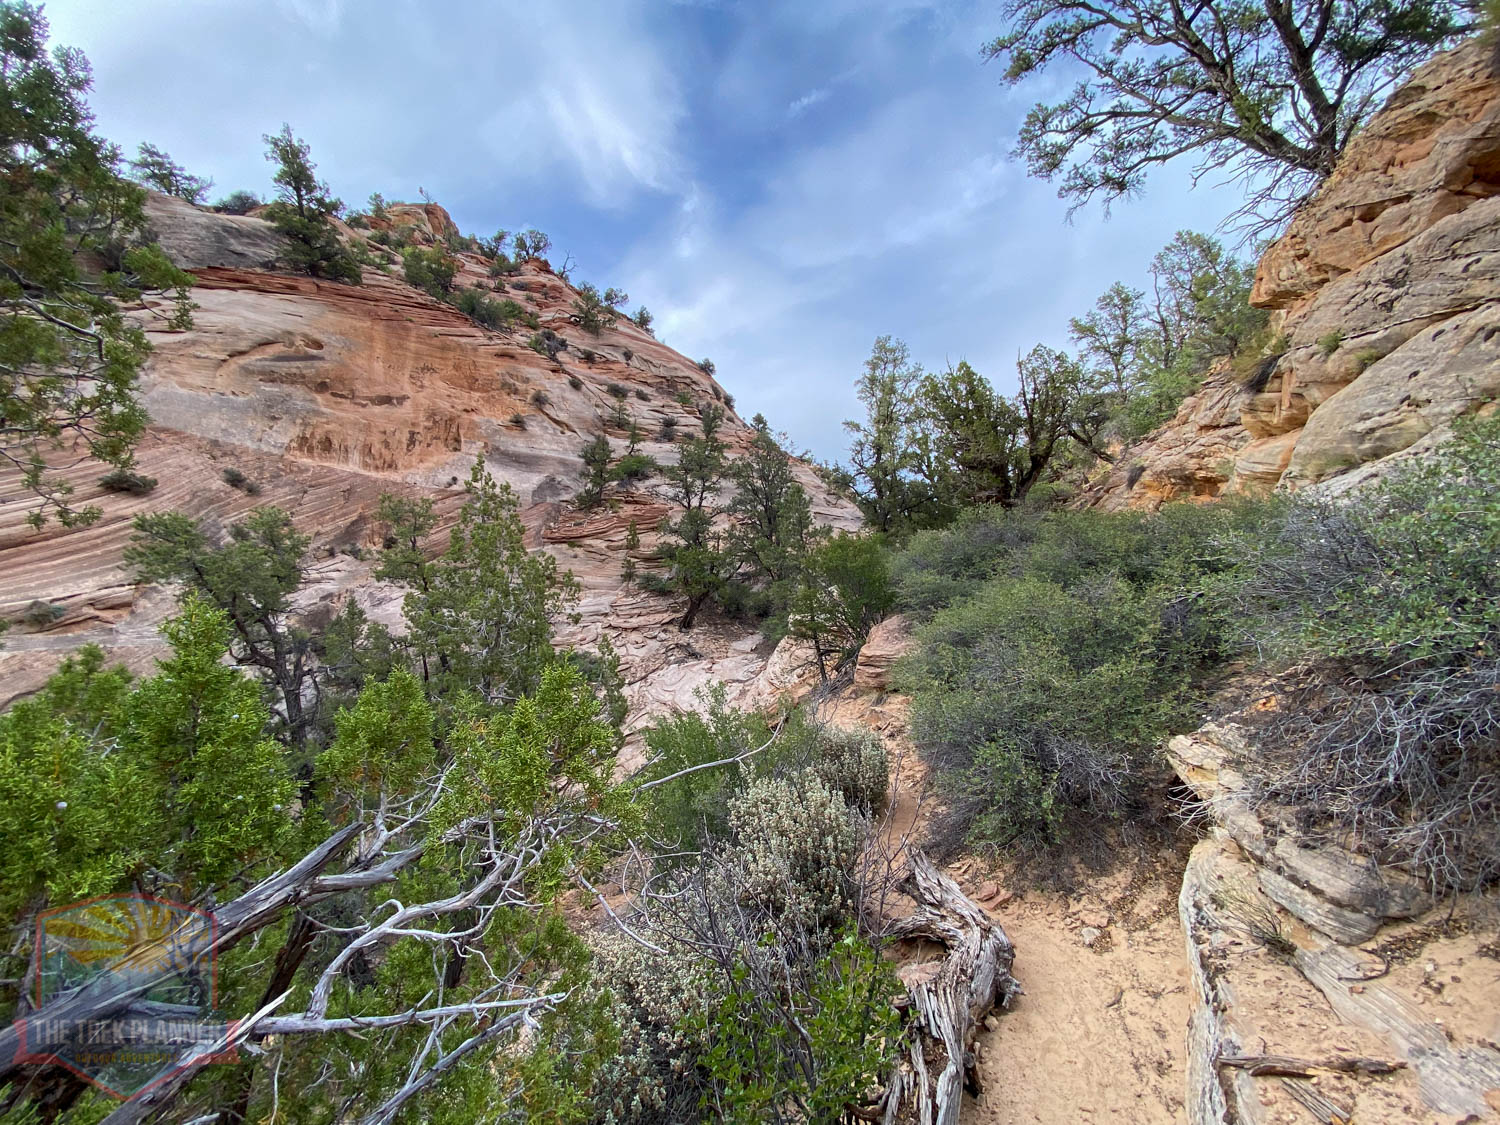
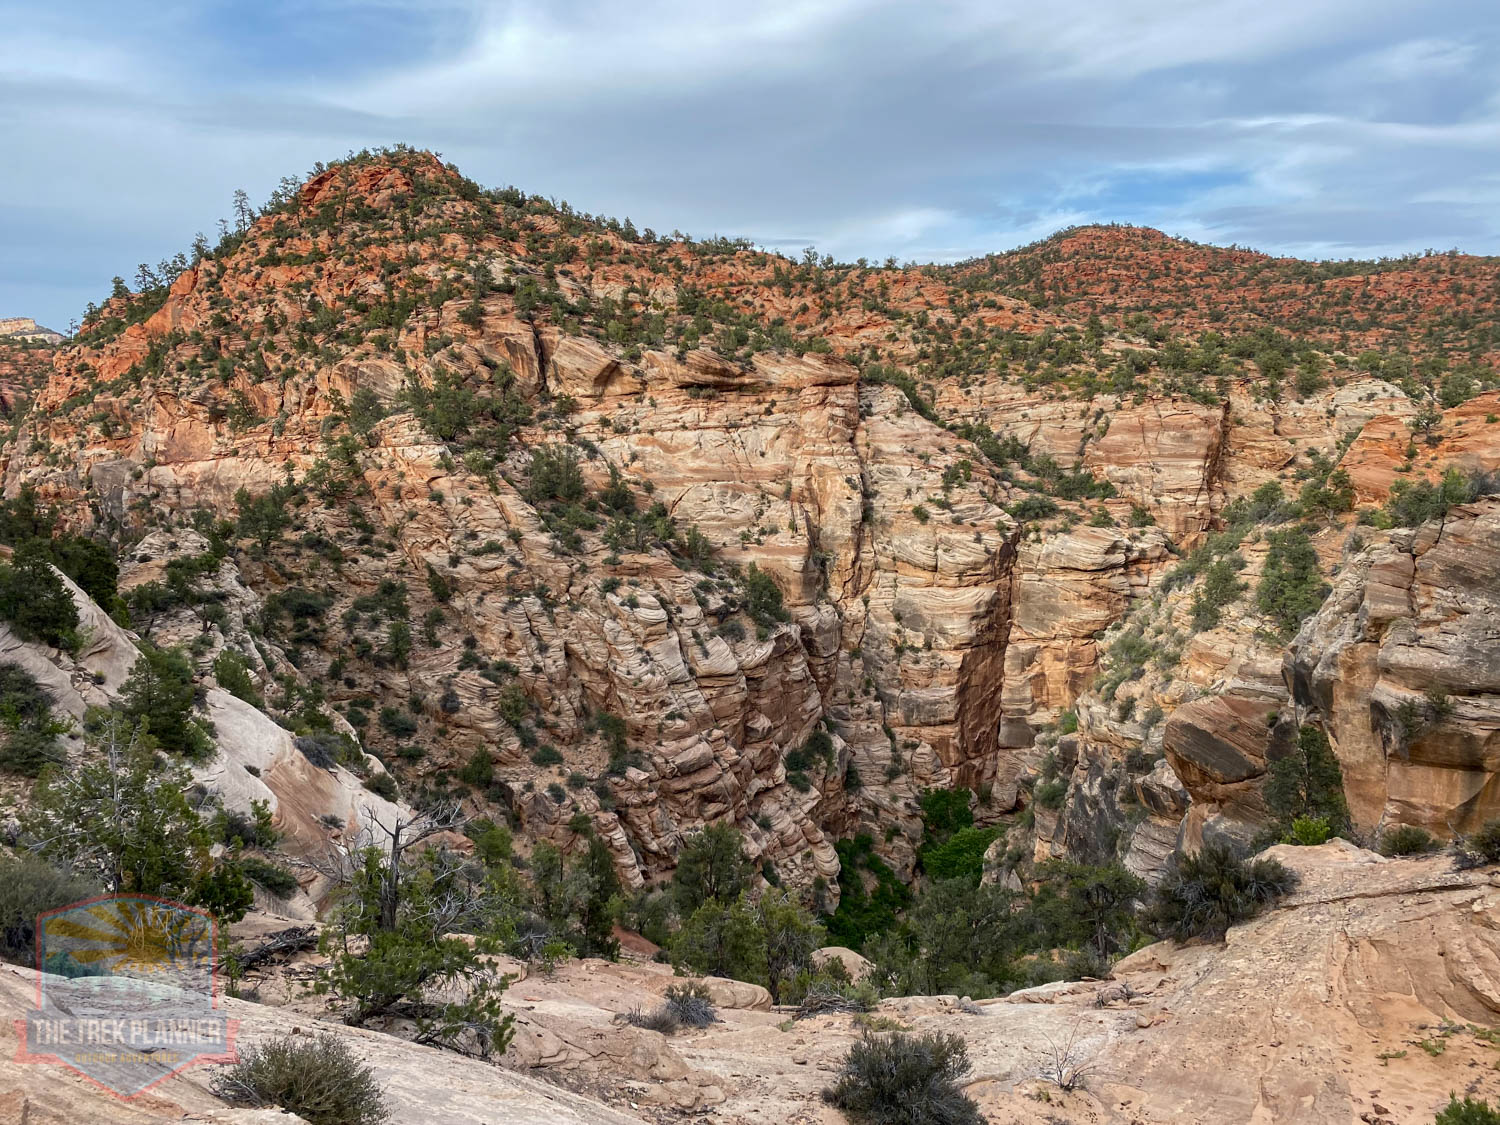
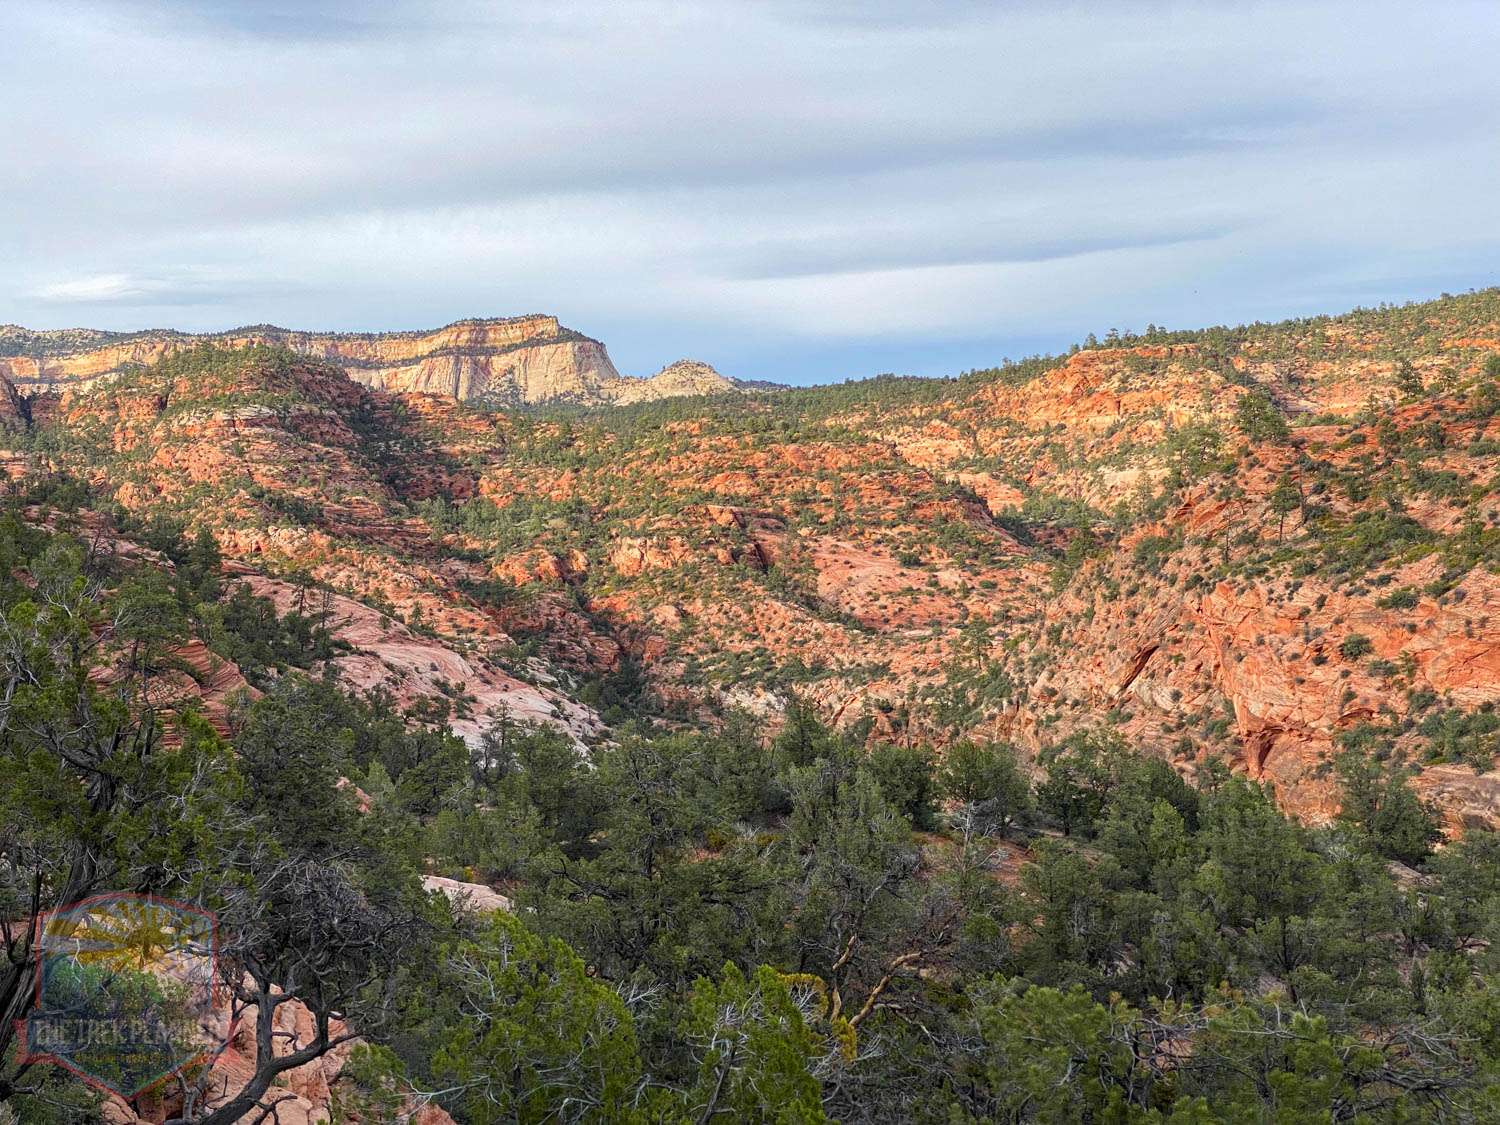
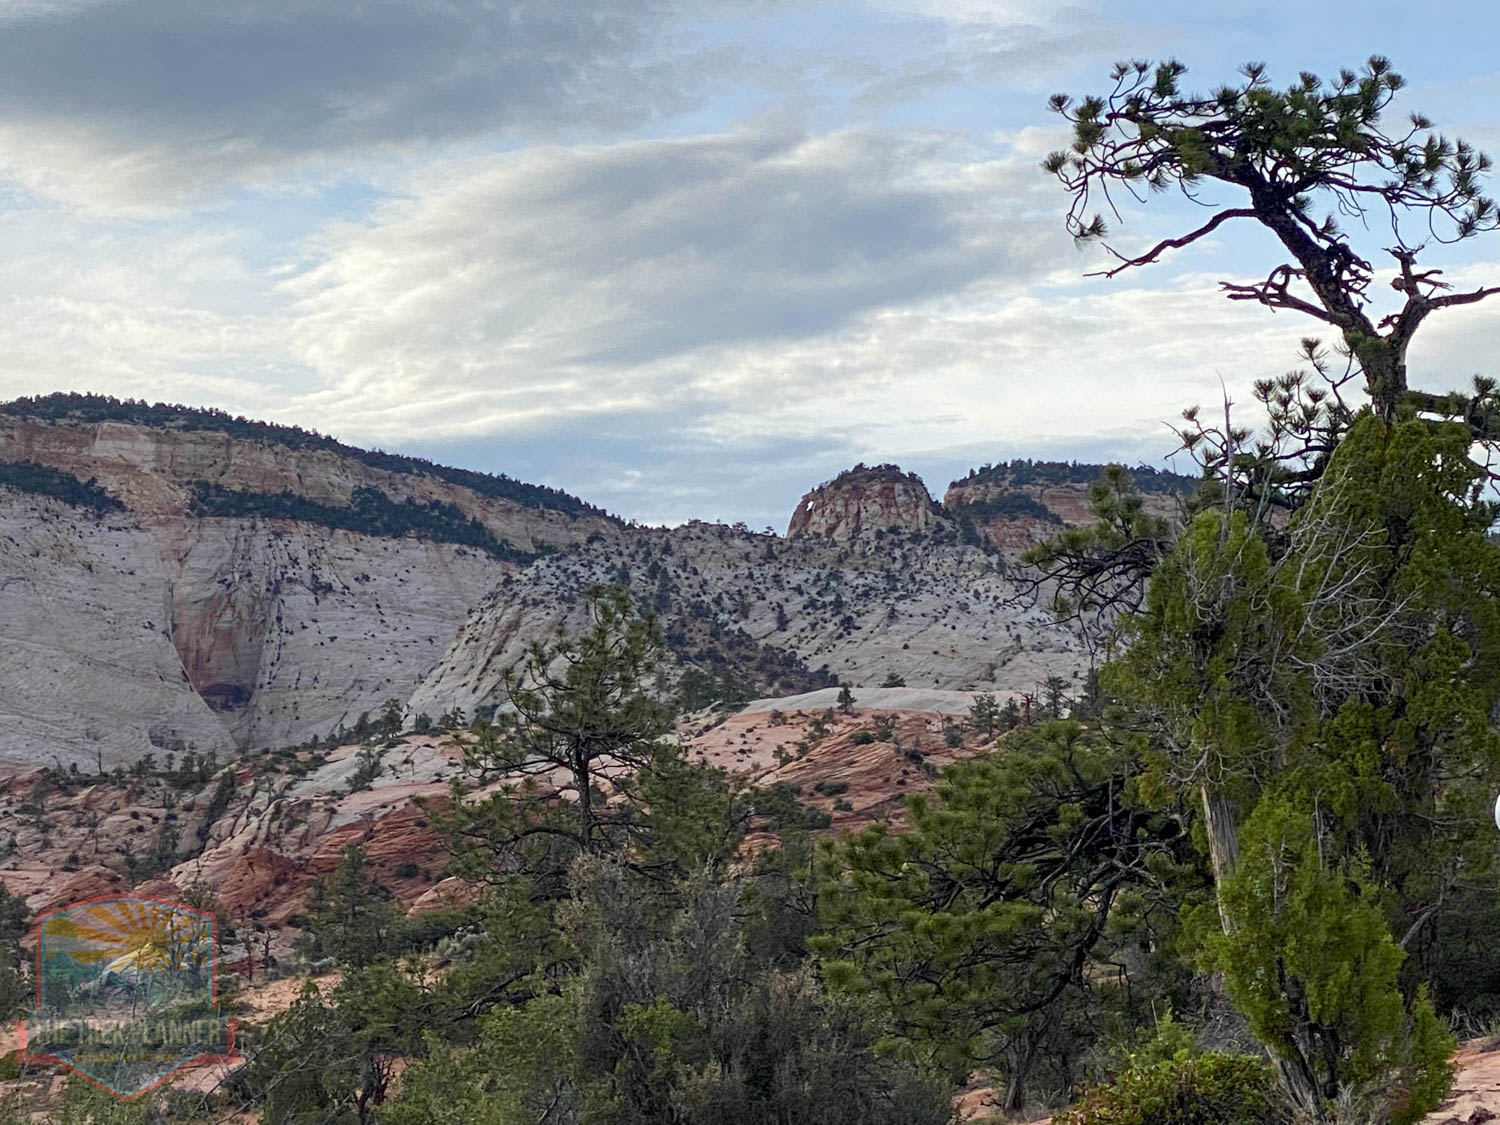
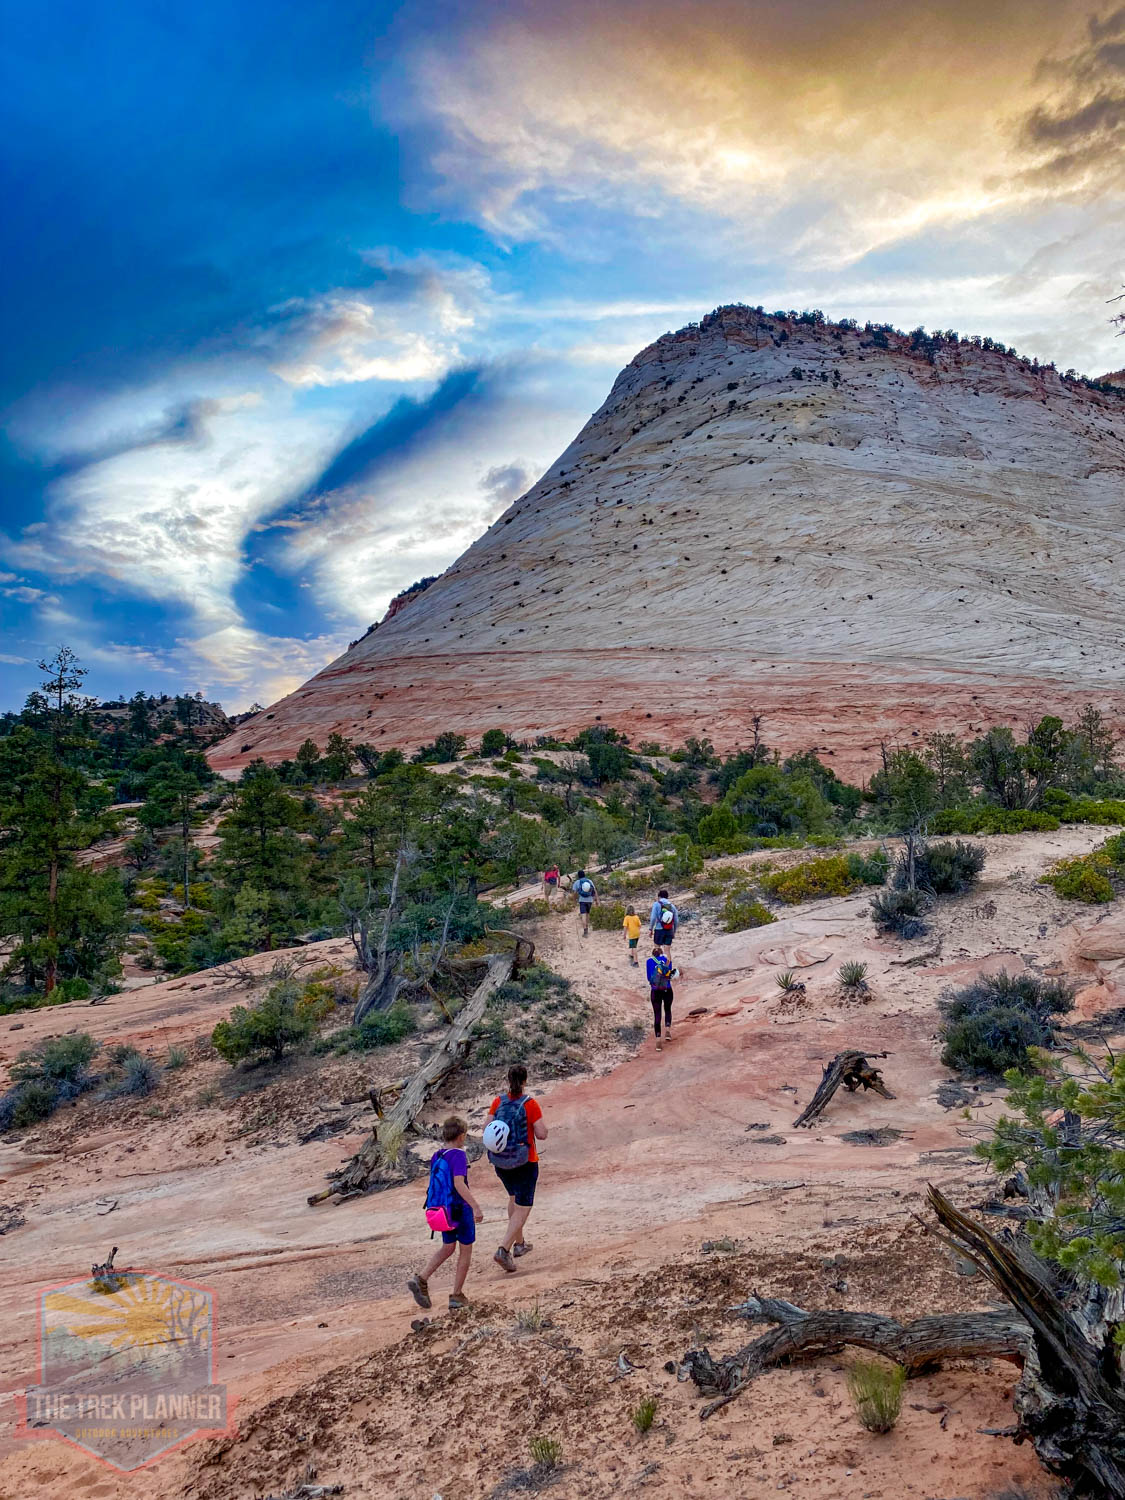
We took a break at the summit and then made the 1/2 mile hike until we were directly on the other side of Checkerboard mesa. This is such a beautiful place! I have never seen this part of Zion and it’s one I would love to explore more.
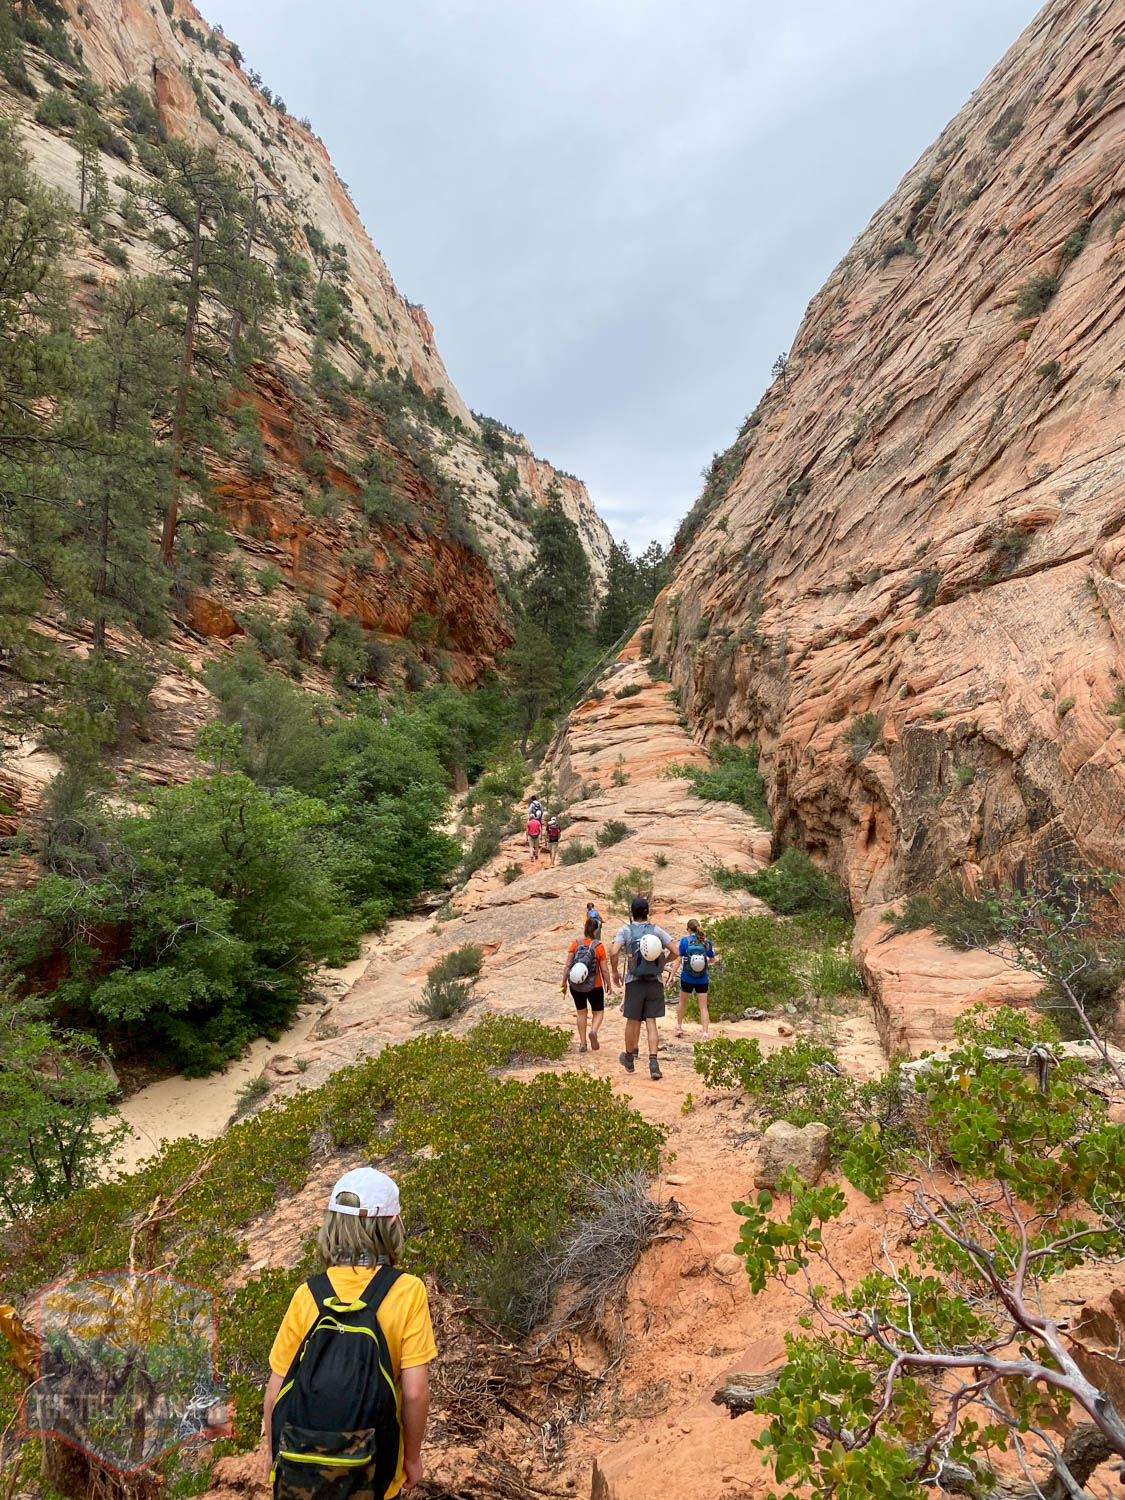
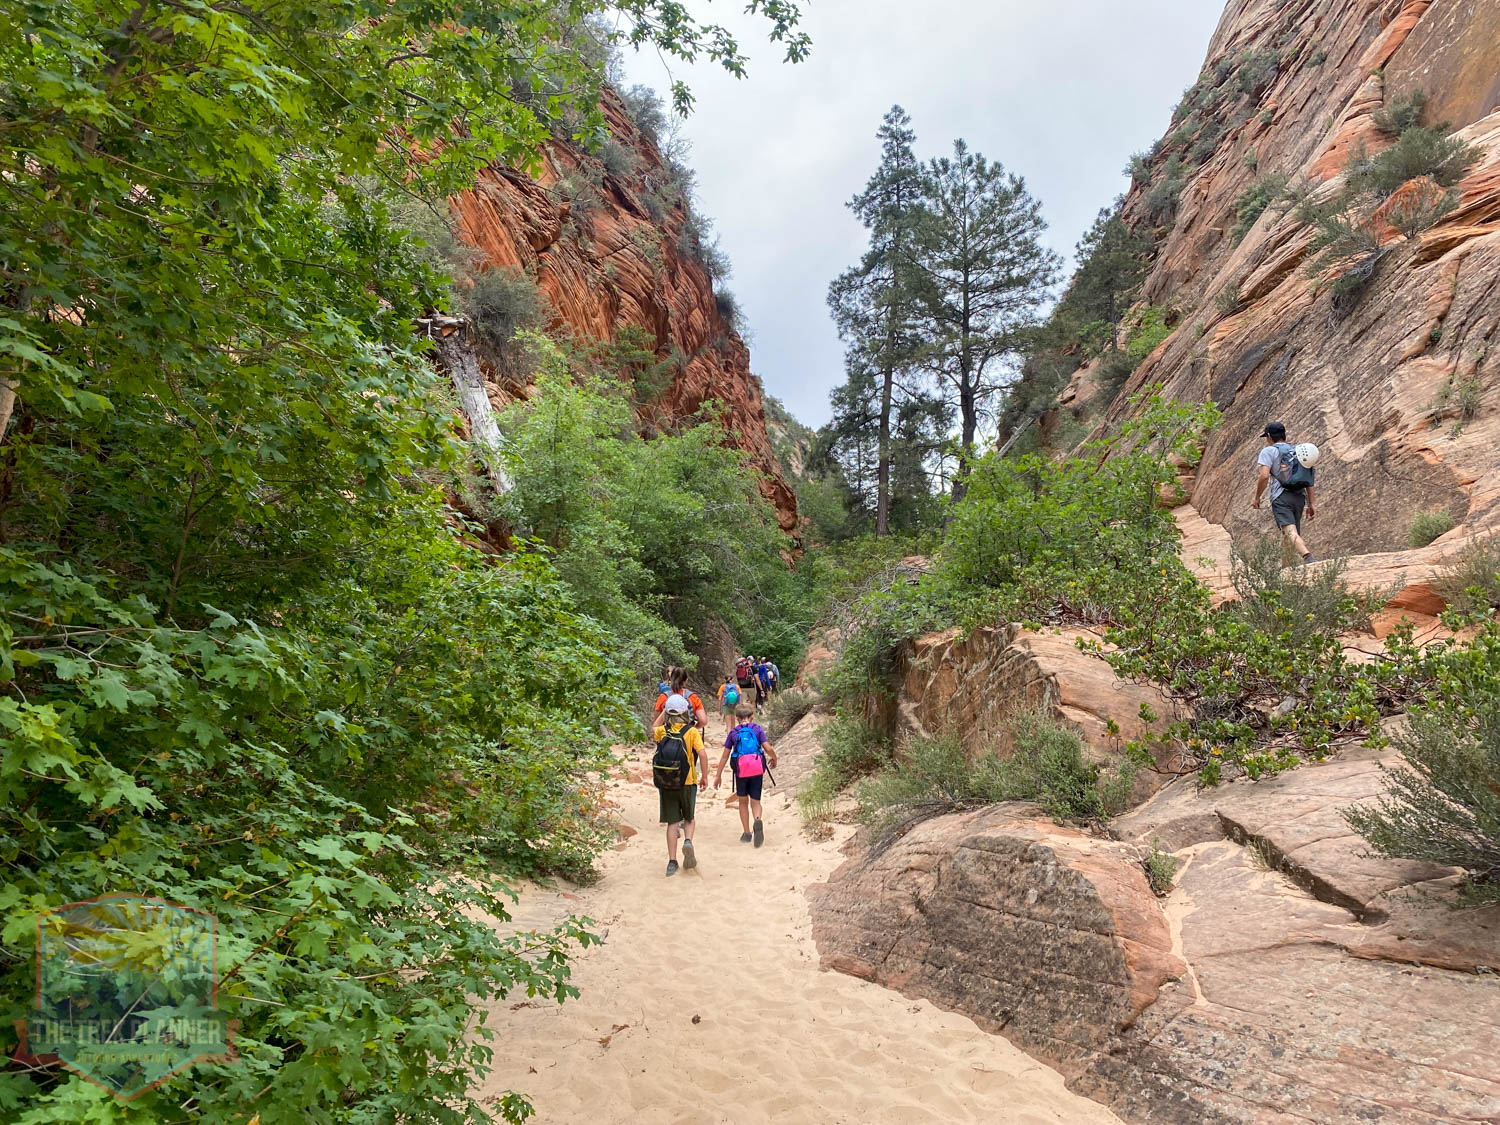
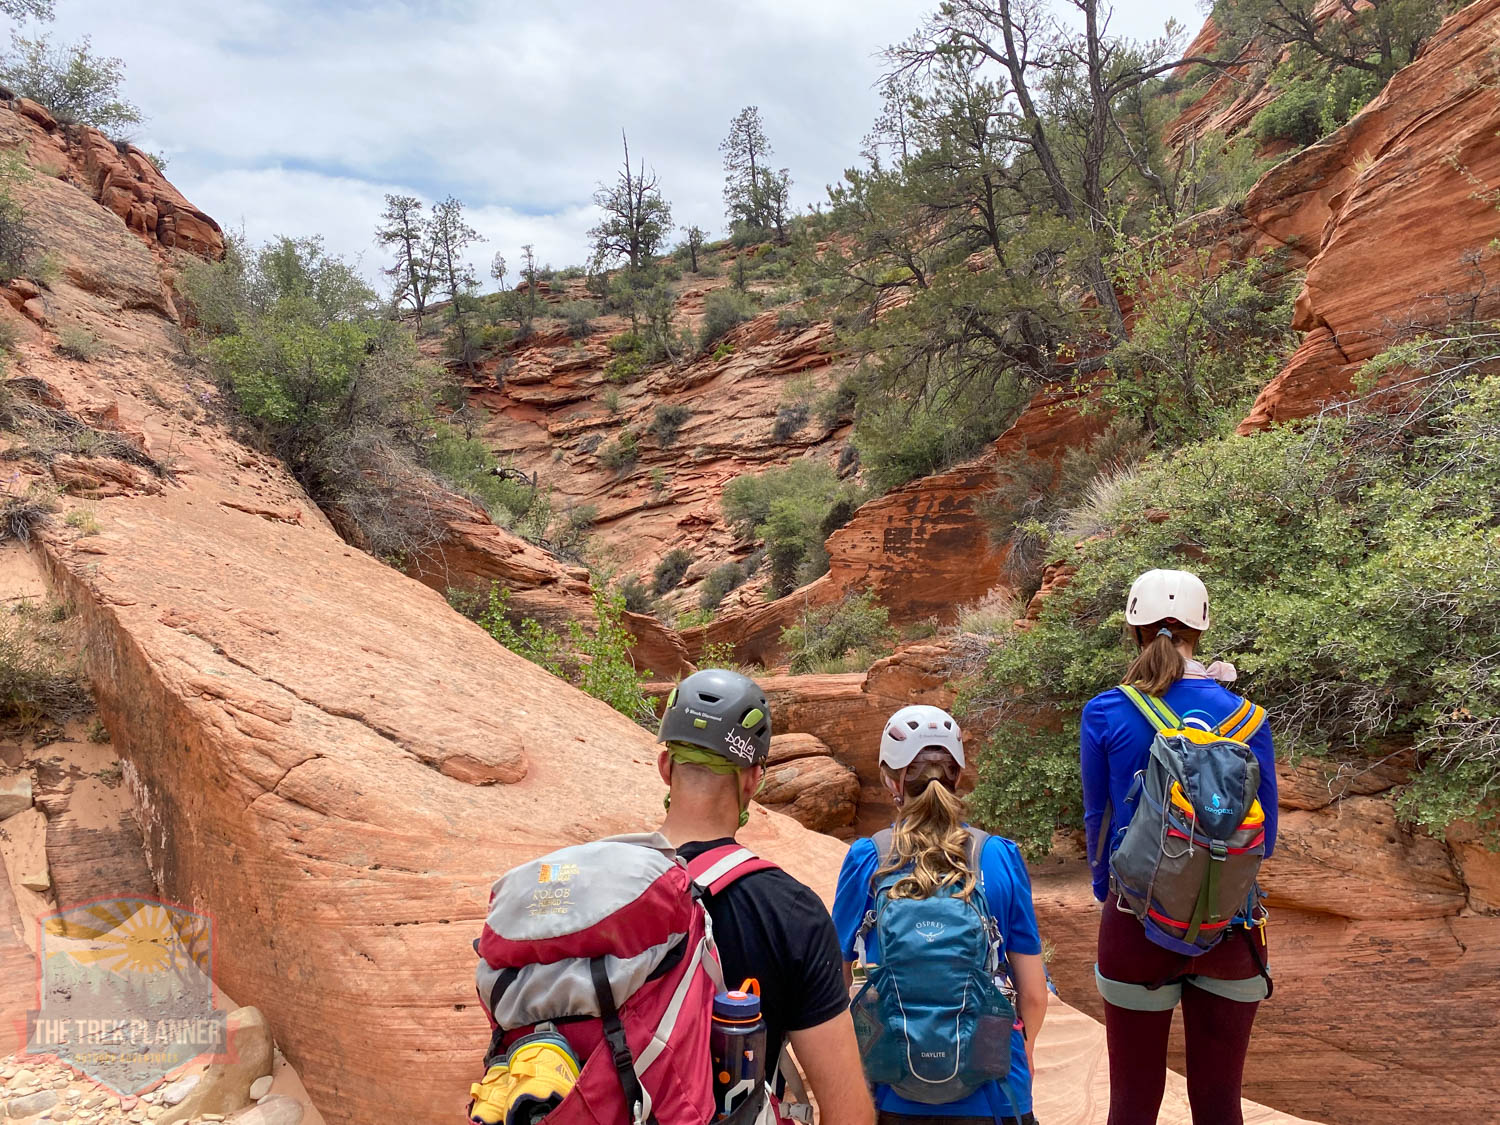
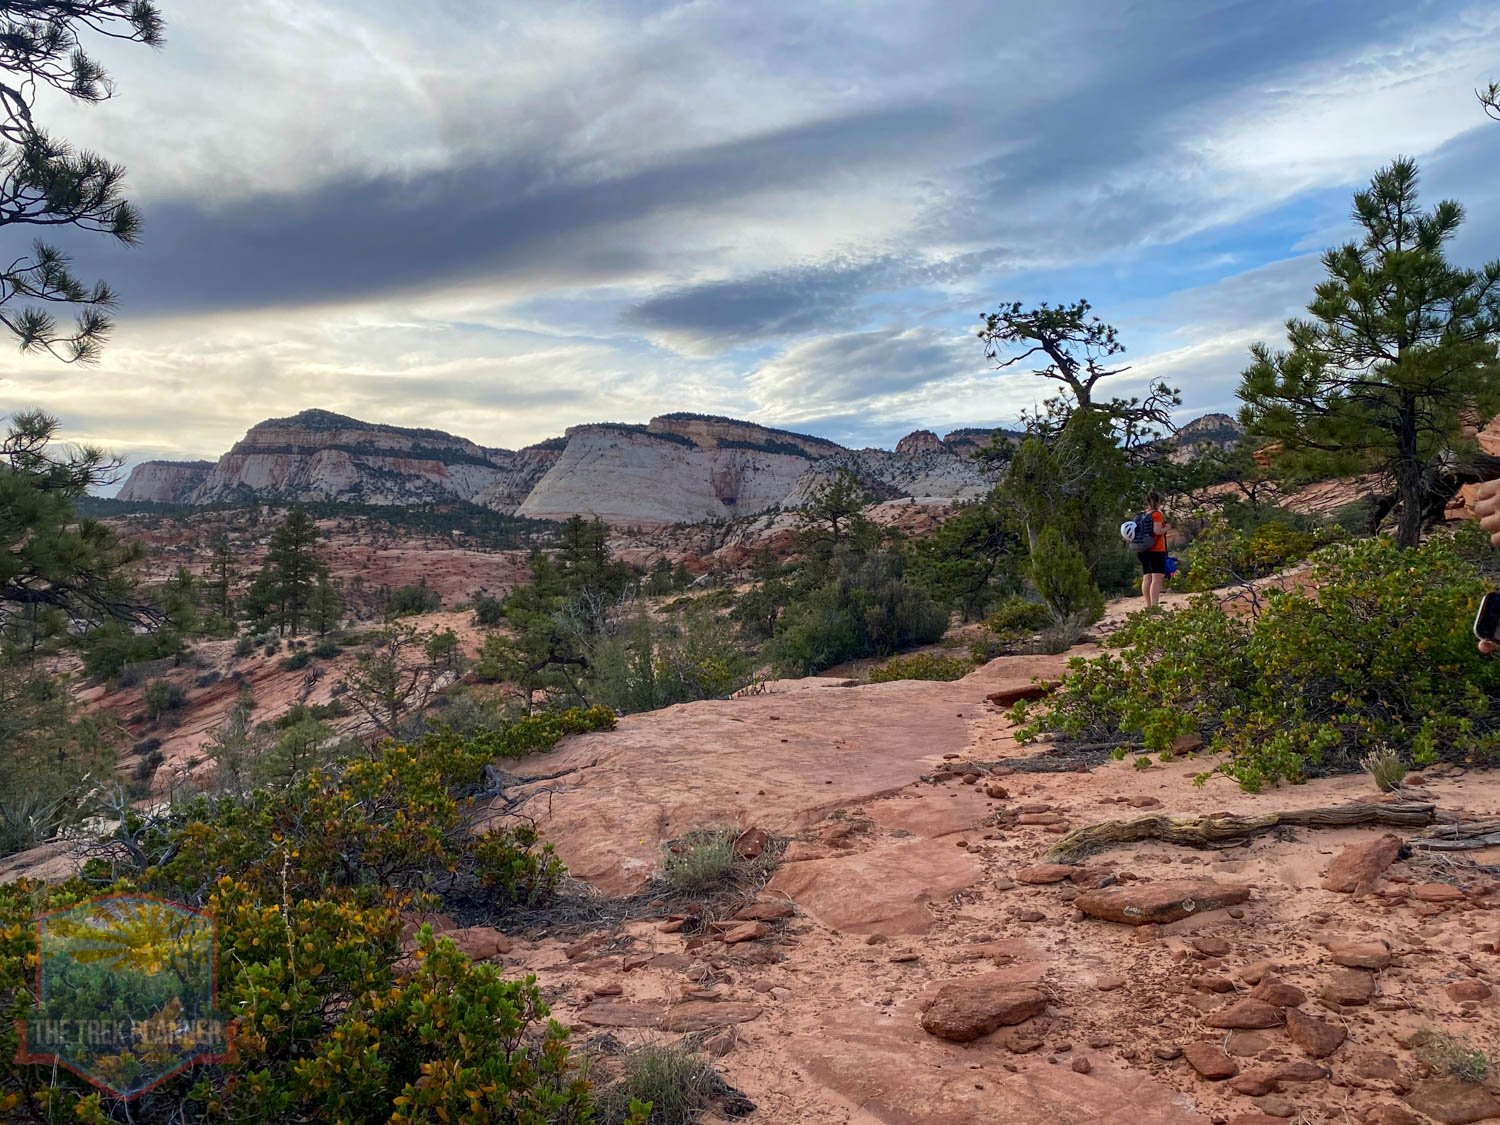
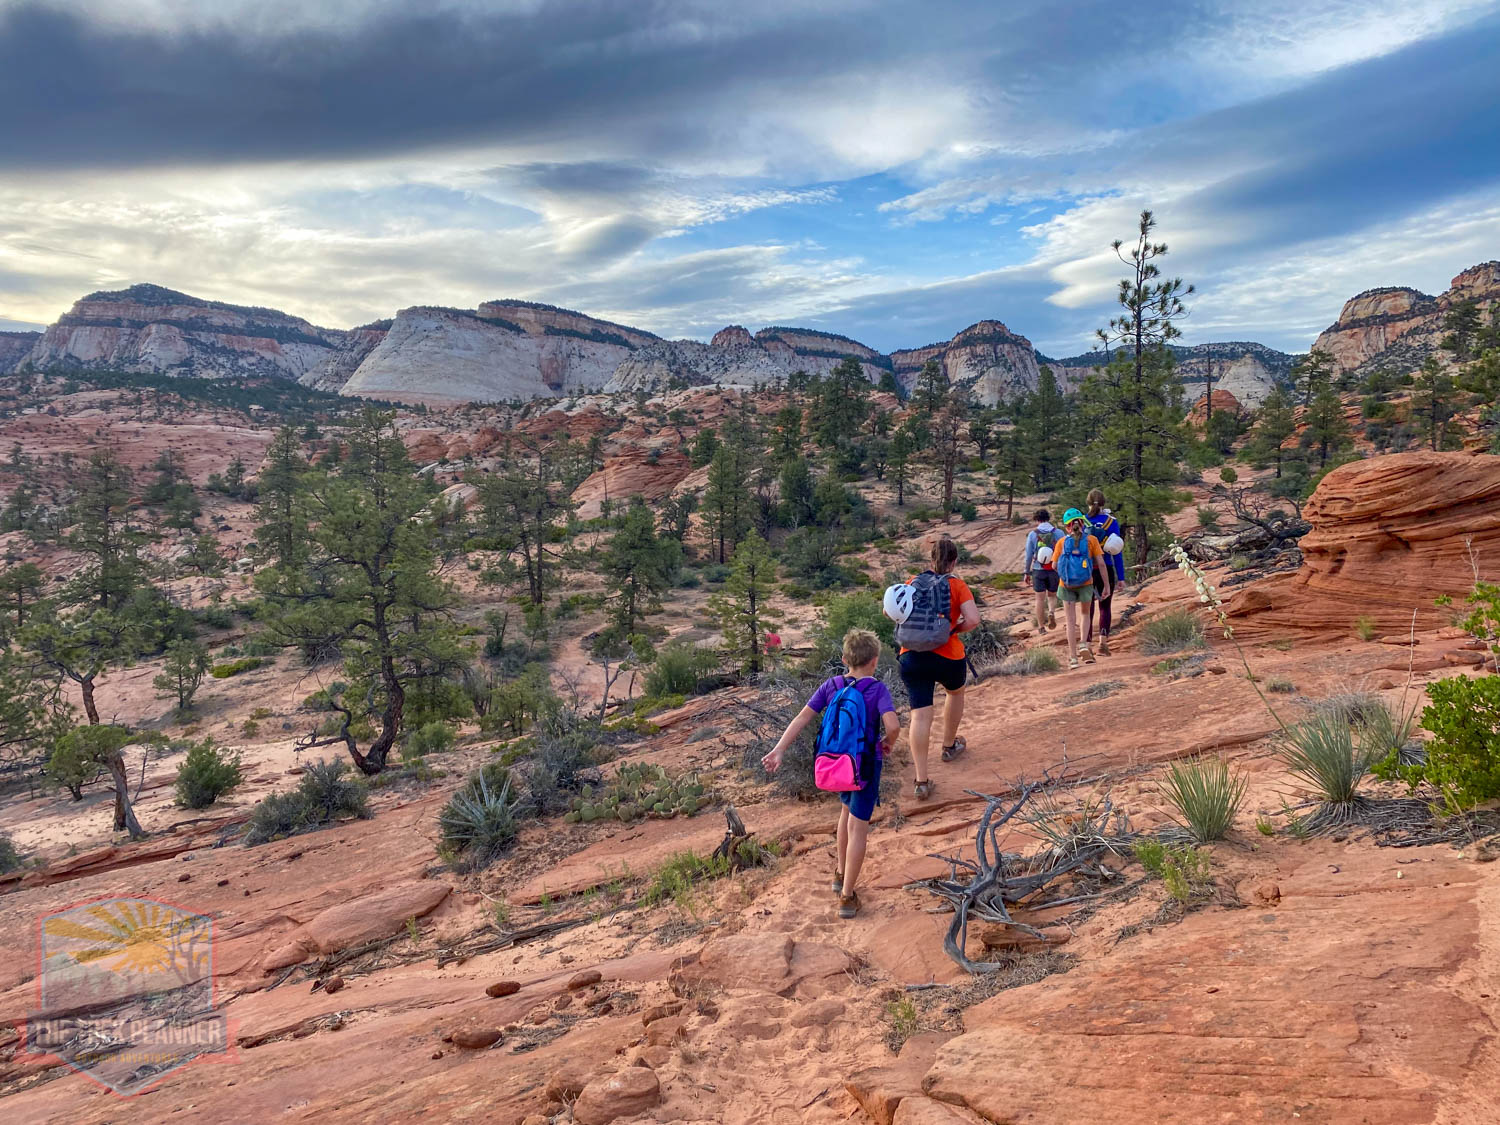
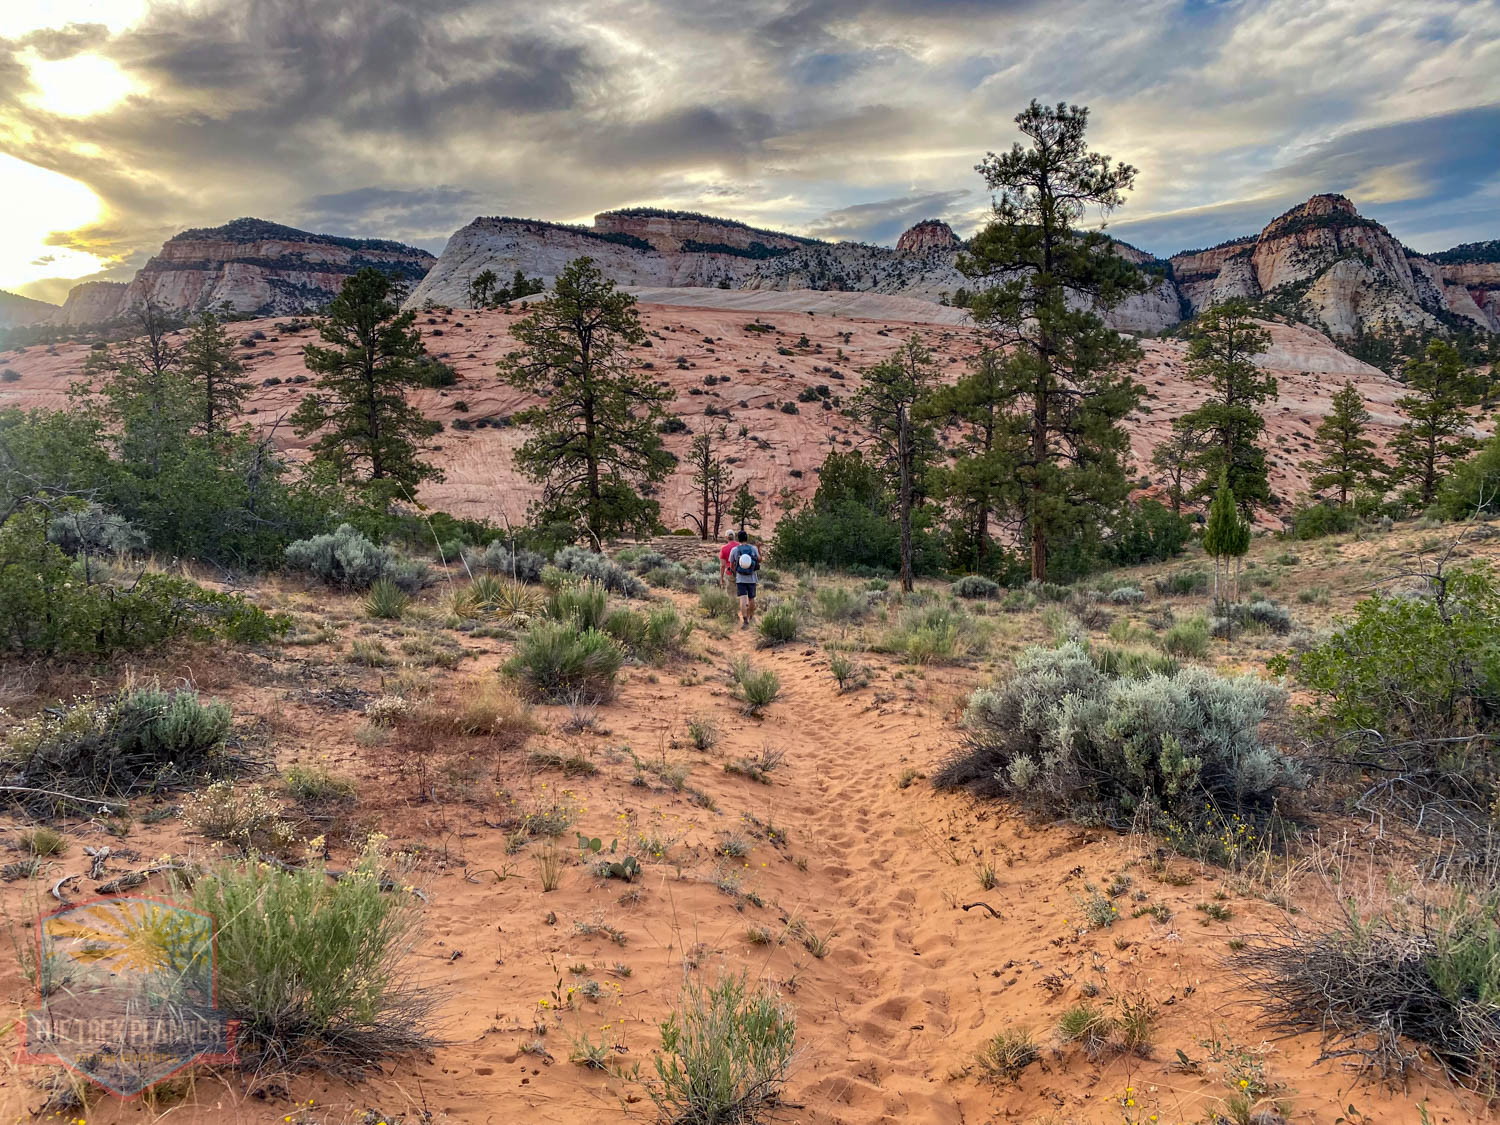
We still had about 1.88 miles until we hit the 3.5 mile marker, which is where the first rappel and slot canyon section are location.
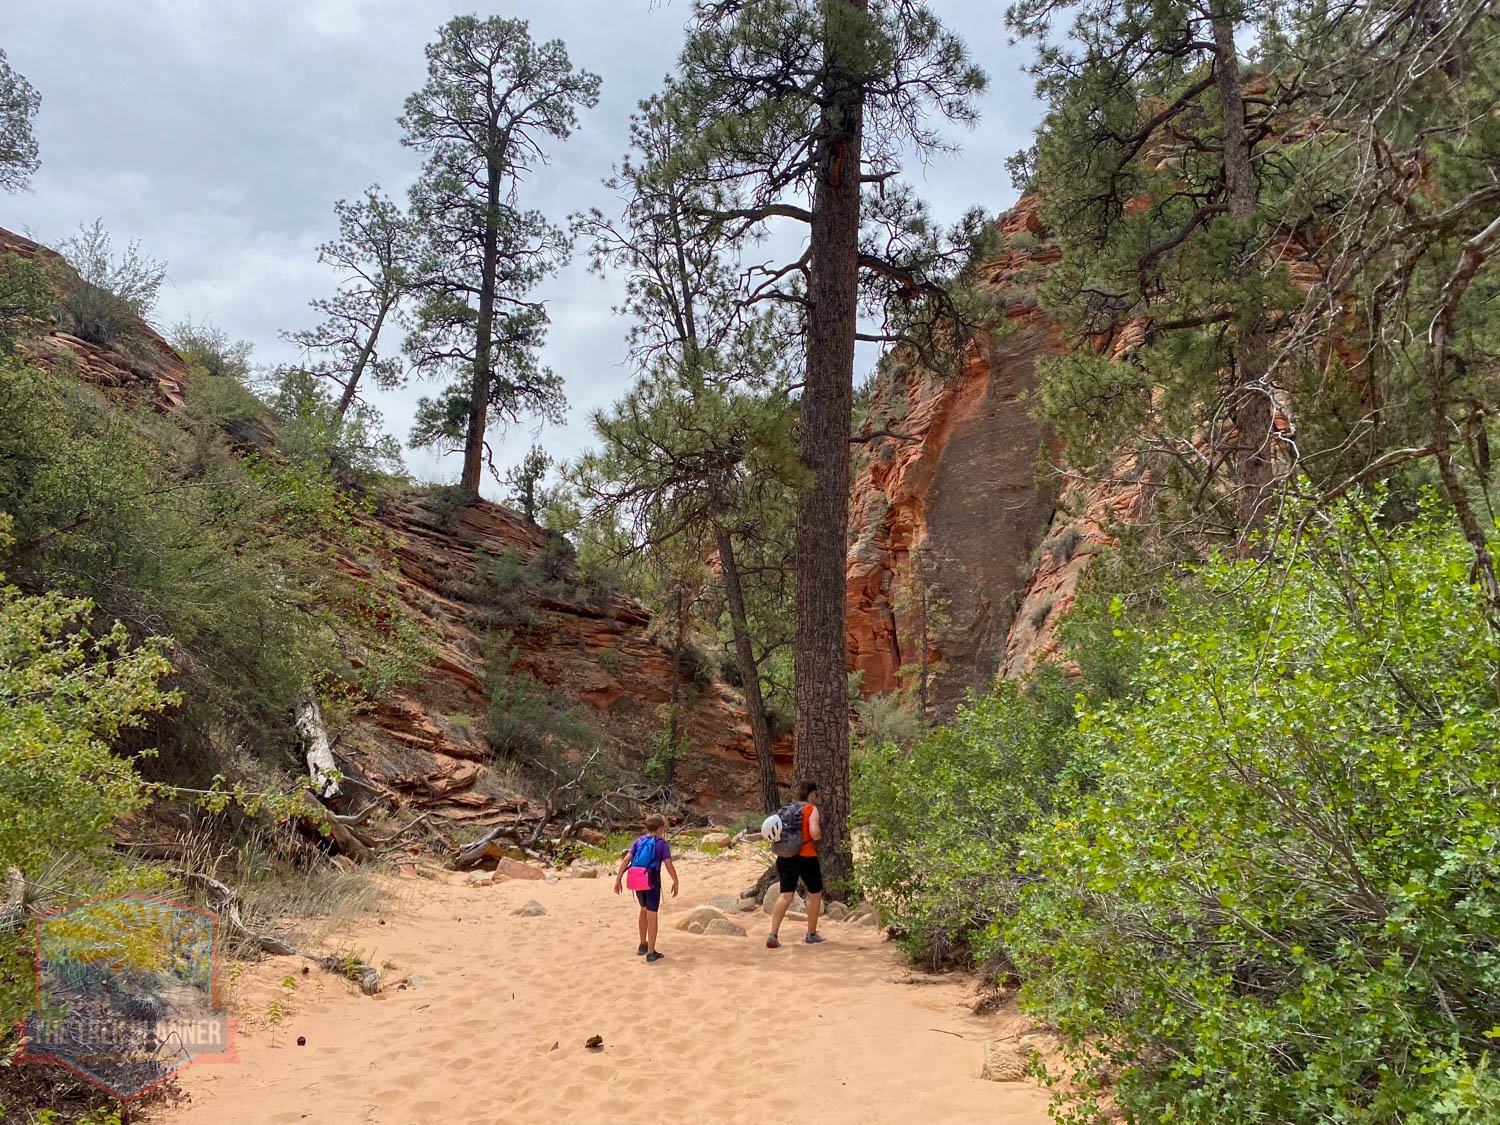
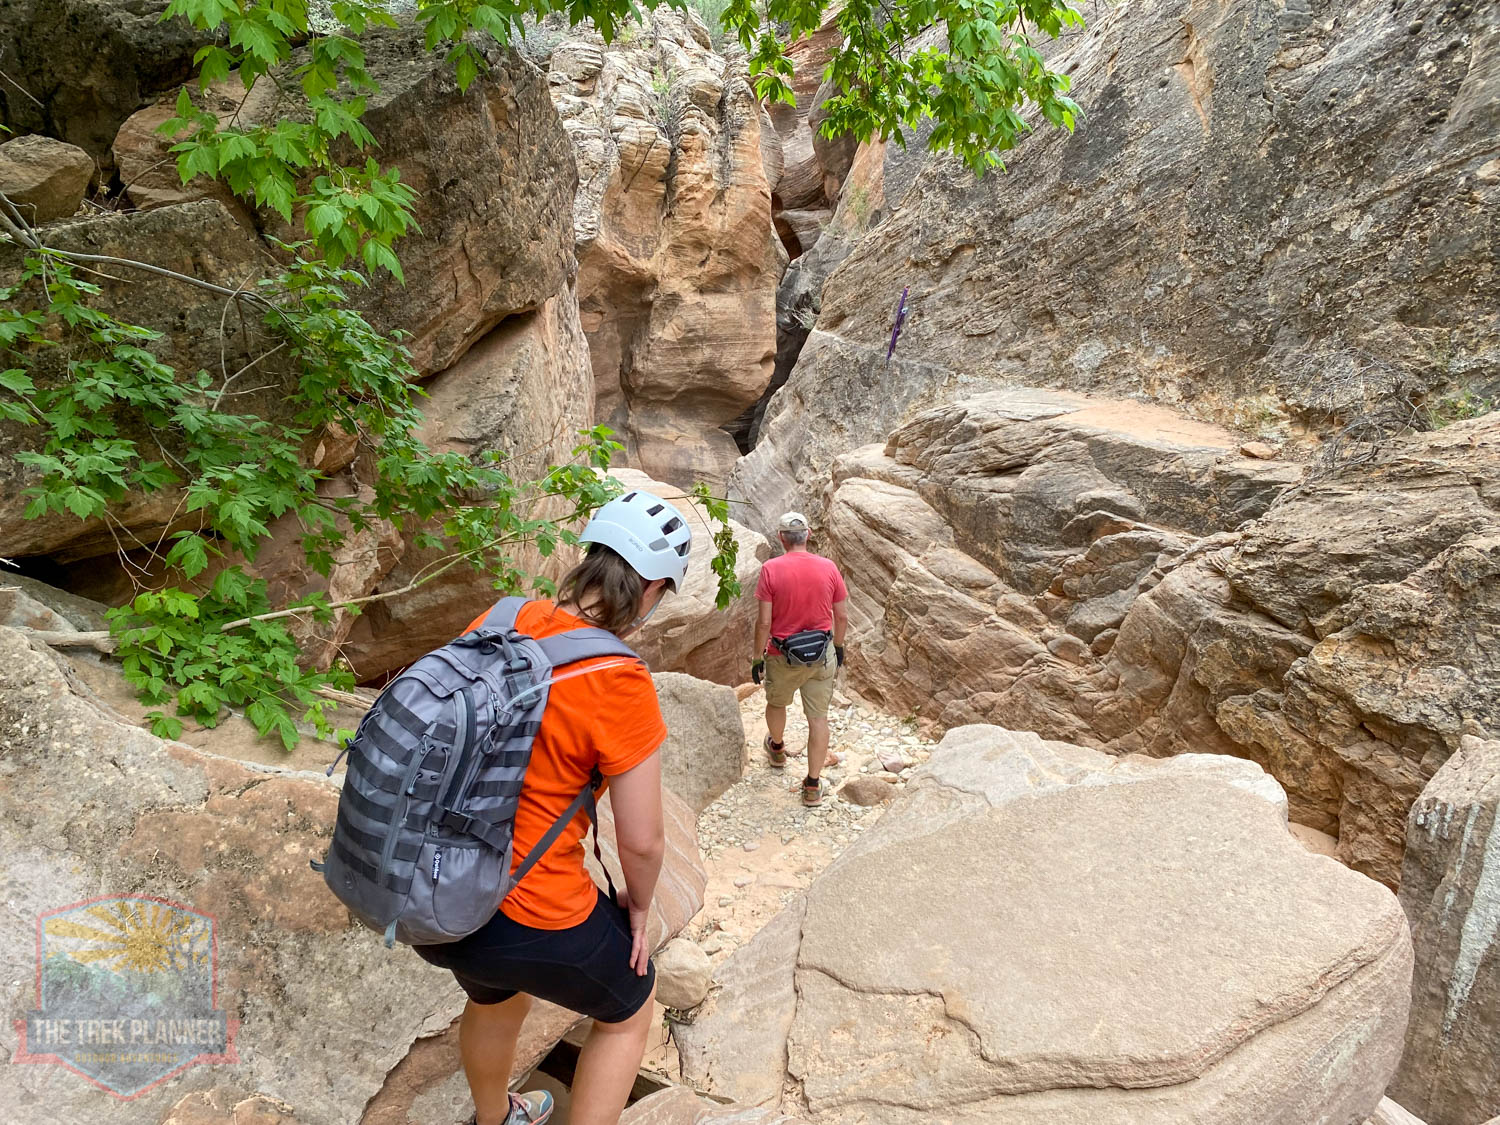
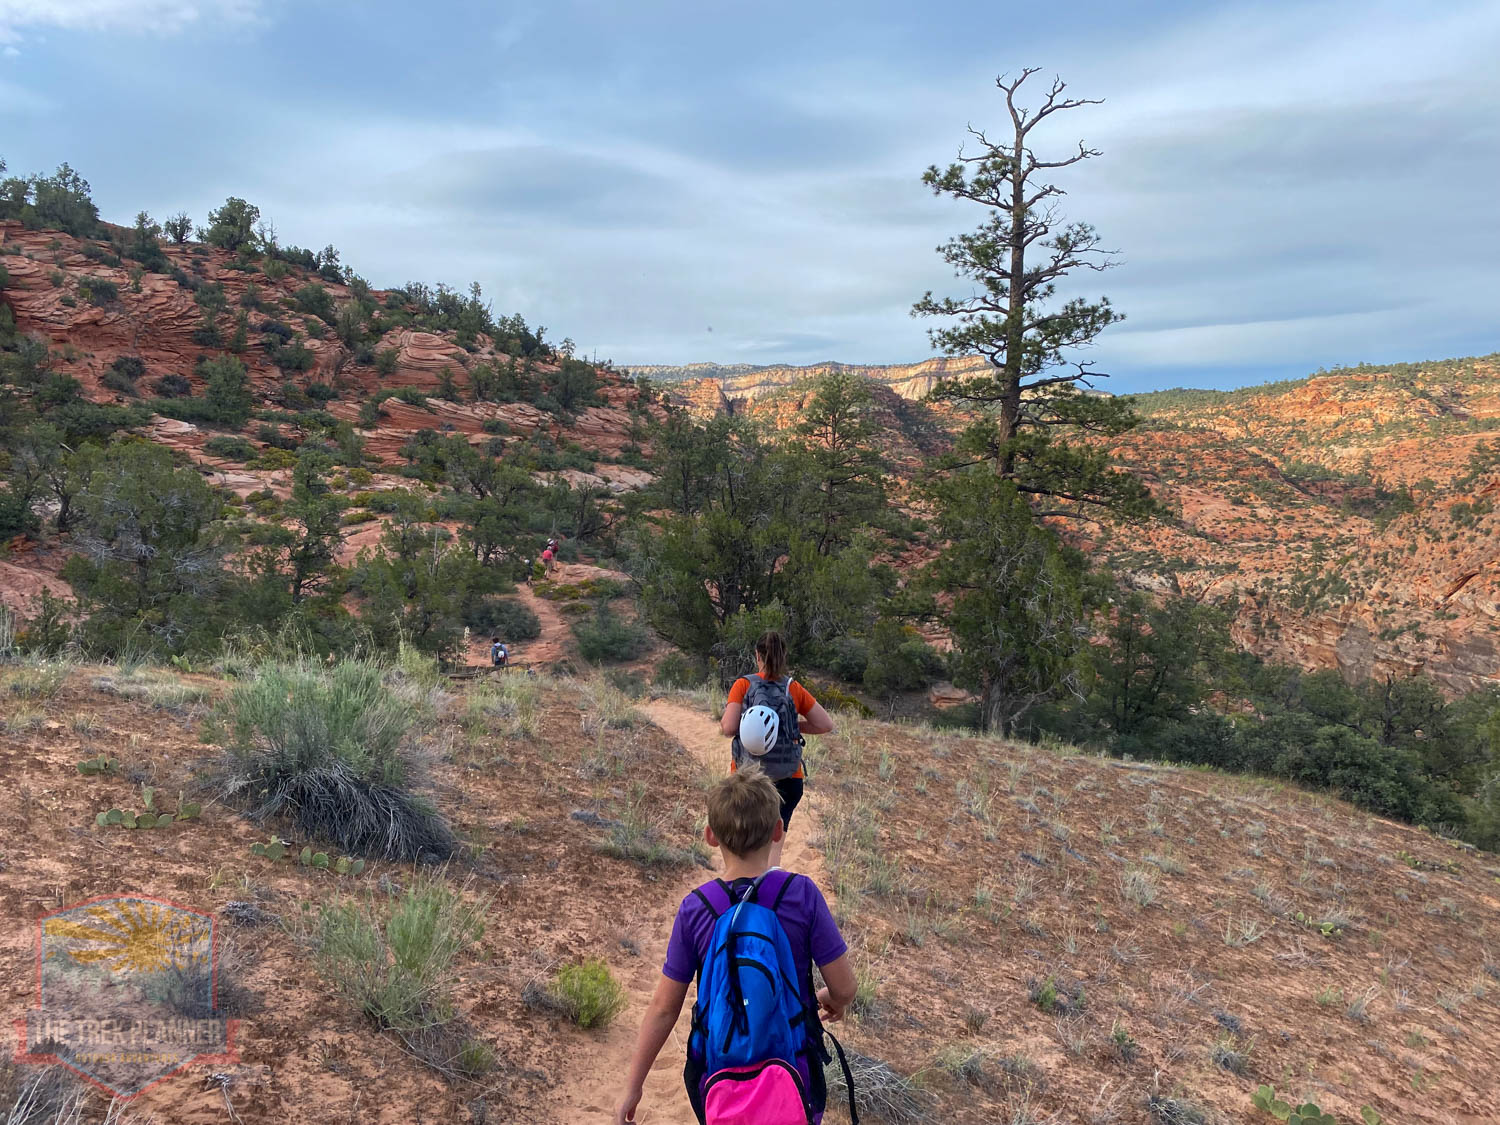
But, before the first rappel, we followed a narrow trail going up and down hills inching our way closer. We discovered that there are multiple “correct” trails to take, so feel free to download my map so you can follow in our footsteps. Depending on the trail you take, you could shave off a little bit of time.


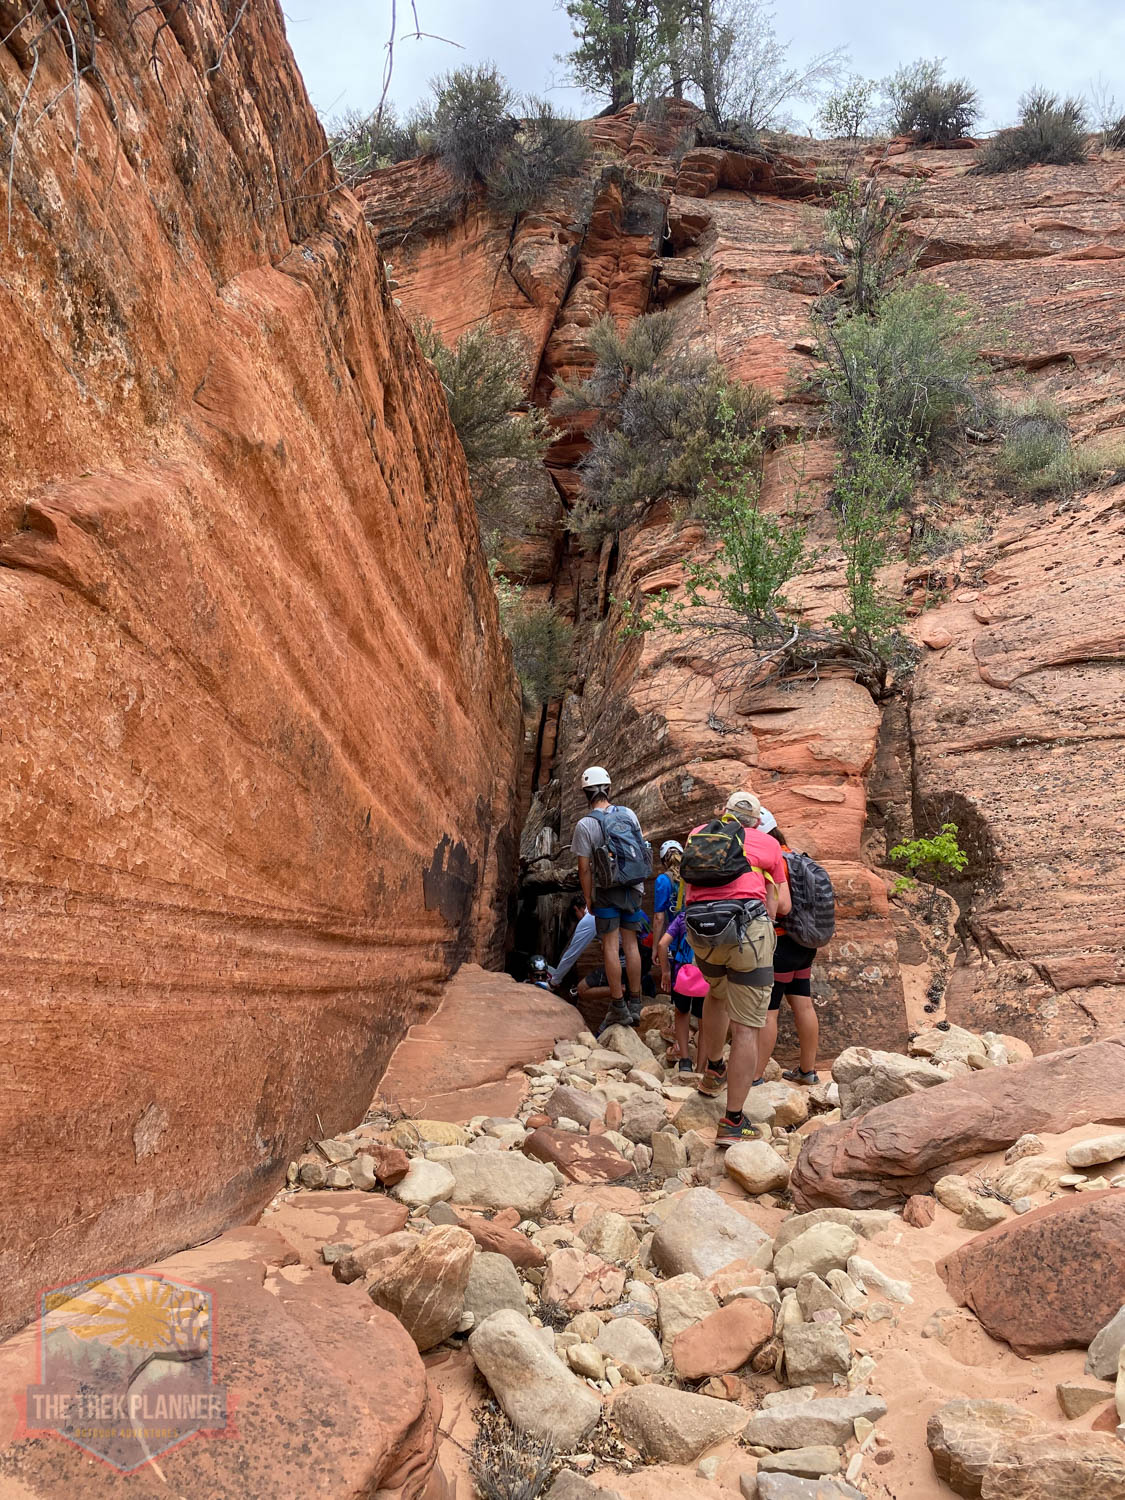
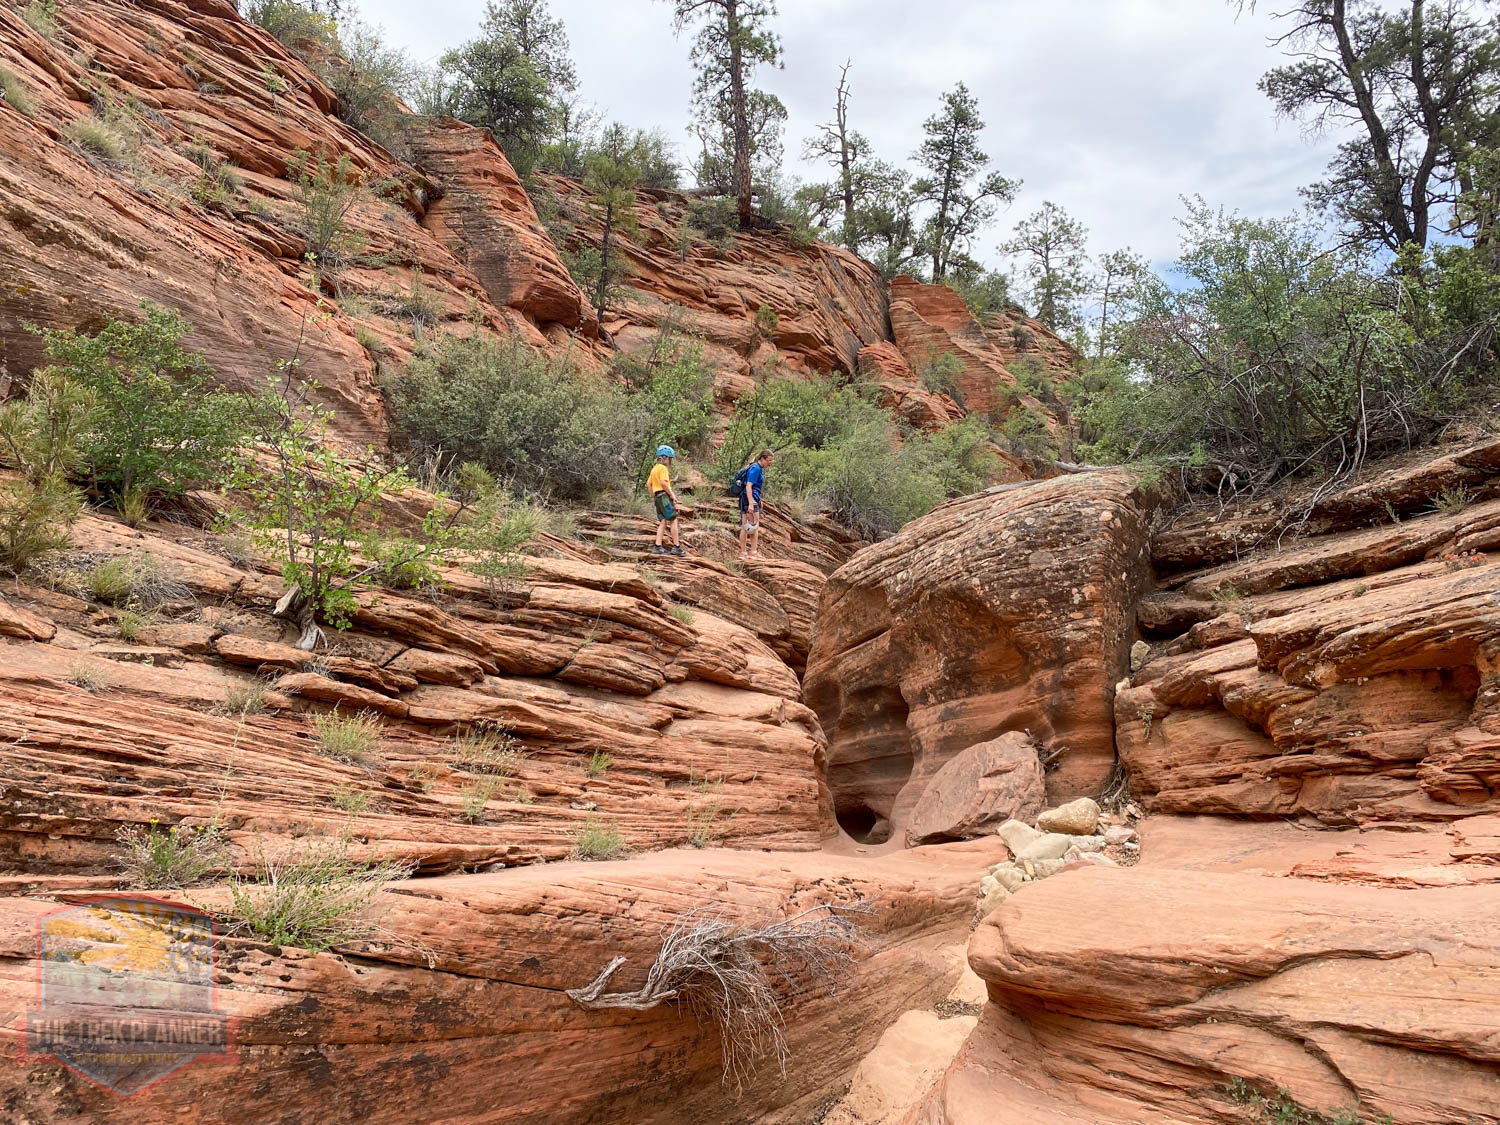
We kept losing elevation until we came to another wash. We followed this wash until we got to the first rappel.
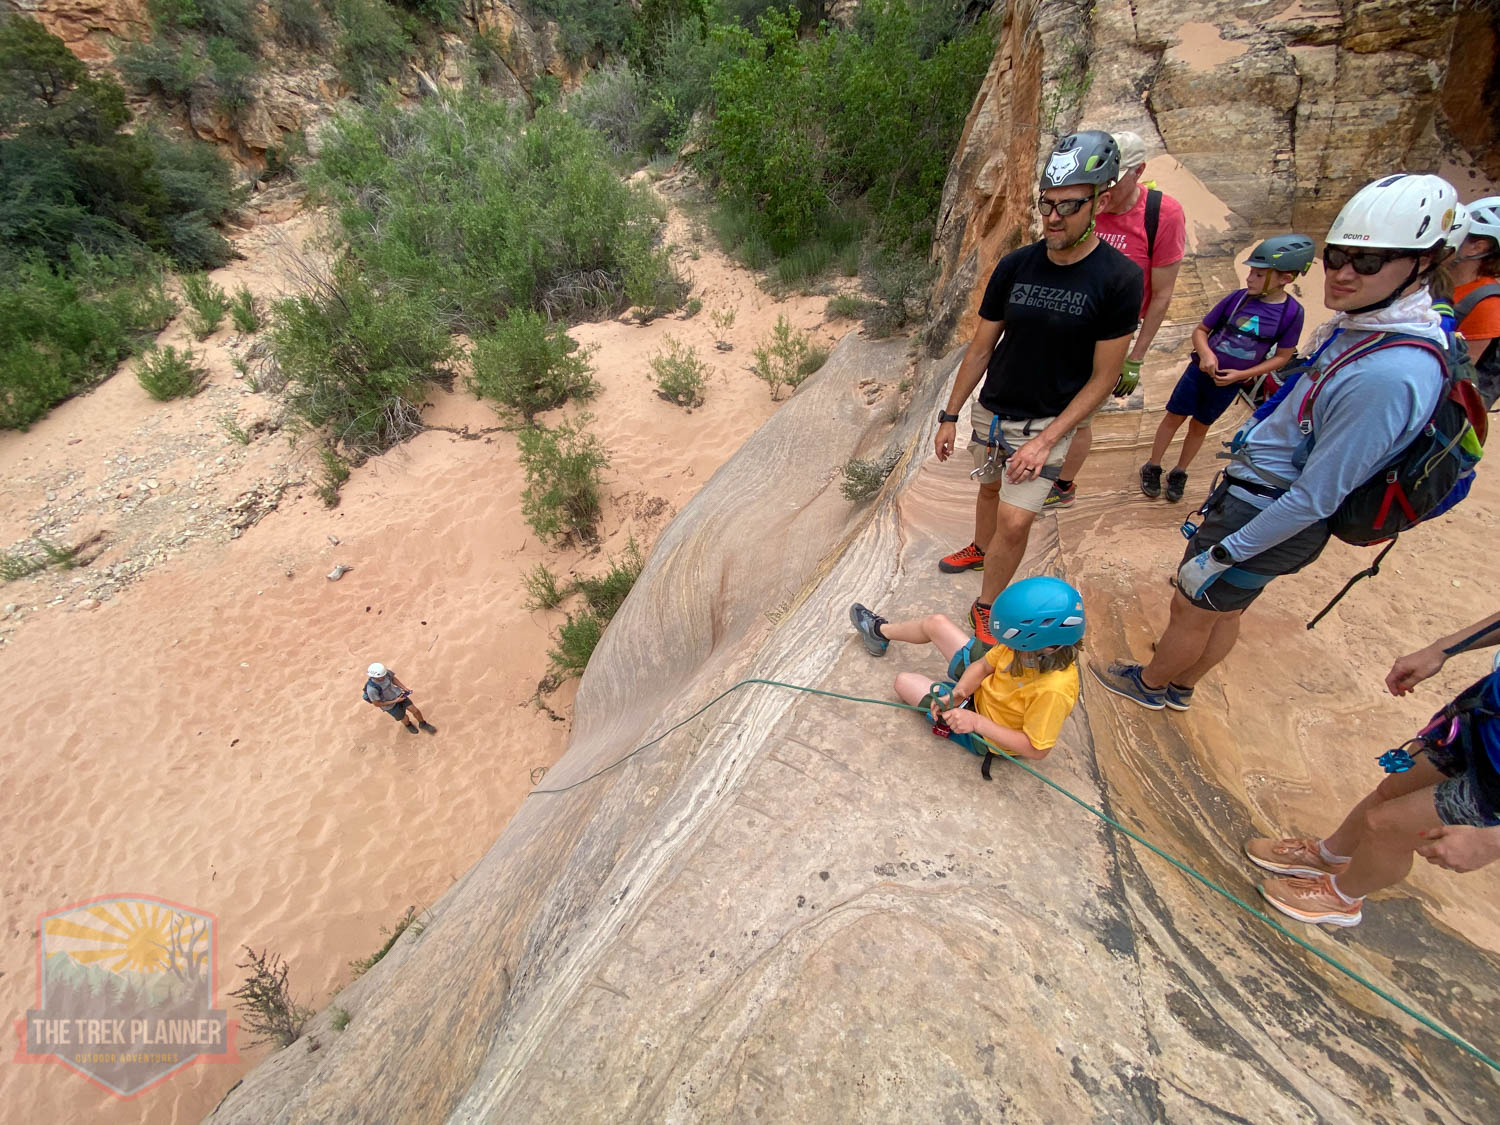
The first rappel at the first section of slot canyon, is probably just under 20 ft in length. This is at about mile marker 3.5.
We pulled out the rope and used the bolts/anchors that were already in place. Always test an anchor before using it. And remember, it’s sometimes best to use your own webbing around a boulder or sturdy tree or something as an anchor instead of using an anchor that’s been made by someone. There are old anchors in this canyon, so use your best judgement. I won’t attempt more than I have to tell you to use or not to use the anchors someone already put in. 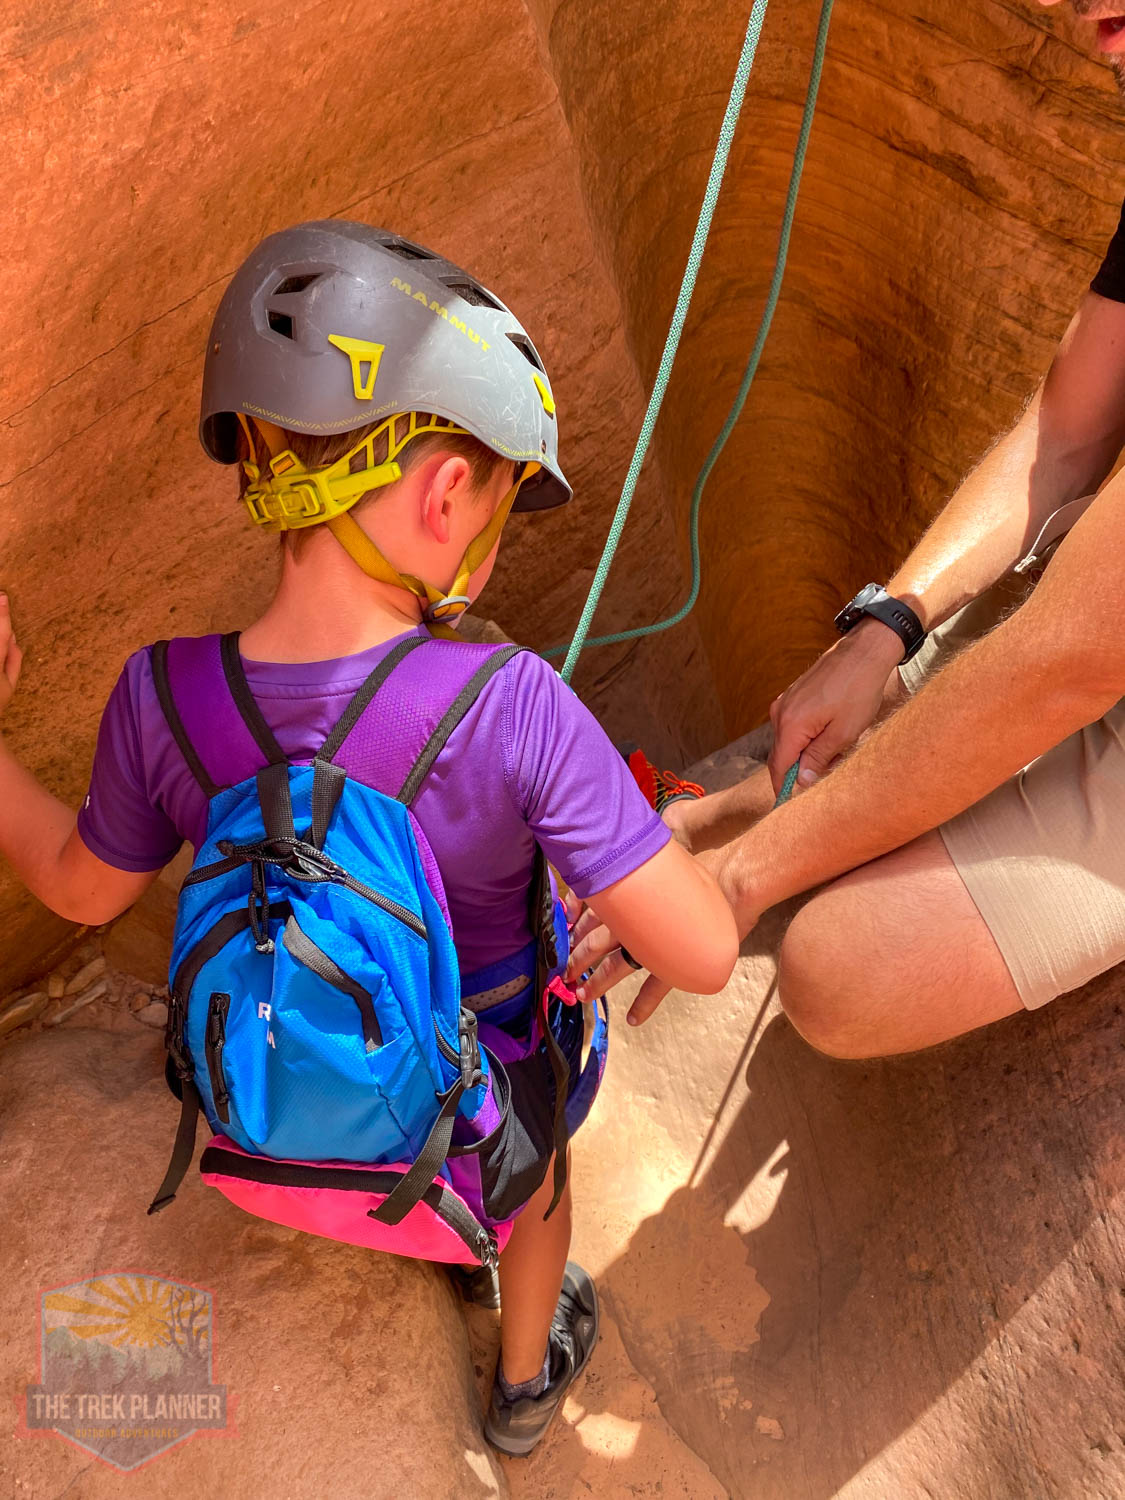
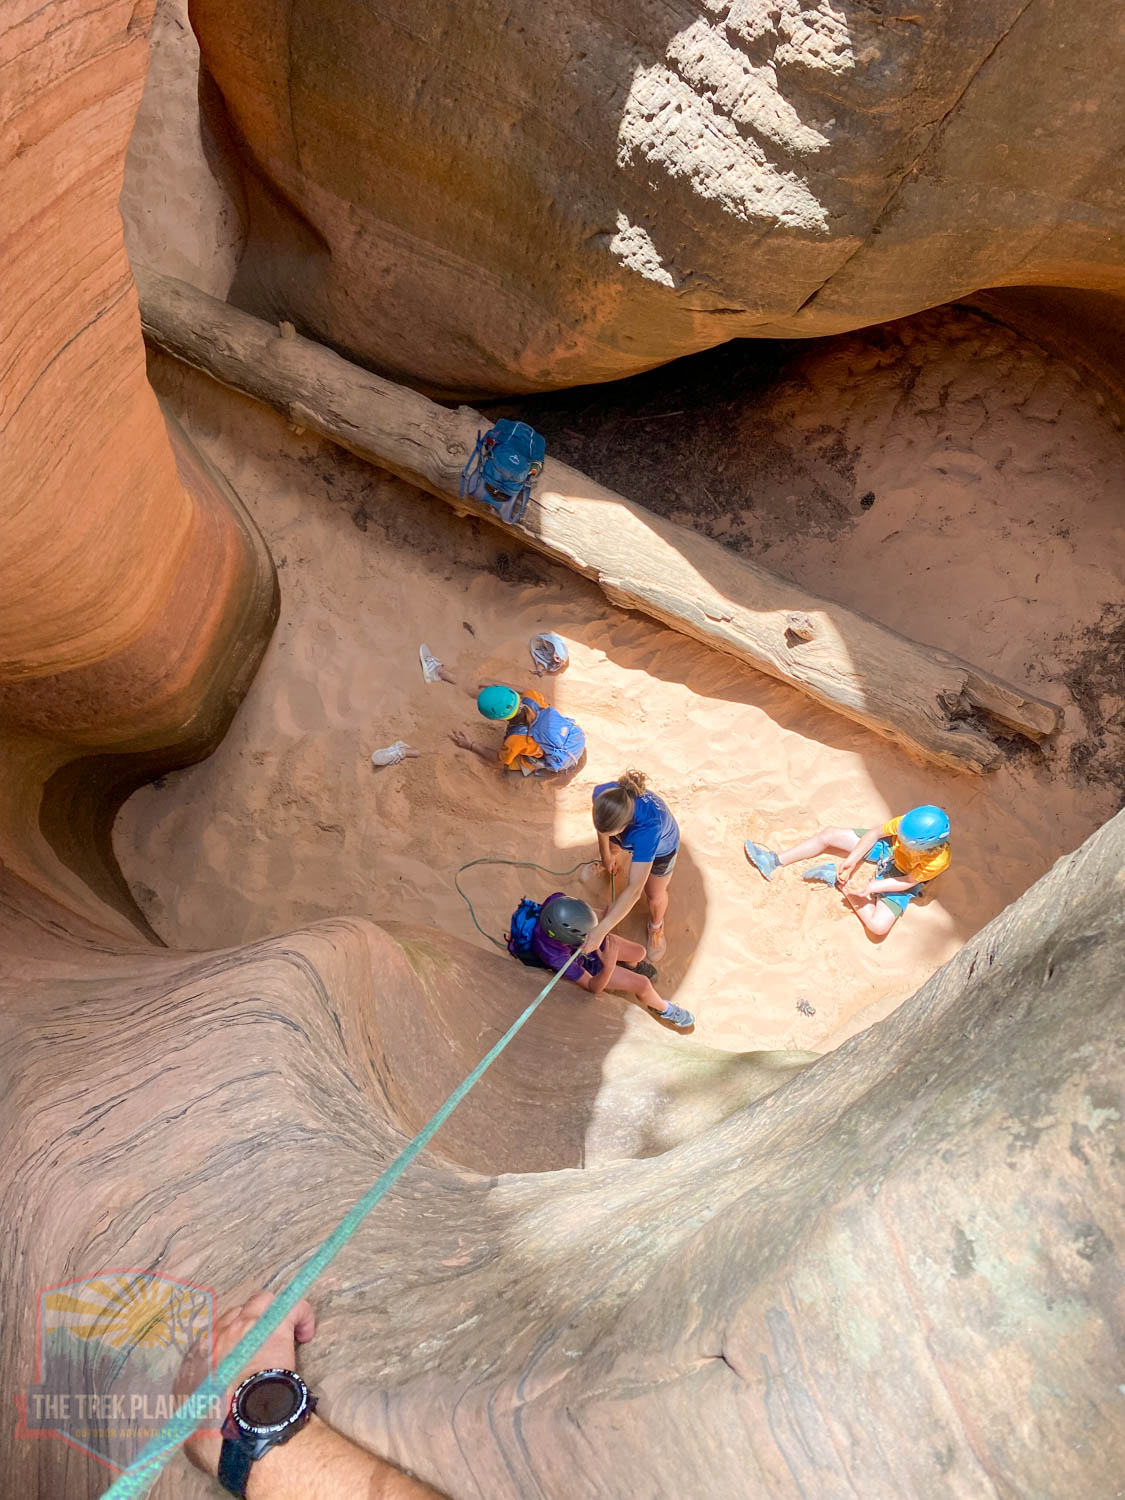
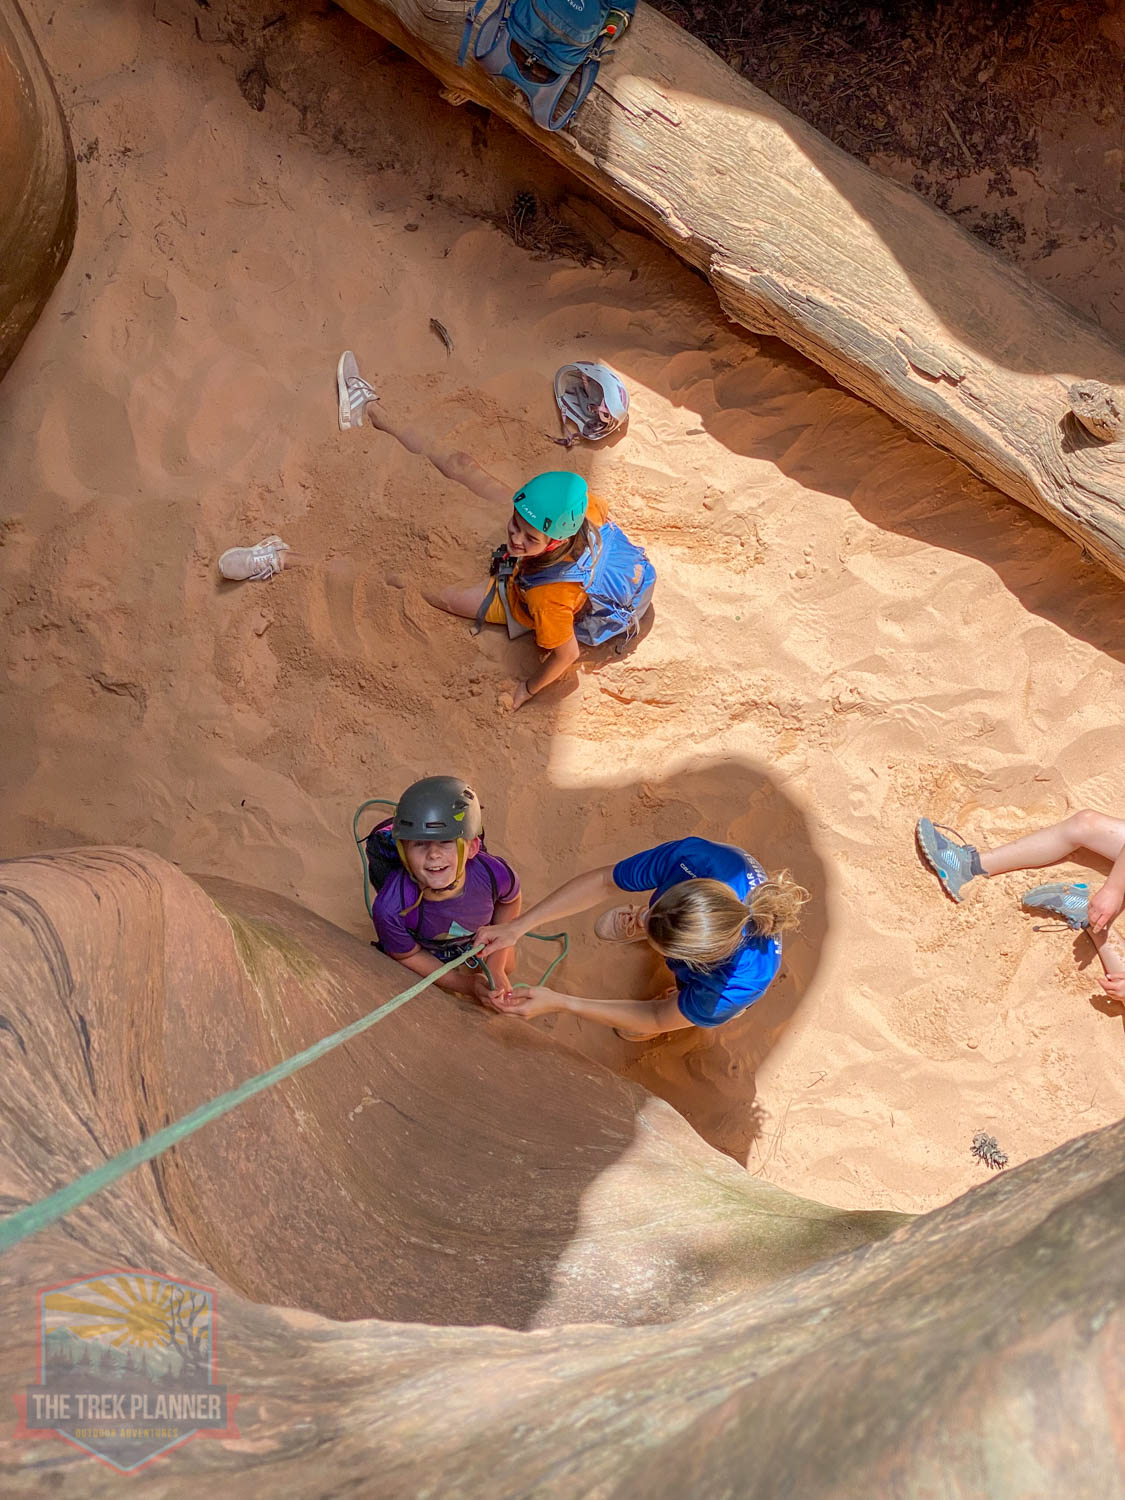
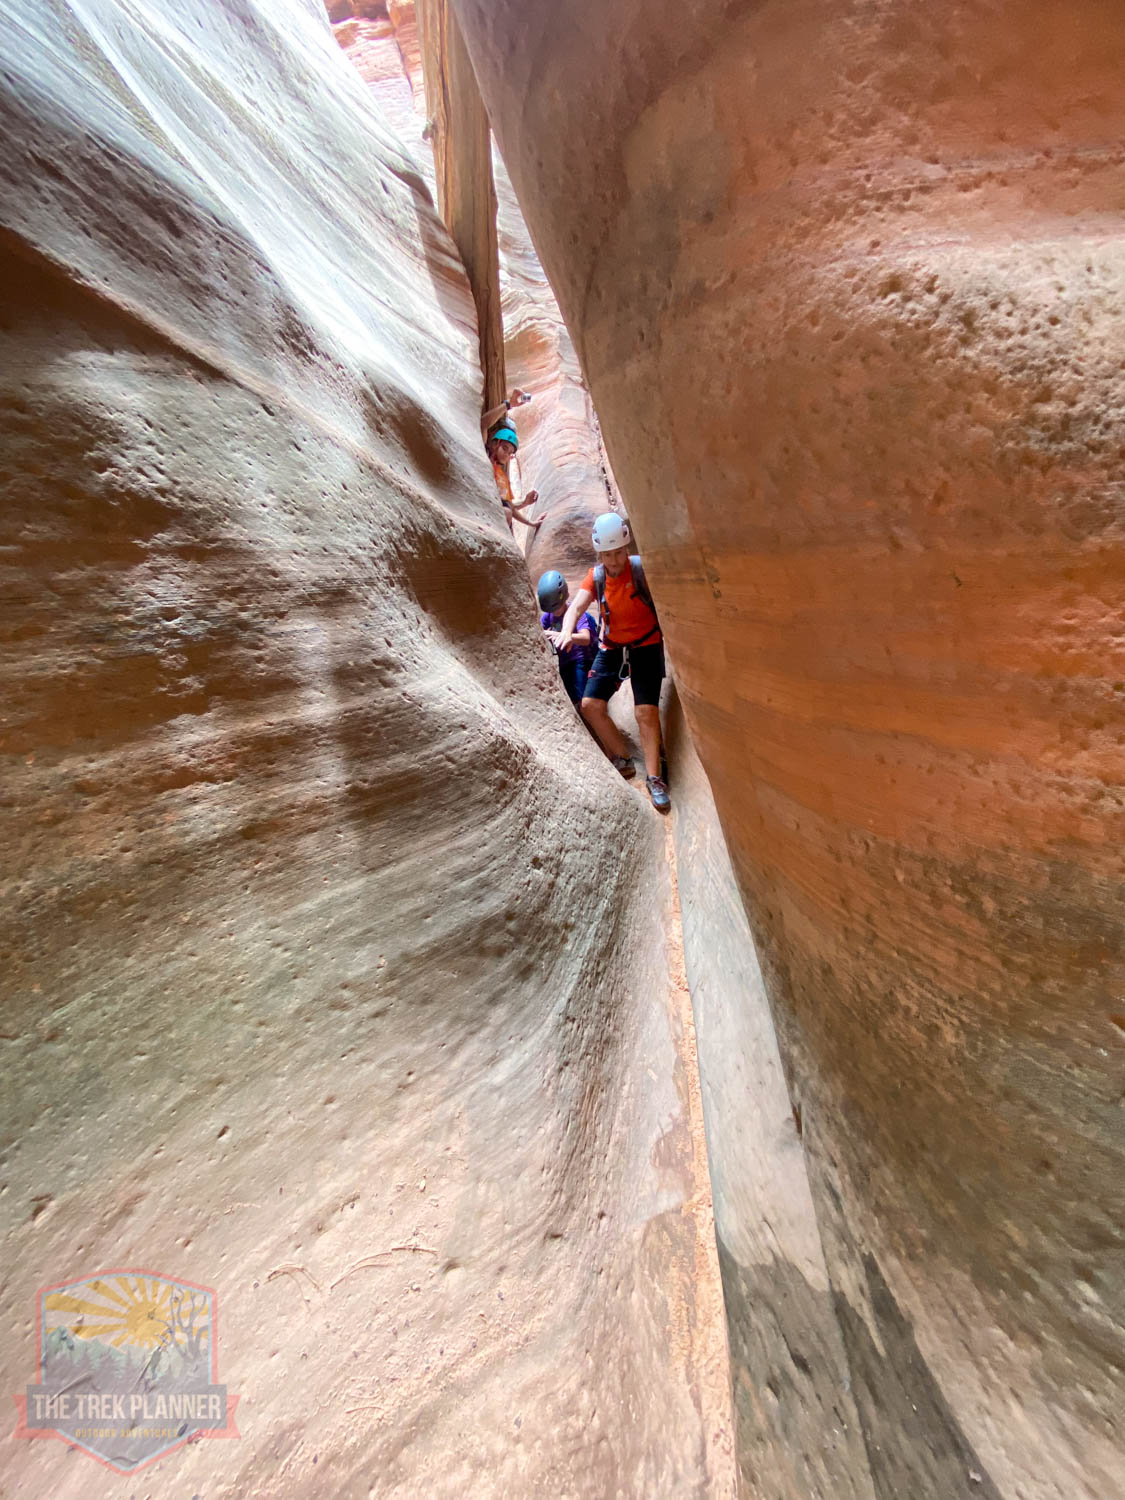
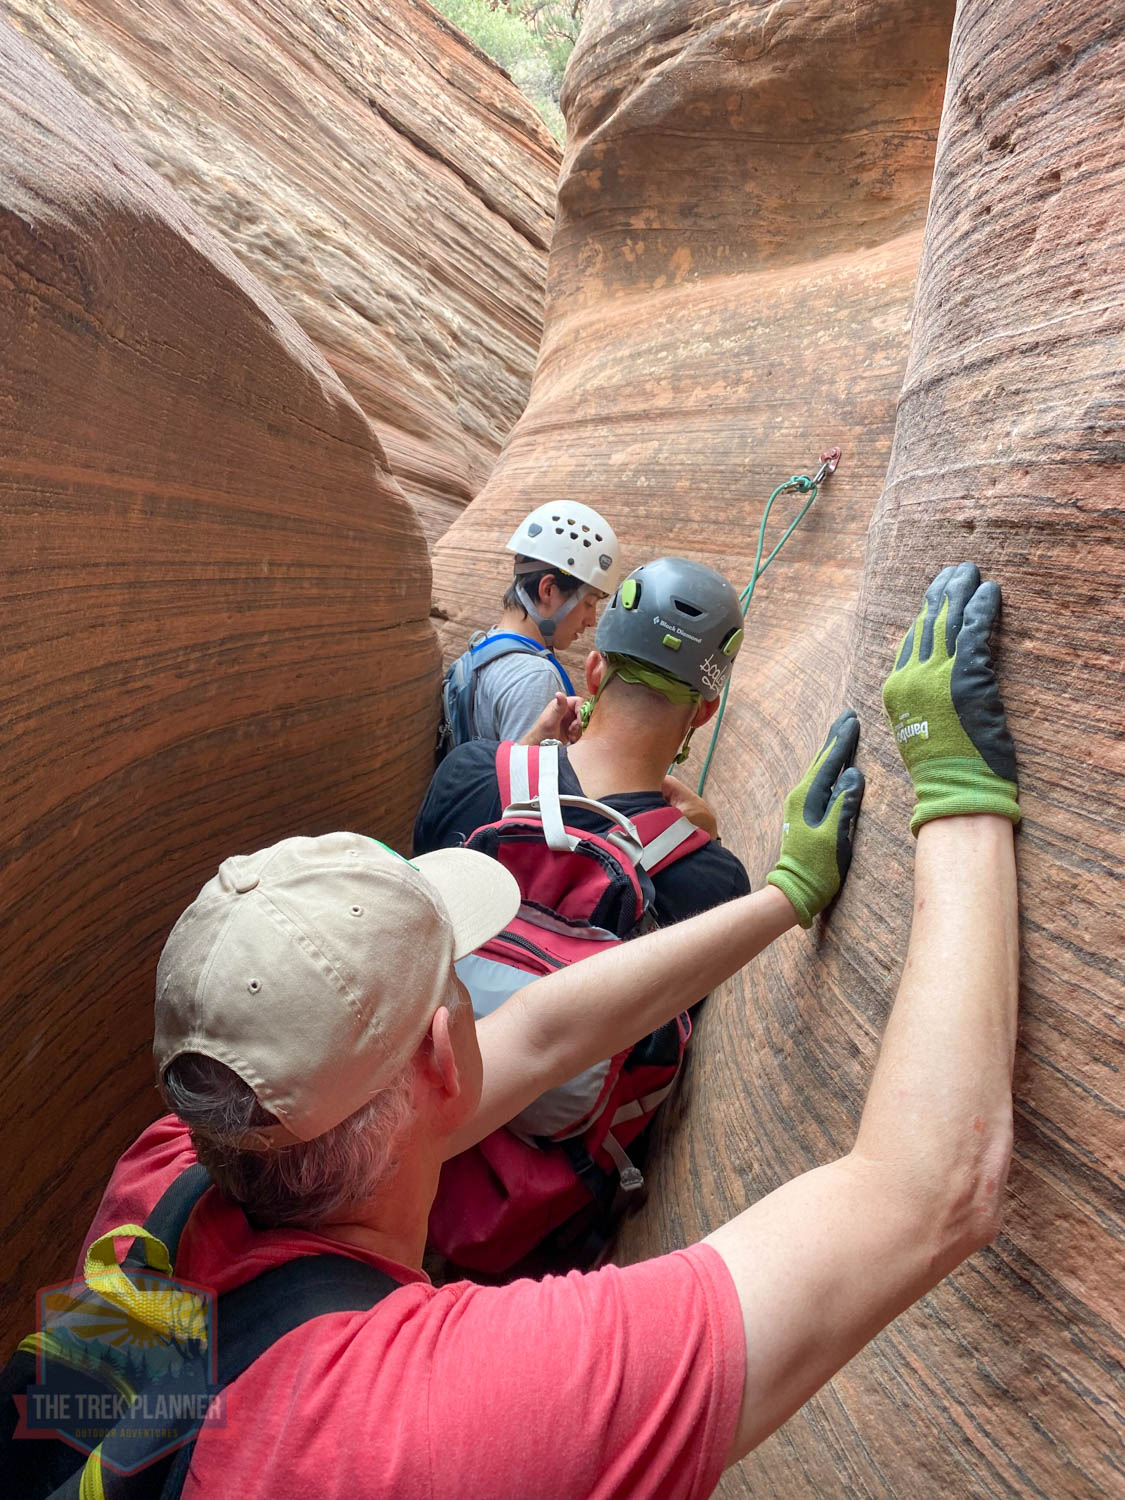
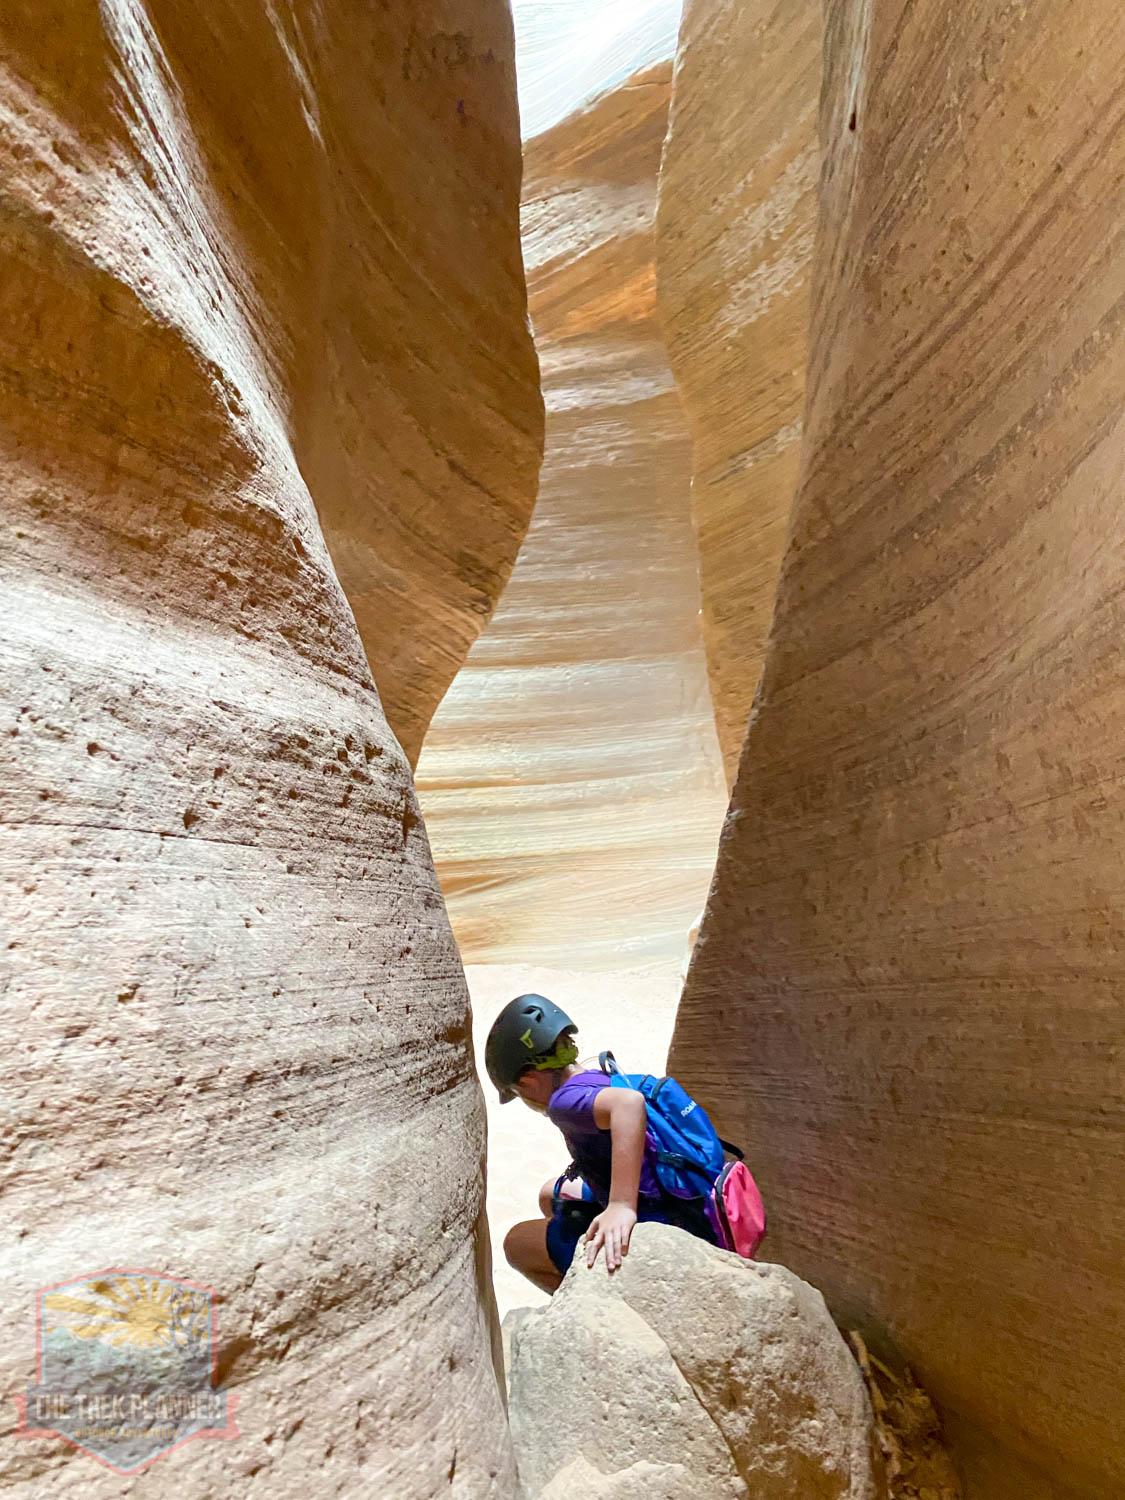
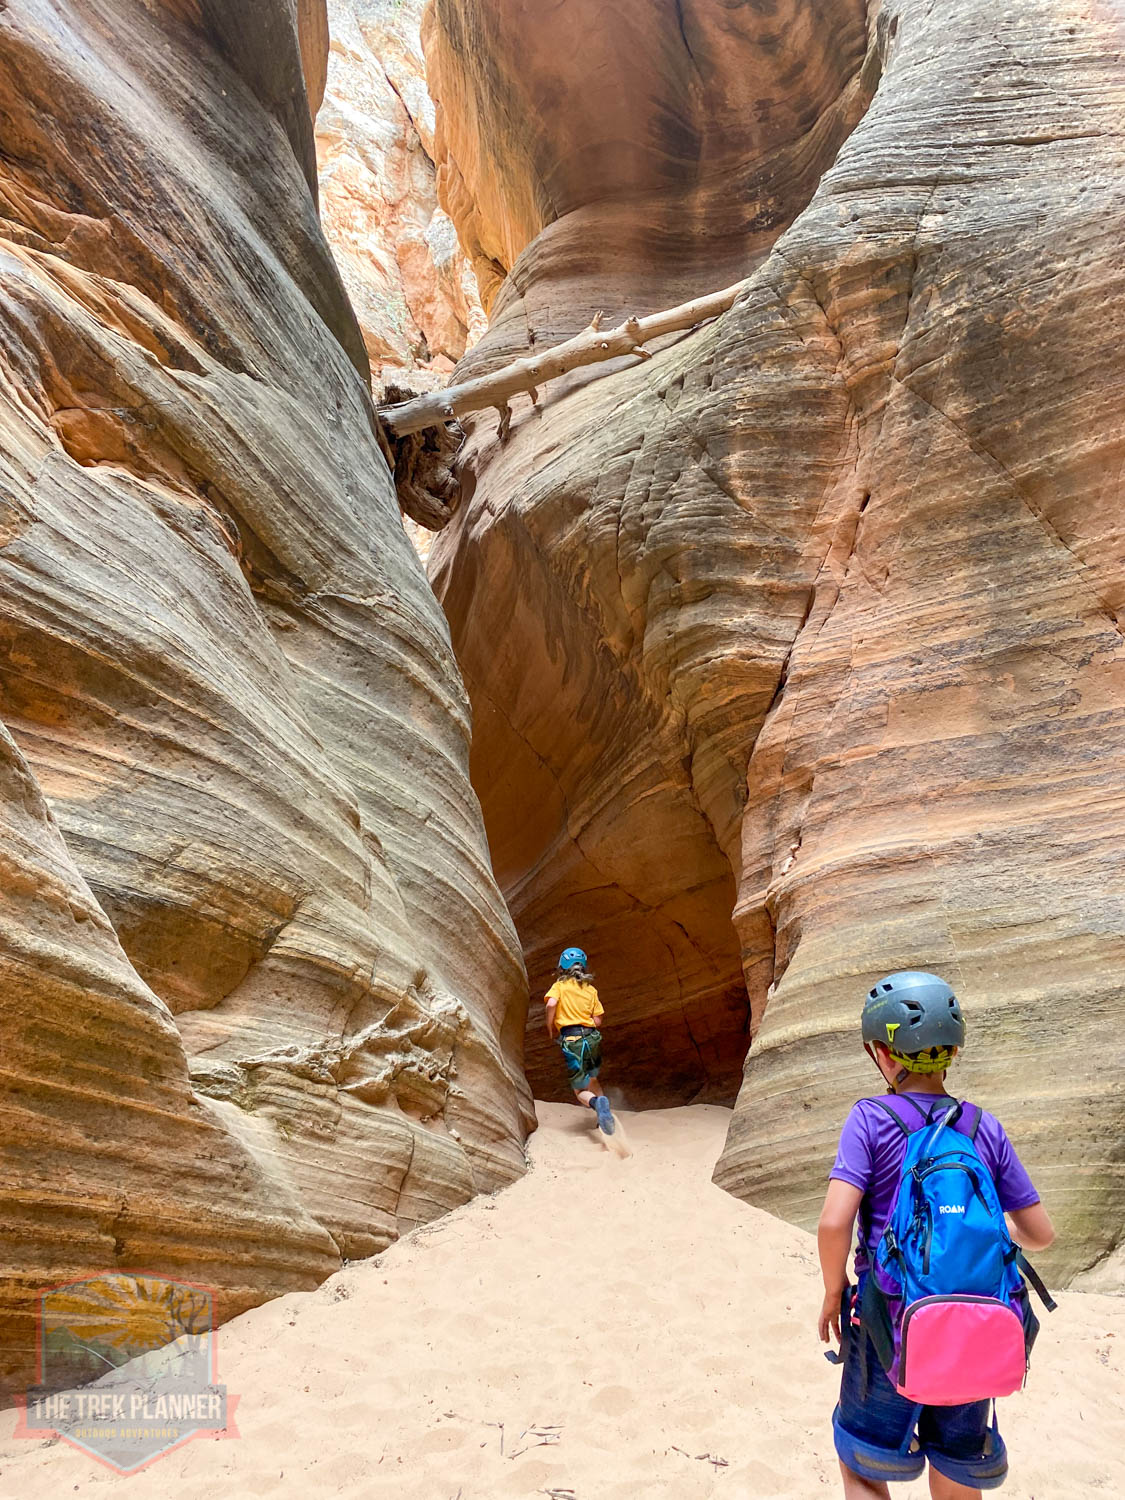
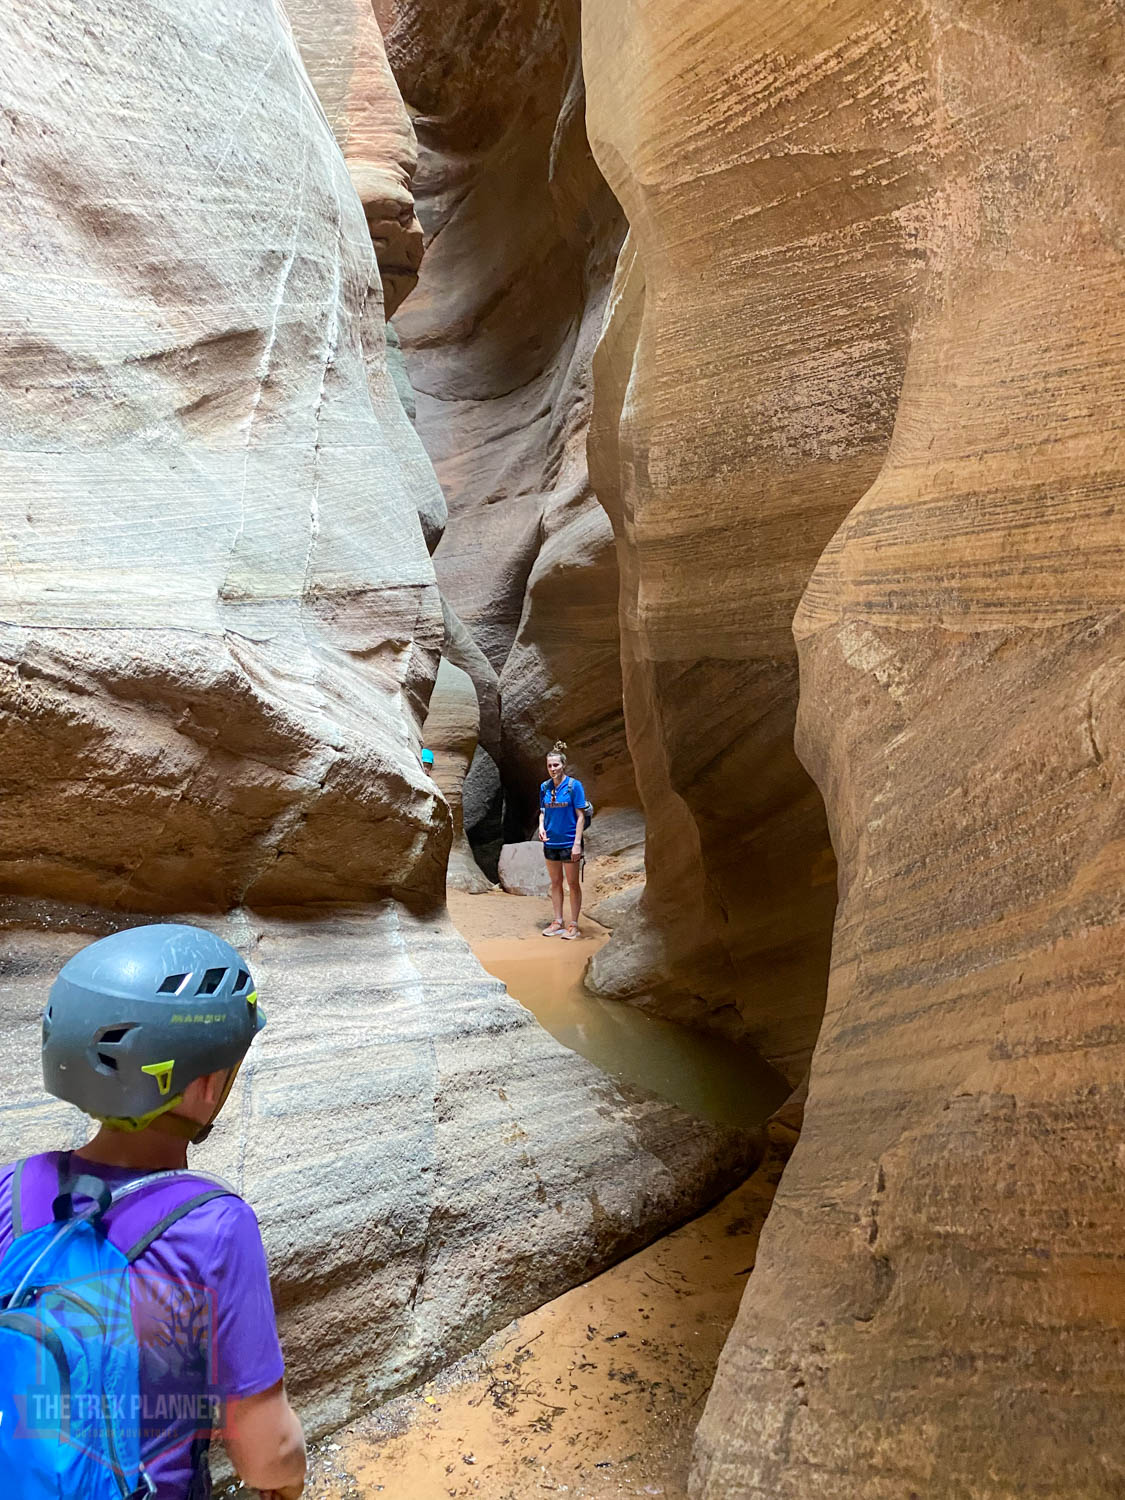
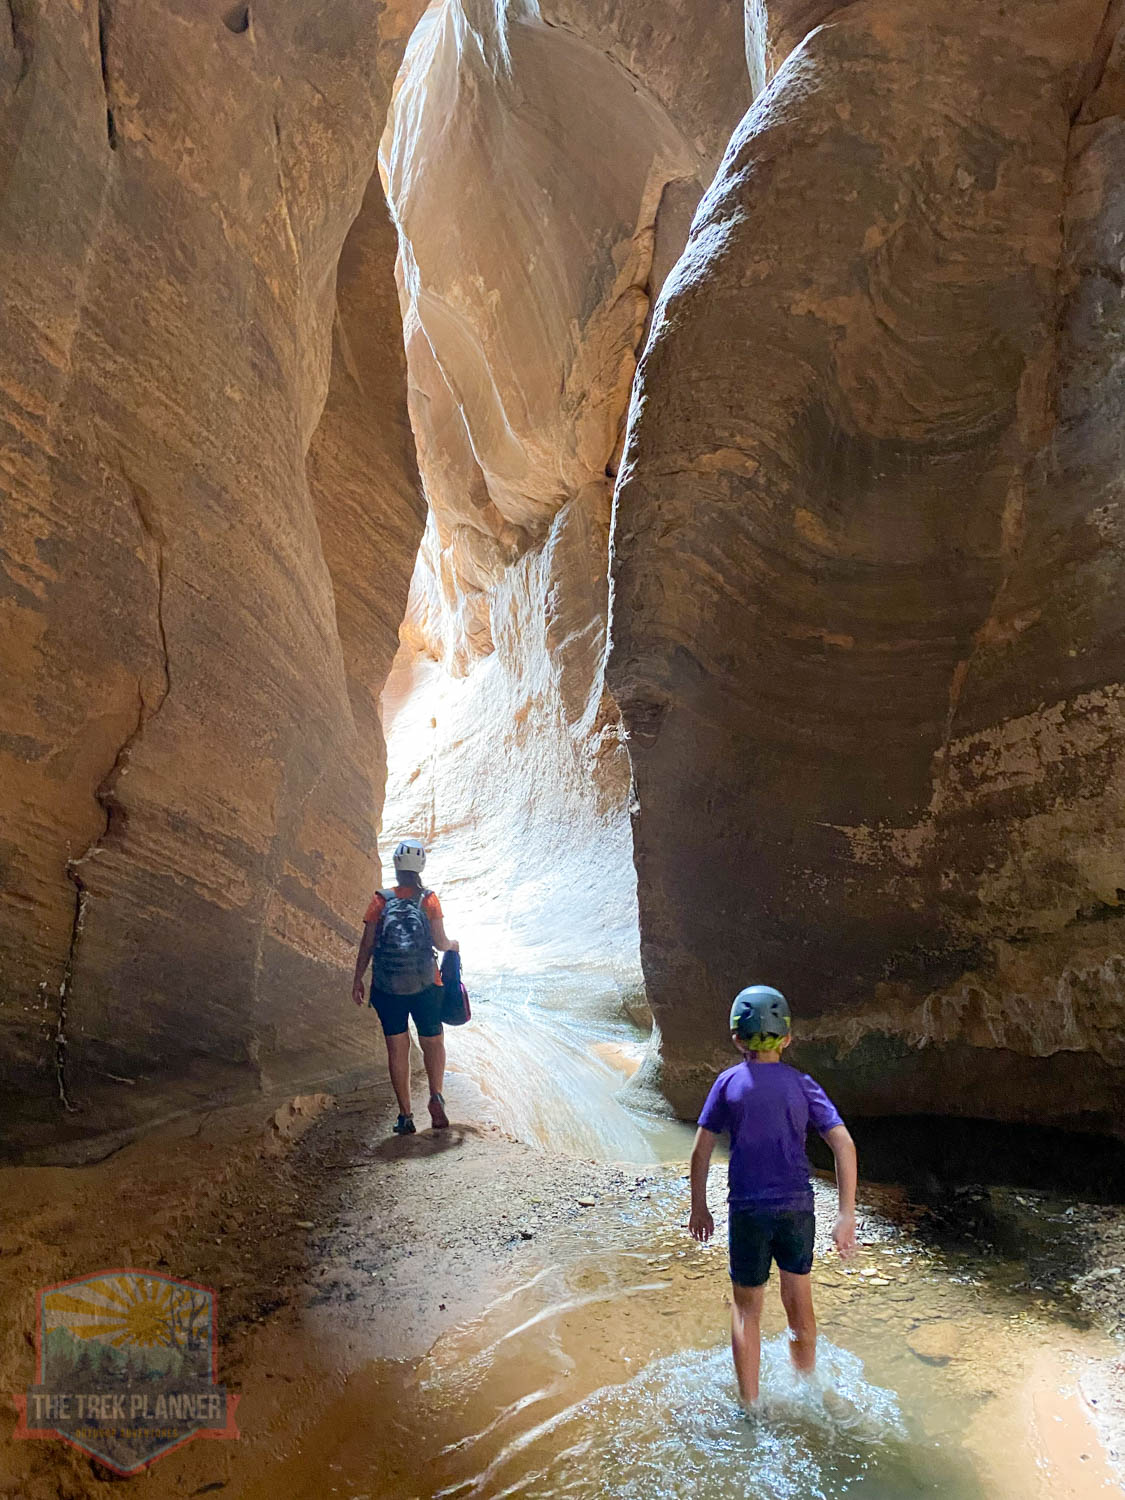
This is the first section of slot canyon and it’s very short and beautiful! You will discover that all the slot canyon sections are short, but awesome! We loved the downclimbing and rappelling throughout these parts. It was fun to hear the kids’ voices shouting with excitement with every obstacle they had to overcome!
NOTE: If you were to walk about 520 ft. to the west, you would be back in Zion National Park. That’s how close this is to Zion! You are in BLM land, which has different sets of rules and regulations, but please still respect the land and pick up any trash you find along the way.
We were back in the open and went to the next section of slot canyon. The second slot canyon section is at about 3.73 miles into the hike.
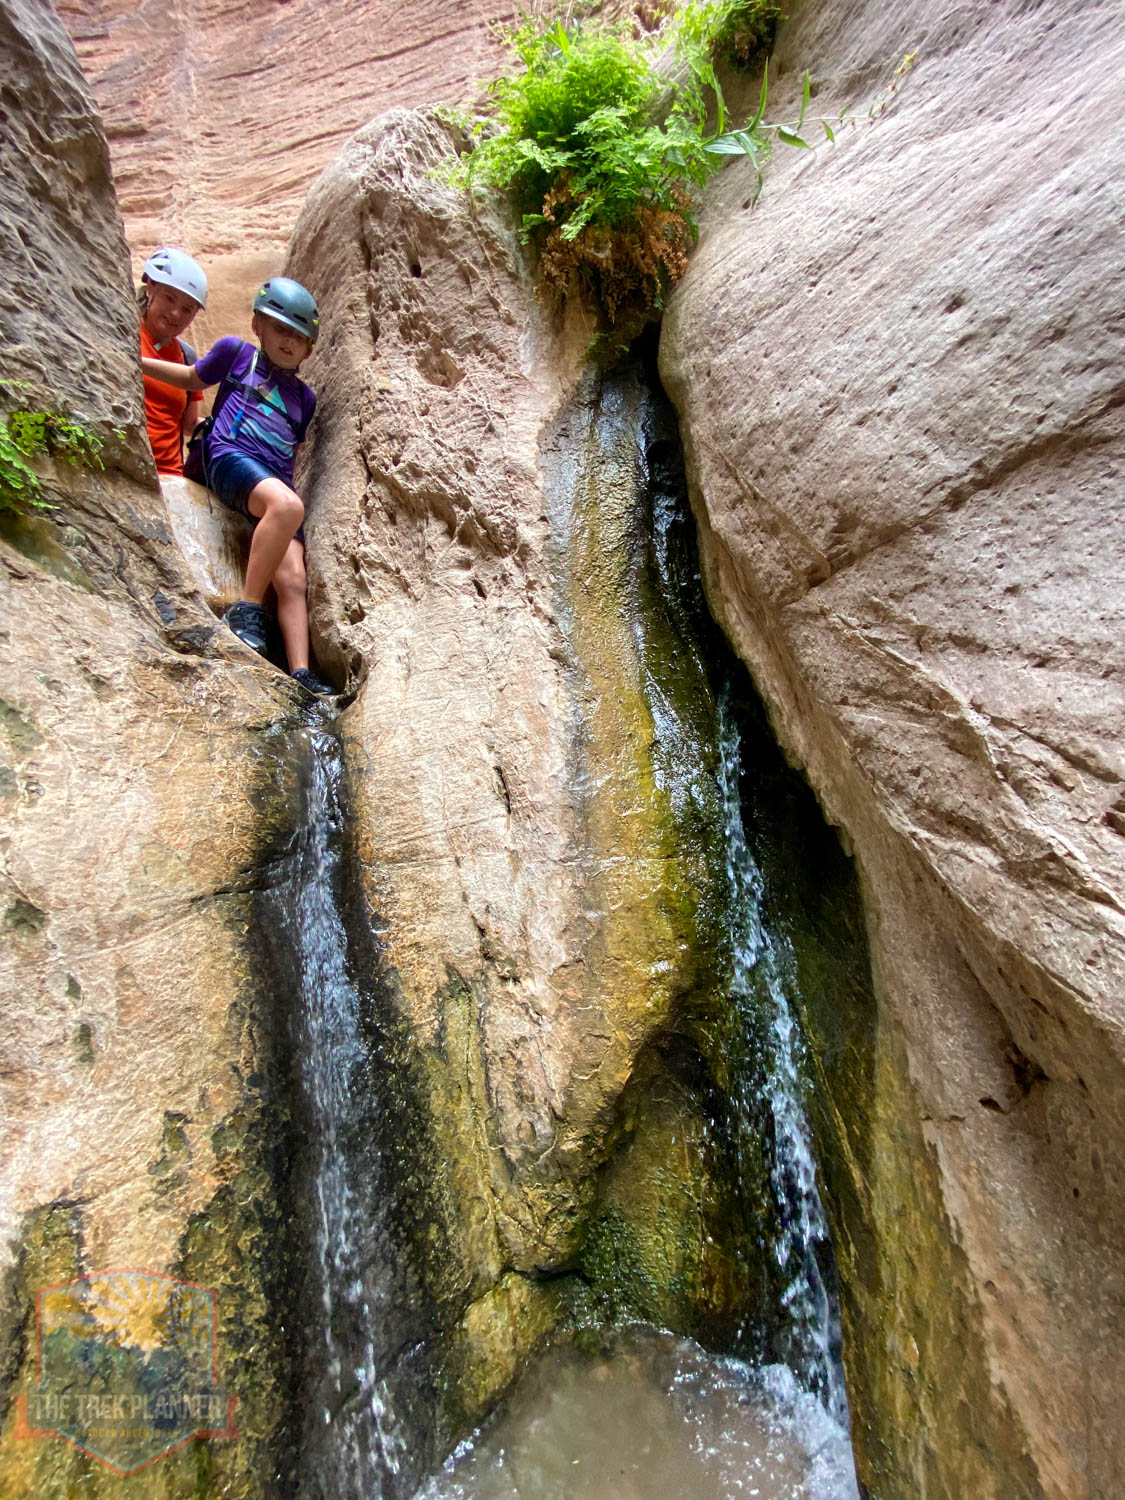
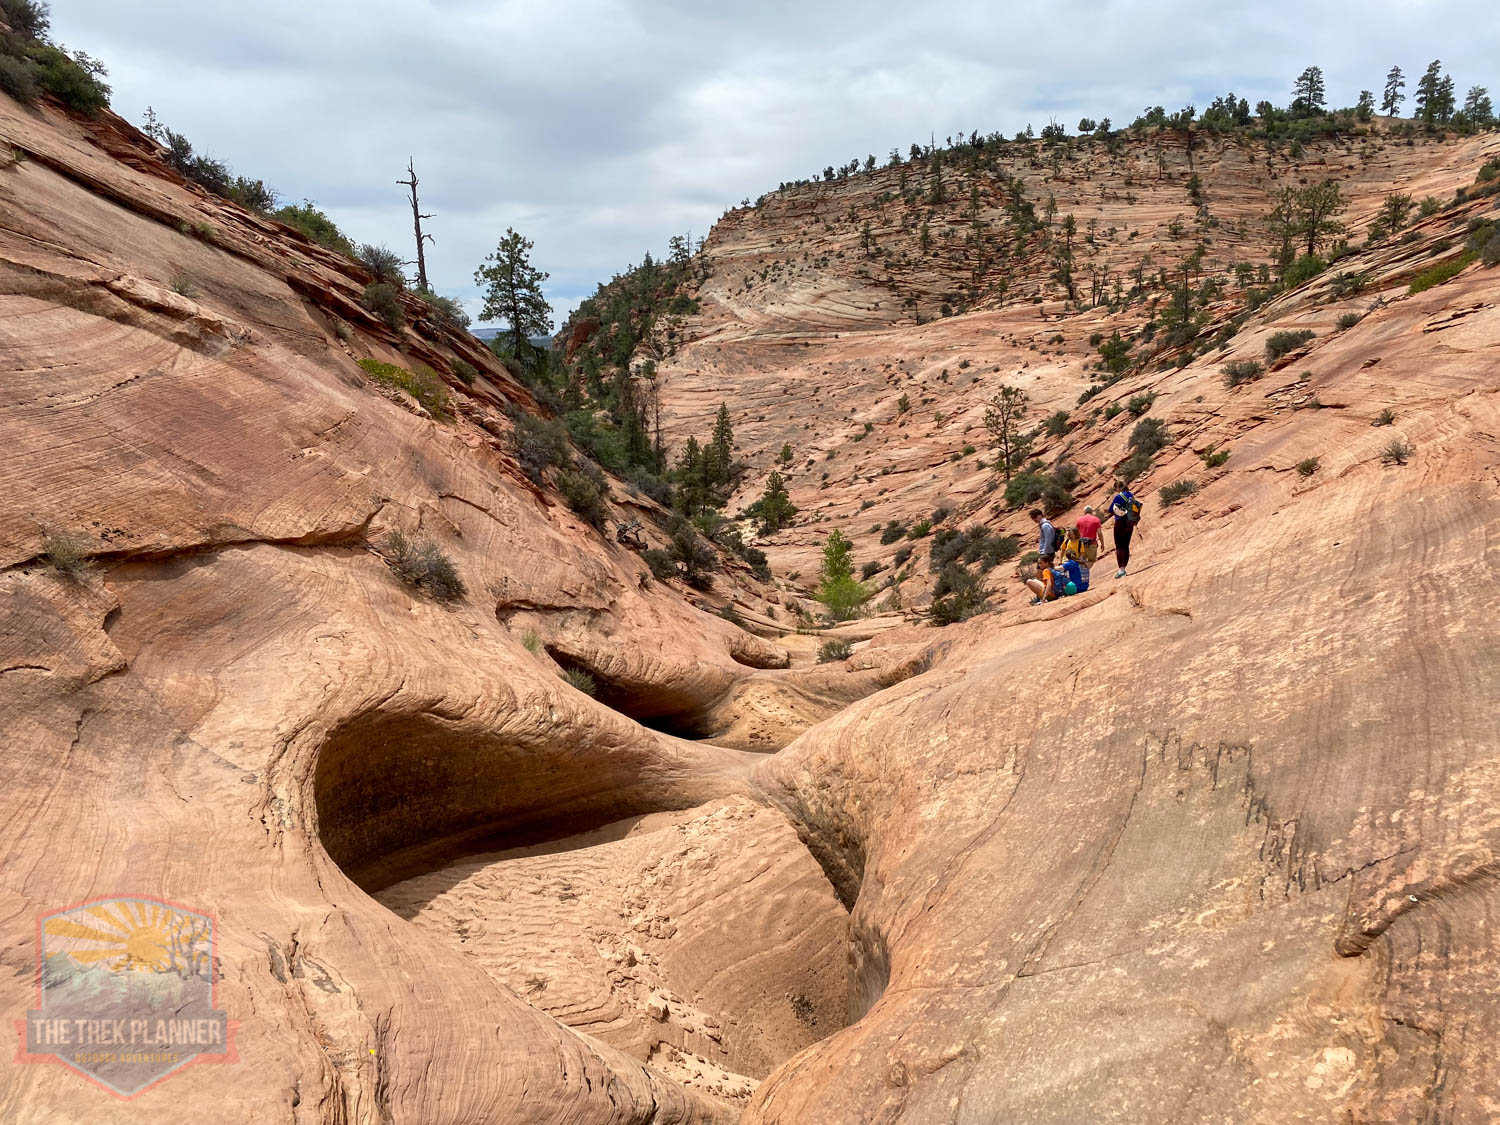
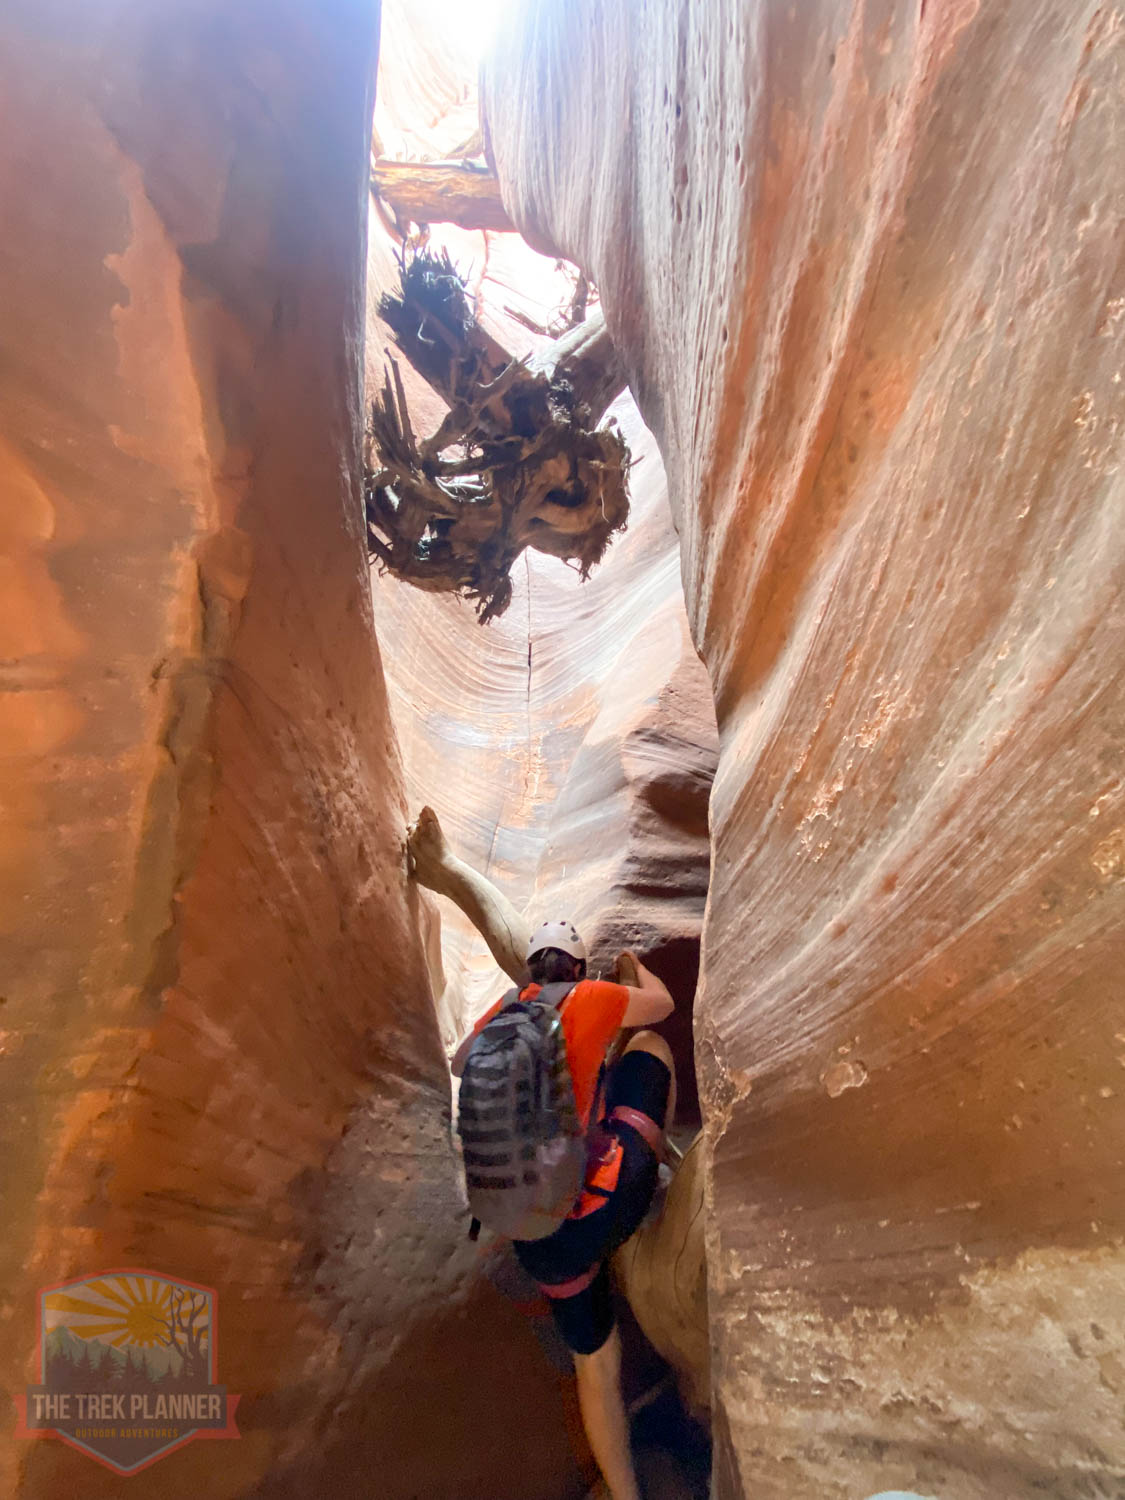
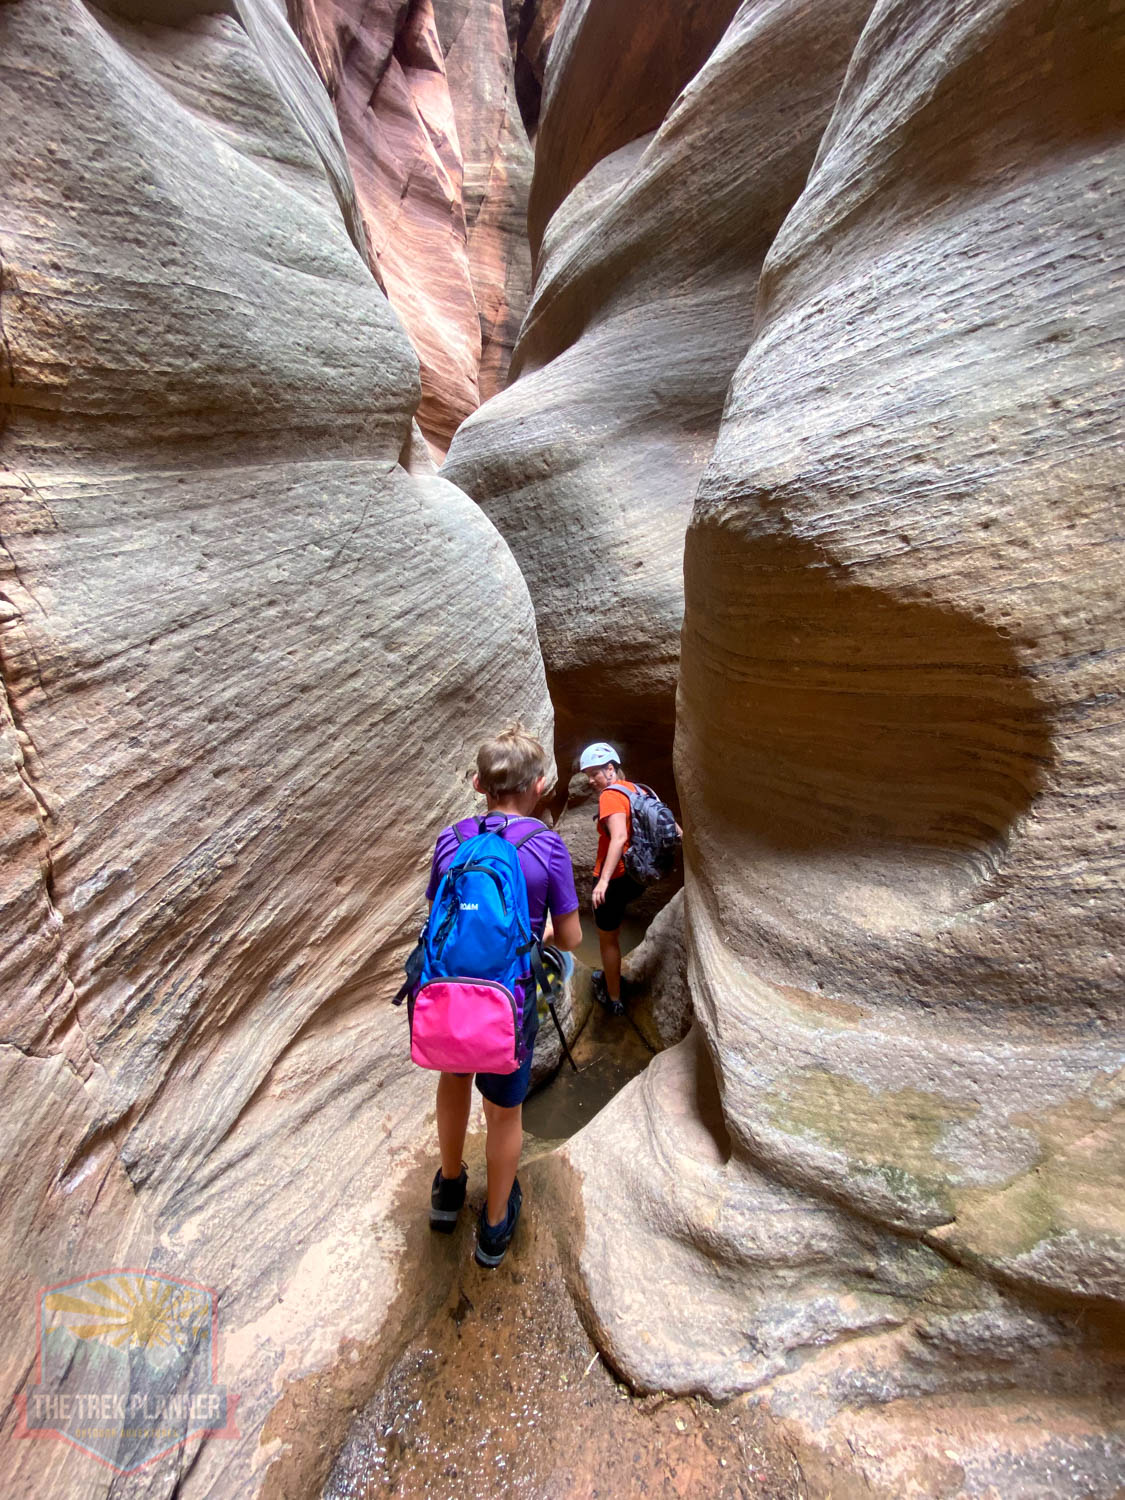
The third section of slot canyon is at about the 3.83 mile marker. We kept a long piece of webbing out to make it down some of the more tricky areas where we didn’t need to rappel with rope. I love all the twists and turns these slot canyons make!
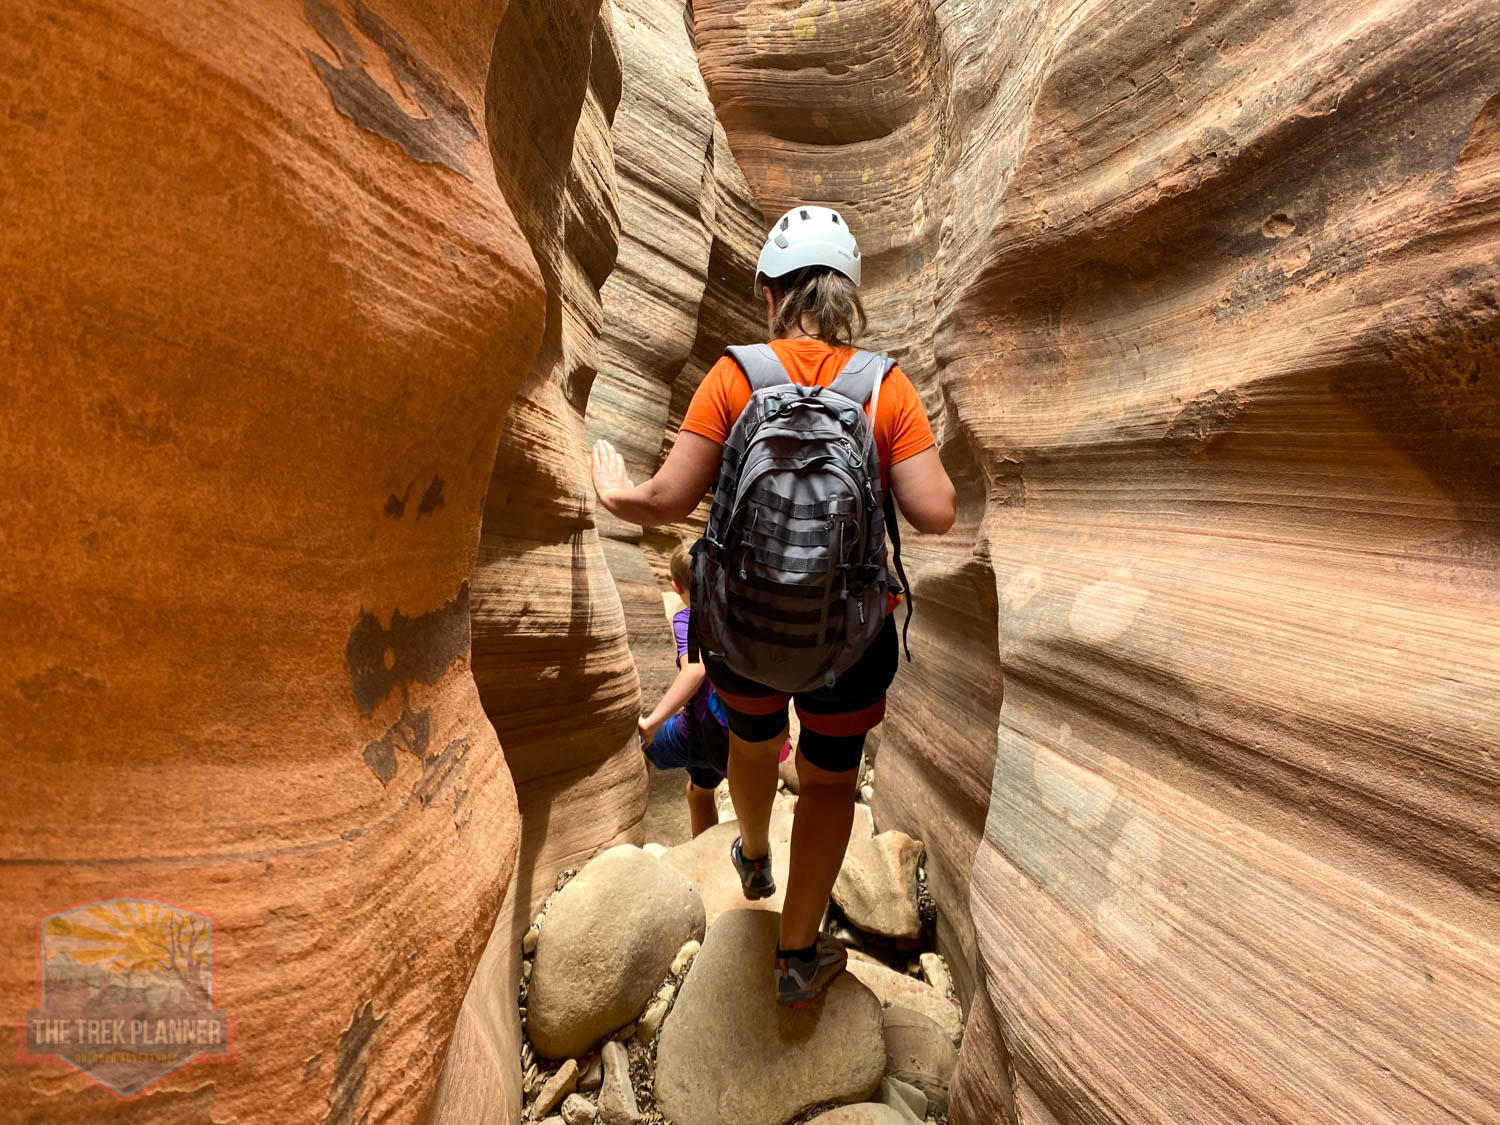
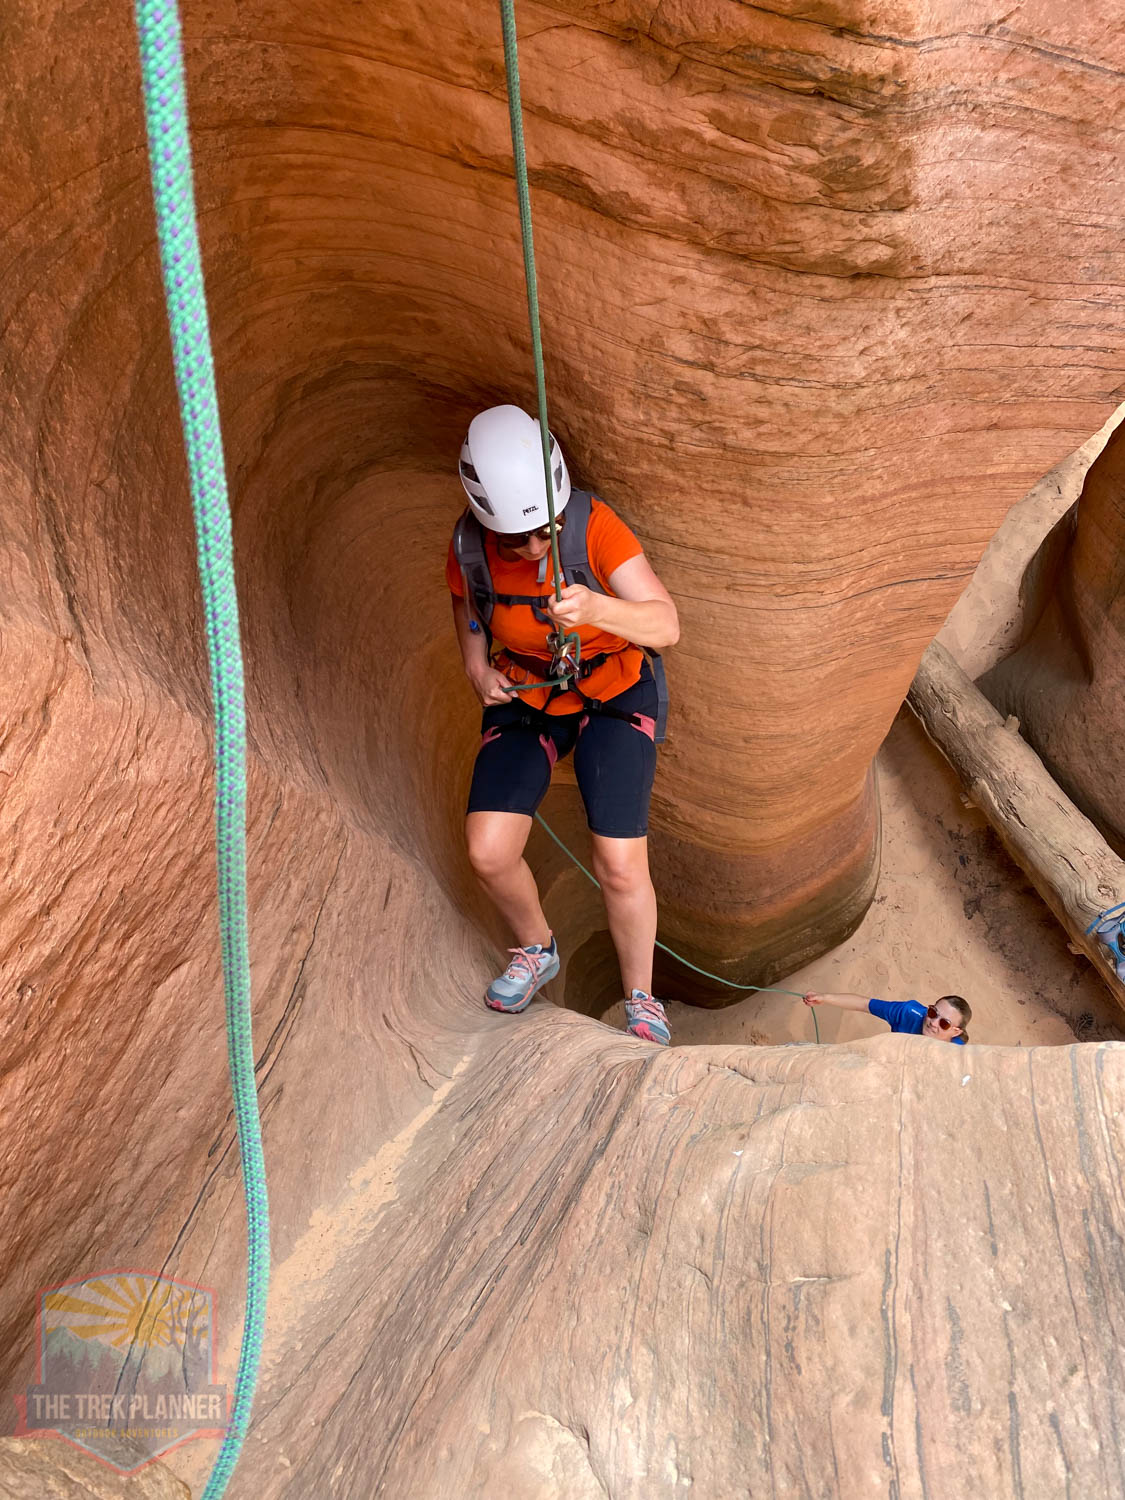
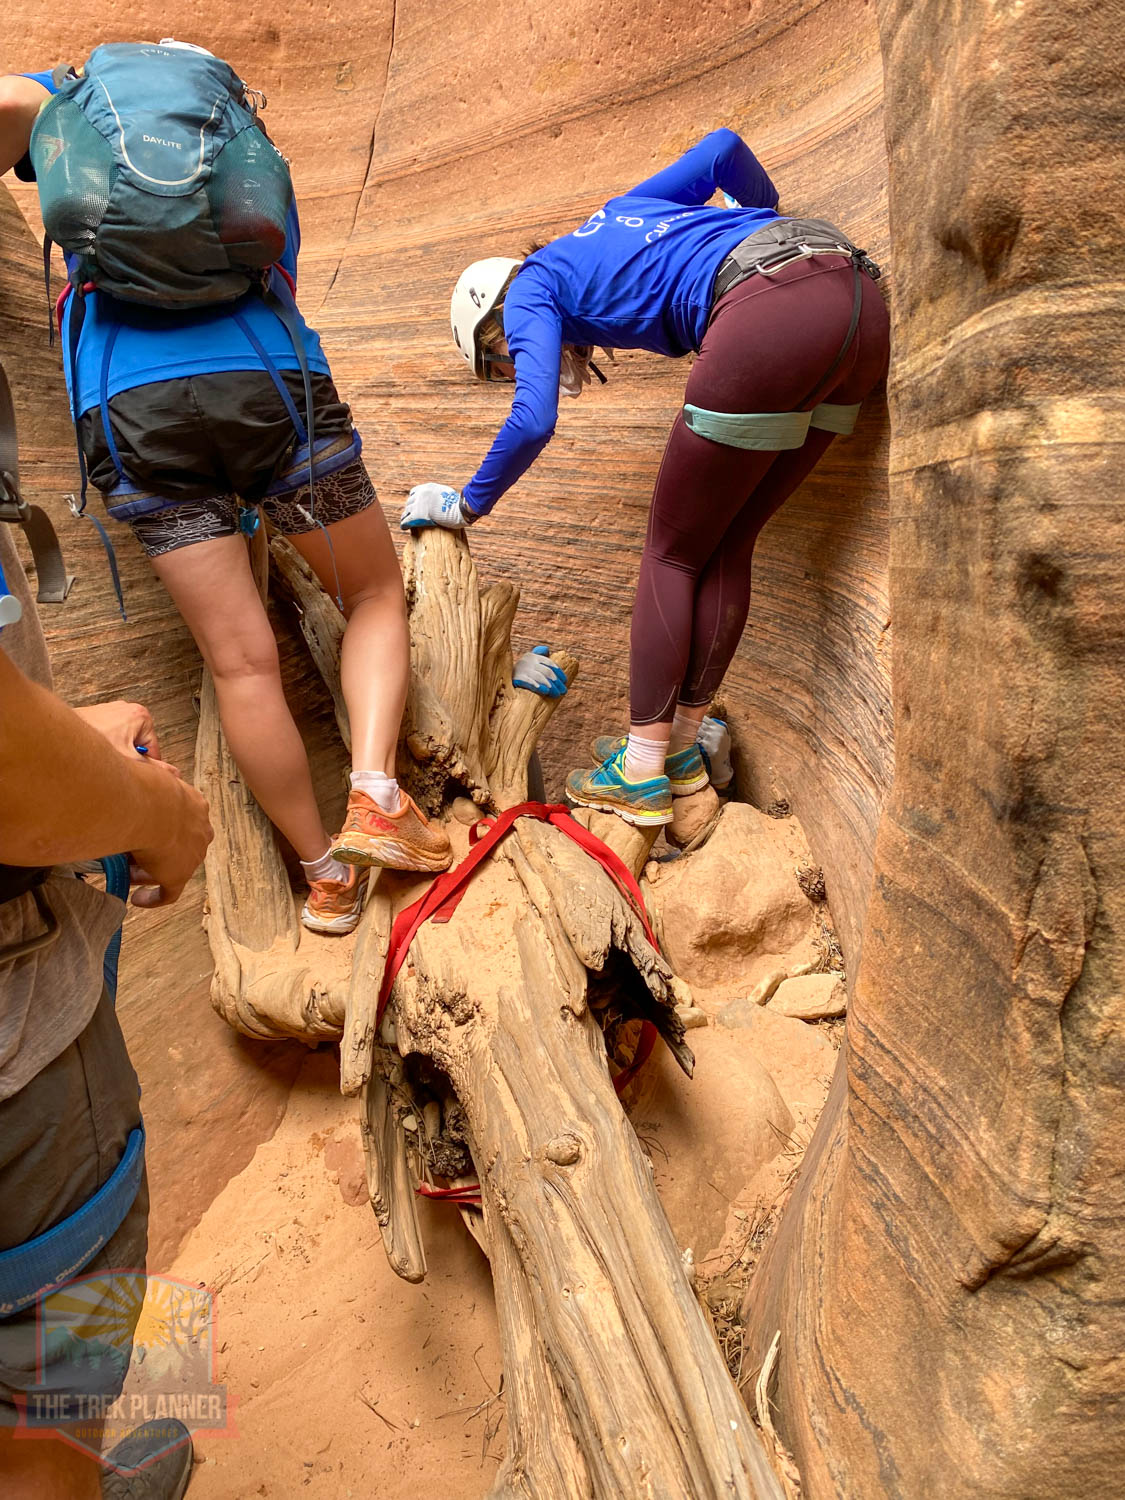
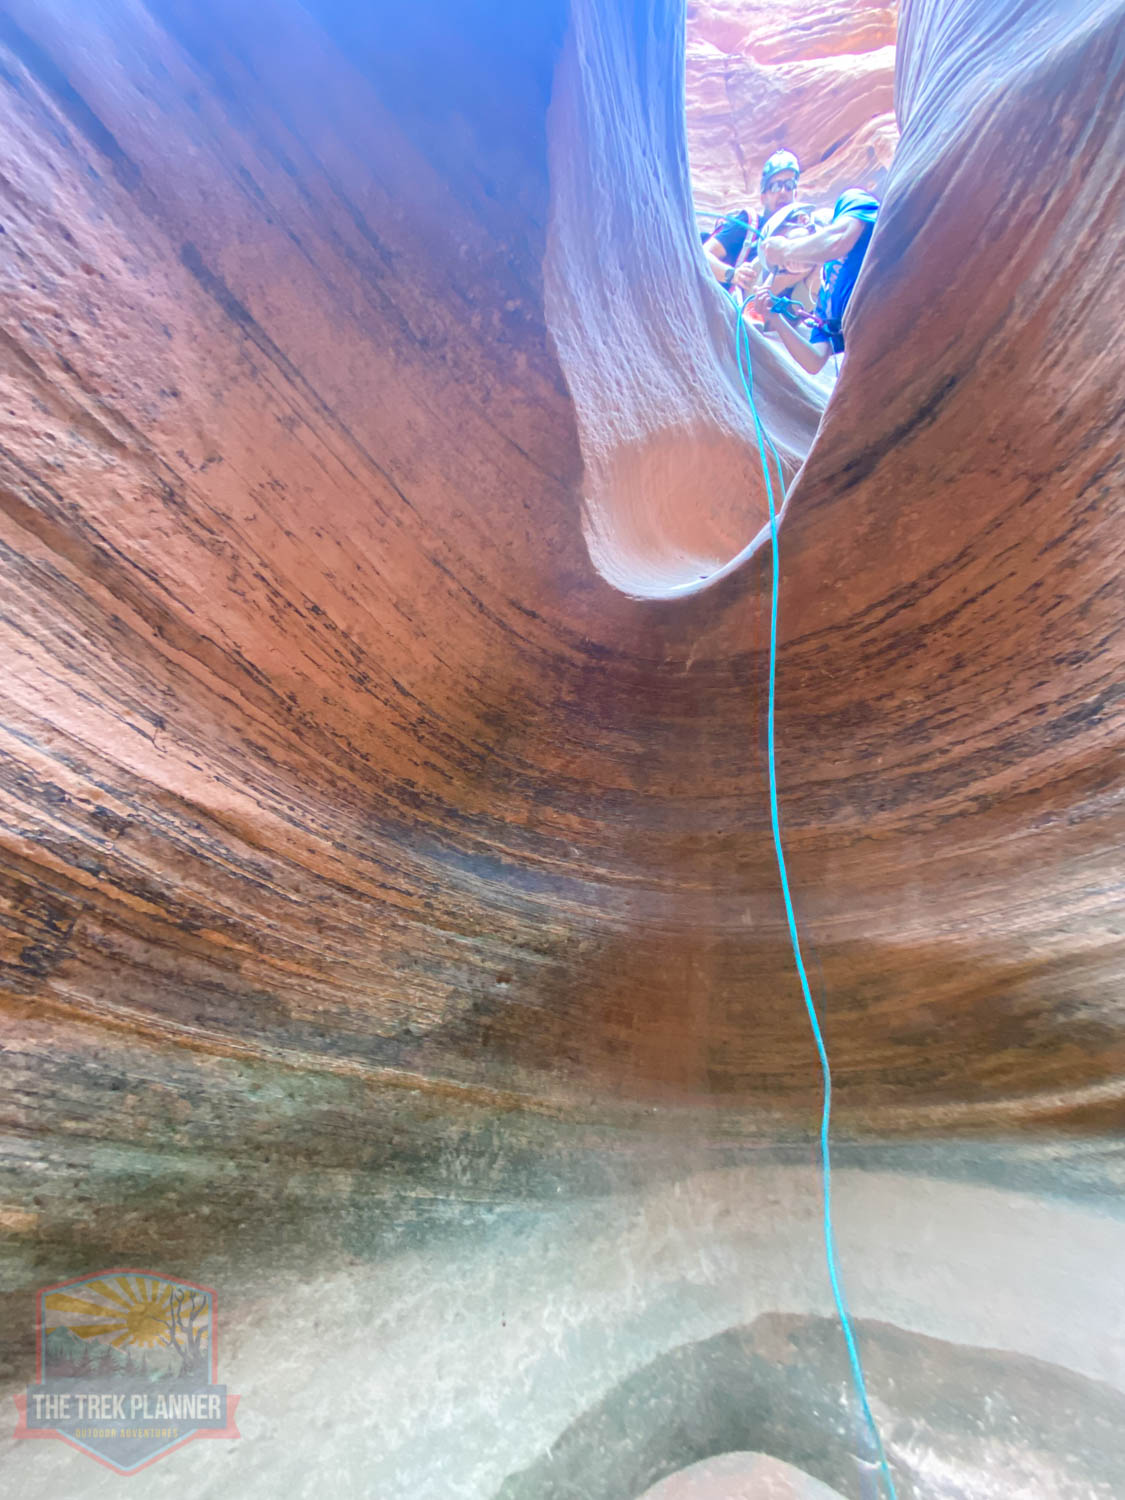
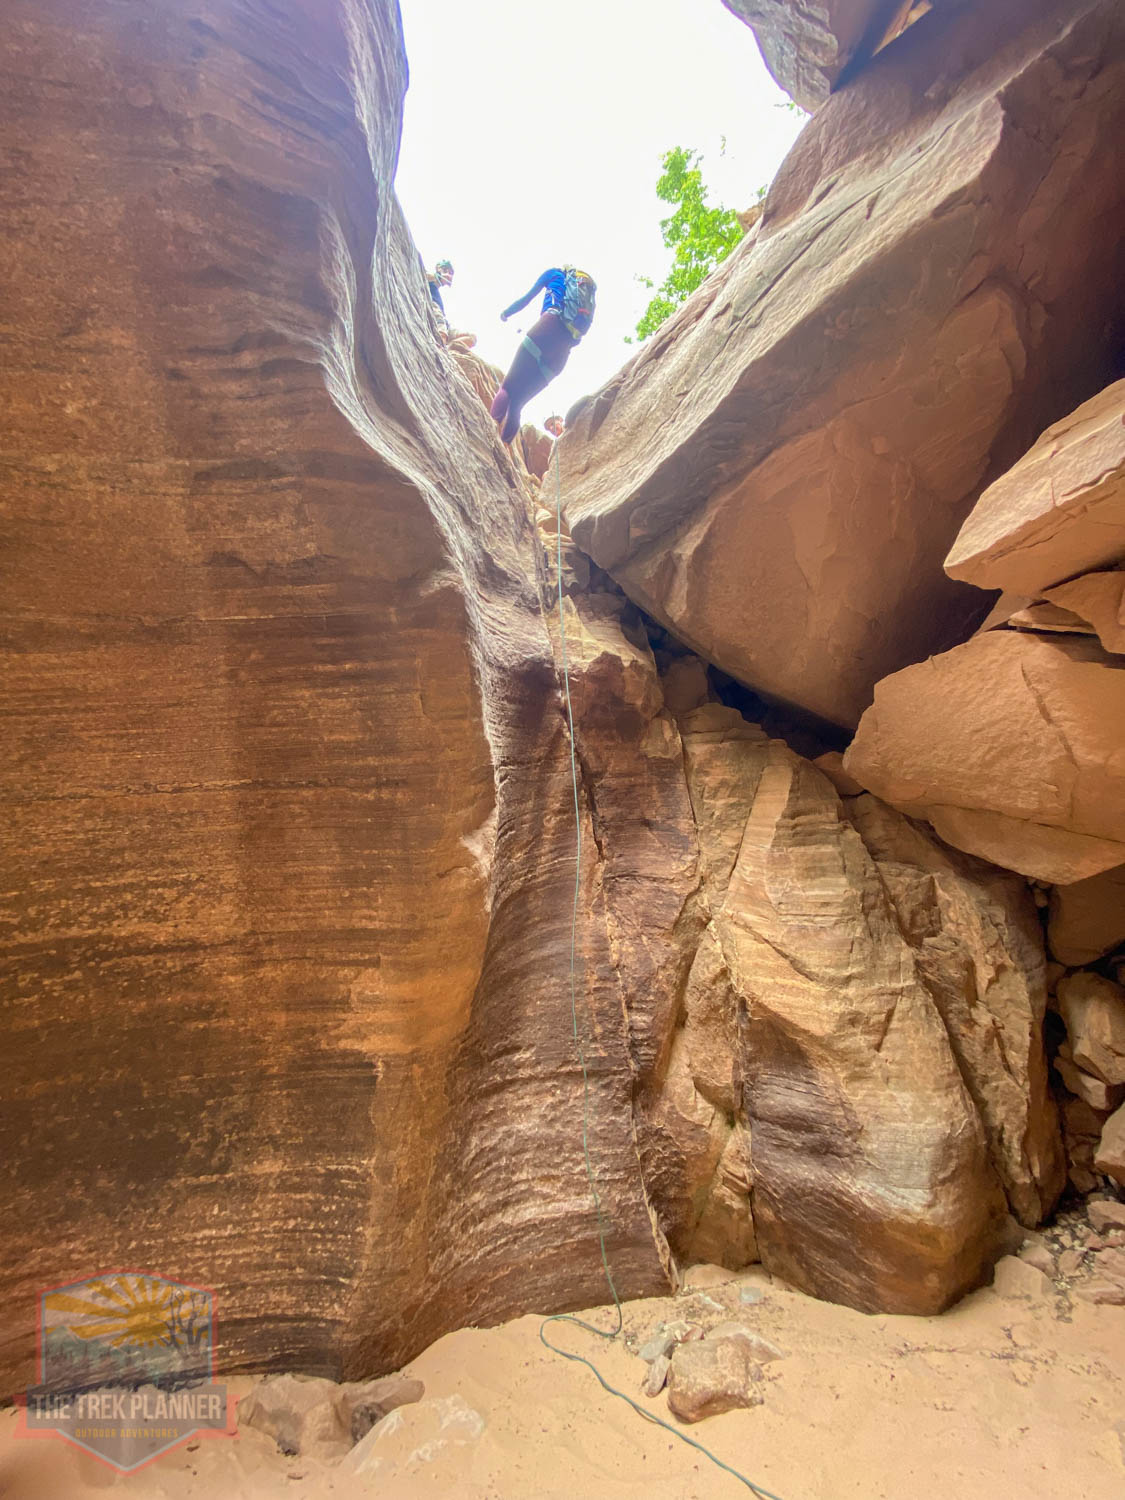
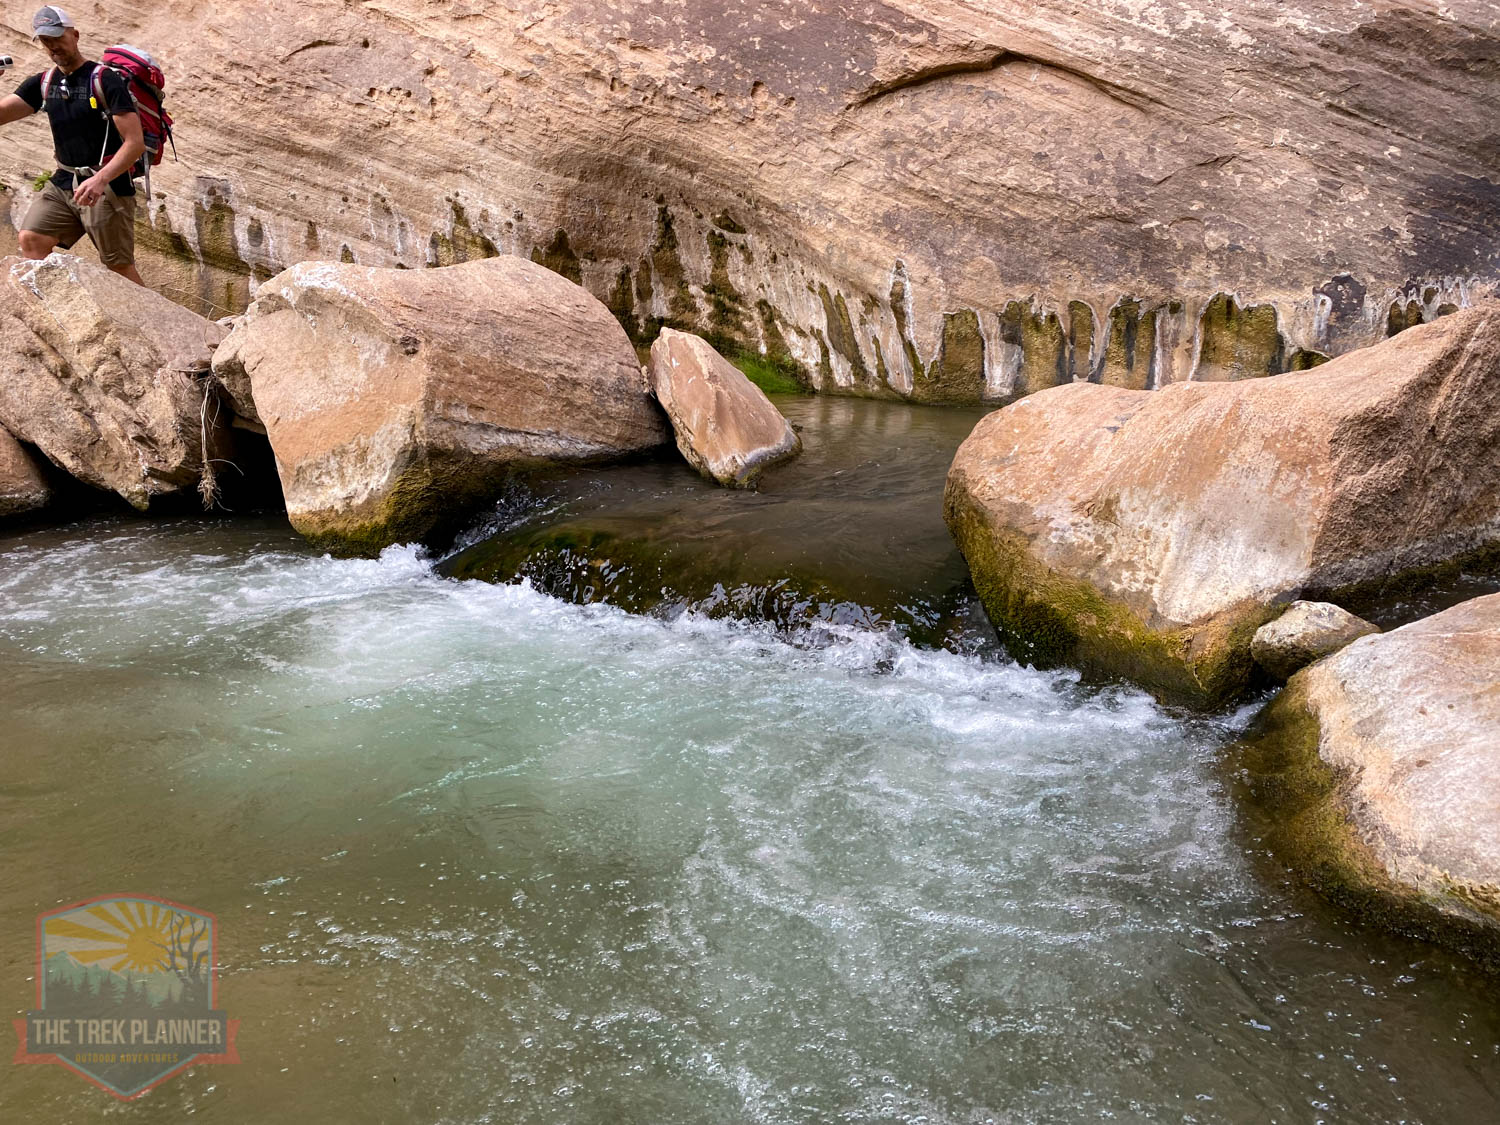
The picture below is of a tricky area that might be better as a rappel than a downclimb. We did it as a downclimb, but the group behind us did it as a rappel. It’s up to you. Just be prepared to get your feet wet in these slot canyon sections and work as a team to help each other out. Remember, you’re only as fast as your slowest member of your group.


There is a very short slot canyon that we hiked over to save time. You can go through it if you want. We found a ledge and climbed up it to continue.
The Fourth slot canyon section has another short rappel, which was about 10 ft high. This was at about the 3.99 mile marker.
We then hiked a ways and bypassed a slot canyon in order to save time. It’s kind of a steep hike down, but we followed a crack in the rock and felt safe about it. We just wrapped a rope around a tree and rappelled down about 30 ft. into another dry wash. The 30 ft. rappel is at about the 4.34 mile marker.
The fifth slot canyon section is located a little ways down from the 30 ft. rappel and features a rappel that’s about 20 ft. long. There are also obstacles for downclimbing and even sliding! The fifth section is located at about mile marker 4.47.

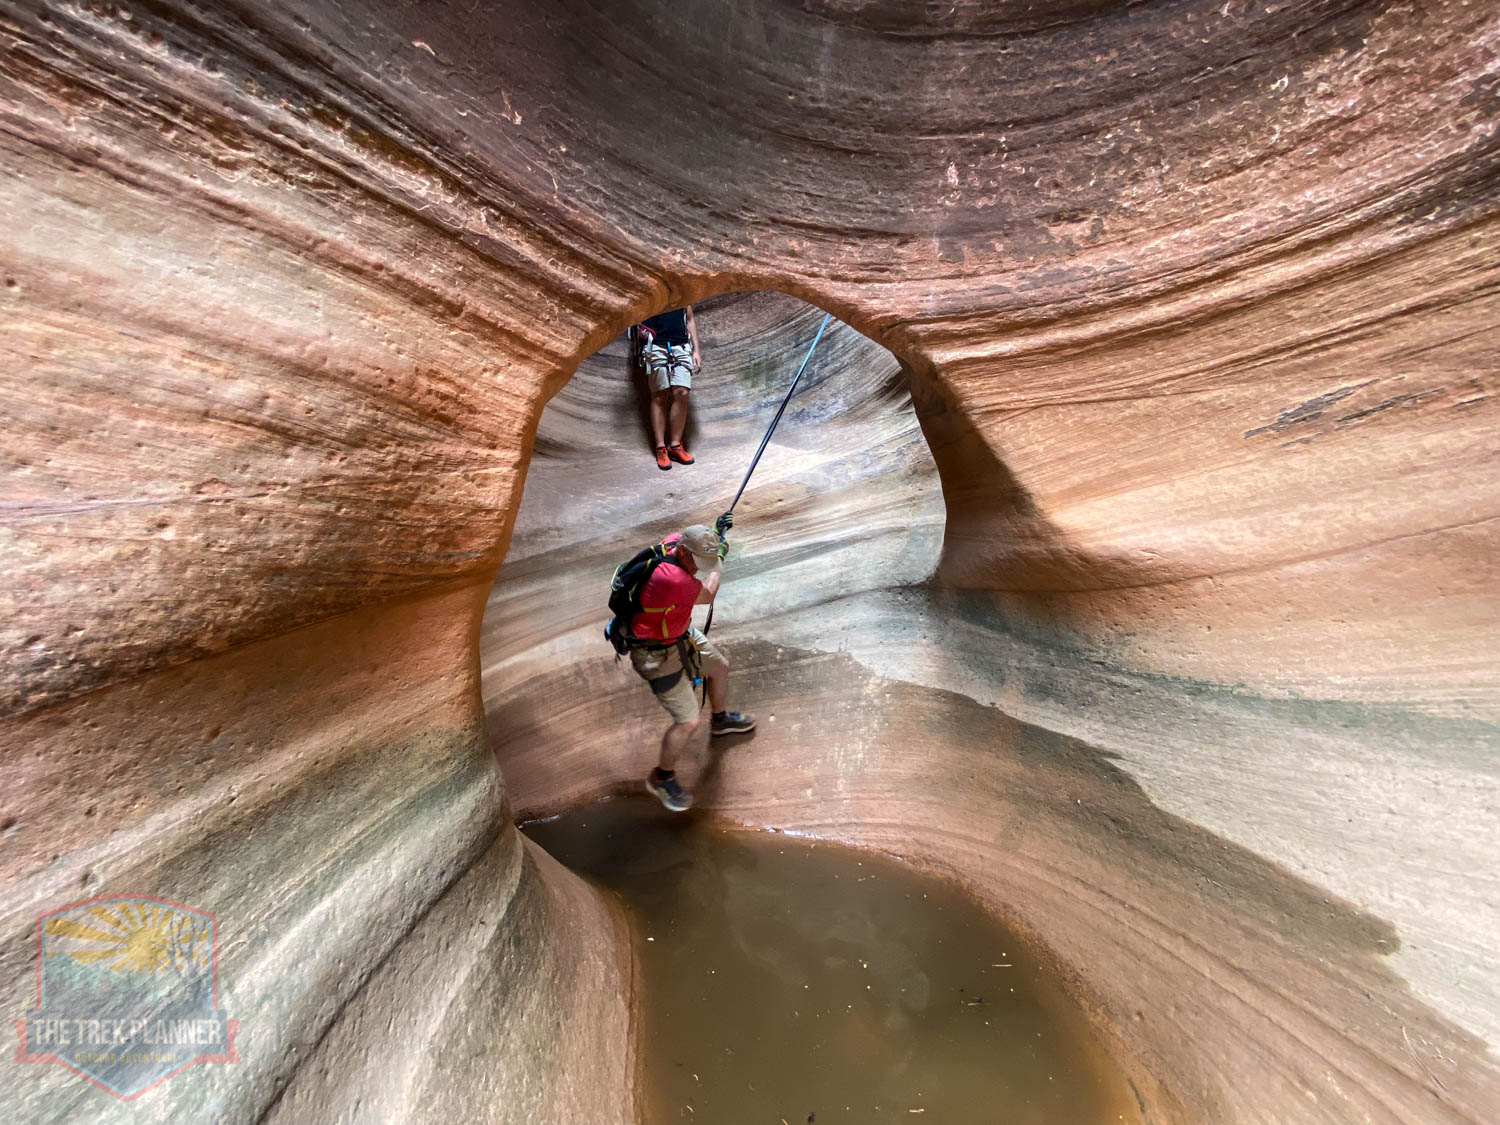
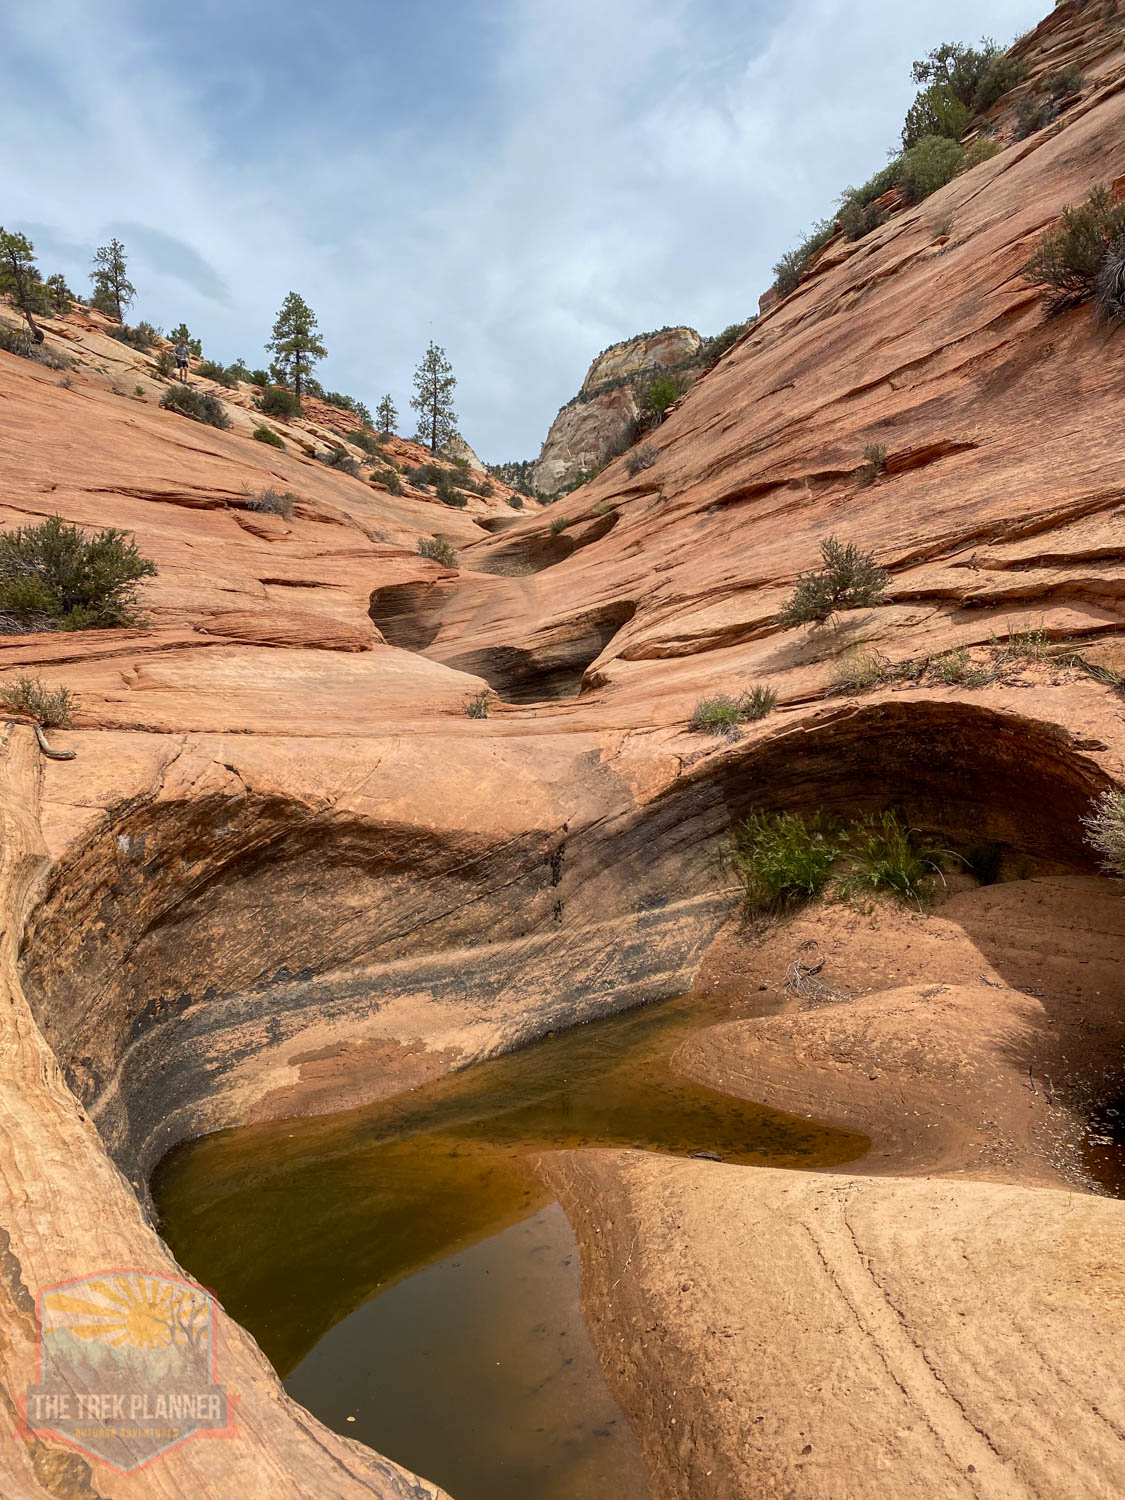
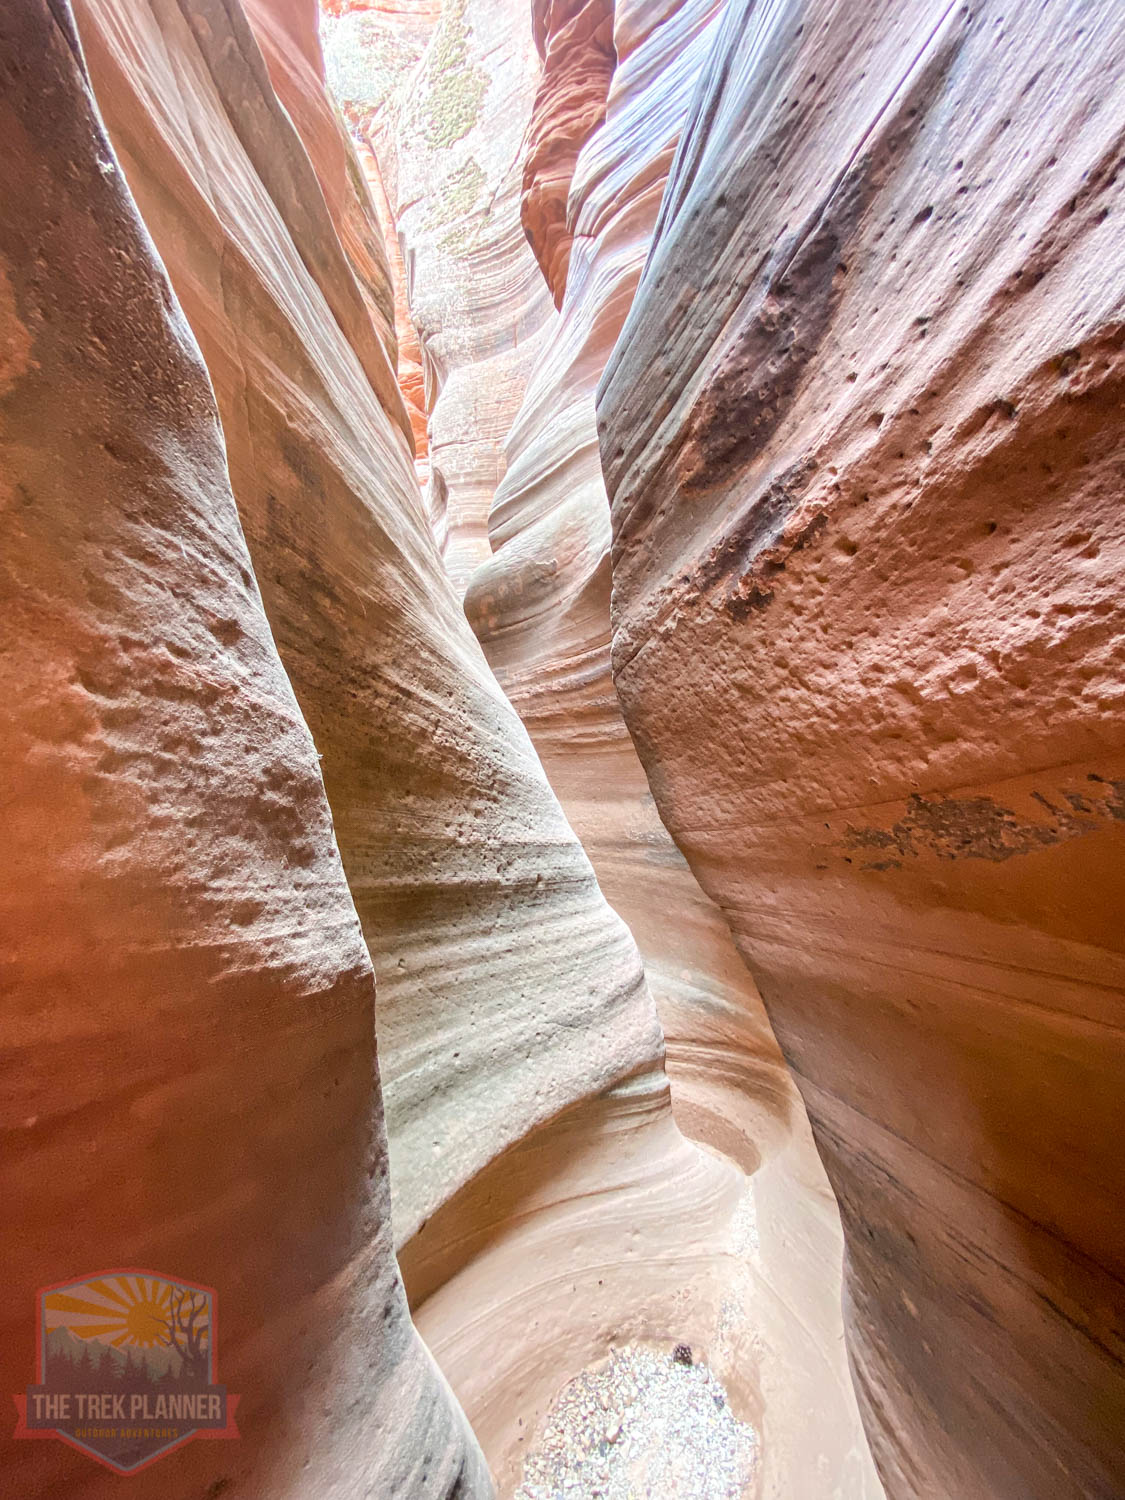
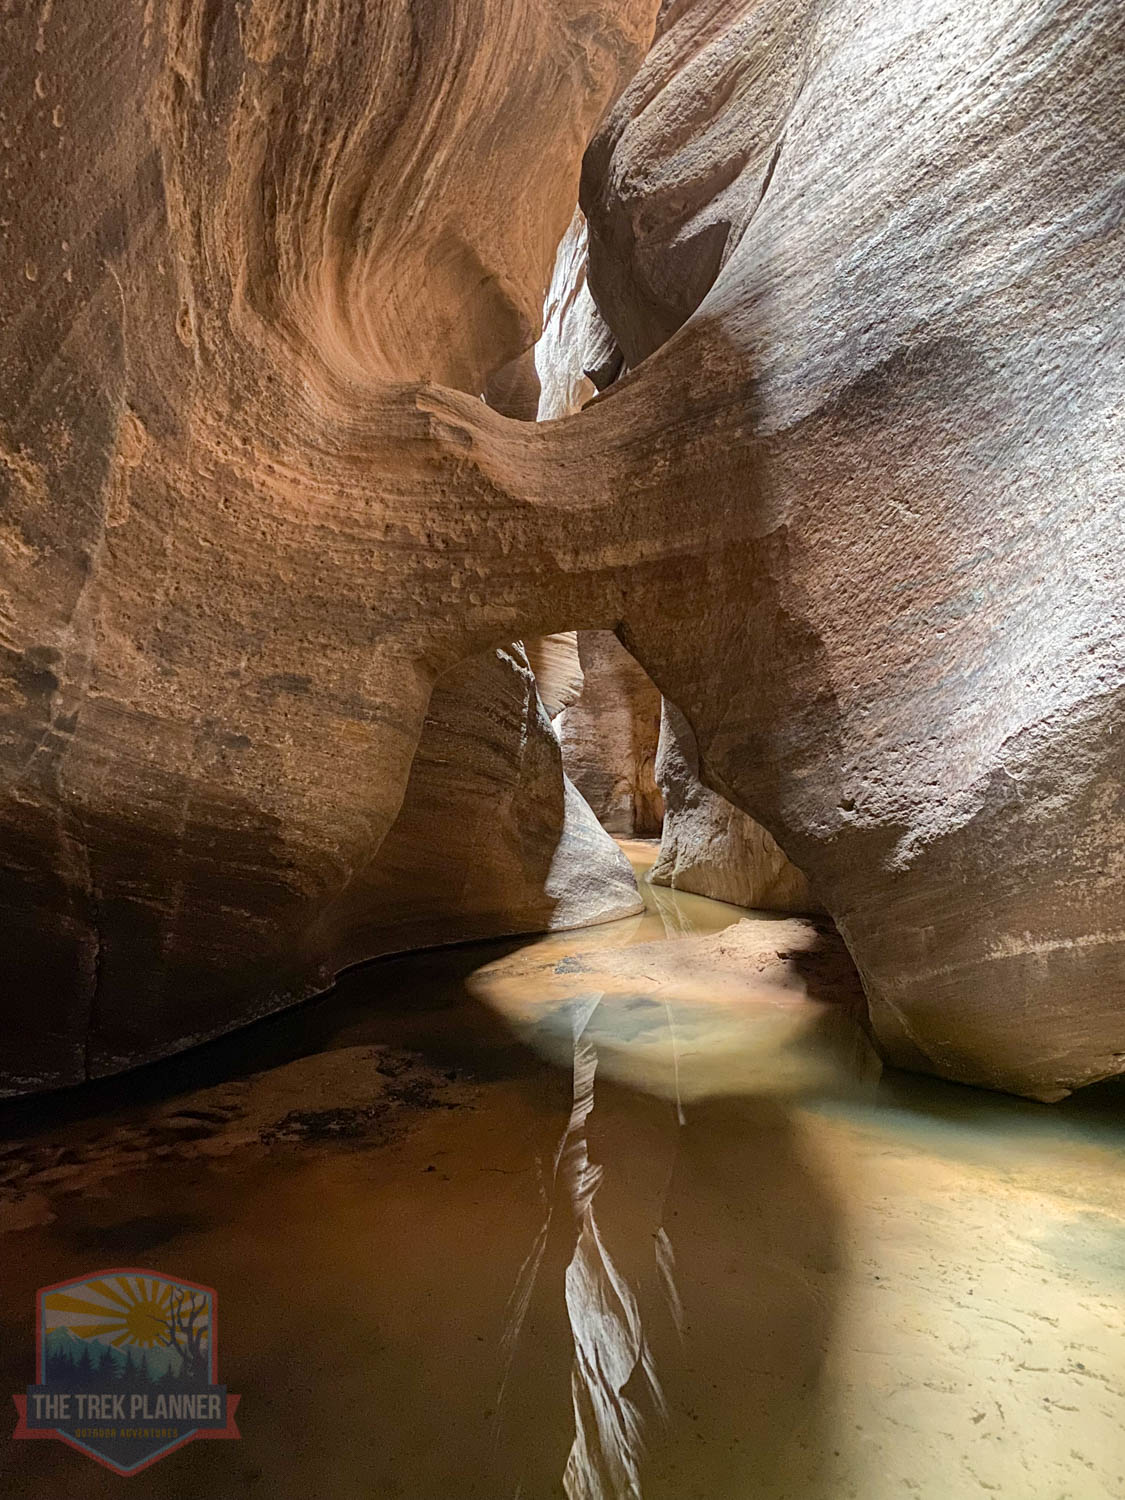
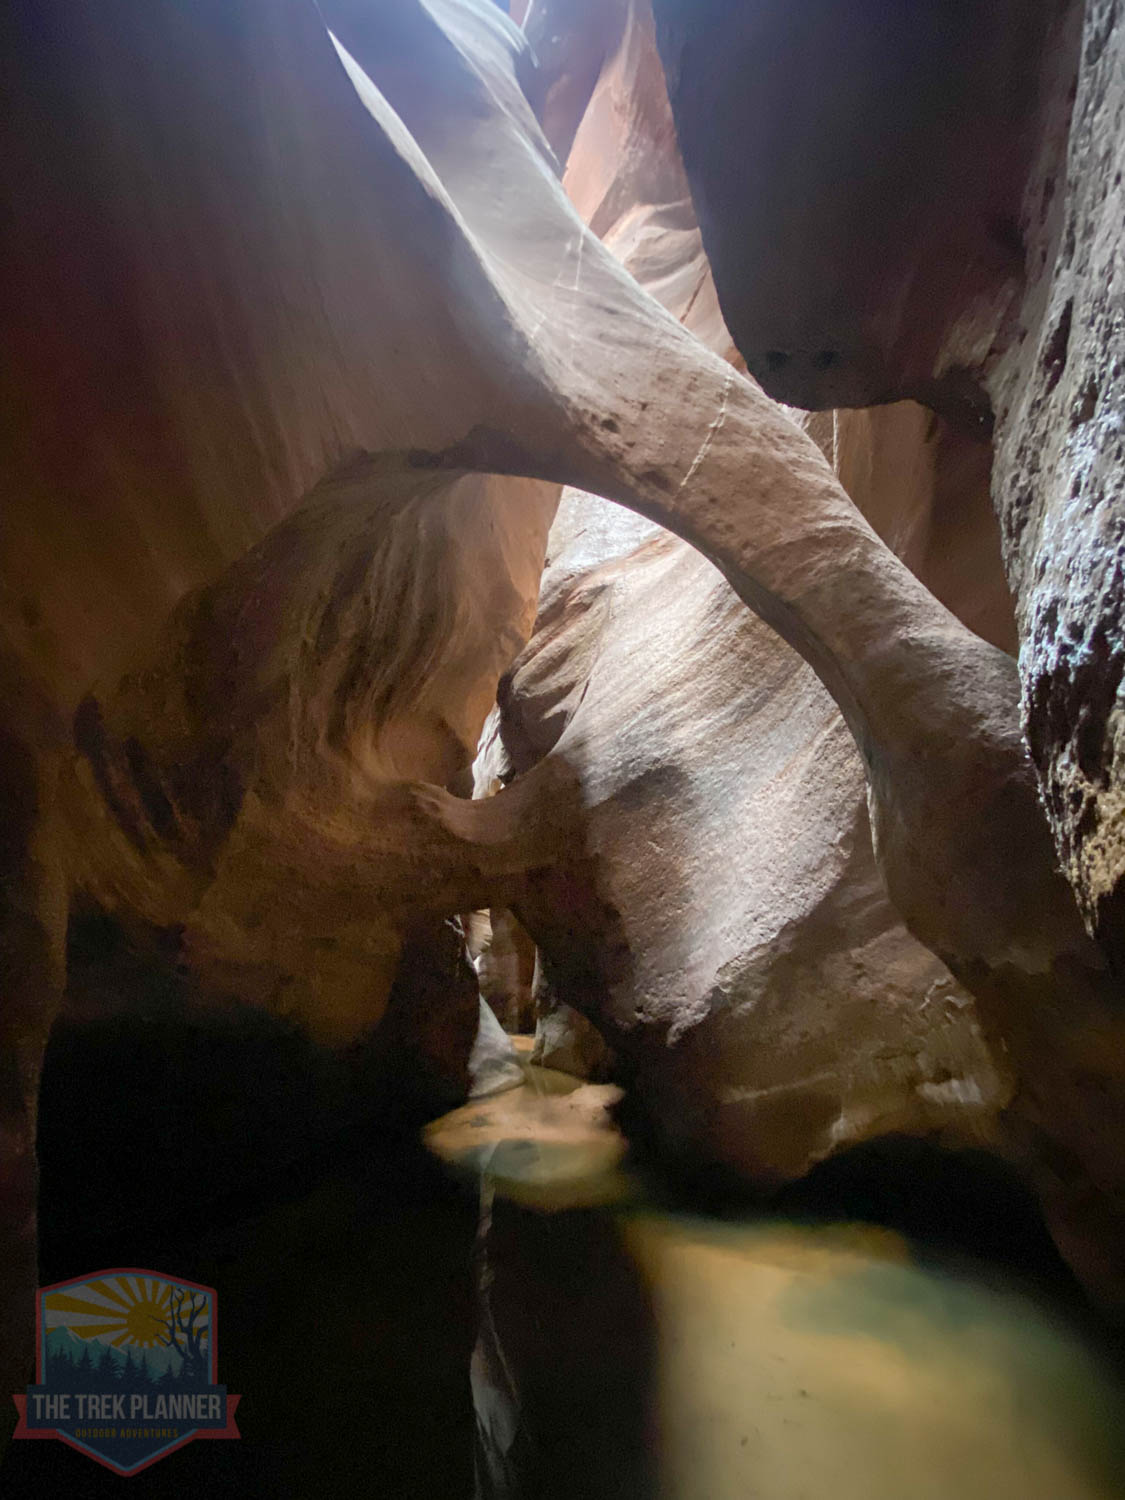
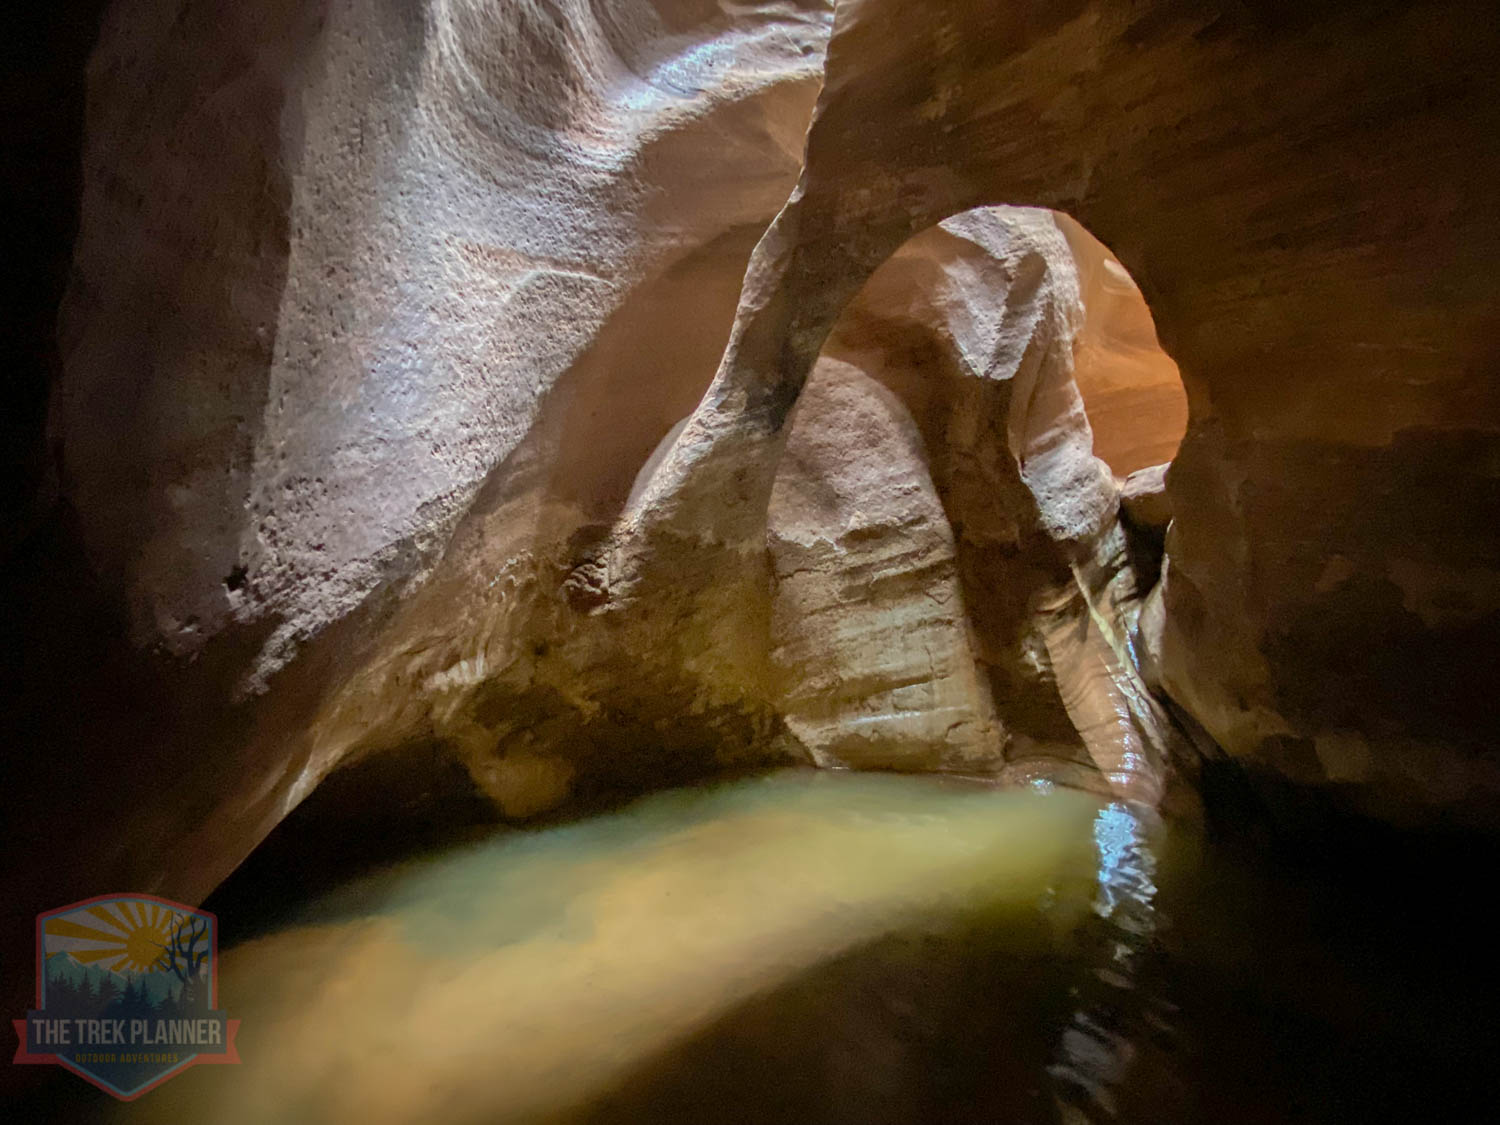
At the 4.65 mile marker, we encountered a dark slot canyon section, which is the sixth and final slot canyon section. So far, the water sections didn’t really have too much nasty stagnant water. And, we didn’t need any wet suits. (after doing this hike, I realized that there was only one part that was chest deep and wet suits would have been overkill. That being said, if you feel you need a wet suit to keep you warmer than you should bring it. That is why I only suggest doing this in the warmer months of the year.)
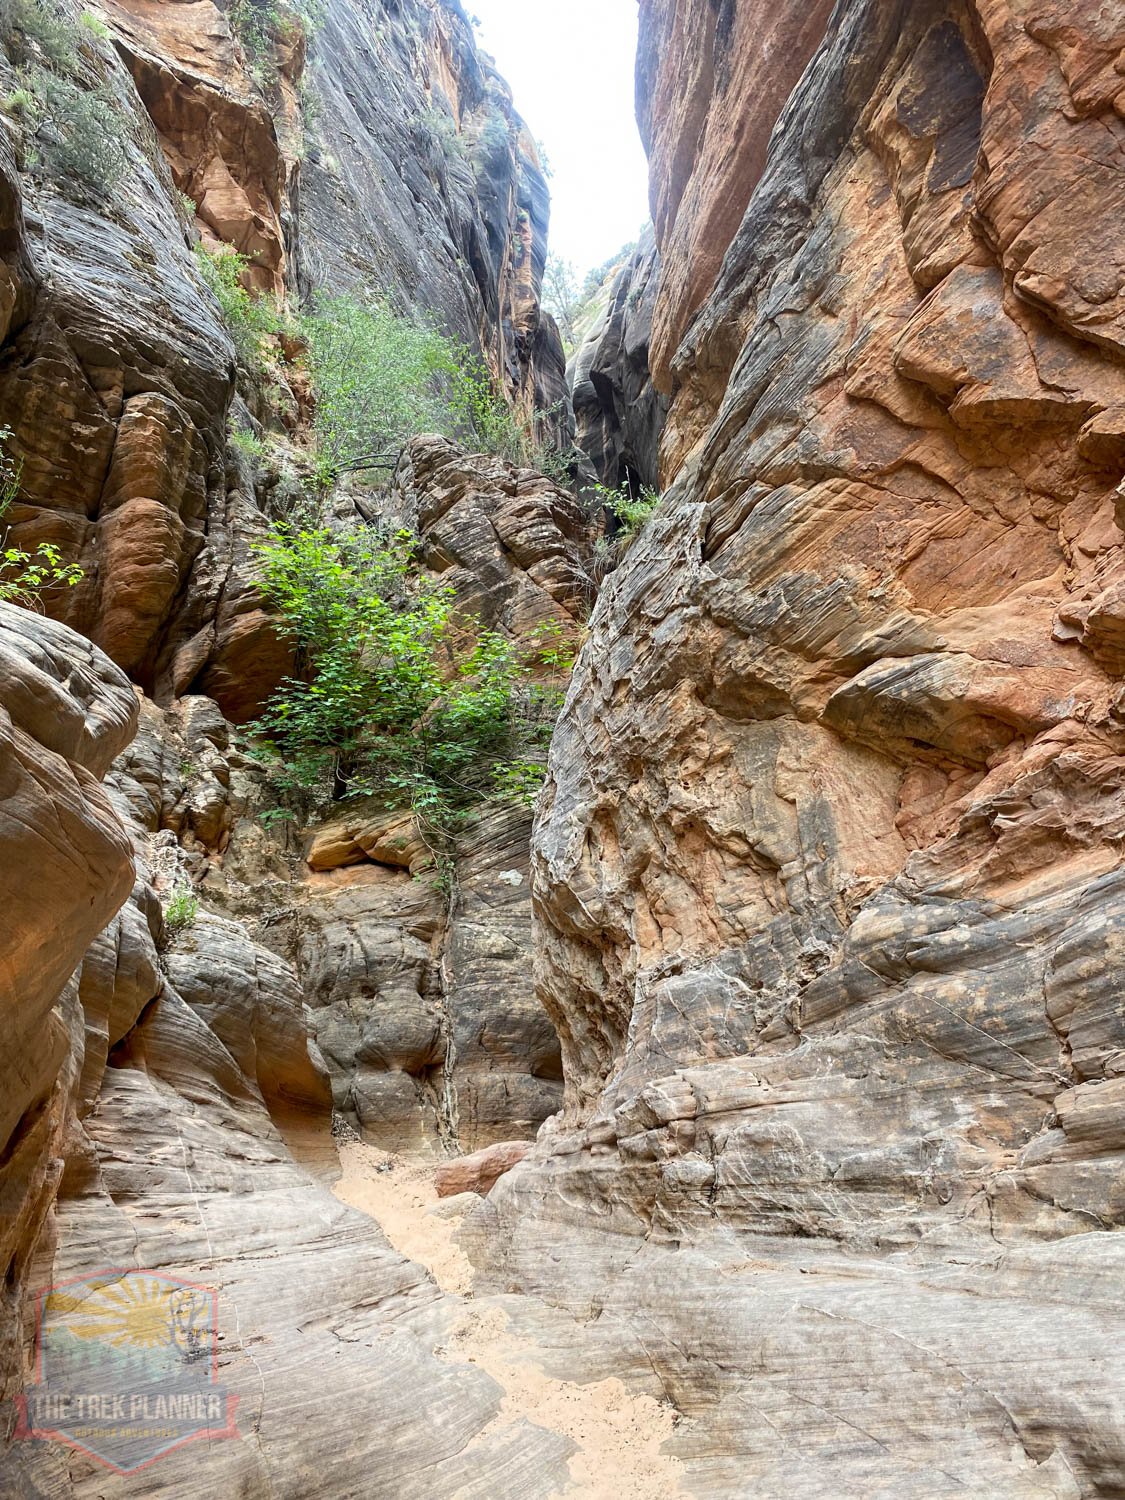
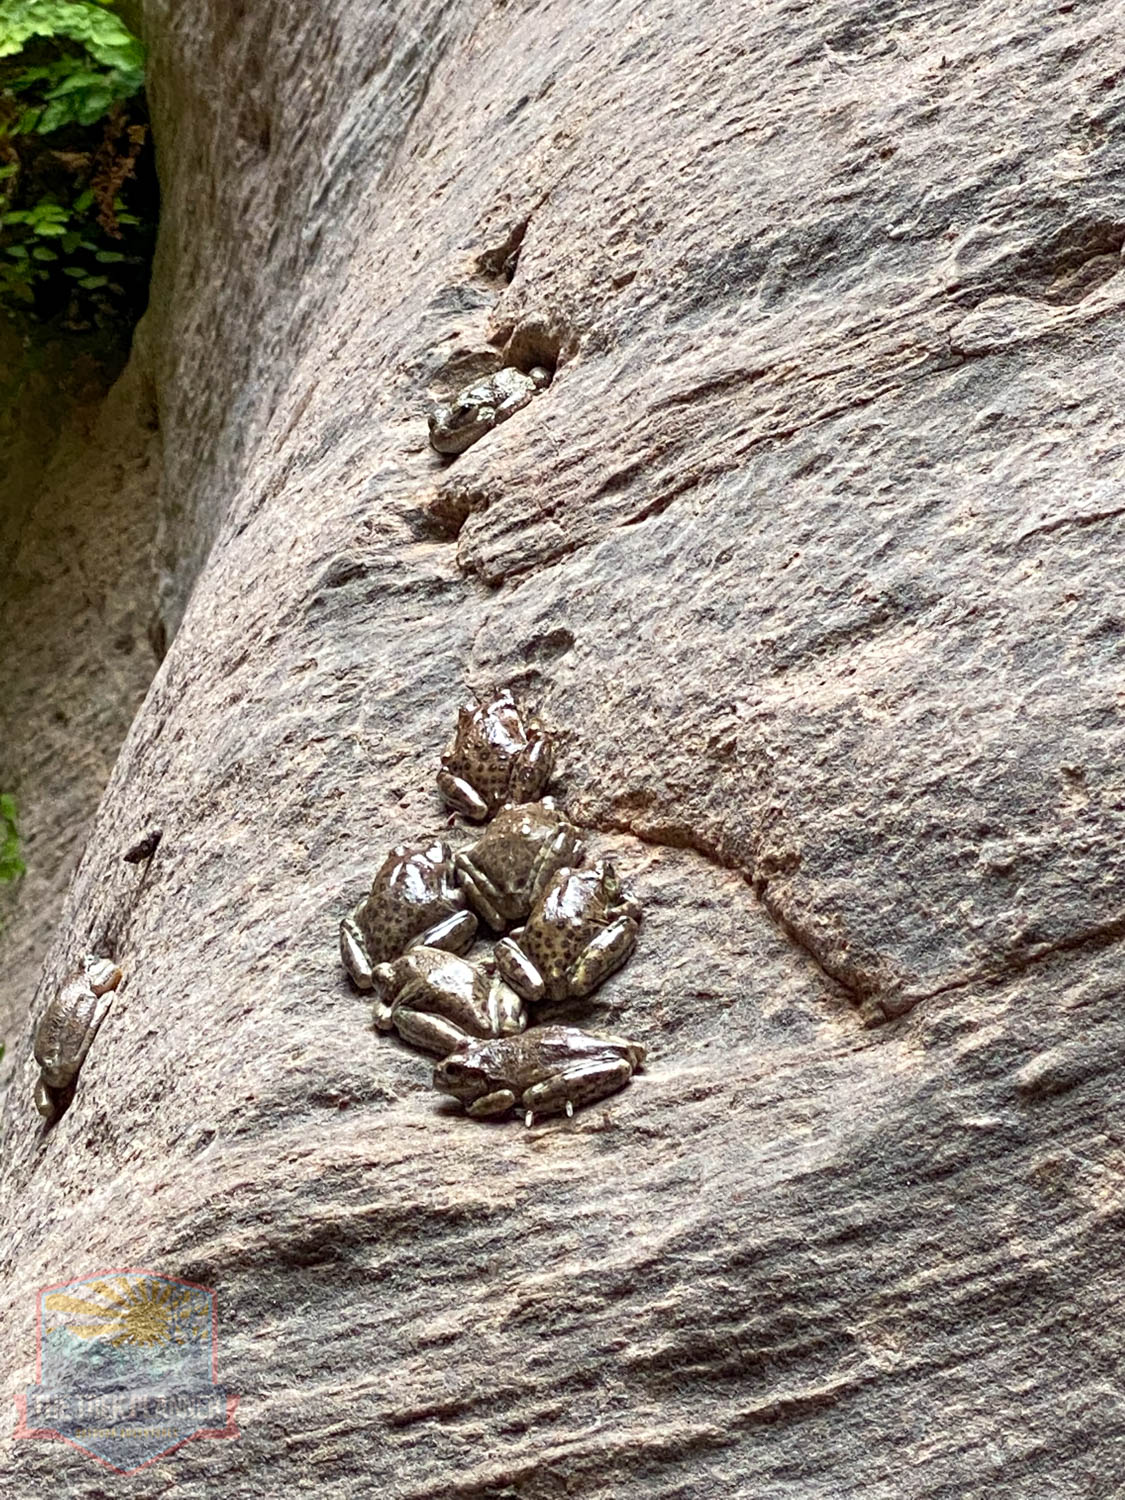
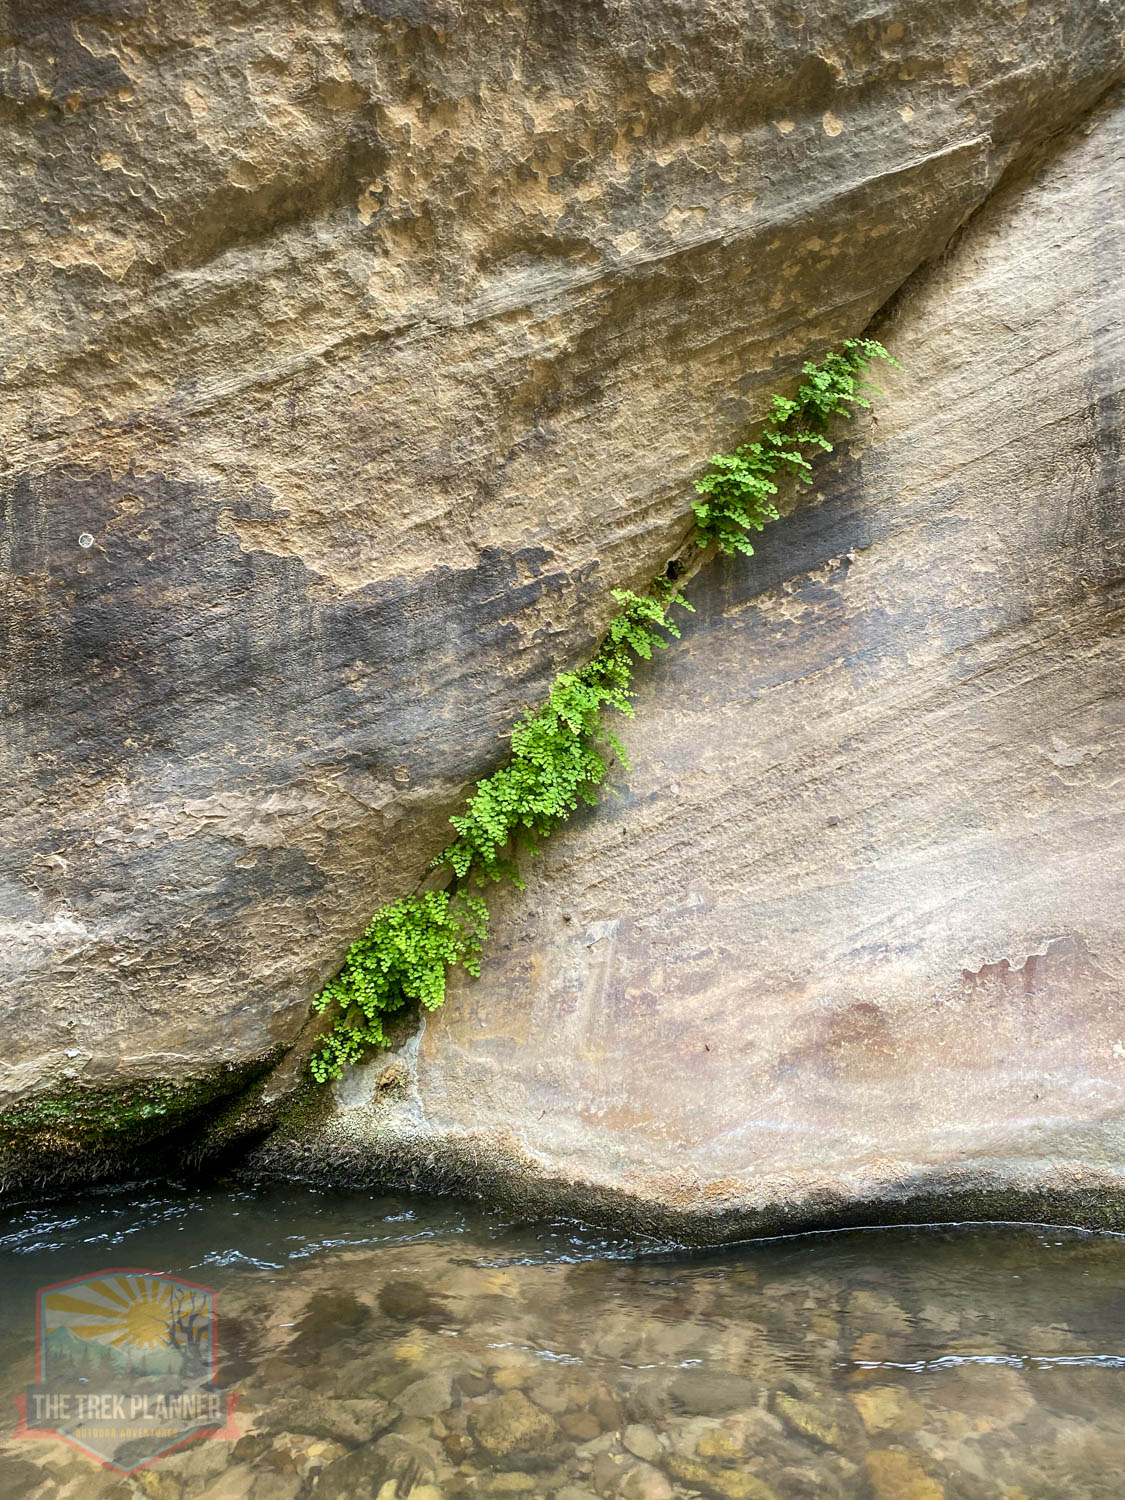
I think this was one of my favorite areas on this whole hike! We were walking in water and were sliding down rocks and climbing down parts where there were two natural arches! We then slid down another tricky area into warm-ish water where lush green ferns were coming right out of the rock walls!

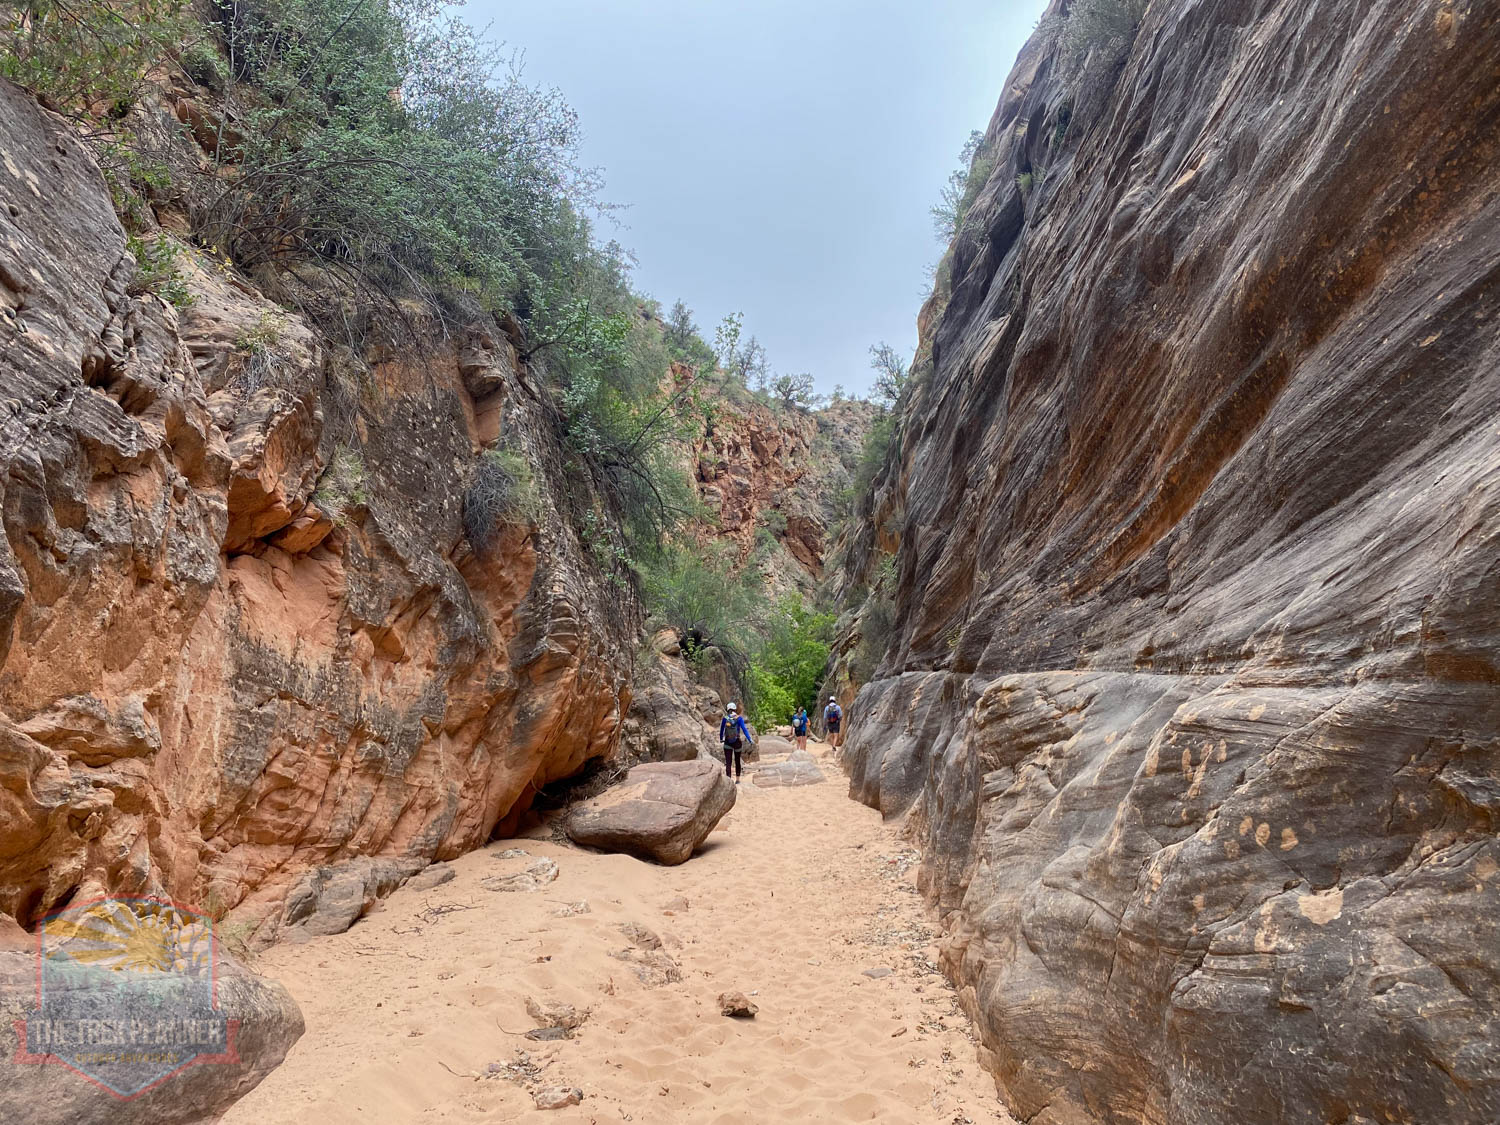


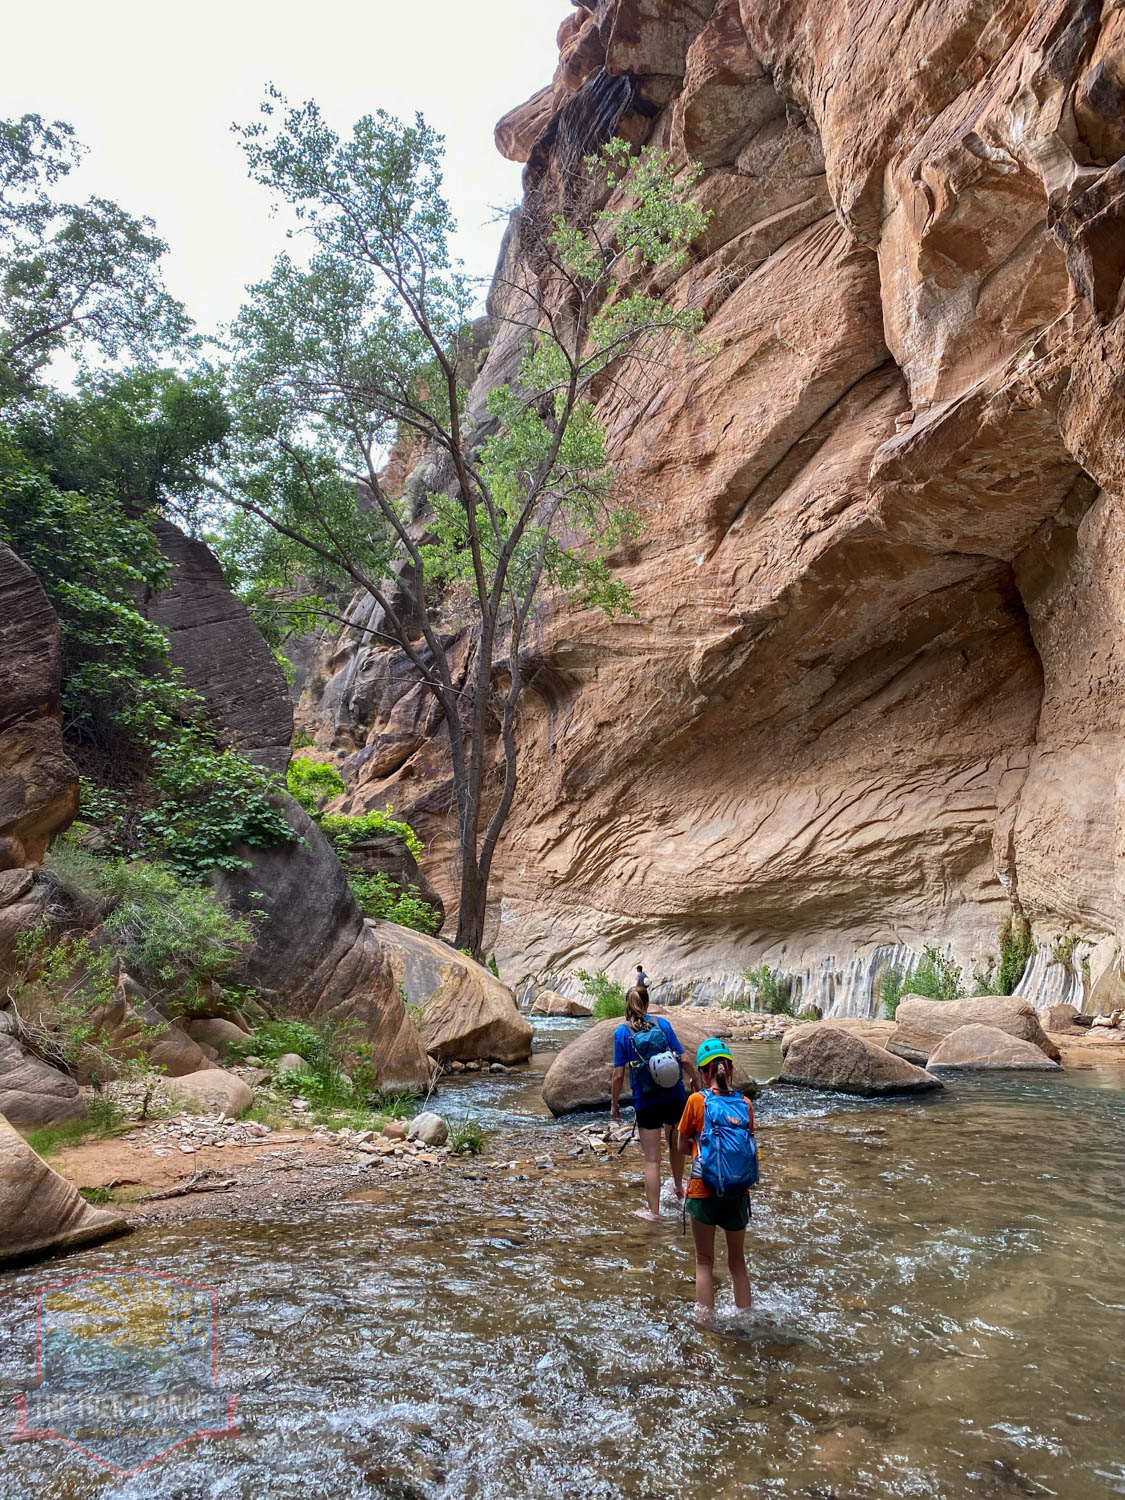
By this point, I had sweat and dust all over me. I was ready to get into the East Fork Virgin River and clean off! The river was just around the corner and it welcomed us with beautiful skyscraping sandstone cliffs!
We took off our harnesses and packed away all of our canyoneering gear. We won’t be needing it anymore.
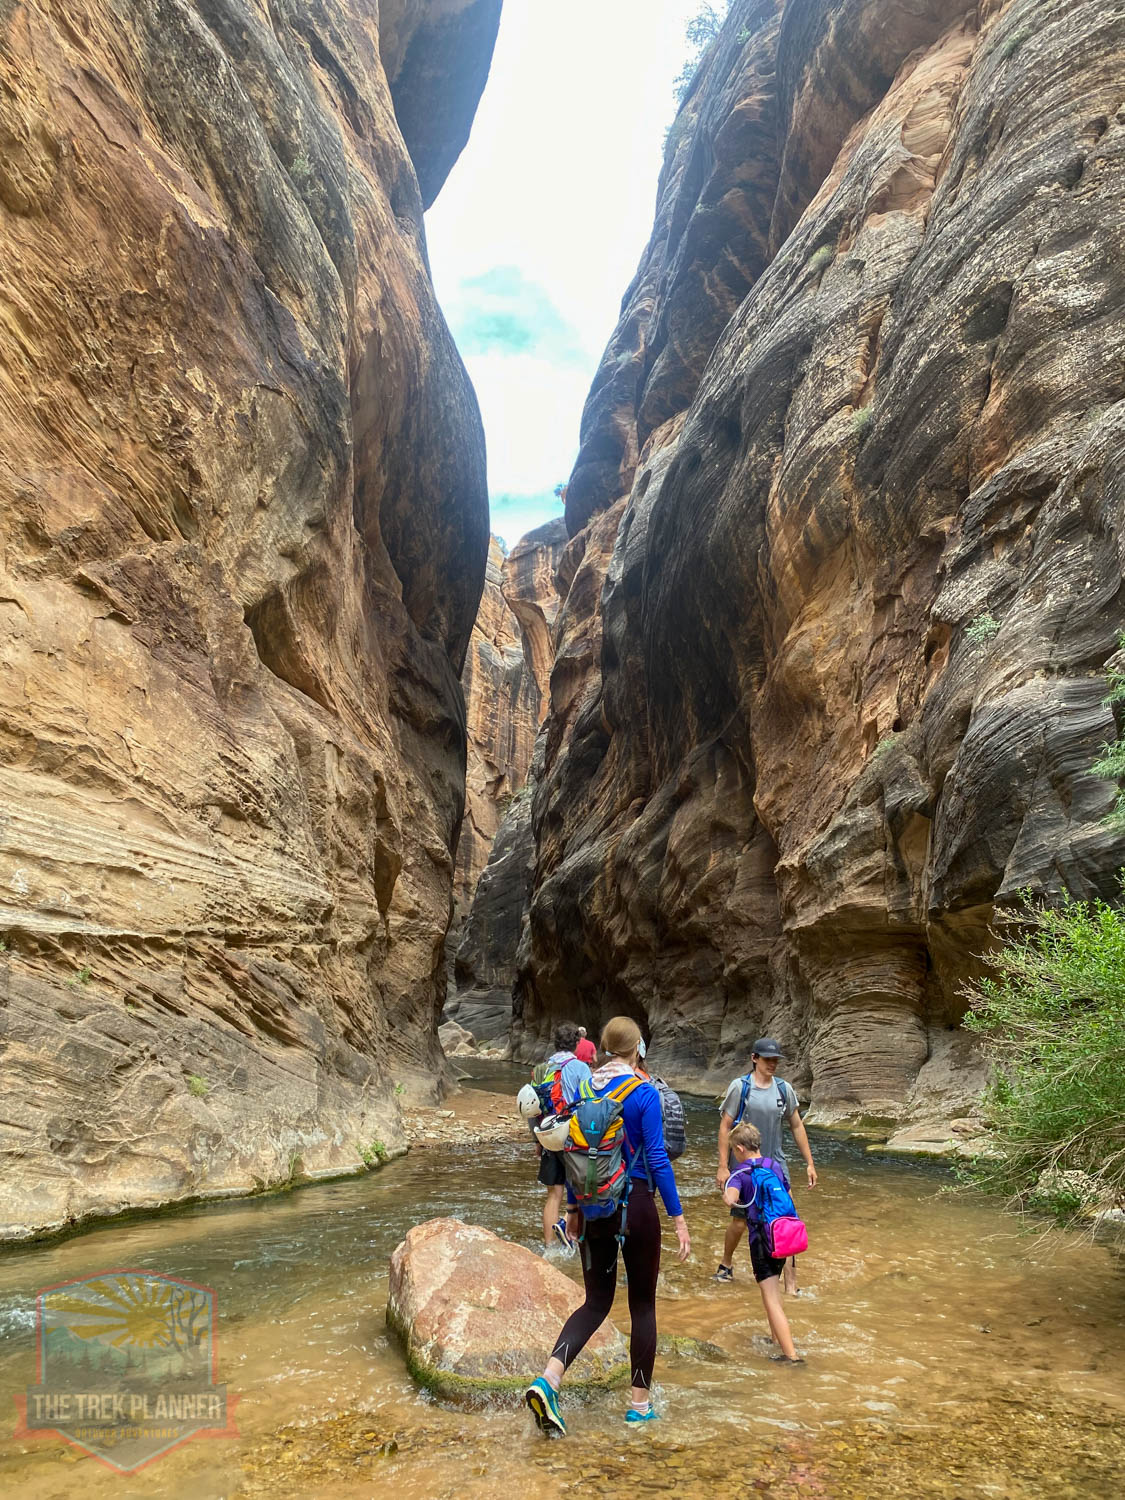
We hit the East Fork Virgin River at about the 4.75 mile marker. It was a pleasant surprise because we knew that we would soon be getting ready to hike back to our car and we were getting tired! This BLM governed area is called the Parunuweap, which is a Paiute word meaning “Roaring Water Canyon”. This is a special and unique area that comprises of slot canyons and picturesque narrow sections of the East Fork Virgin River. Parts of Parunuweap are on private land.
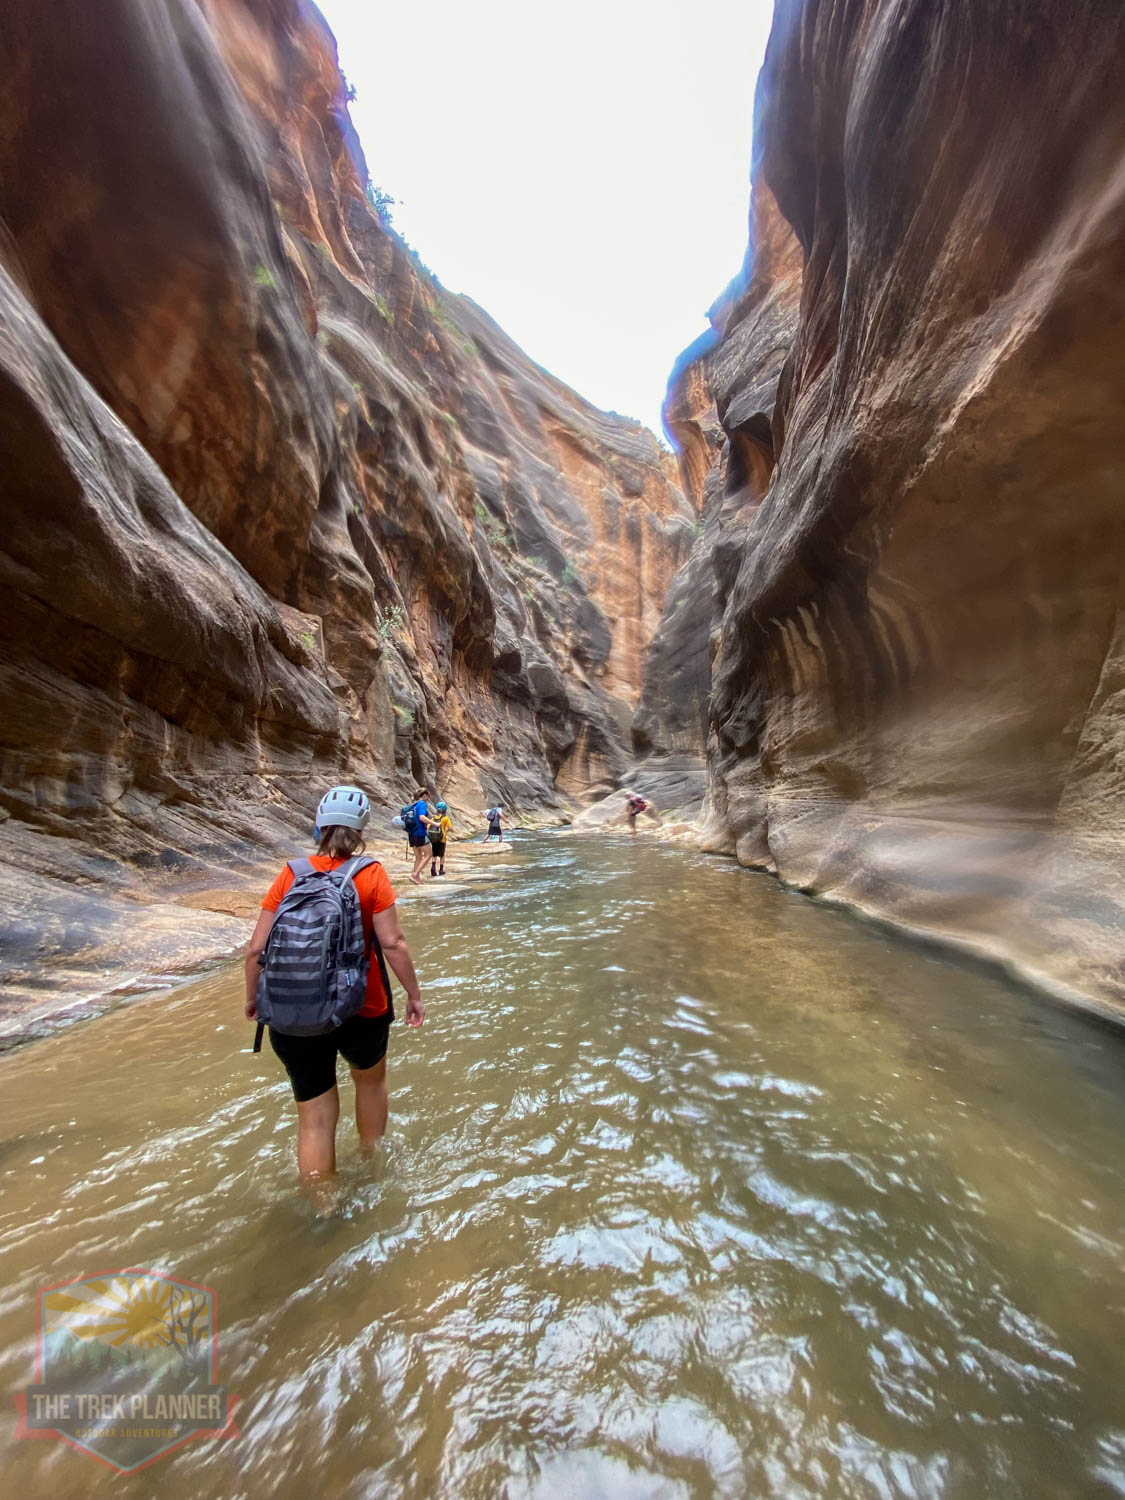
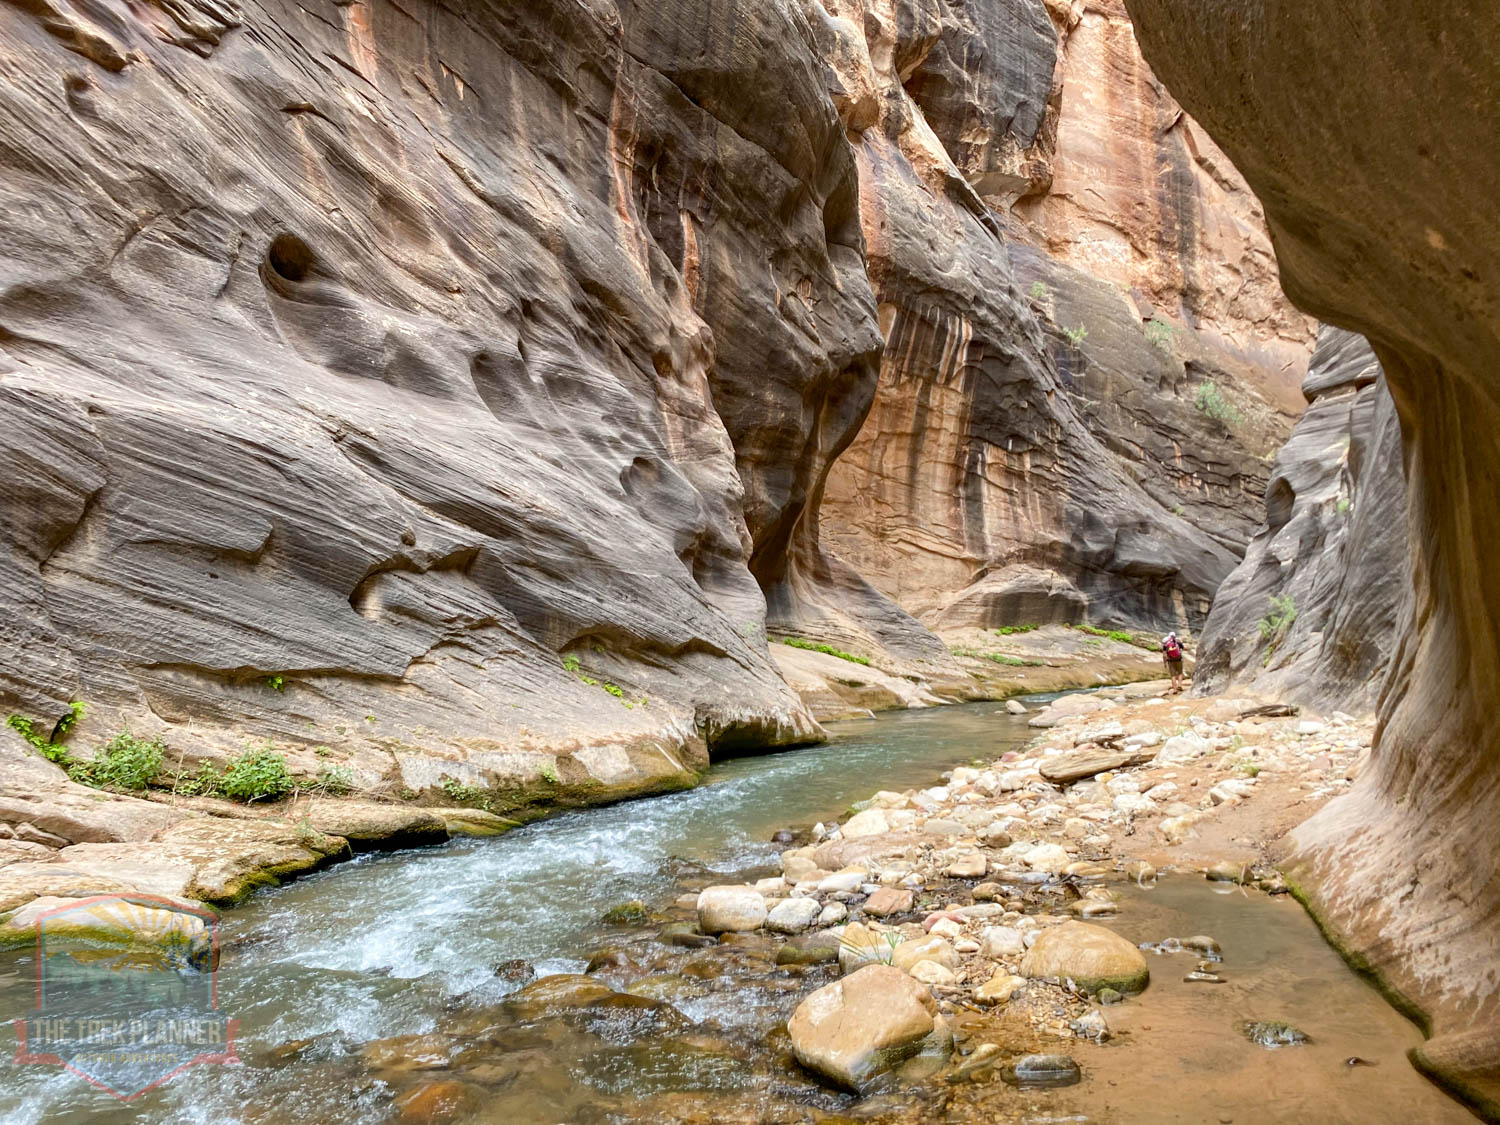
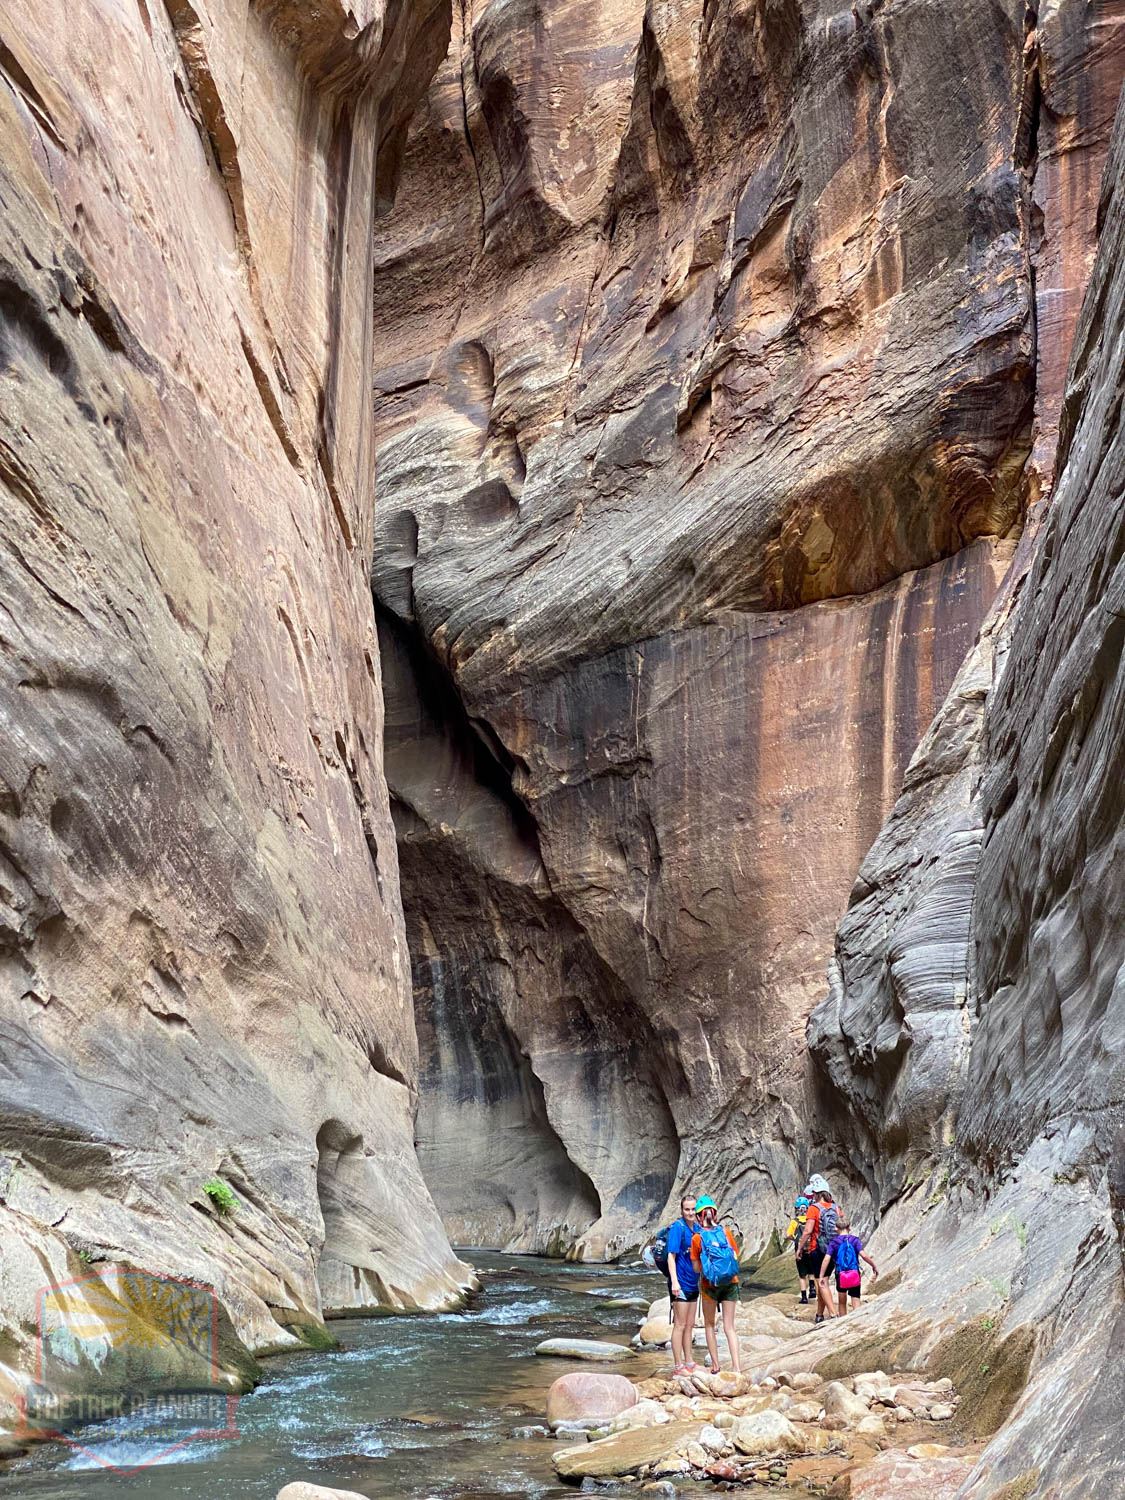

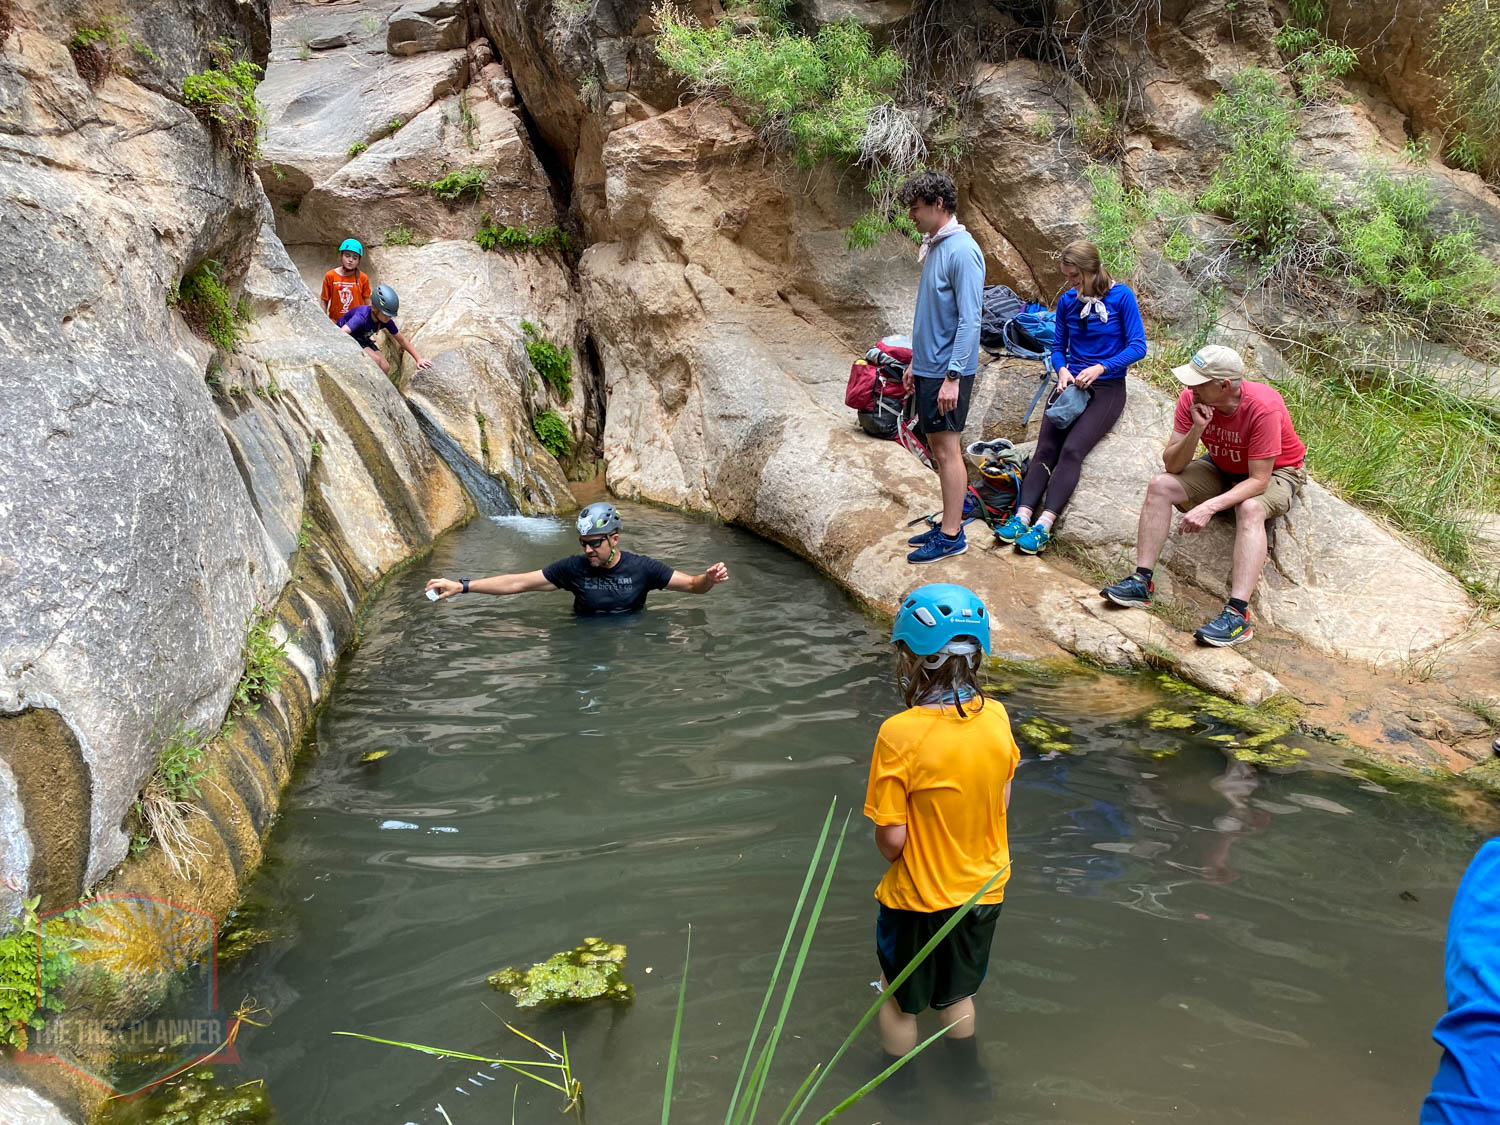
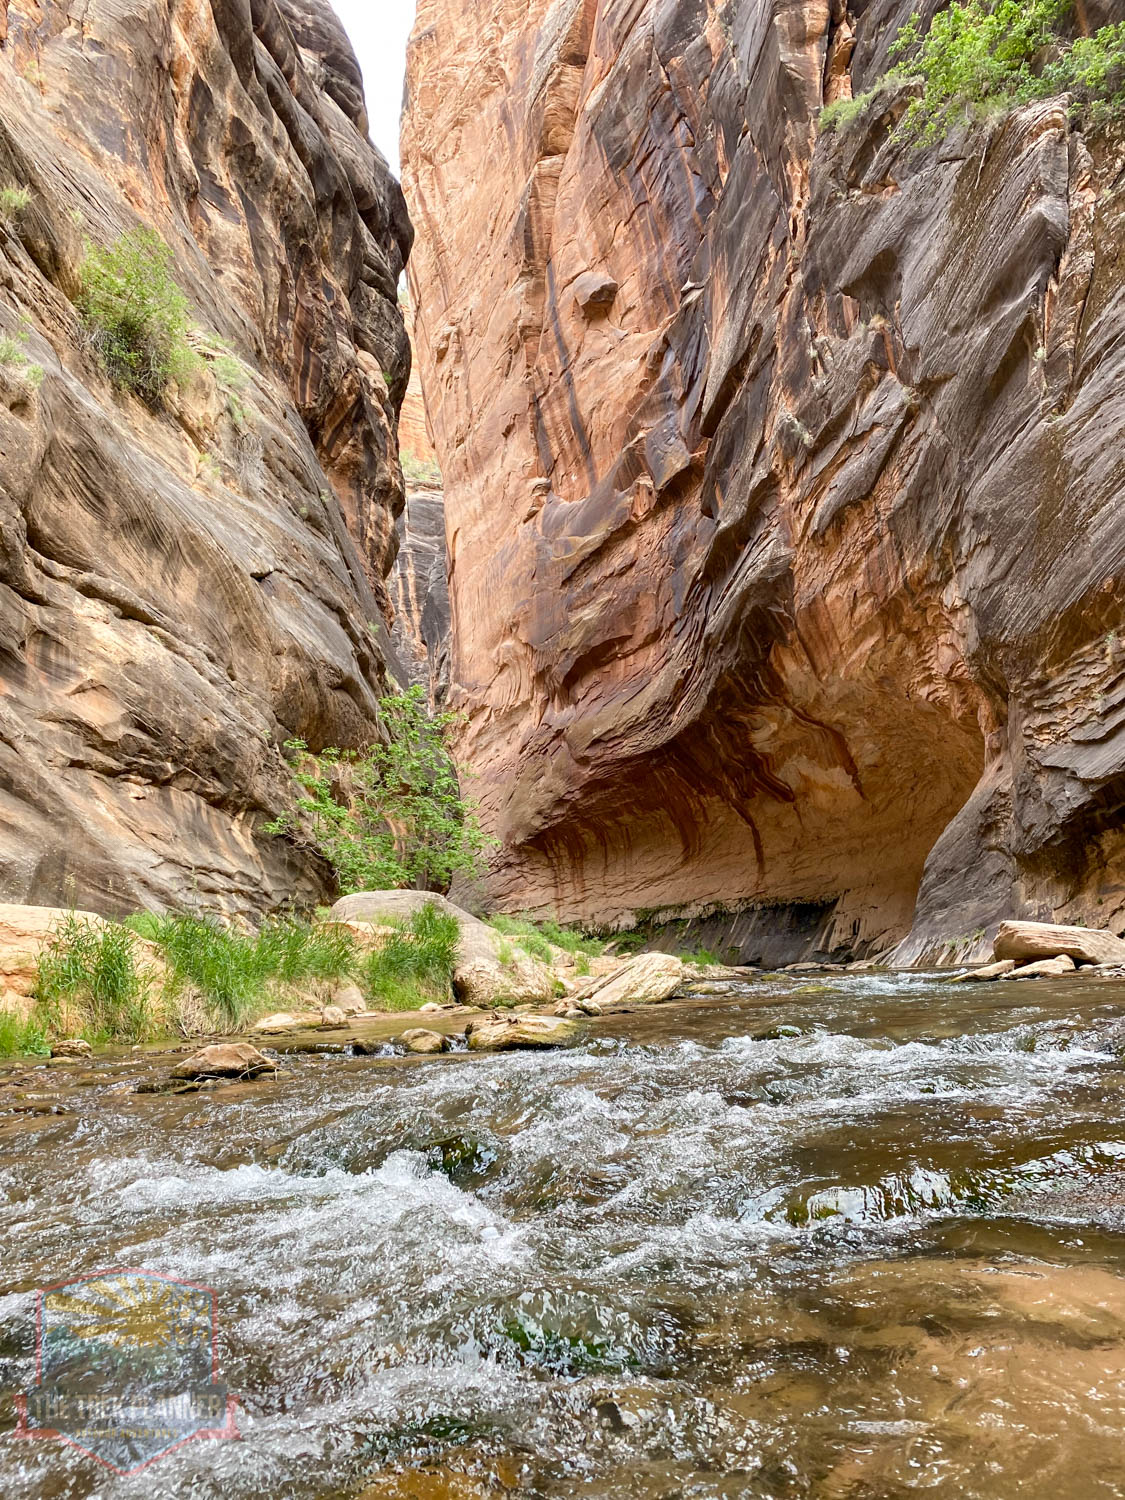
We began our hike through the East Fork Virgin River by hiking through a very narrow section called the Barracks. Then, around the corner my brother showed us a fresh water spring from which we filtered clean water. The water was ice cold and refreshing! Many of us were almost out of water, so getting to this spring was important. We could have technically filtered water from the East Fork Virgin River, but at the upper end of the river is ranch land and we wanted to be careful by not drinking water that cows have been pooing in.


You will be hiking in the Narrows section for about 1/3 of a mile. The river can be deep and fast so hold hands or use a stick to balance as needed.

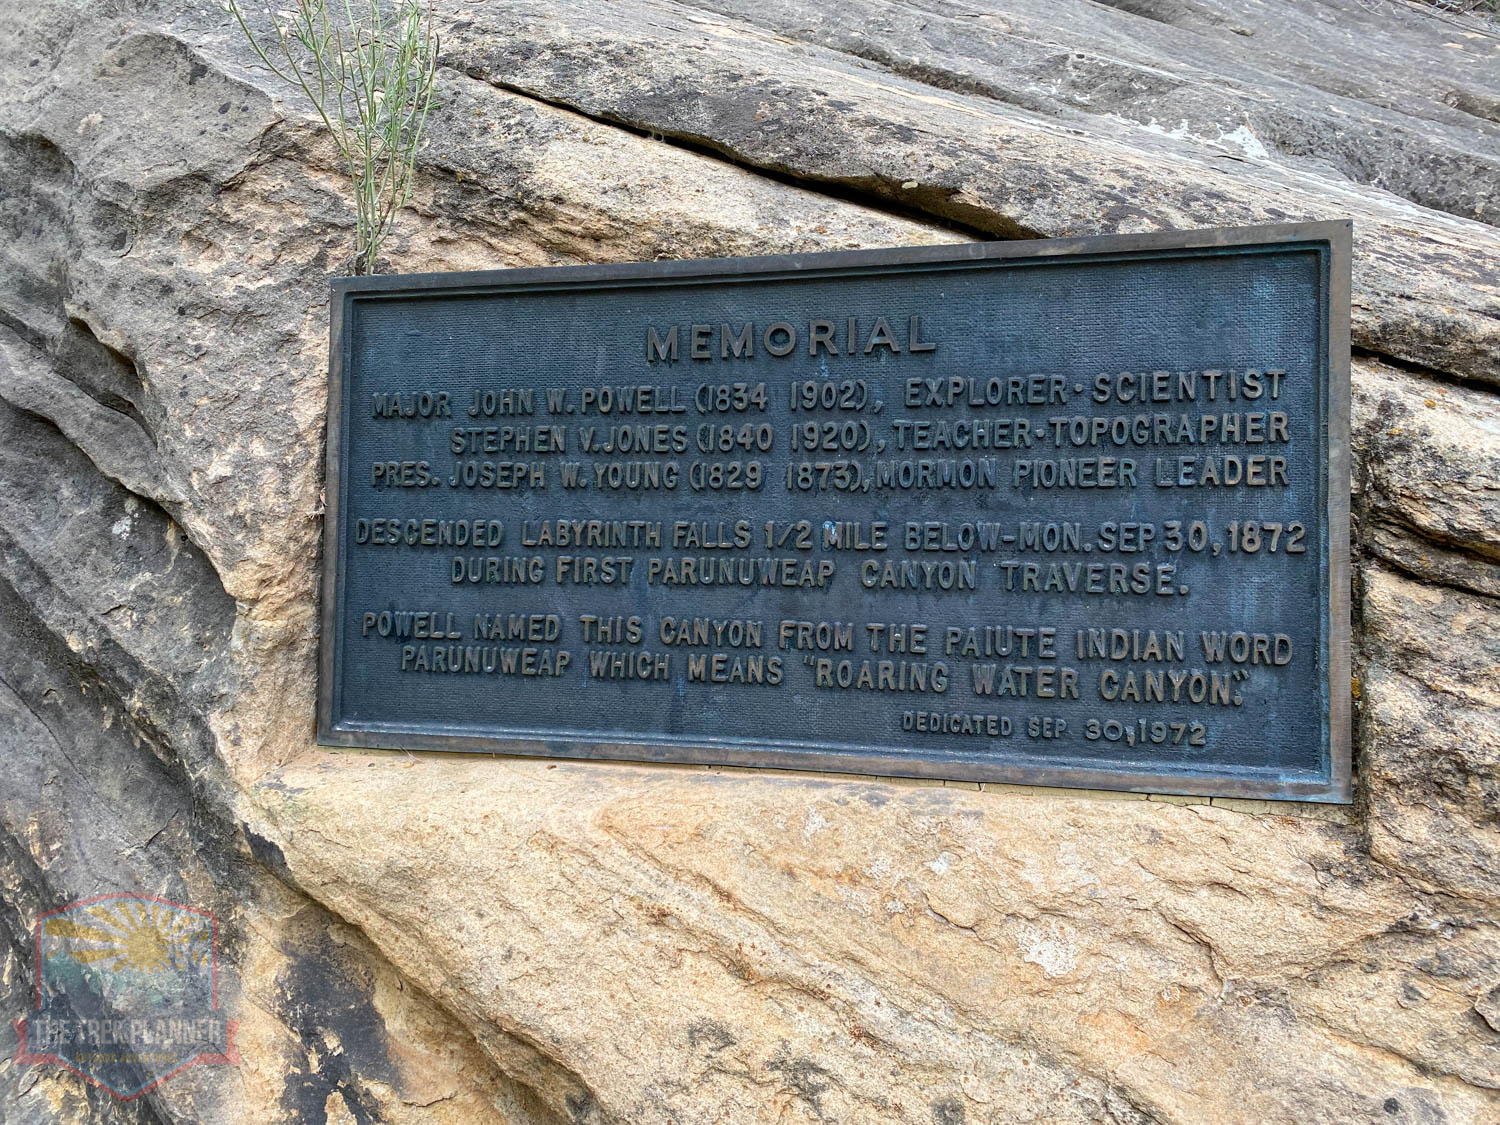
Once you turn around corner from the Barracks, keep going until you see a place to come out of the river on the north side. This is where you will begin your miserable trek back to your car. But first, use my GPS coordinate to find the plaque dedicated to John Wesley Powell and his crew. They came very close to this spot when they were doing a survey of this region.
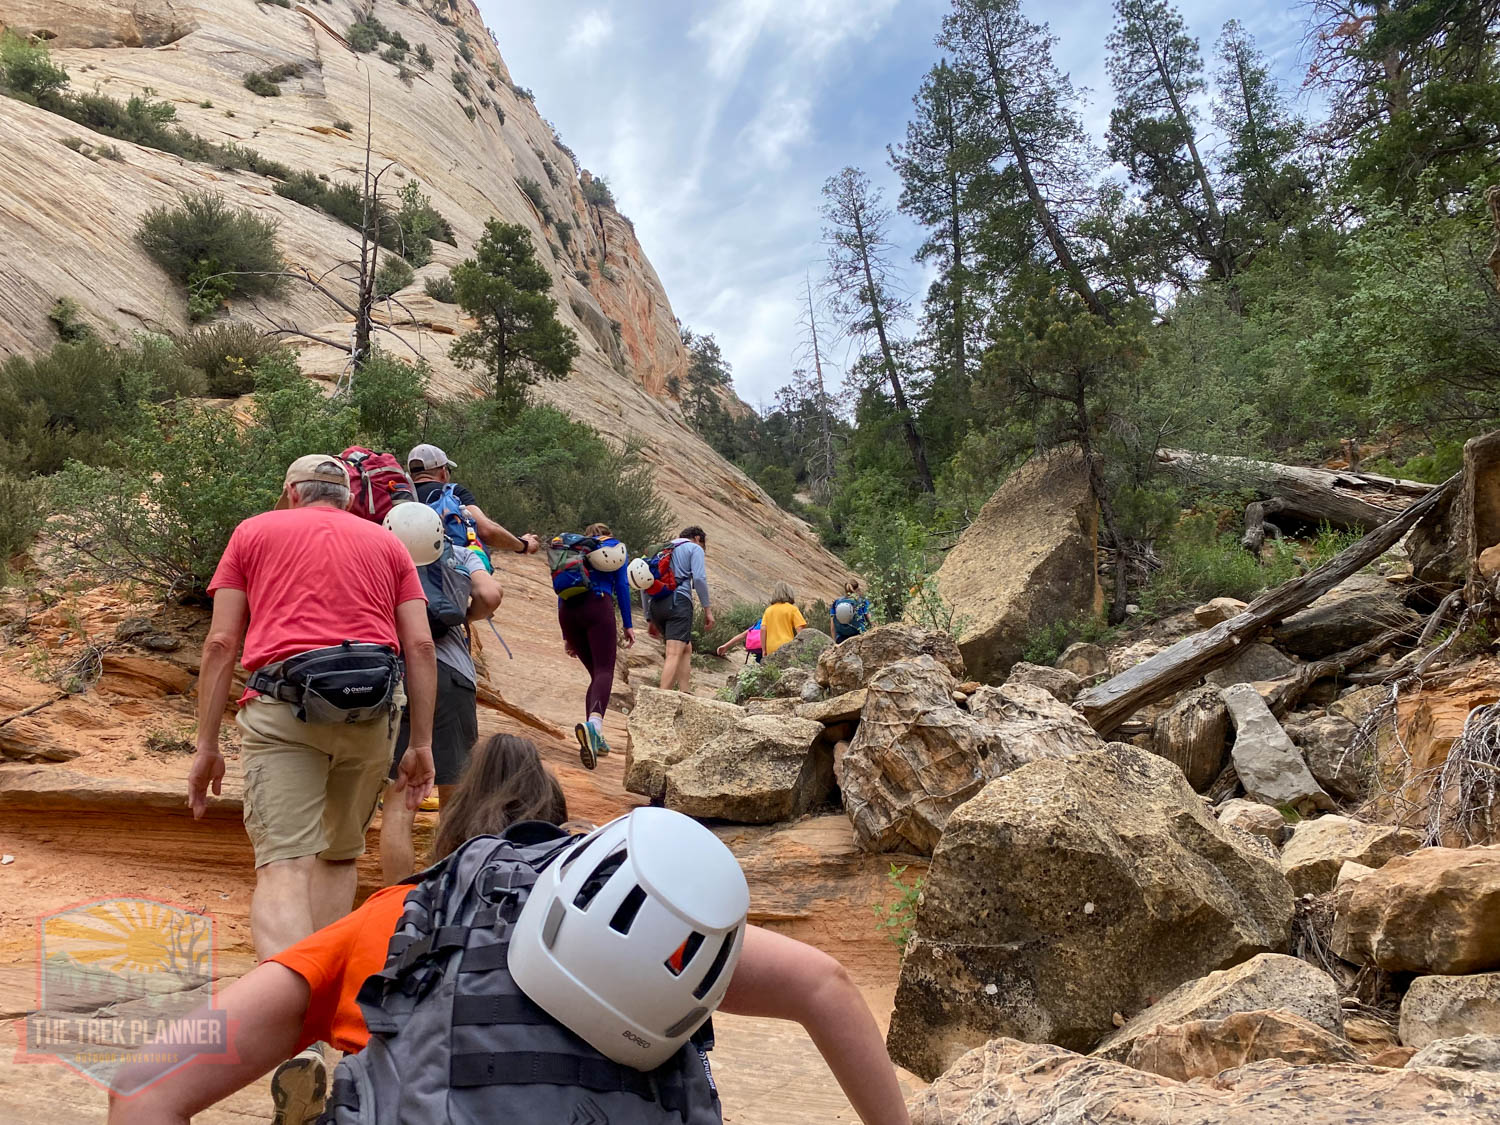
Take a break, because you will be climbing your way out now. This is the 5.1 mile marker. This part is steep and dangerous and involves making deliberate steps to be safe. We hiked directly north straight up until we gained several hundred feet of elevation to a flat sandy surface. We found some campers who were from Northern Utah. They pointed us to the first of many cairns that will guide us back to the main trail.
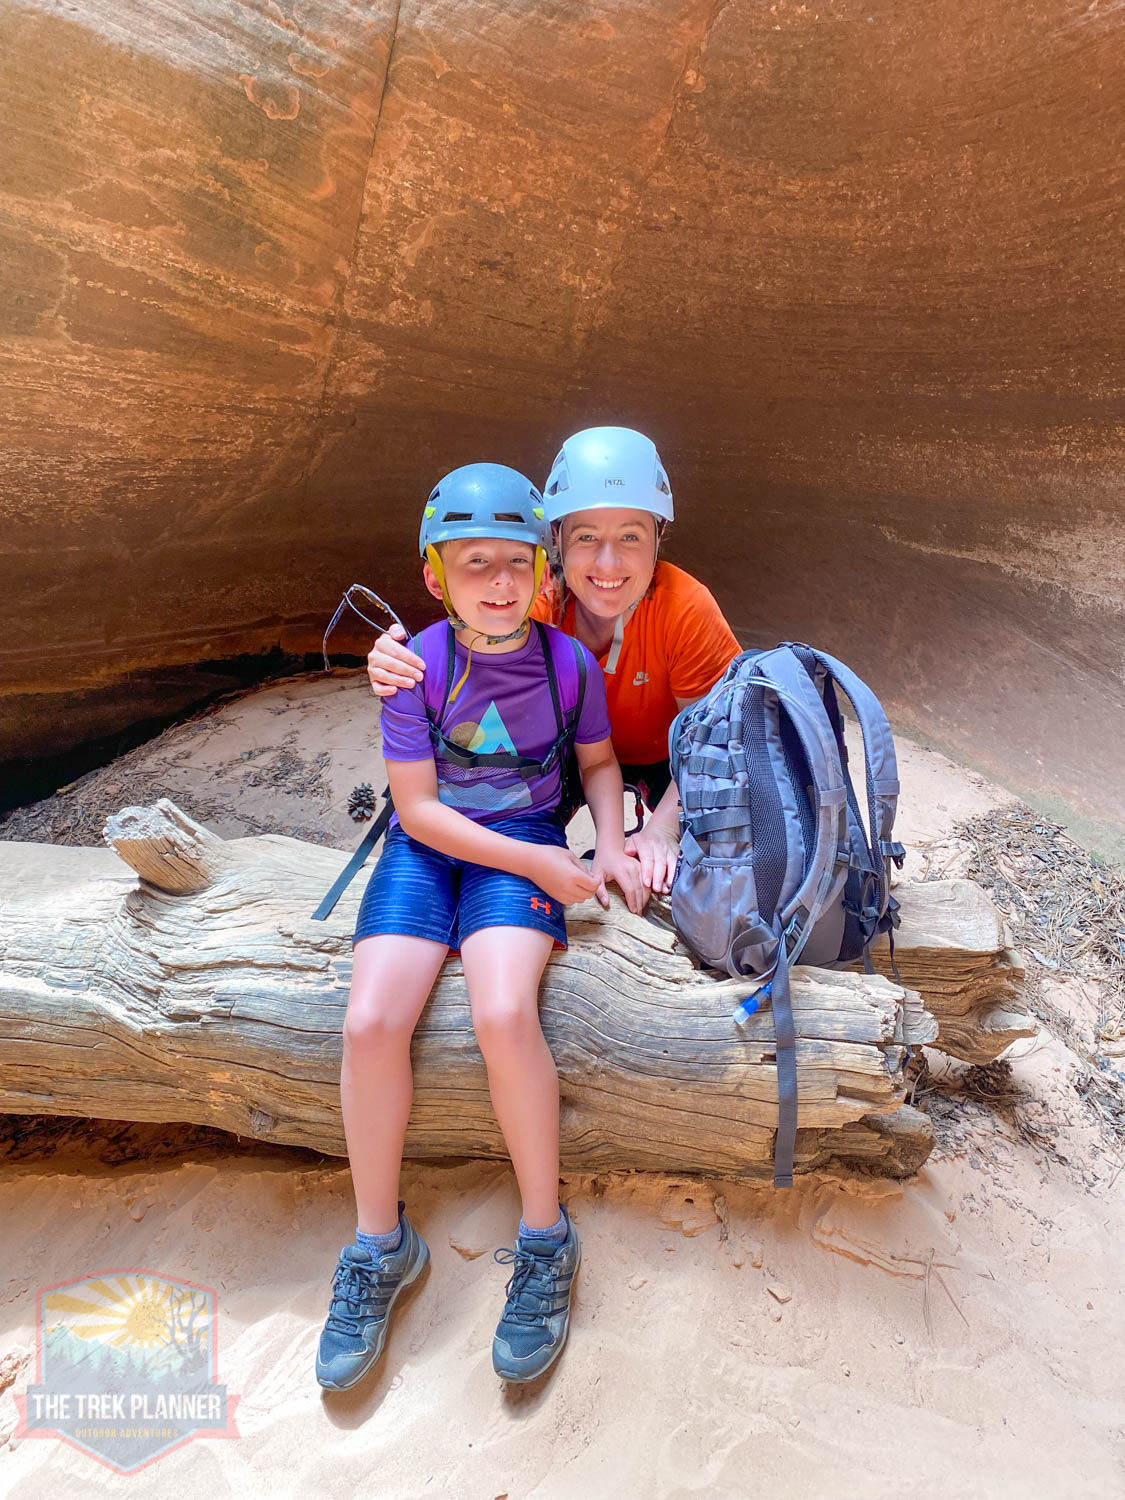
Let me just say that I was so proud of the kids in our group! They did so so well! They kept going even when they were tired and ready to be done!
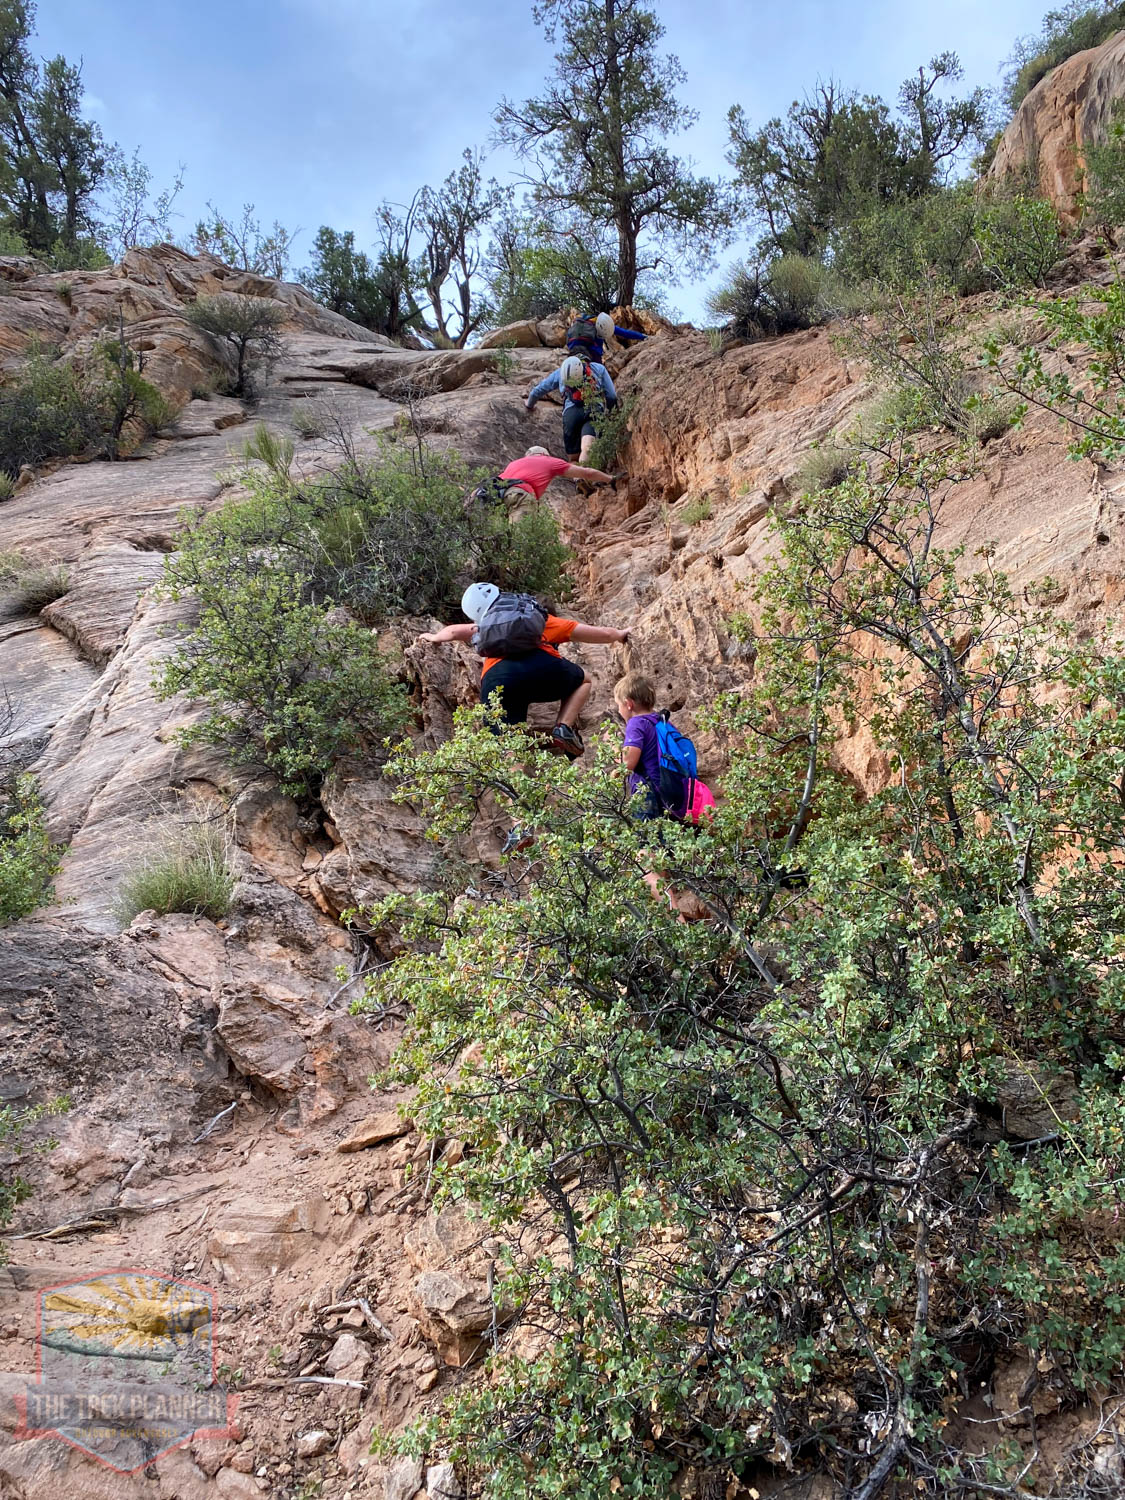
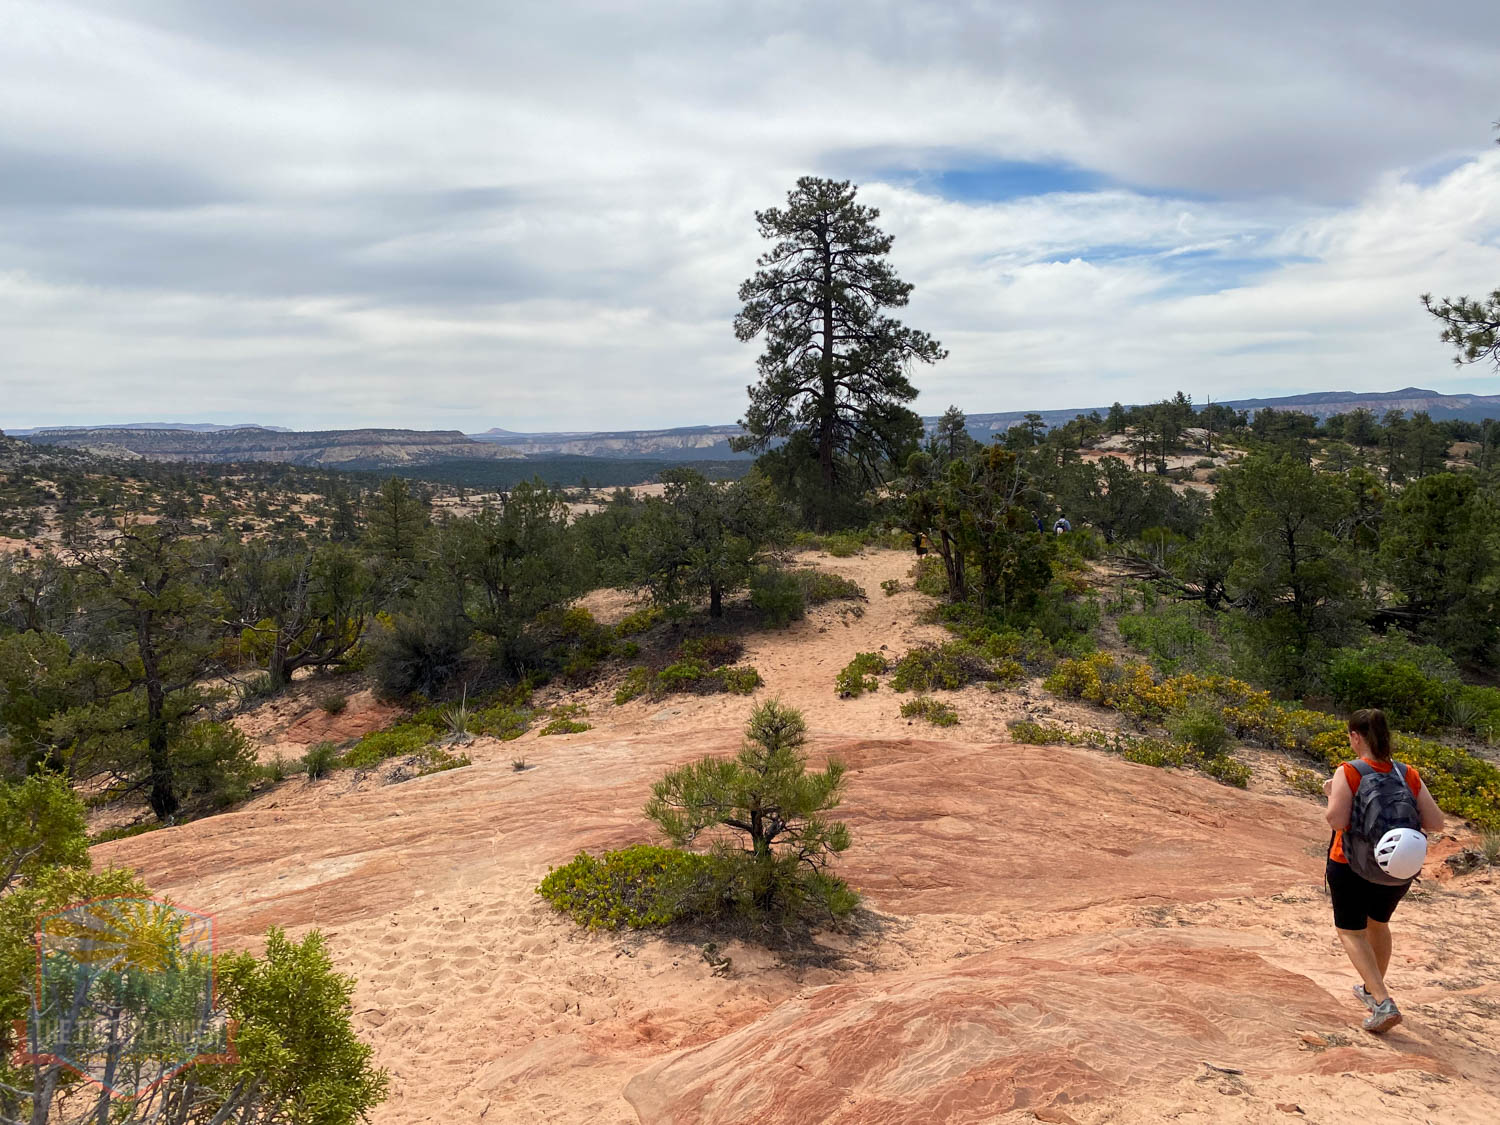
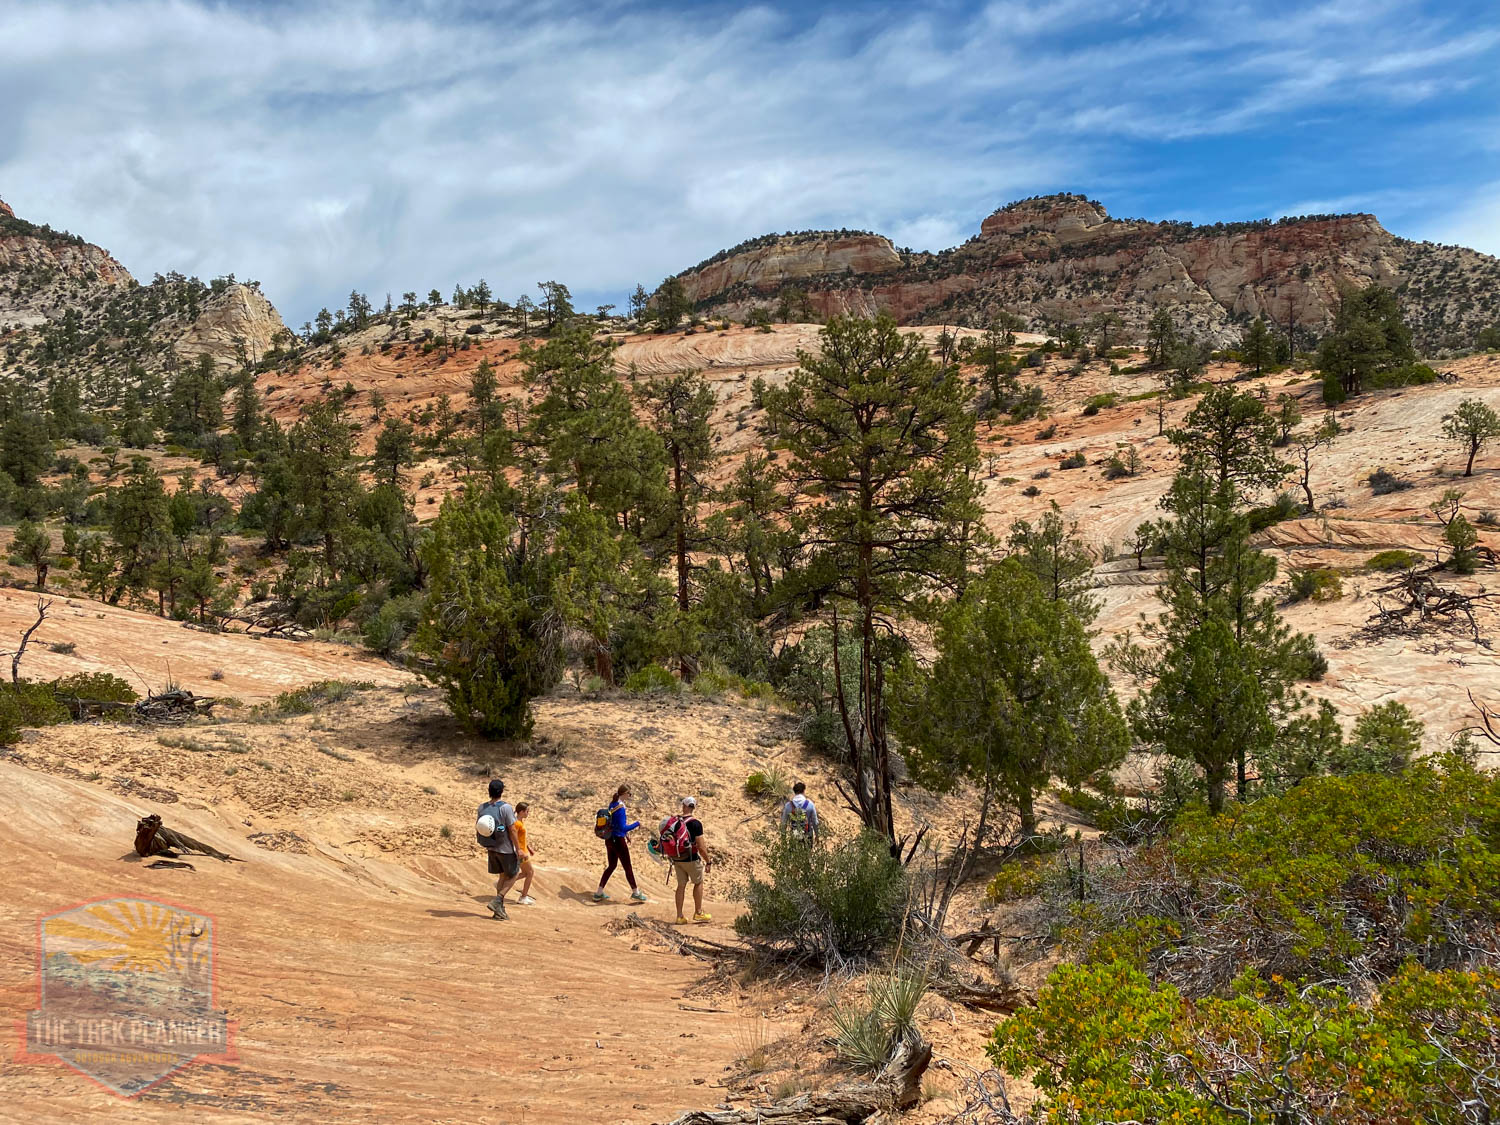
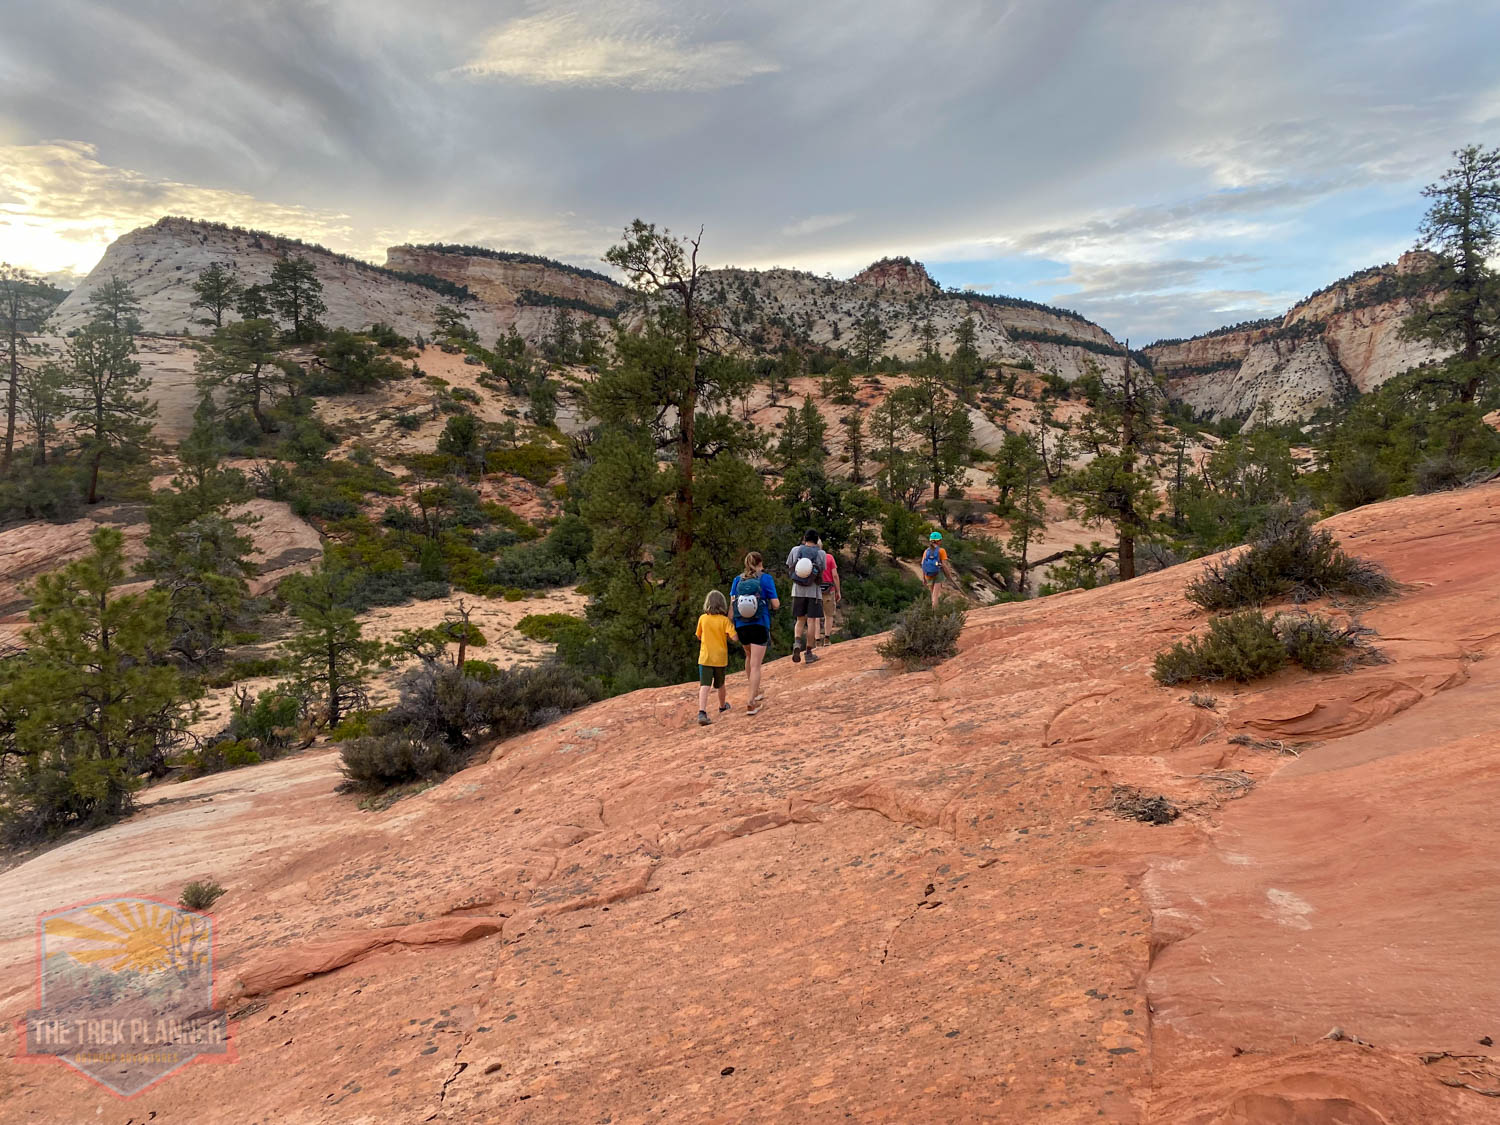
We did as they said and followed a steep path until we were on the mesa top. The trail isn’t easy by any means, but it felt good to be on our way home. It took us exactly 2 miles to make it to the main trail, then we had about another 2+ miles until we were back at the main road.
We stopped often and enjoyed the views and so should you!
Once we got back to the main trail, we used a GPX map to follow our same route. The main path wasn’t always apparent because it was getting dark, we were tired, and we saw several social trails. We just used our map and roughly followed the same route. That is why there are some discrepancies on my own map.

 Having a flashlight is important even if it’s a small one! We got within 1 mile of our cars just as it was getting nighttime. We pulled out the lights and made our way to the finish line.
Personal Thoughts
I think this is an overall amazing adventure! I would do it again. You get to see places of Zion that 99% of its visitors will never get to see. It's worth the effort! Just be prepared. Bring extra food and water. We had a satellite messenger phone just in case too.