
Thank you for being a member!

The Trek Details
The Trek in a snapshot
Jacob City, Utah
Unknown
Not allowed
None
None
Not allowed
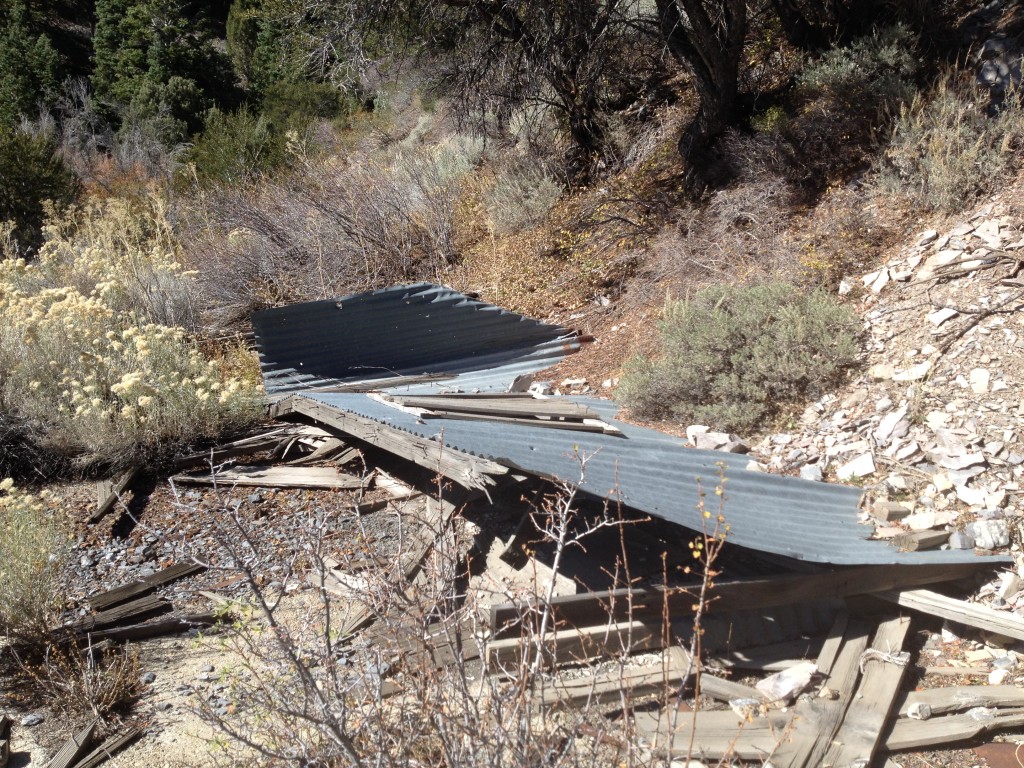
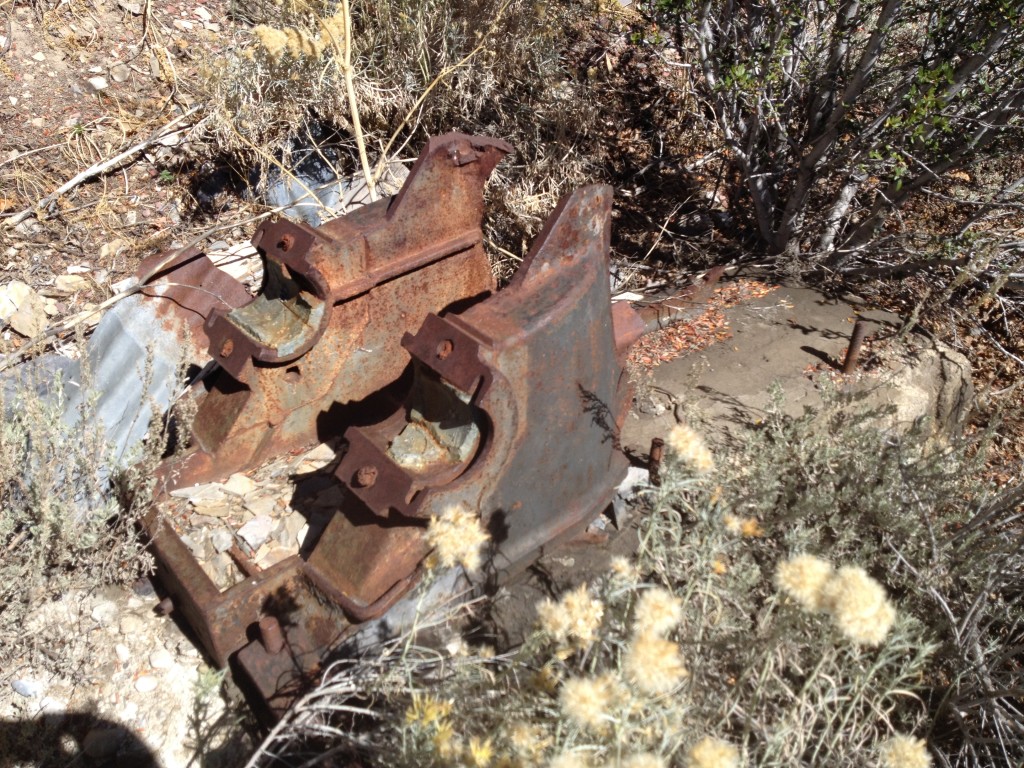
Easy mine exploring on the relics and buildings outside. Do not enter this mine
The Wandering Jew Mine, Jacob City, old mining relics
Bring a liter of water
Summer
As much as you want
As much as you need
8030 ft
Varies
Varies

Wandering Jew Mine: 40°23’8.20″N, 112°16’42.27″W

The Trail
Follow along on our adventure then go out on your own!


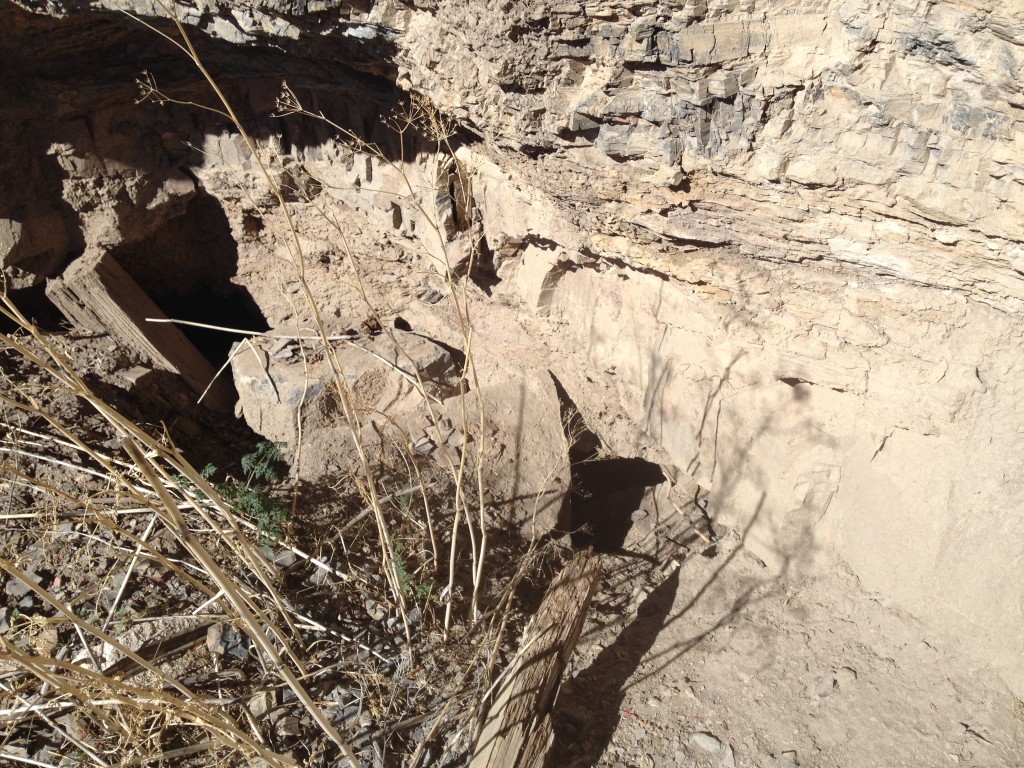
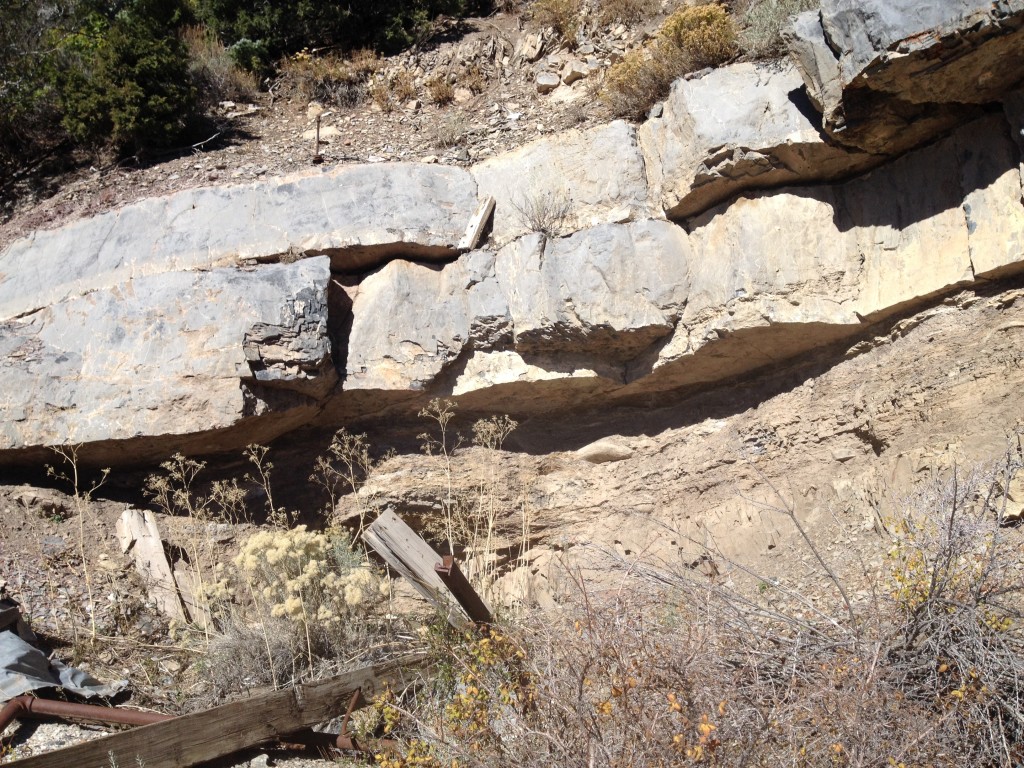
Since the main entrance is caved in, you will need to access the mine through a different entrance. Follow the GPS coordinates to a location just below the cliffs from gated main entrance. There is a small adit that intersects the main haulage tunnel. This adit is also gated but someone has cut off a few bars making it a tight but possible squeeze inside of it. This entrance is at the base of the cliffs below the gated main entrance.
DO NOT ENTER THIS MINE!
Note: I am not sure if this is the actual Wandering Jew Mine. Old maps and surveys suggest that it could be. But I am not 100% sure.
The Wandering Jew Mine is located in Jacob City Utah, near Stockton. This mine is really large and features areas with very low oxygen. Thankfully, we always carry several air sensors so we make sure we never breathe in bad air and you should always do the same. We dropped about 600 feet when our oxygen sensors started alarming.
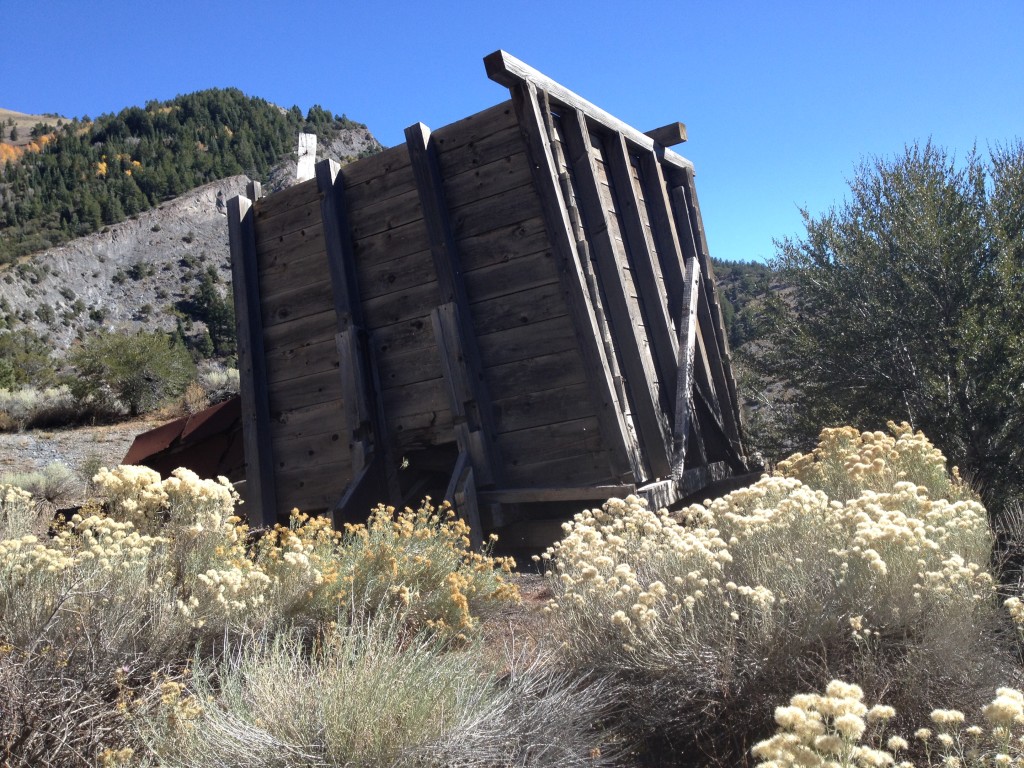
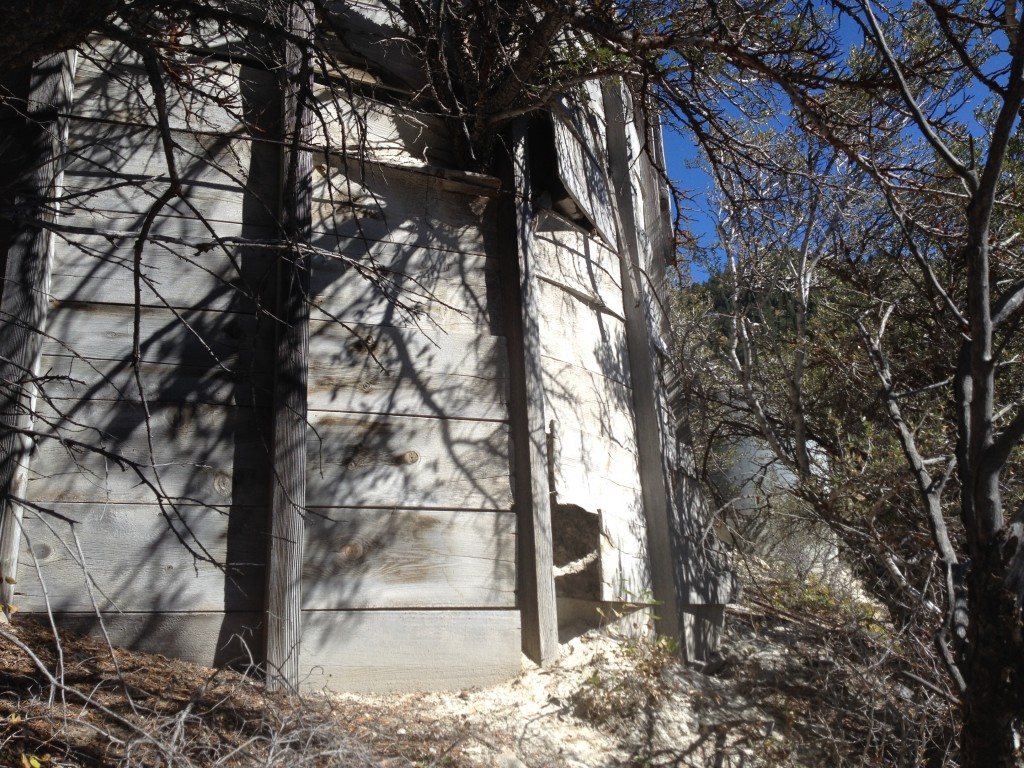
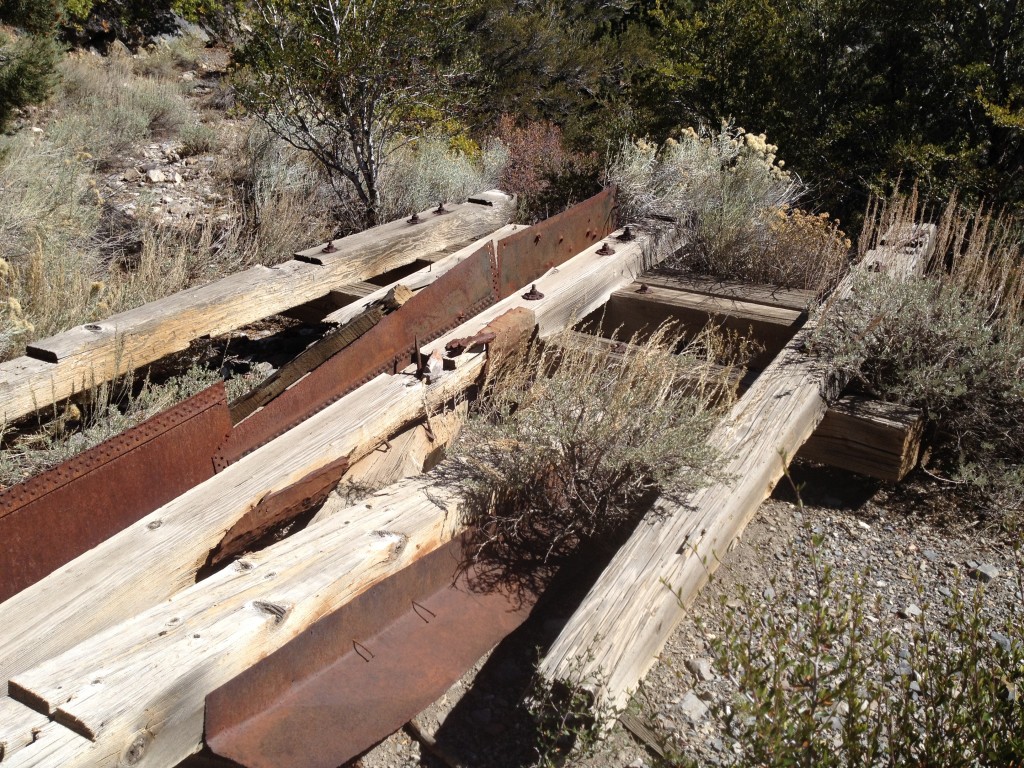
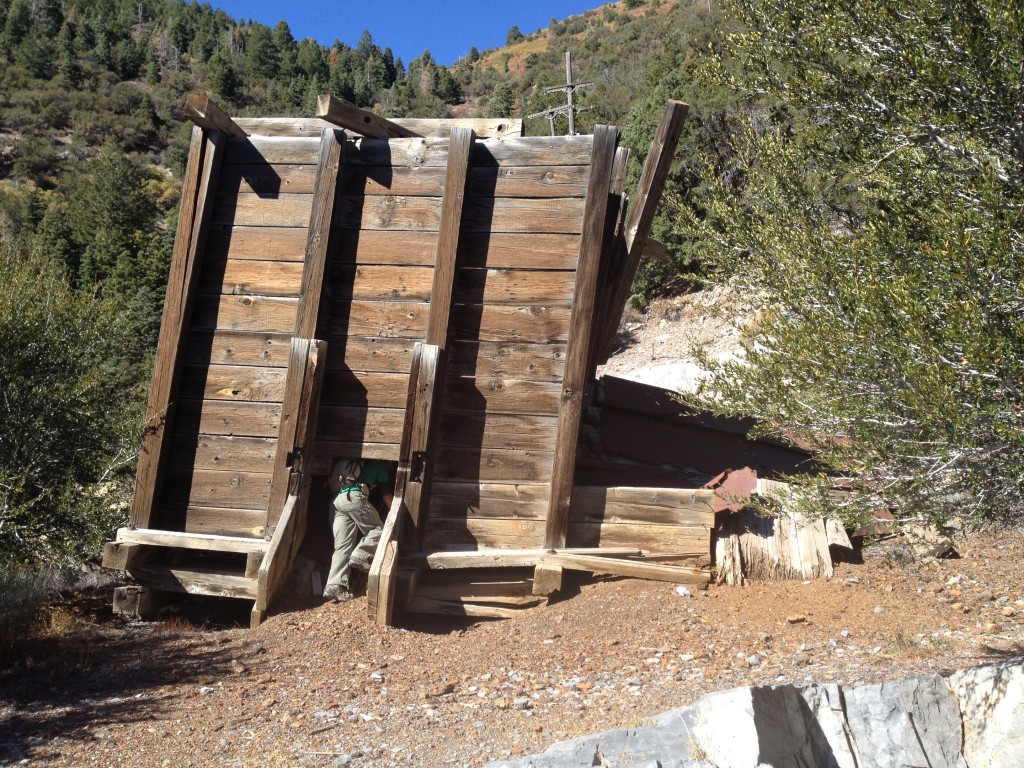
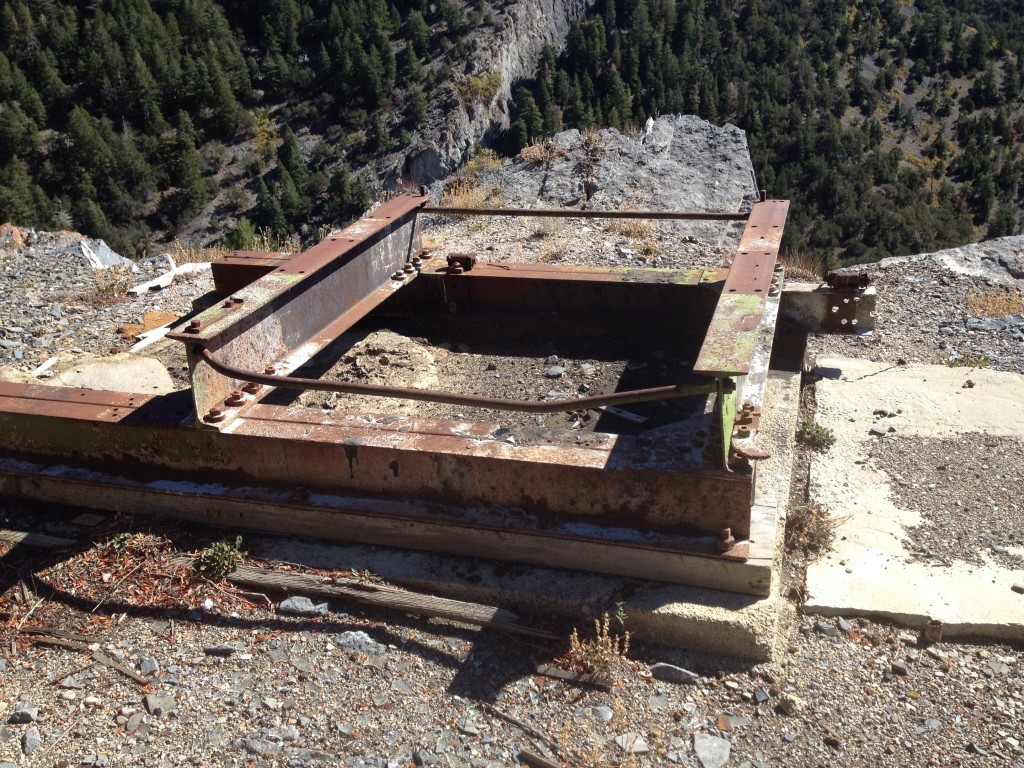
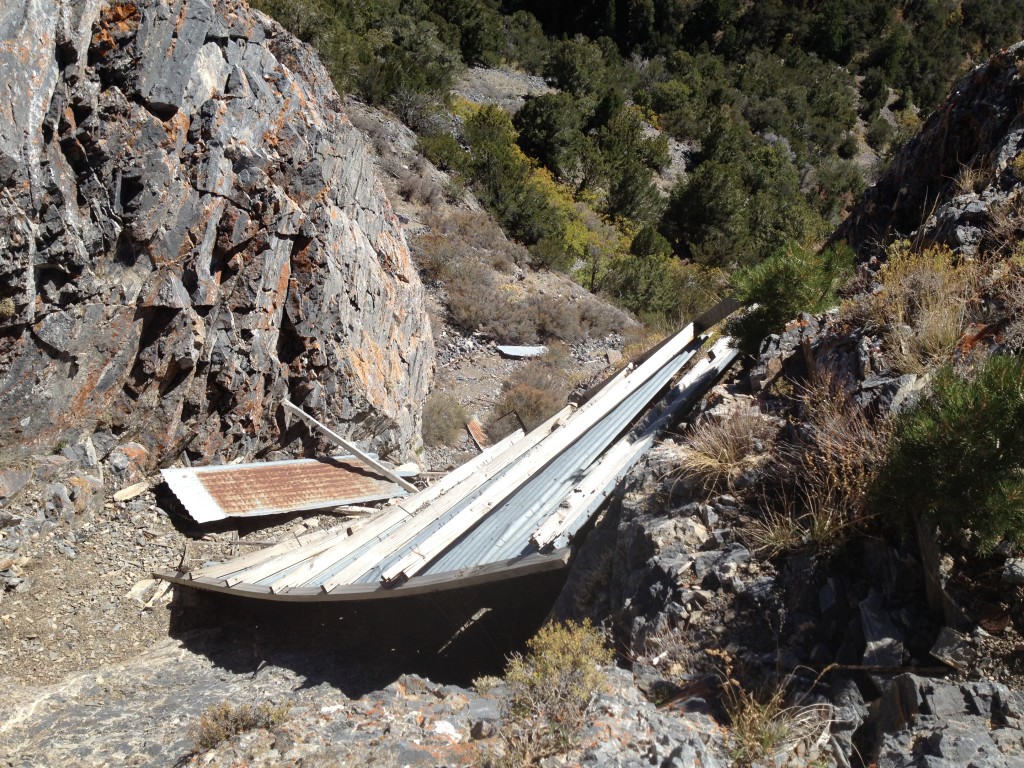
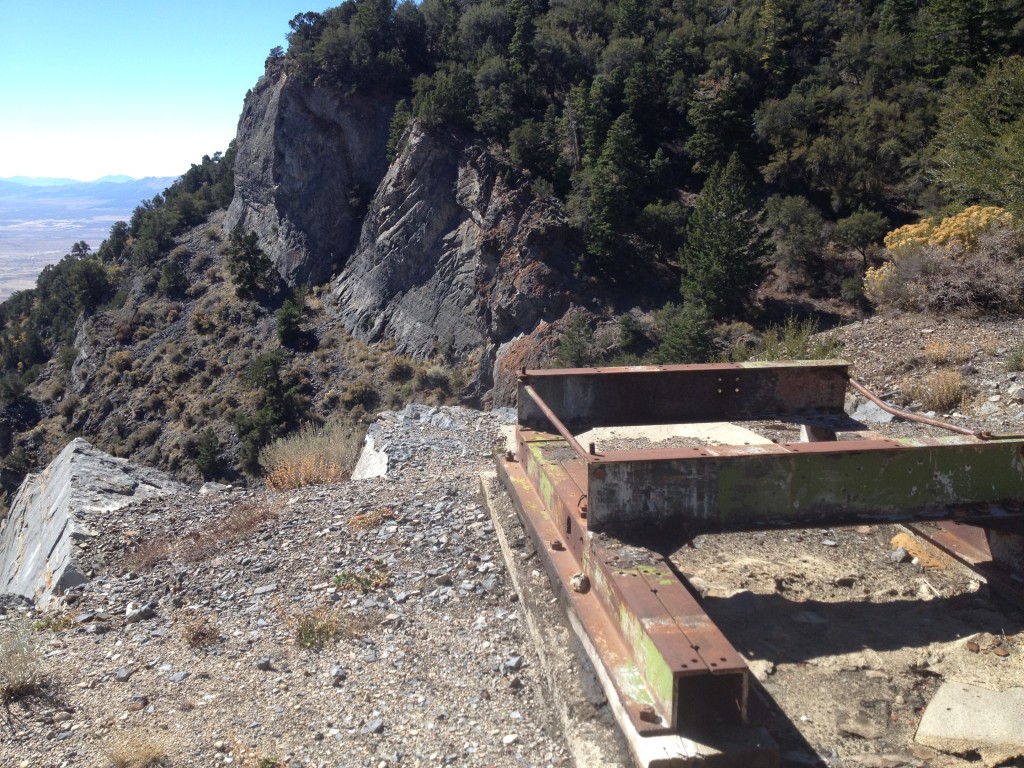
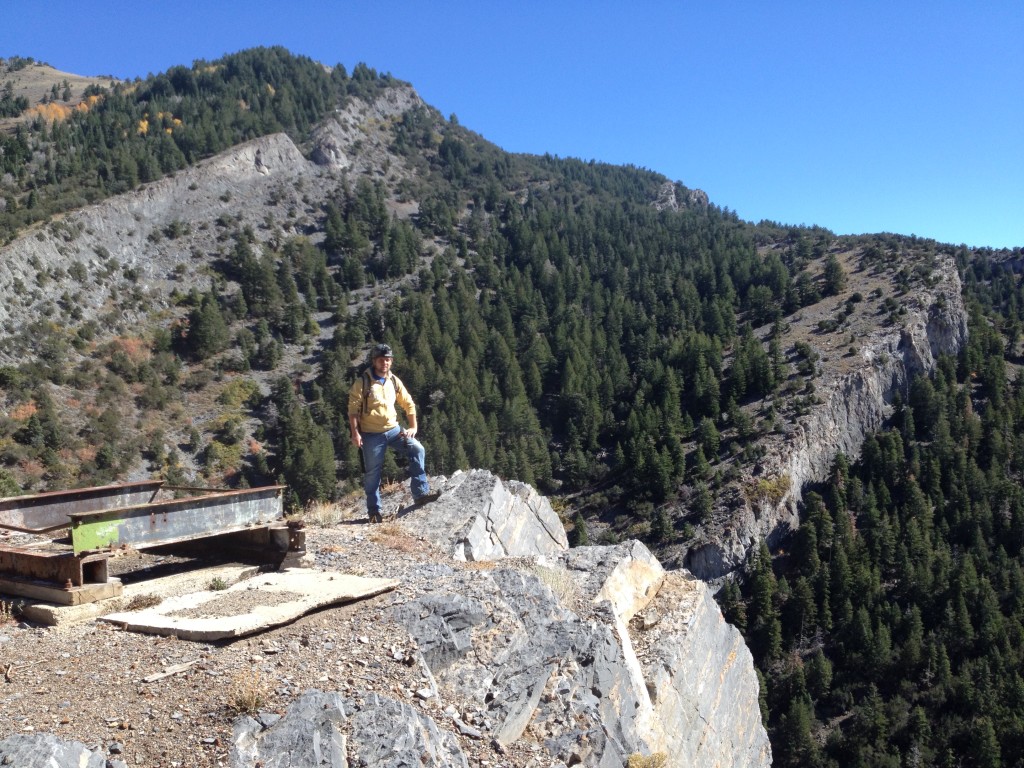
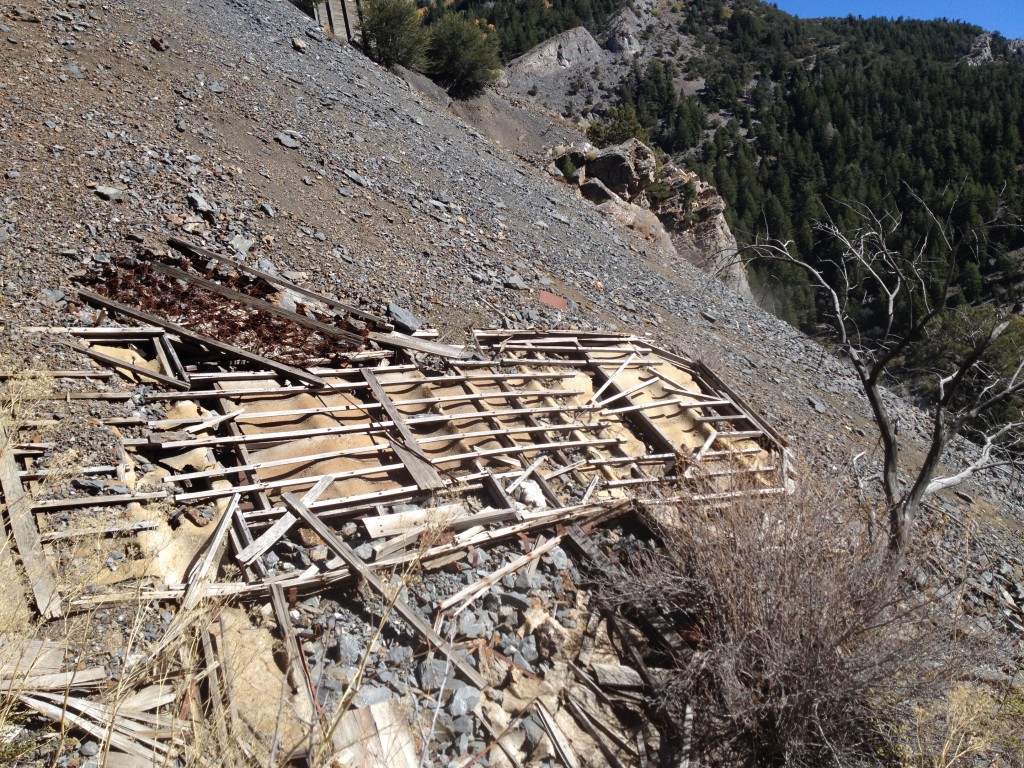
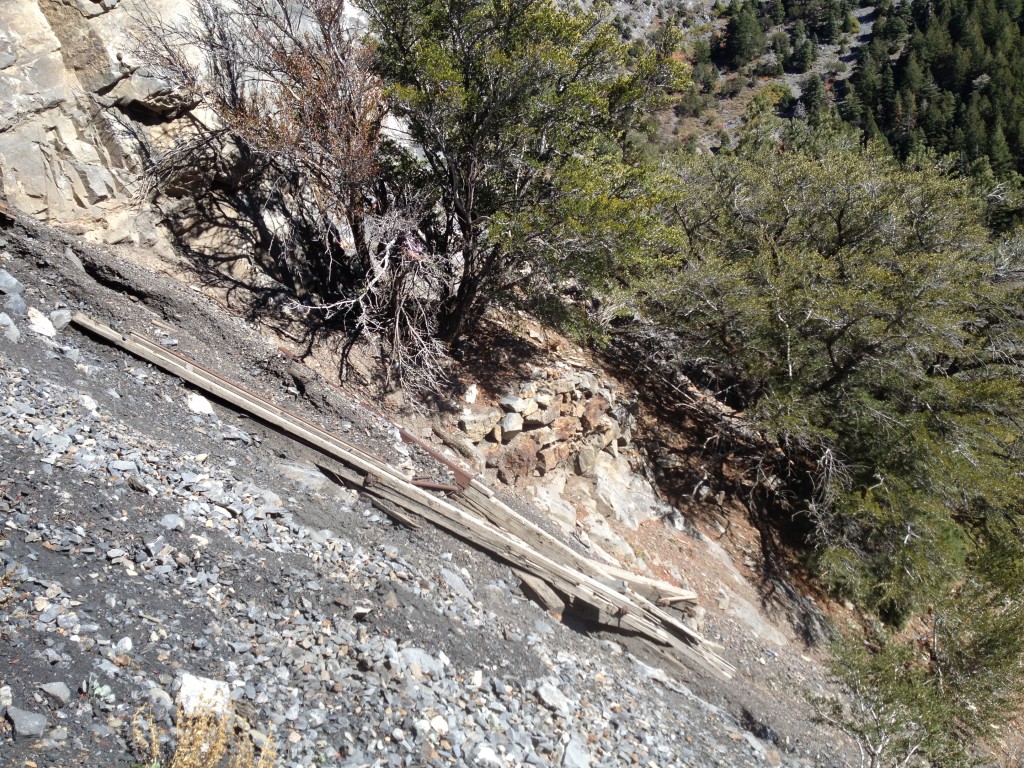
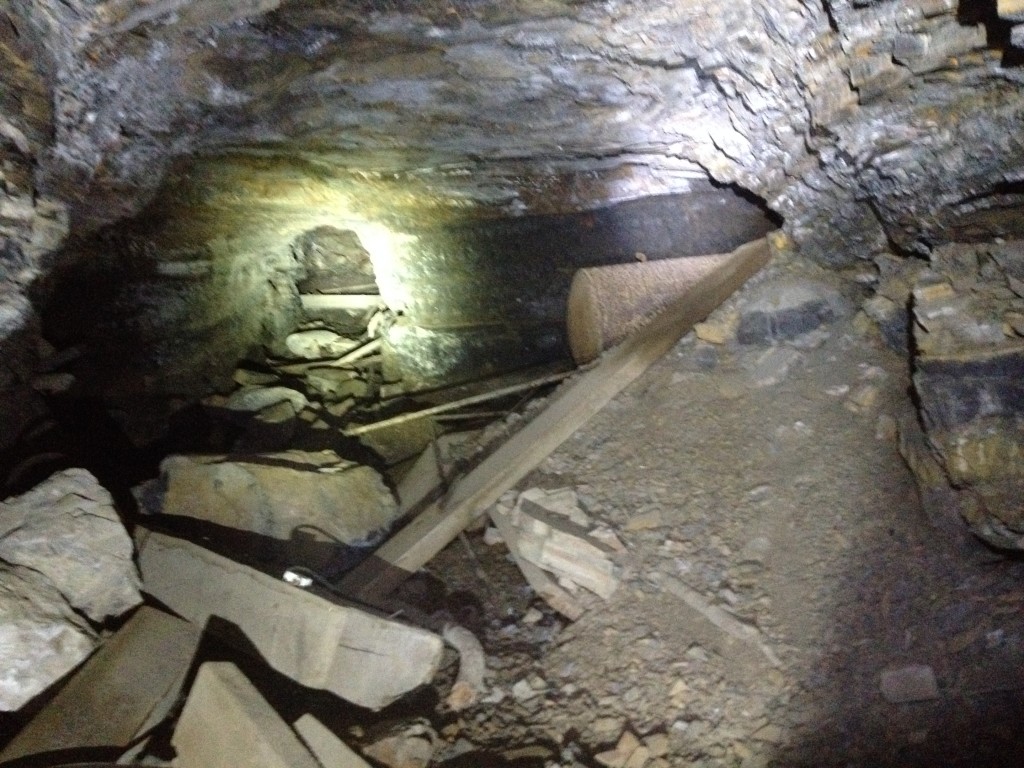
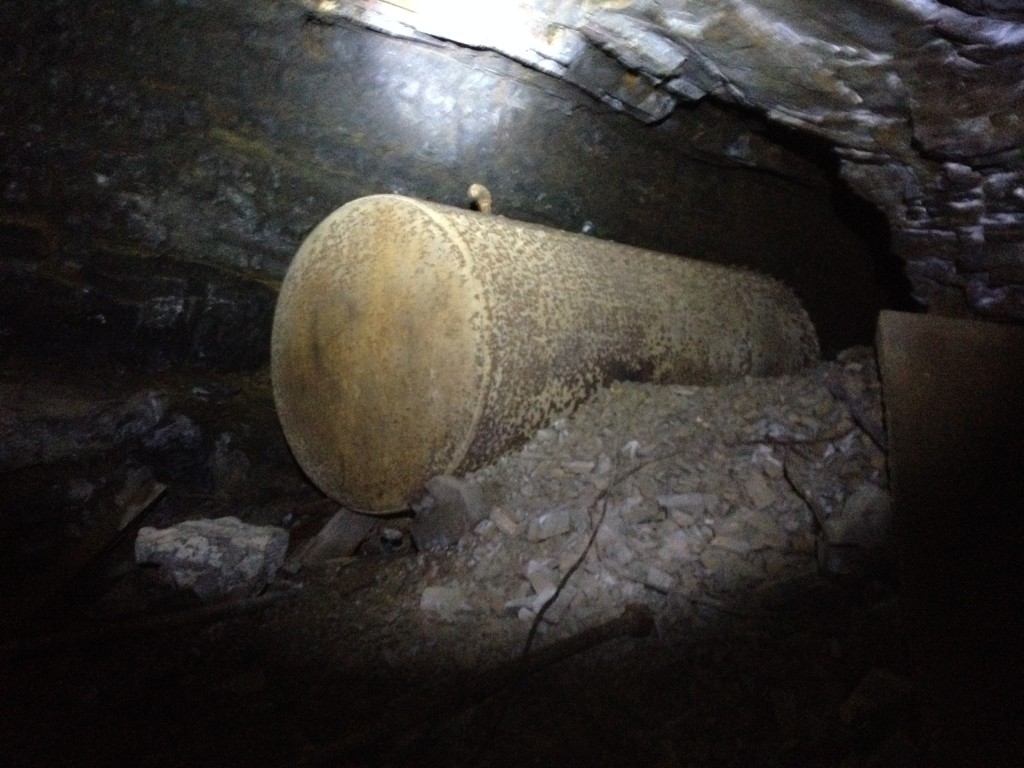
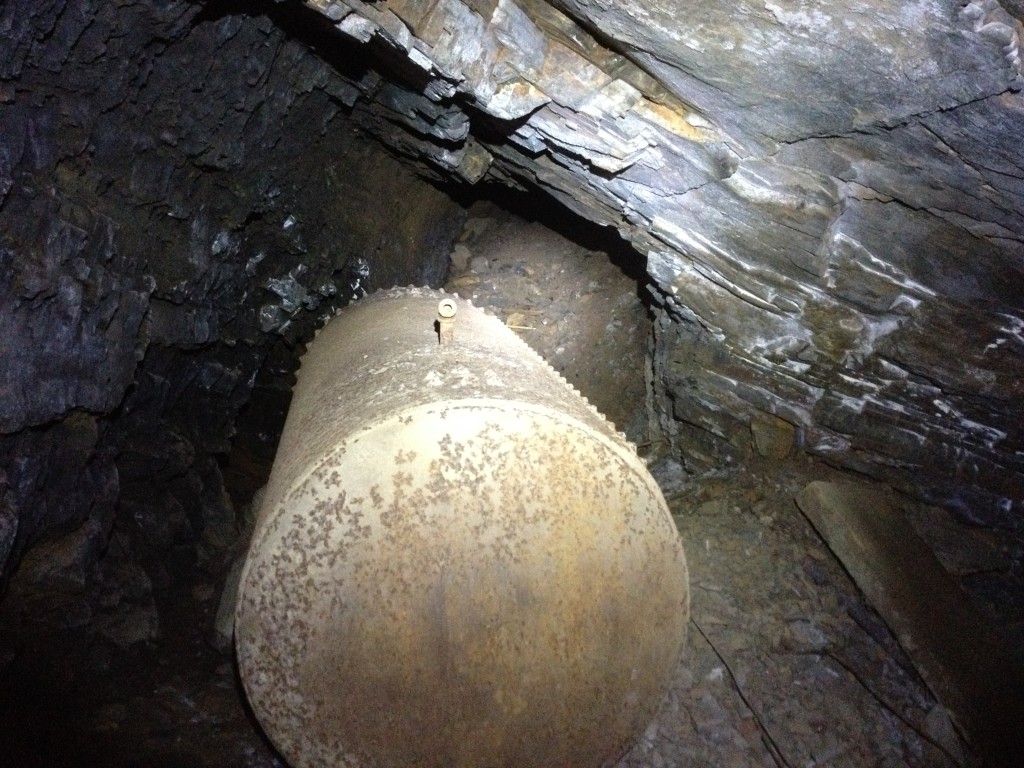
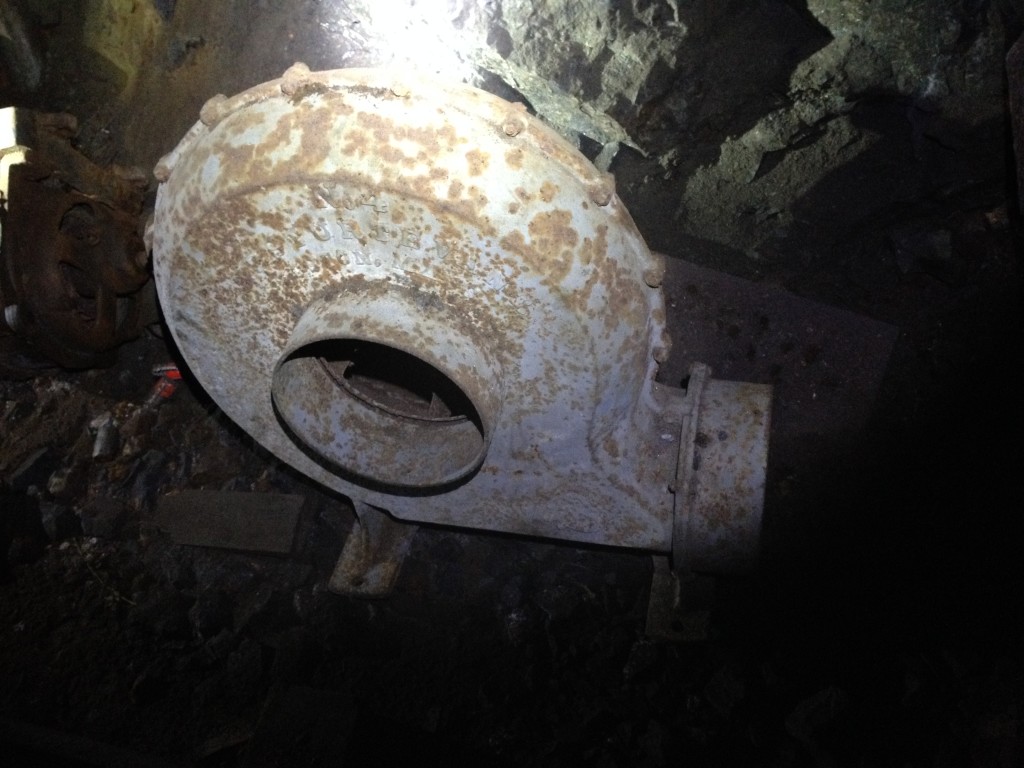
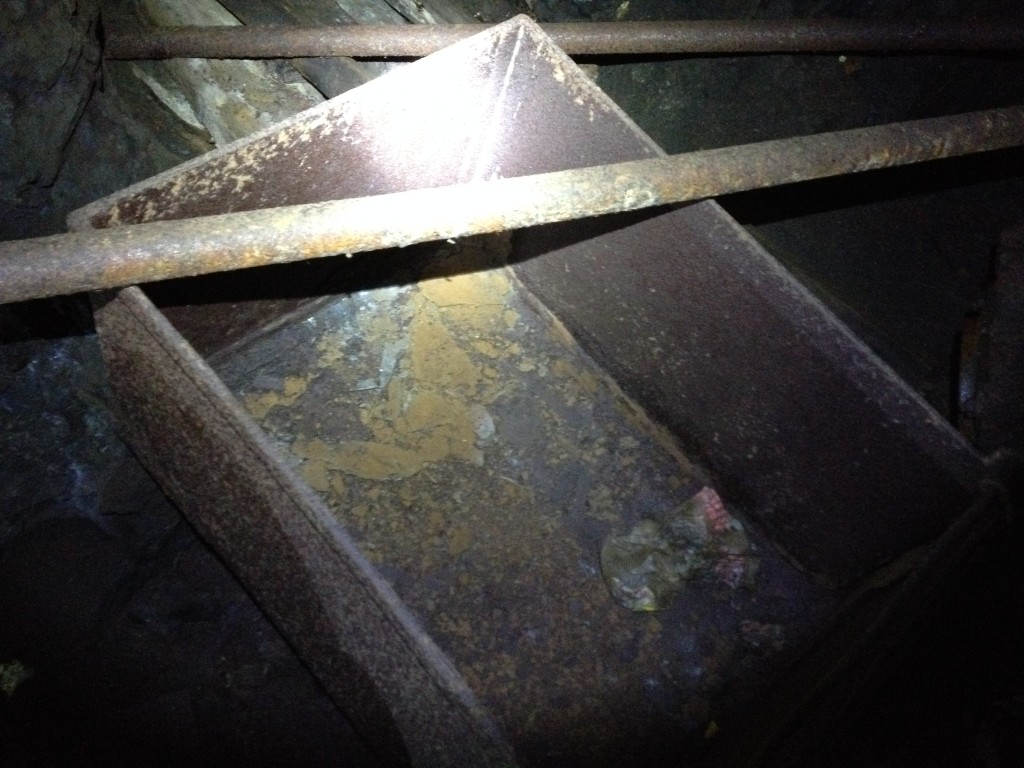
The top area is located just below the main dirt road and you will need to hike down to it in order to get to all old buildings. We found several large water tanks, ore hoppers and more on our 5 hour adventure here.
The top entrance is located right at the top of the tailings and next to the few standing structures. It is gated although we did shine a very bright light inside and it only went in about 50 feet and it looked like it was back filled.
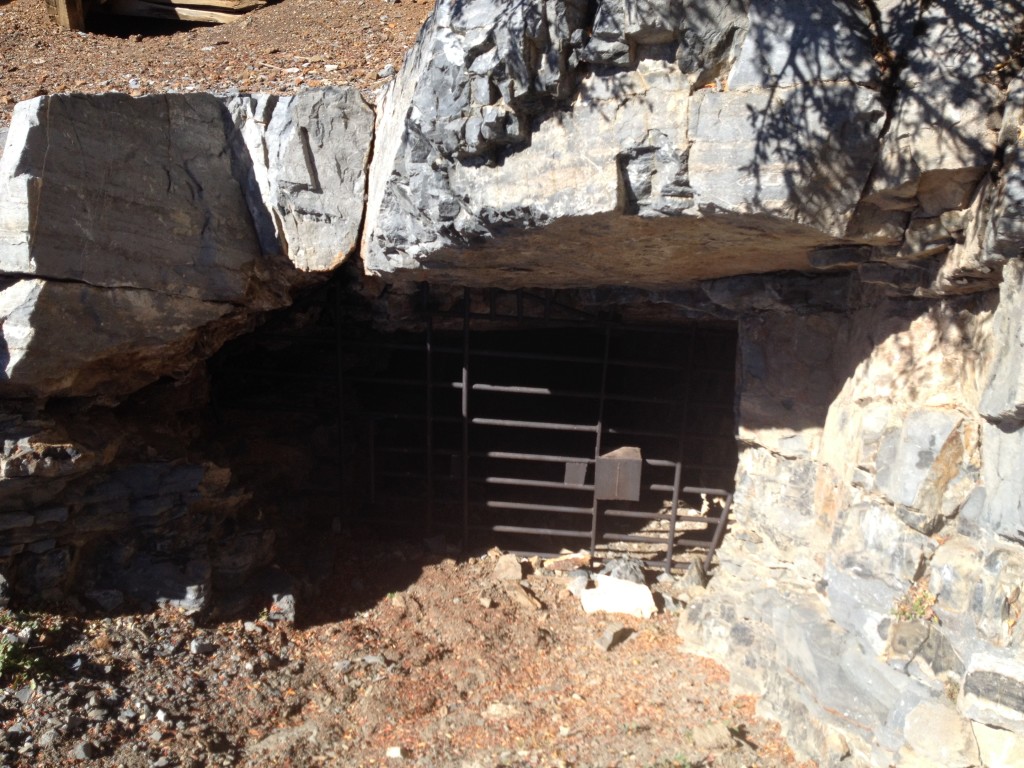
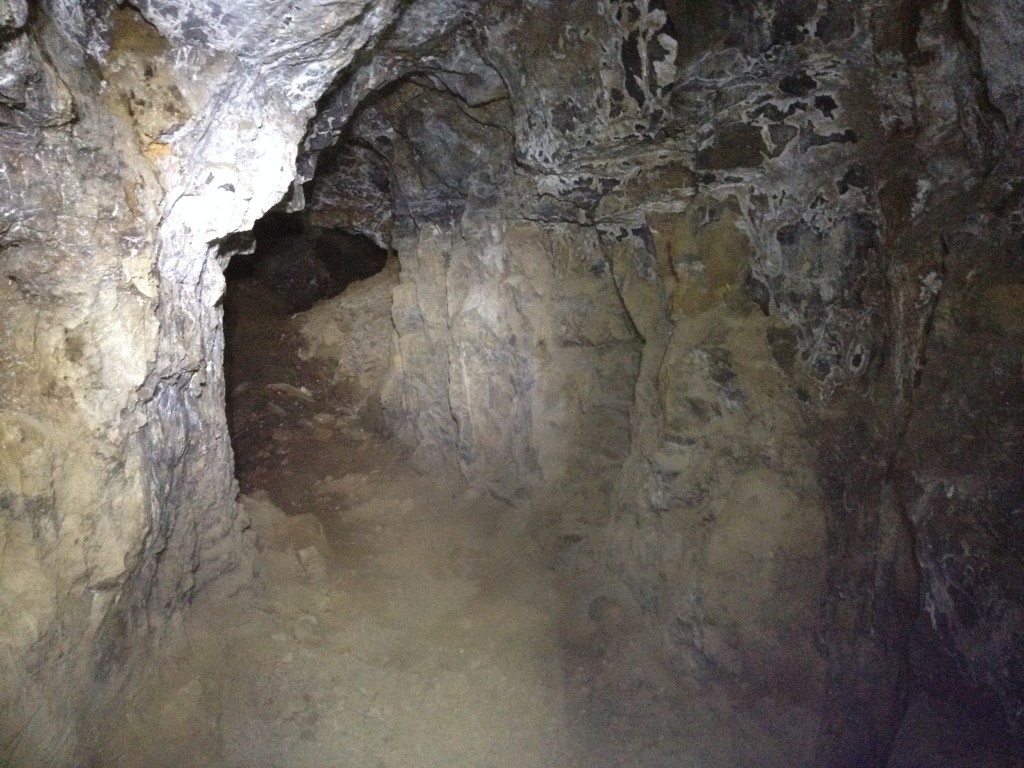
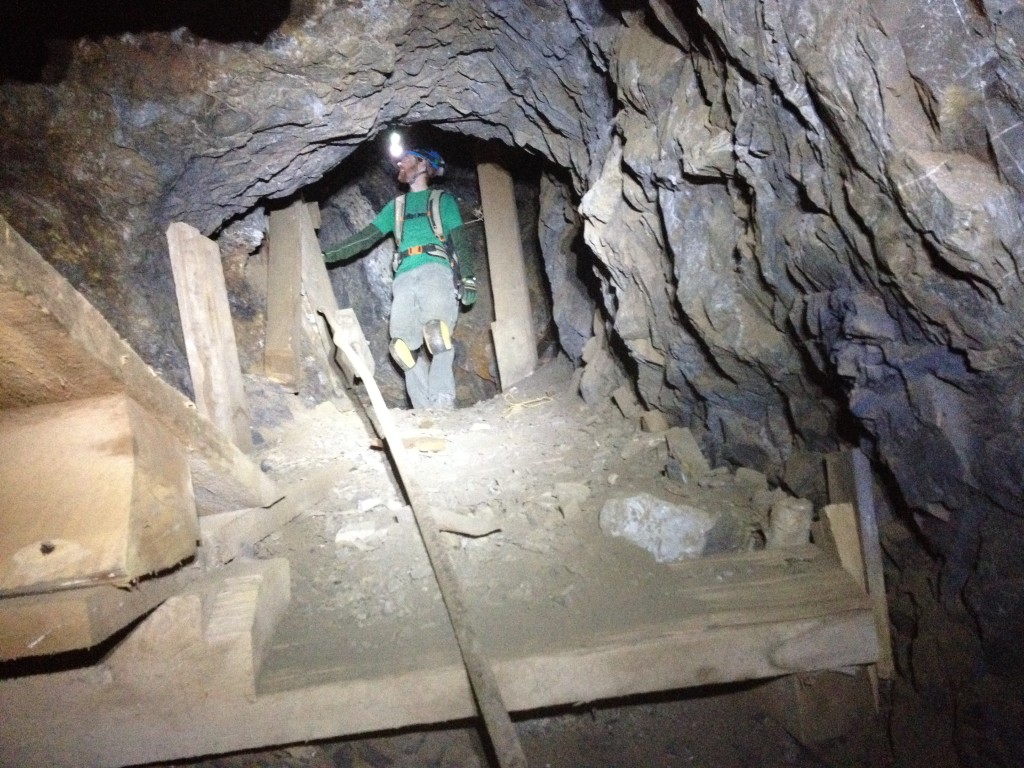
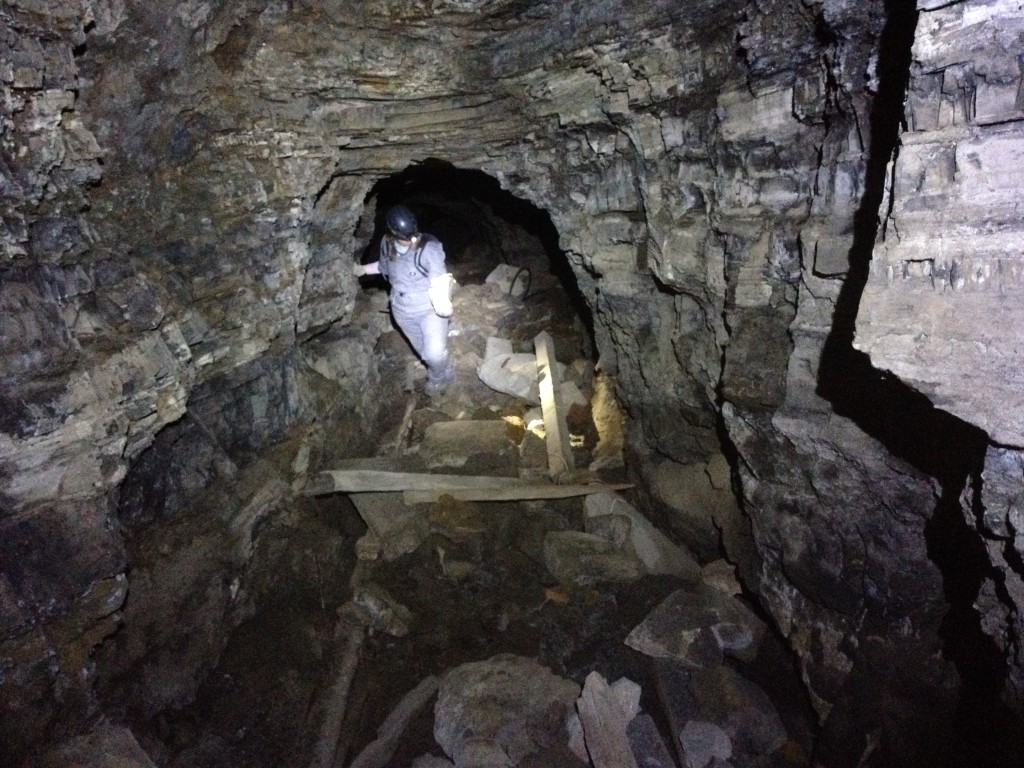
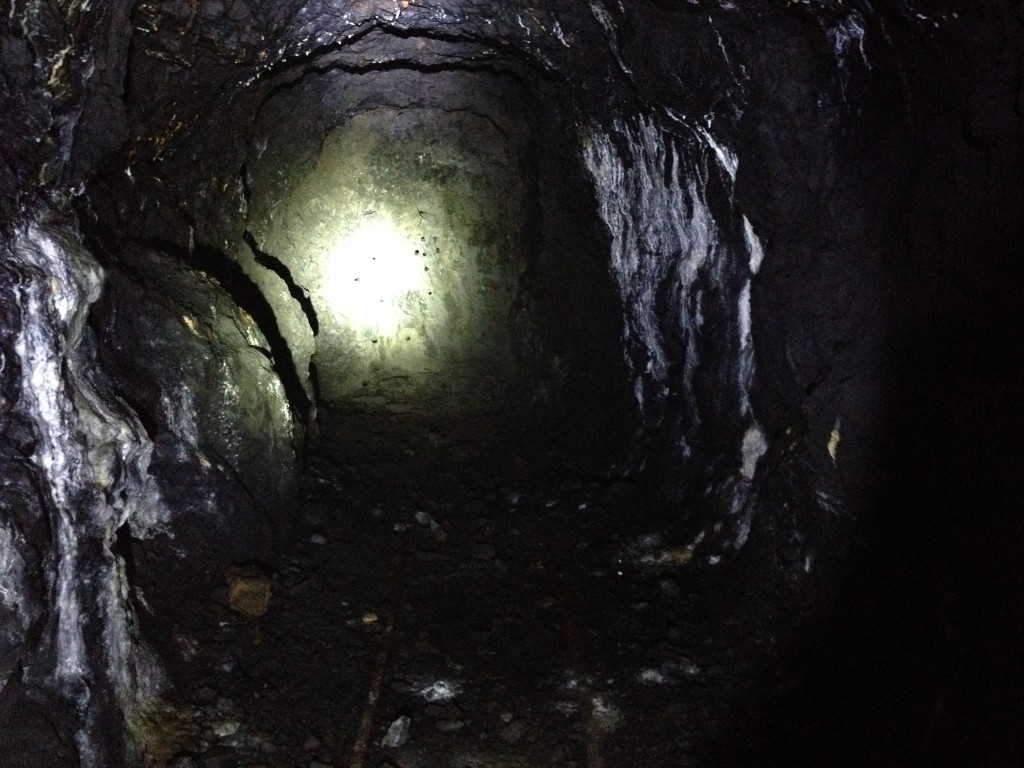
The tunnel sloped down and we had to hunch over and even crawl in a few areas but eventually after about 200 feet we made an abrupt 90 degree turn west, went up a small incline about 20 feet then we were inside the main haulage tunnel.

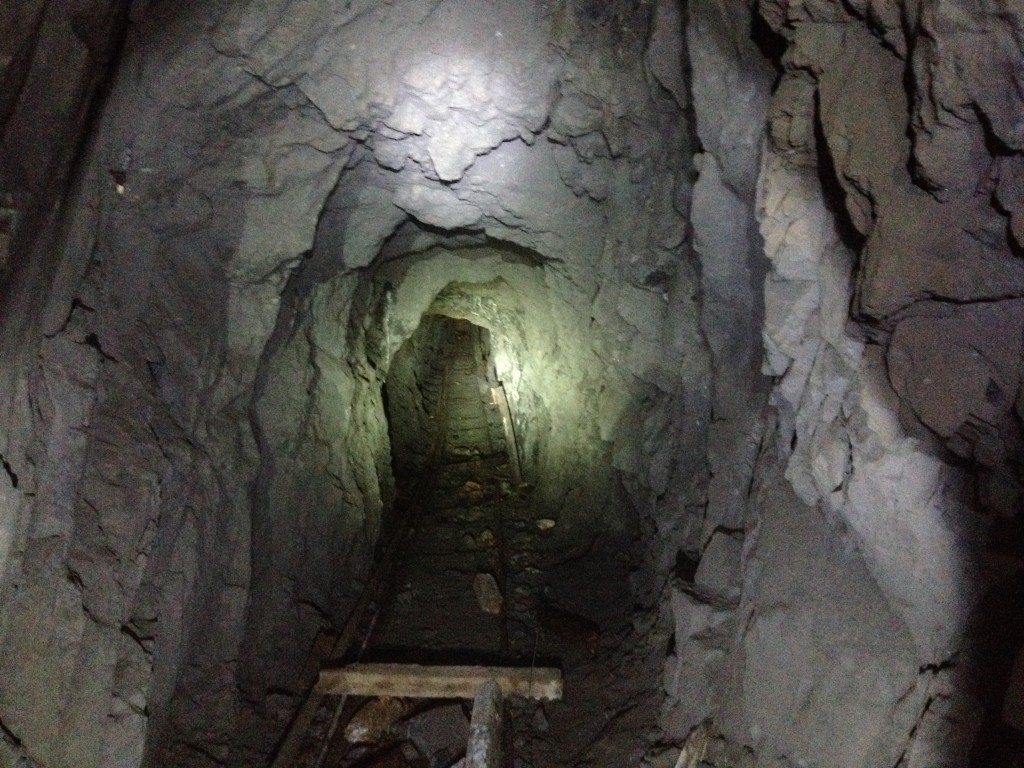
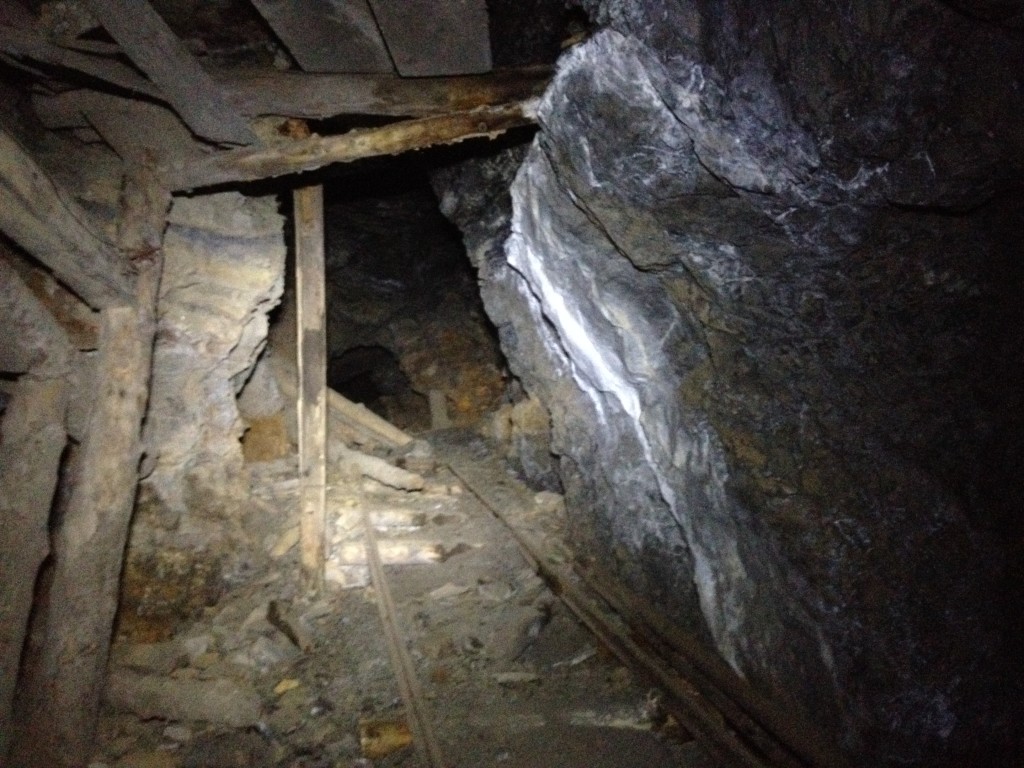
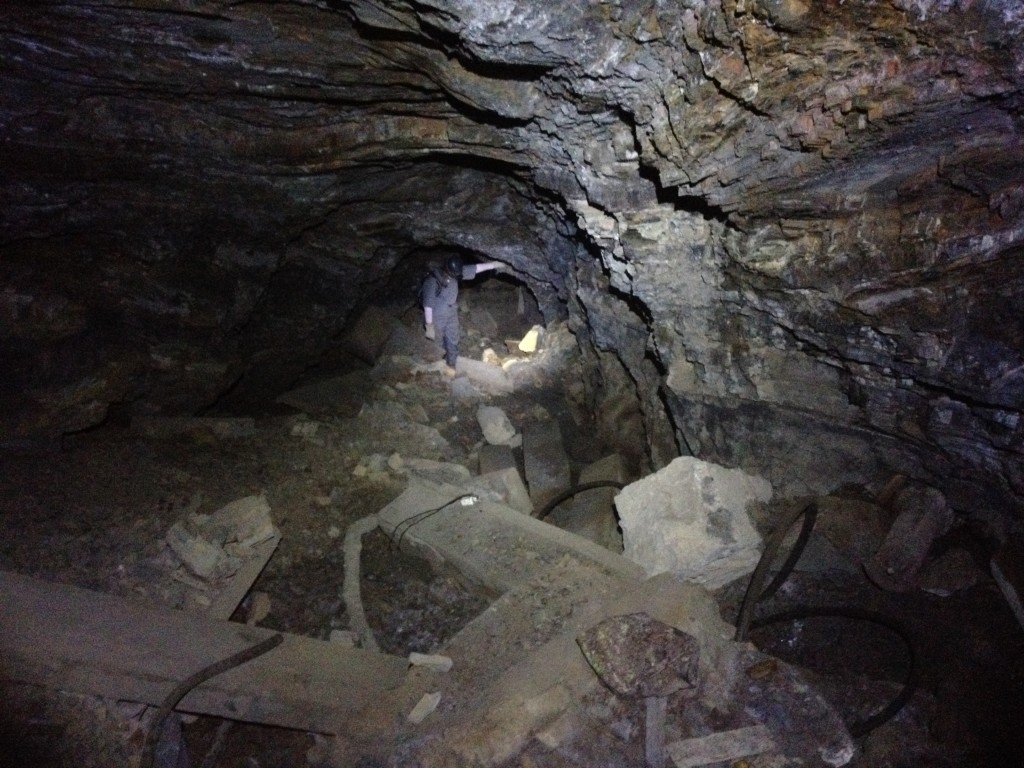
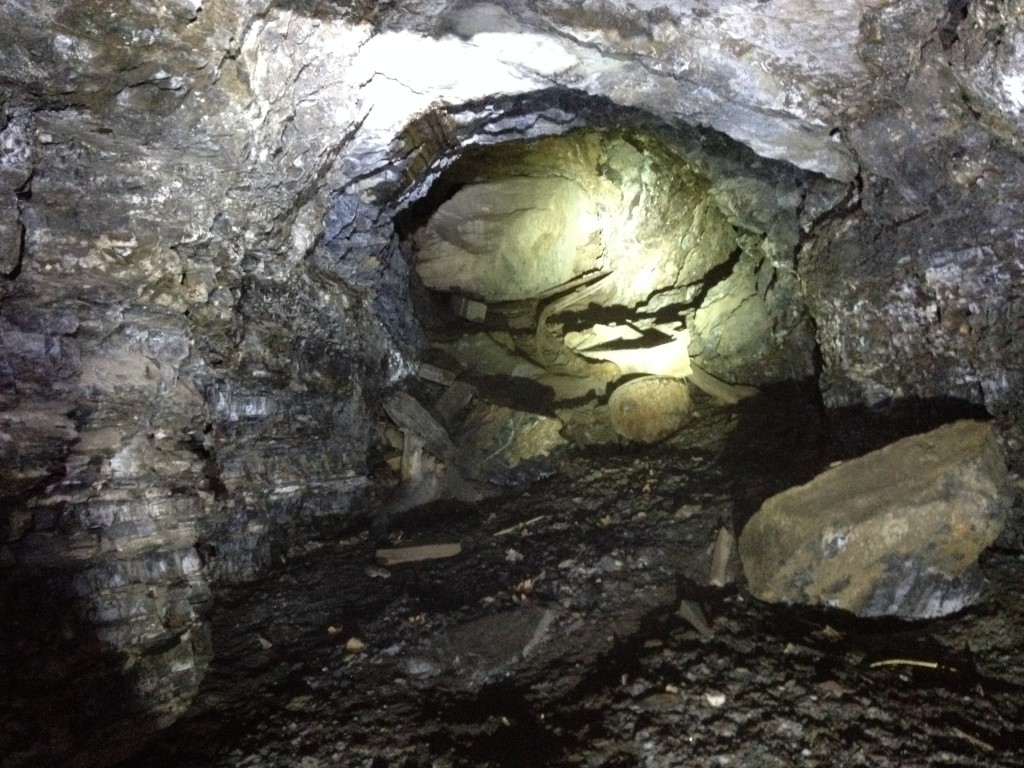
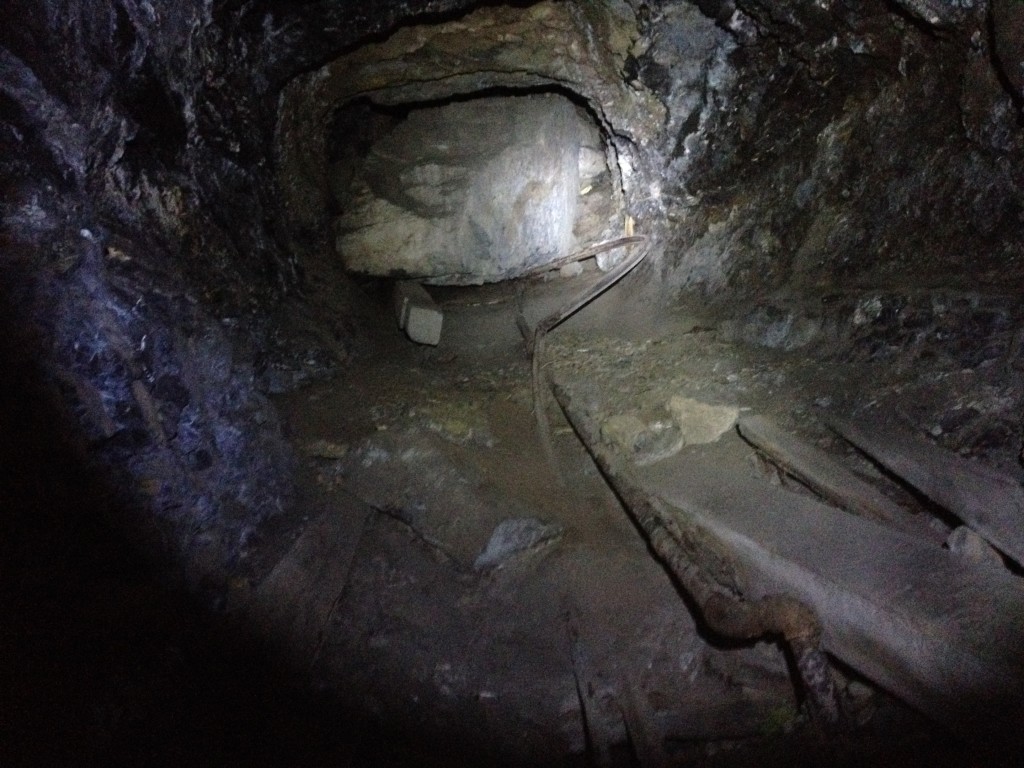
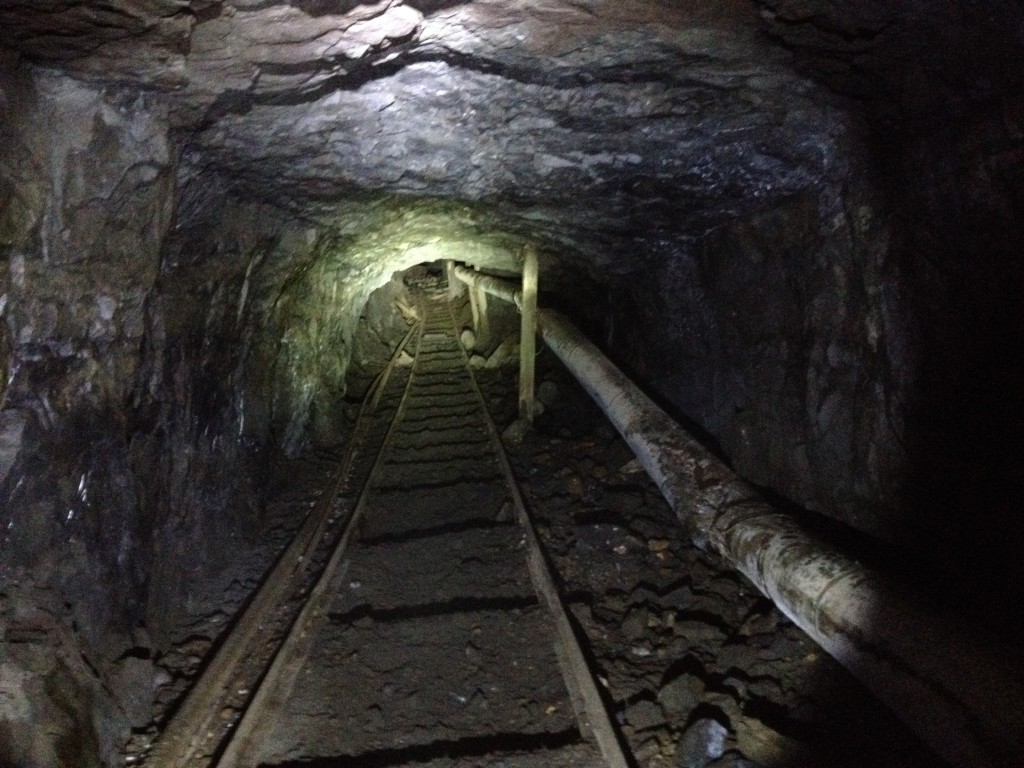
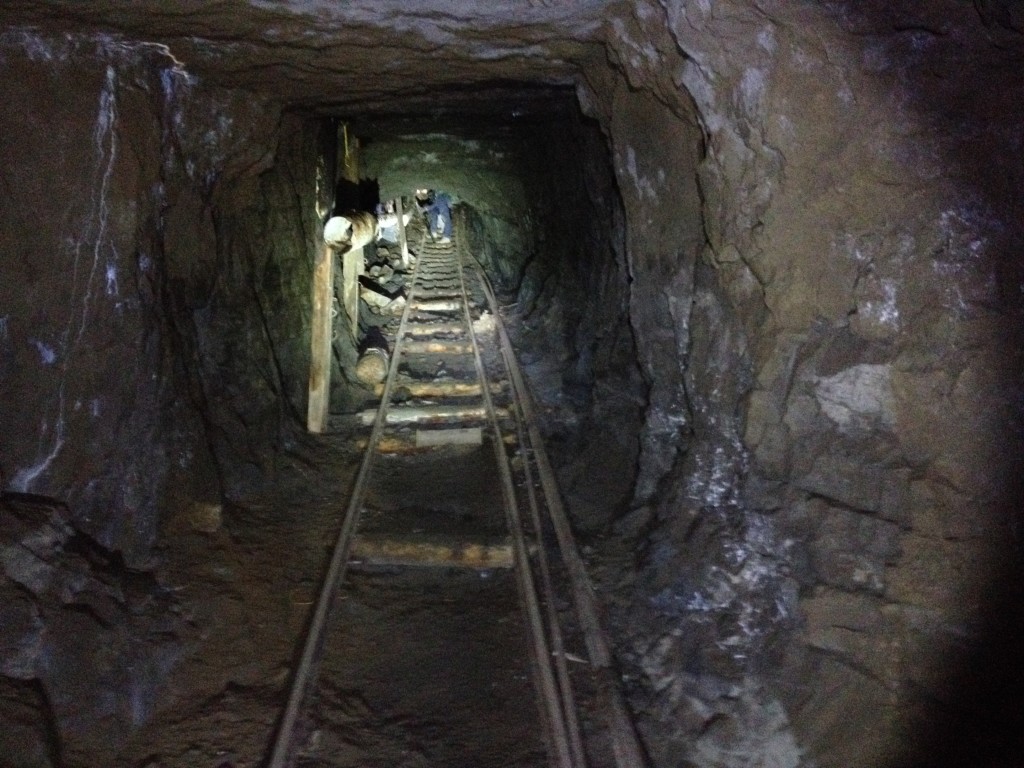
We finally came into the main haulage tunnel area. Every about 50-100 feet there were side tunnels and drifts which led to more interesting areas. The picture below is looking down the 35 degree angle main haulage tunnel. It went up about 200 feet to where the top entrance is located (there is a large boulder and dirt making it impassable). It probably dropped down another 400+ feet or so from this junction point.
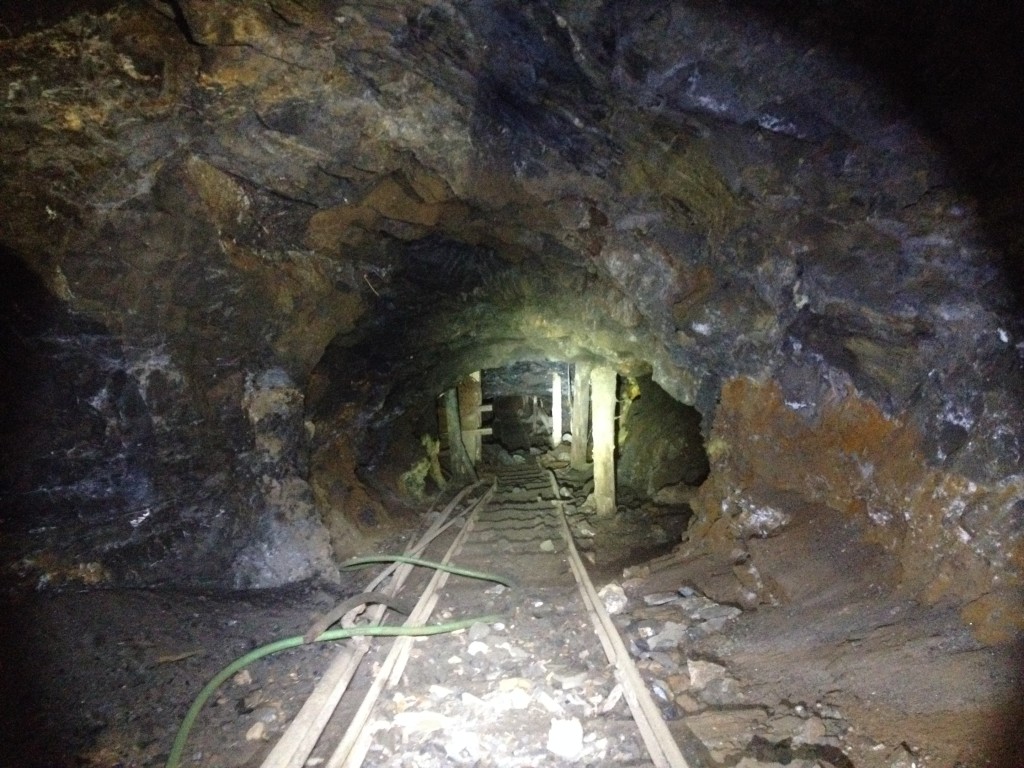
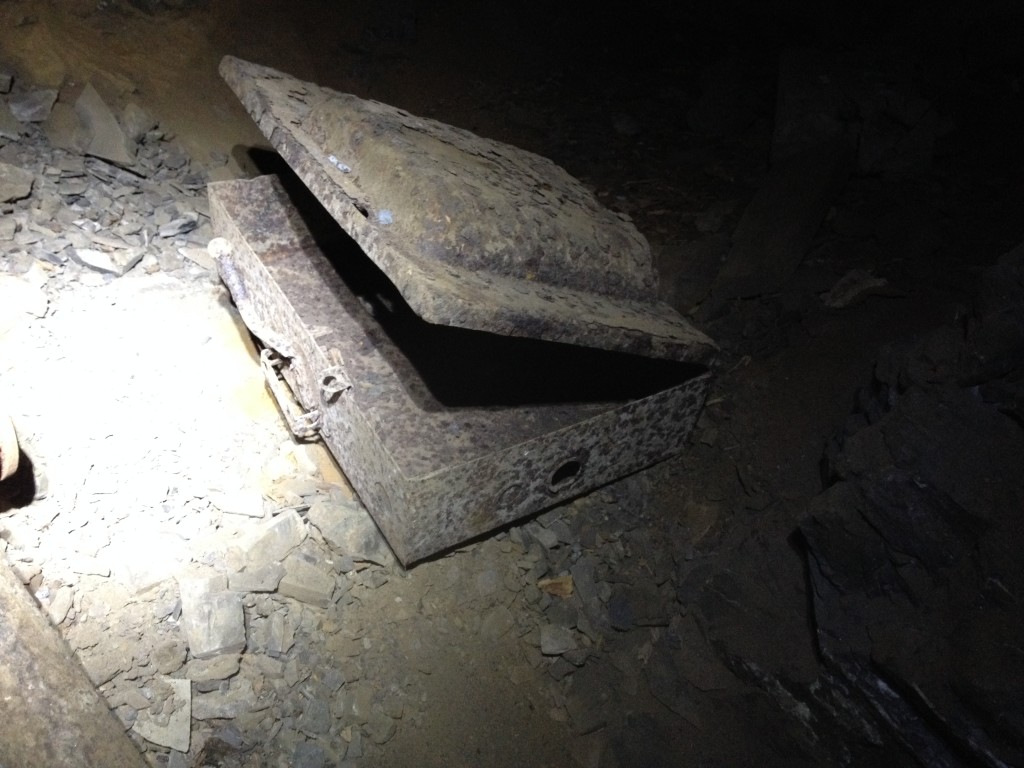
We started by going up to the top to see if we could find some light creeping in from the outside.
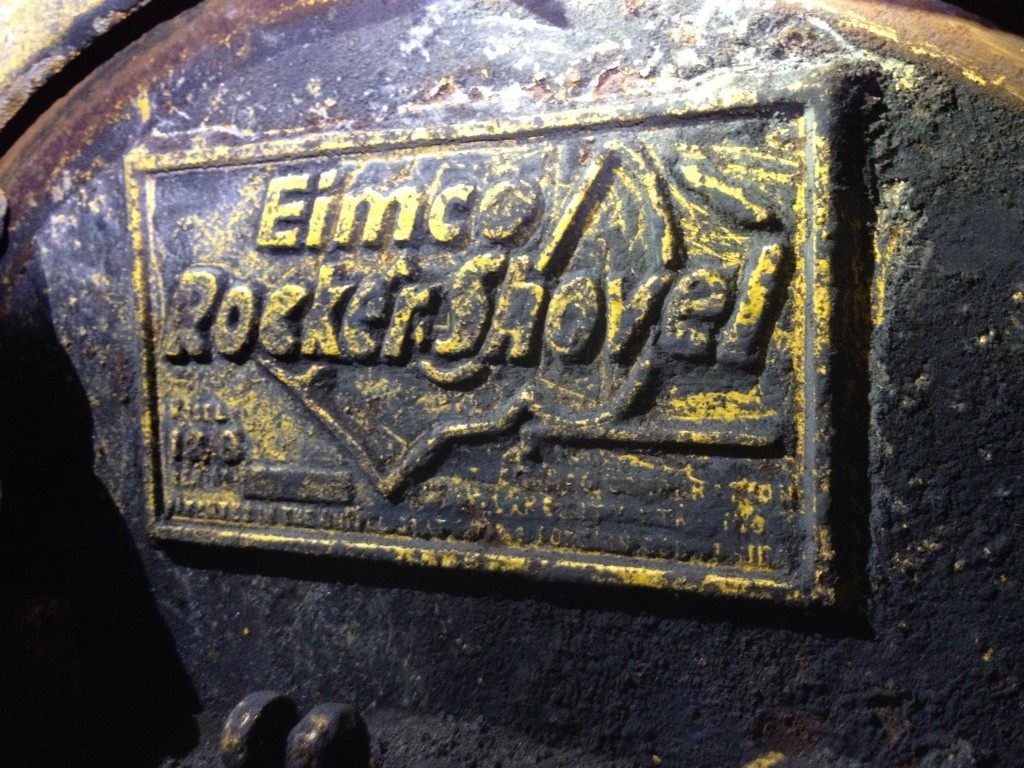
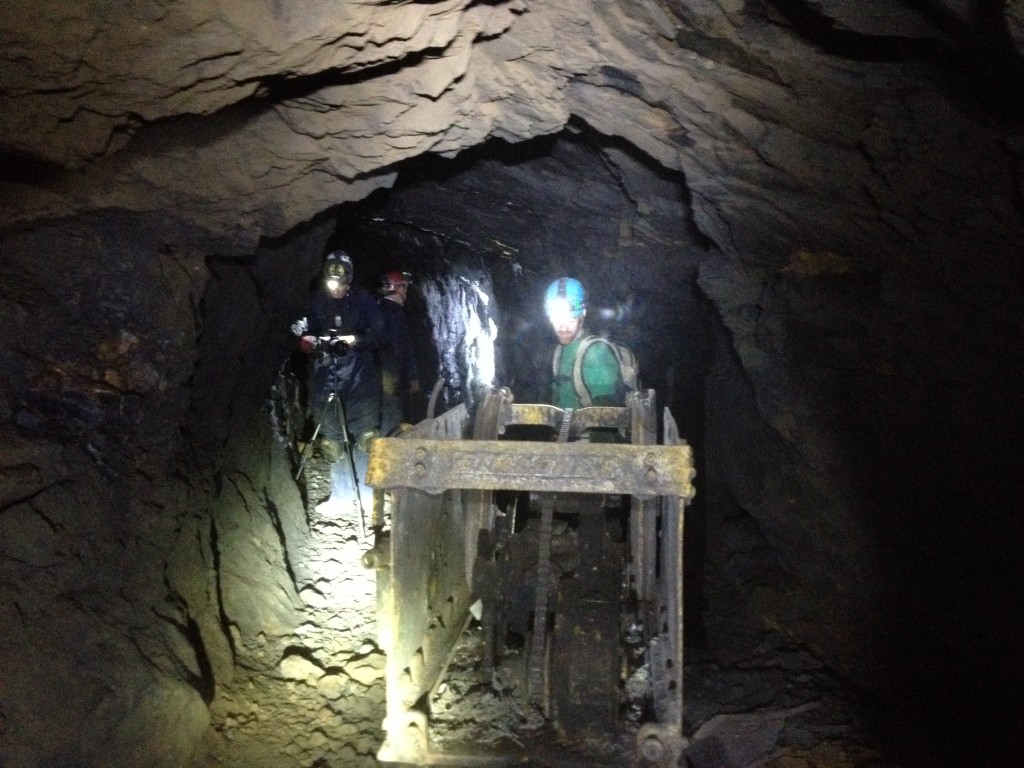
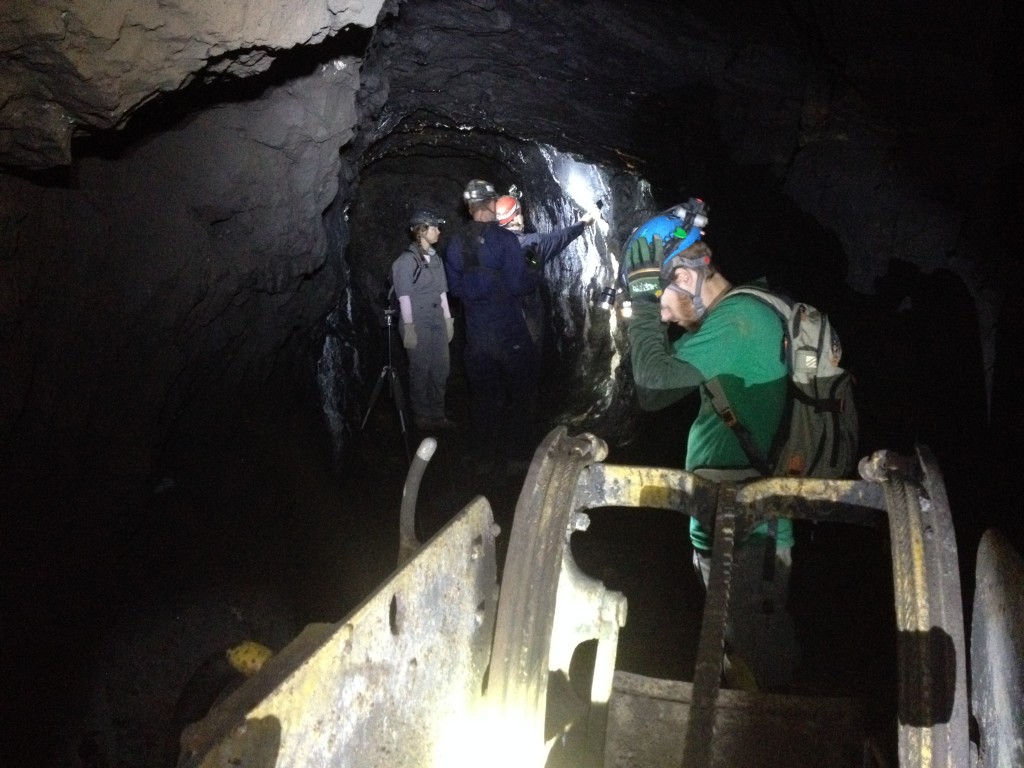
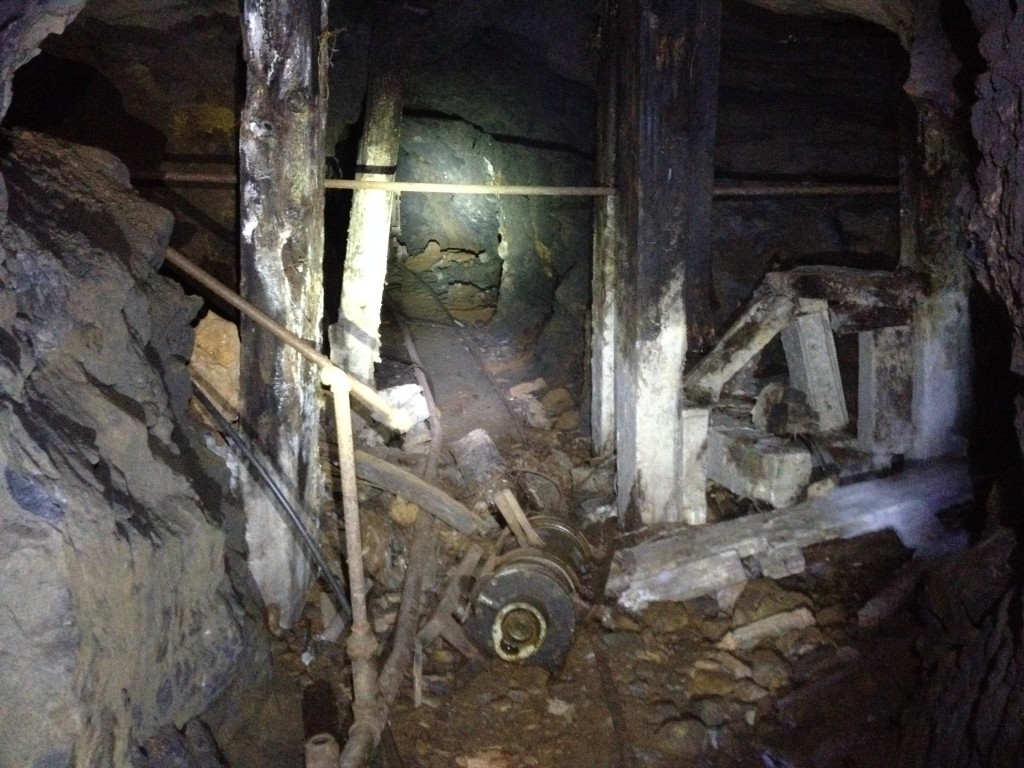
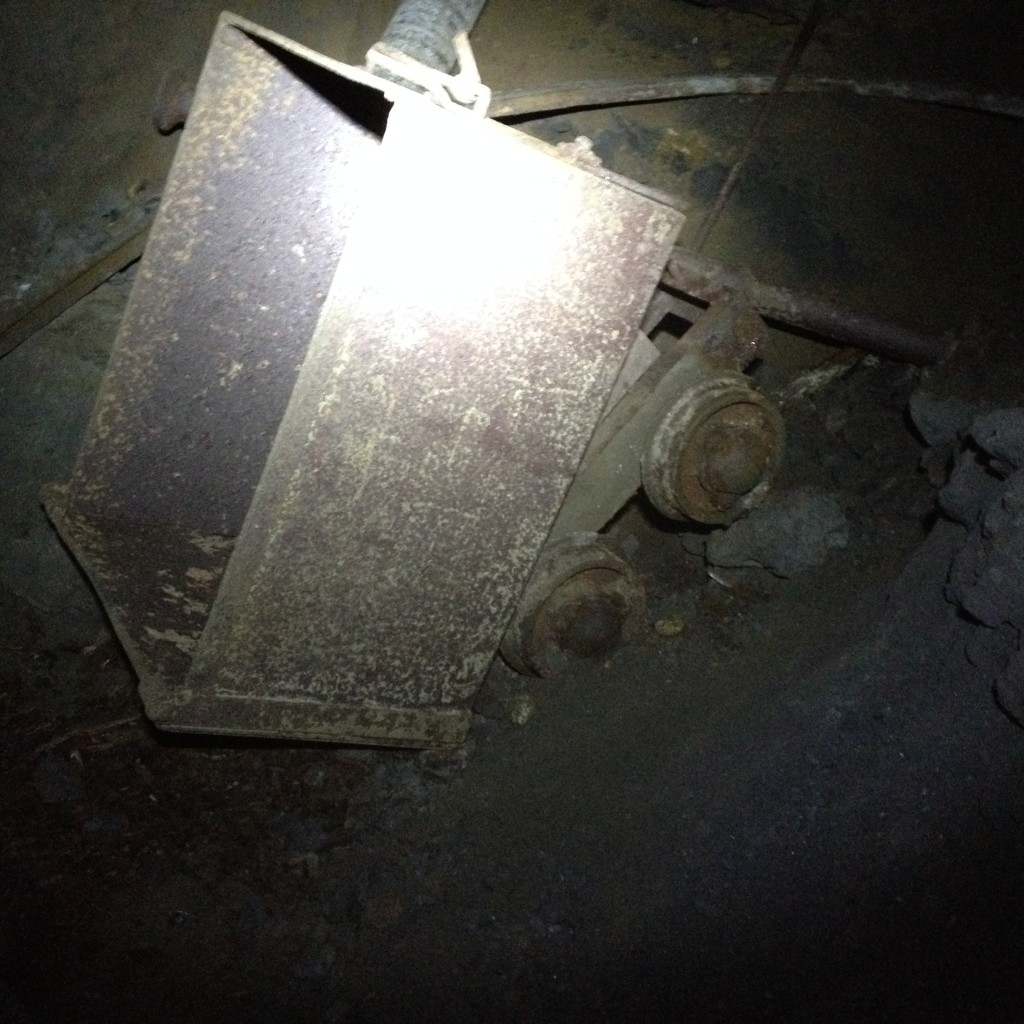
We then went back down to where we came in and went down farther to the next level. The next level was one of my favorites because we found a mucker that was in relative good shape – except of course it won’t be running any time soon. A mucker is a machine that shovels dirt, rock or ore into the ore carts.
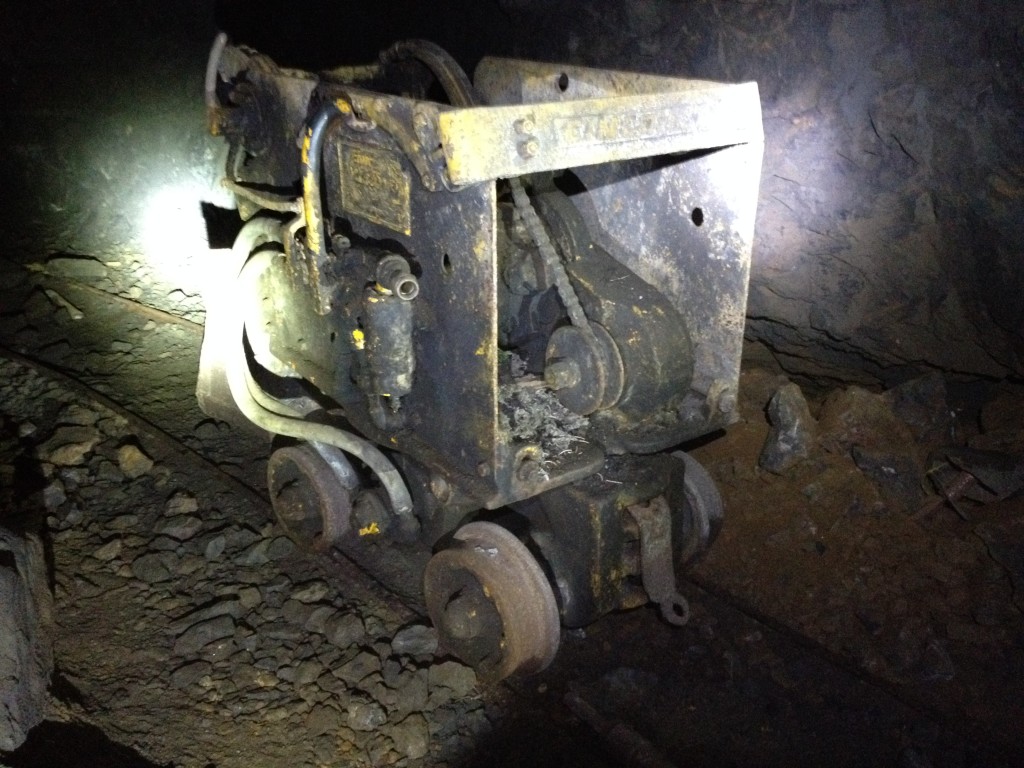
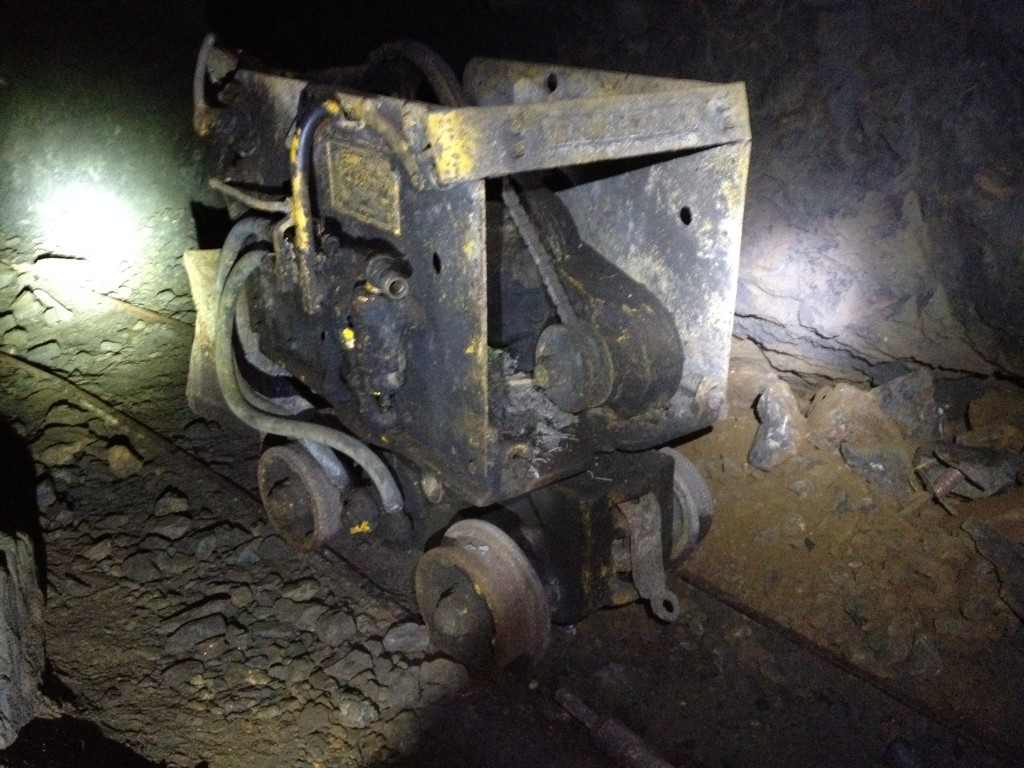
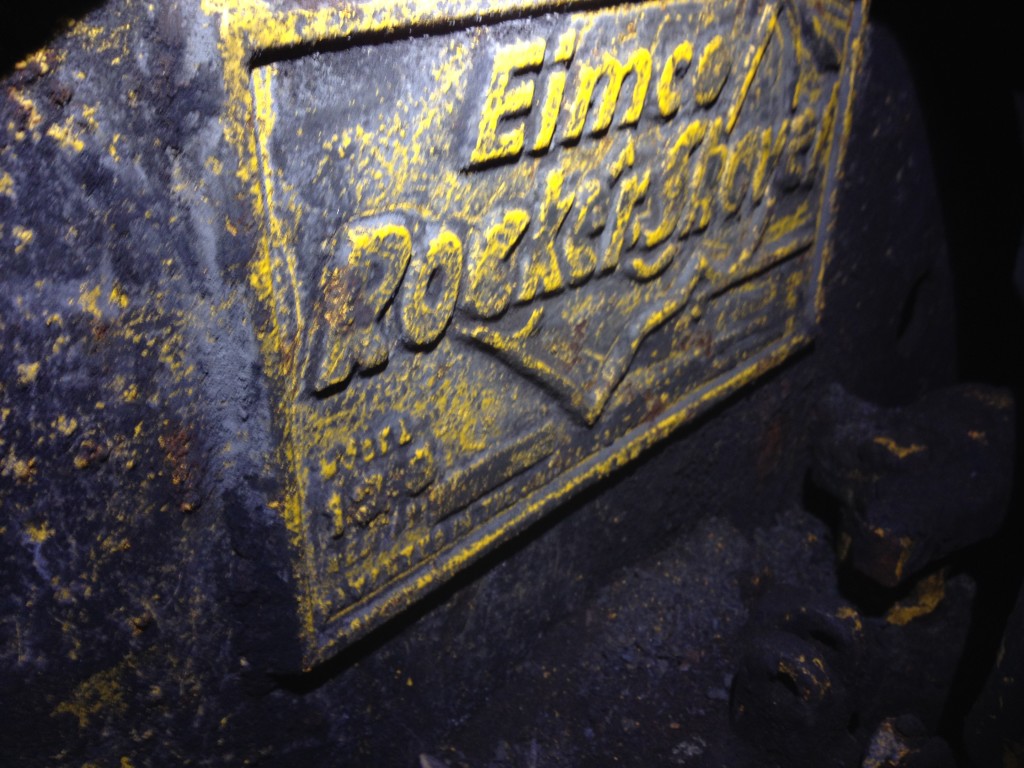
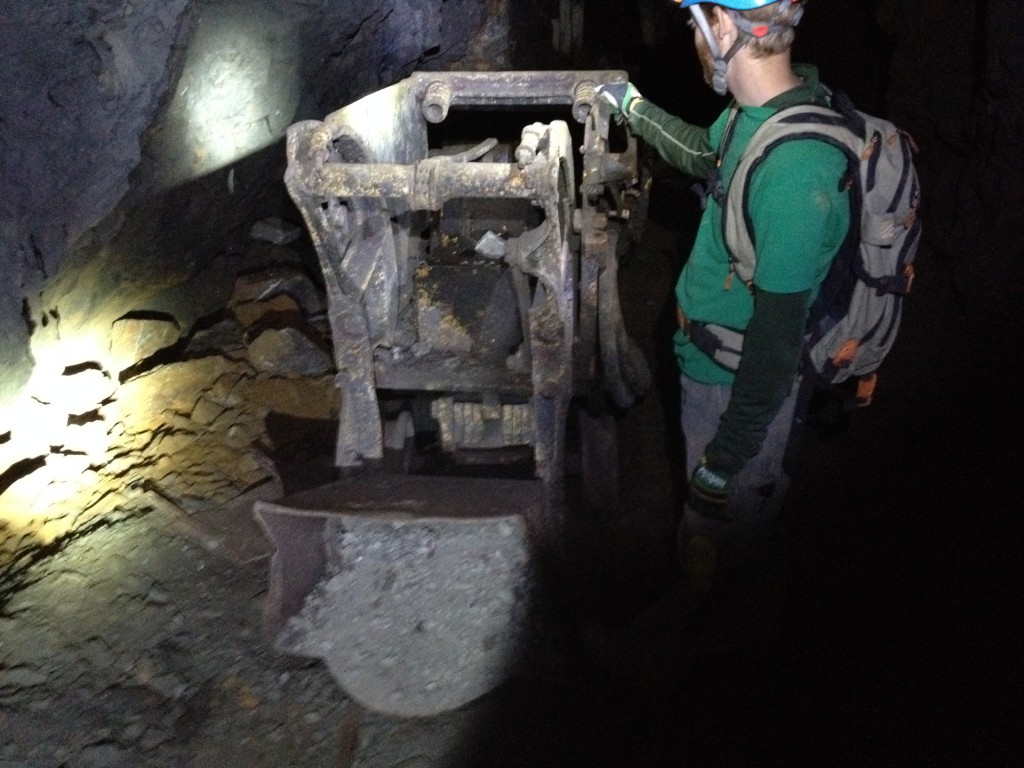 The Eimco Rocker Shovel. This ol’ beauty ran on compressed air. It would have been really cool to see this in operation back in the day.

We then carried on down the inclined shaft.
There were a few tricky spots where there was about a 6 foot drop where we had to jump down then climb the other side to continue on down the inclined shaft.
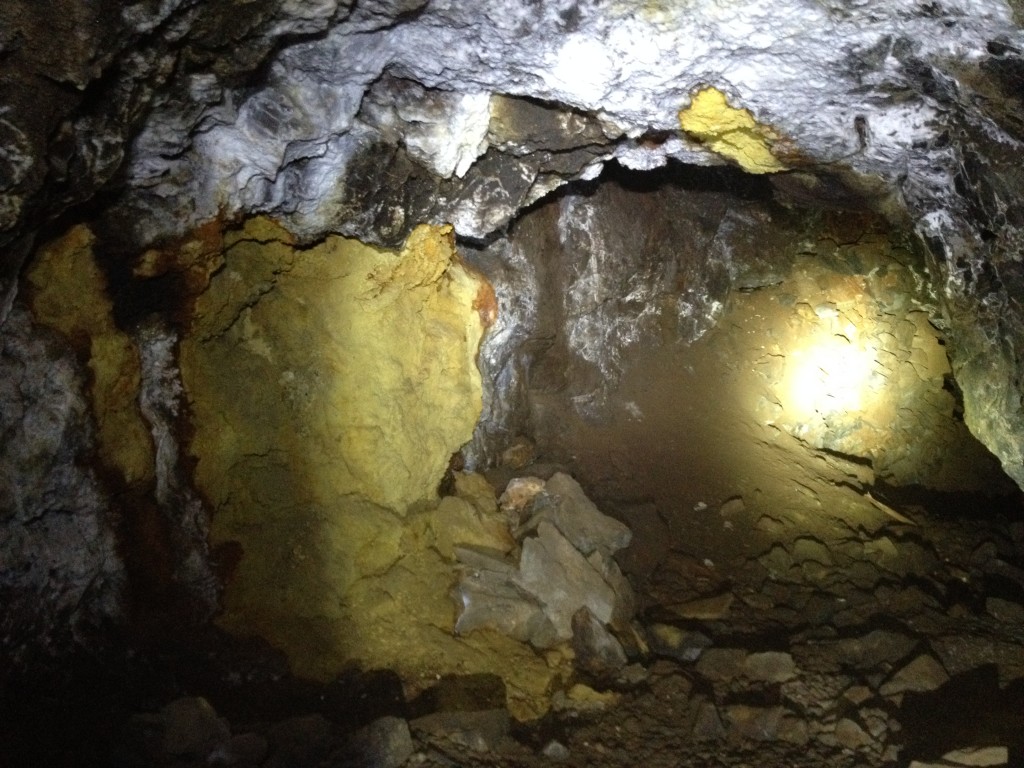
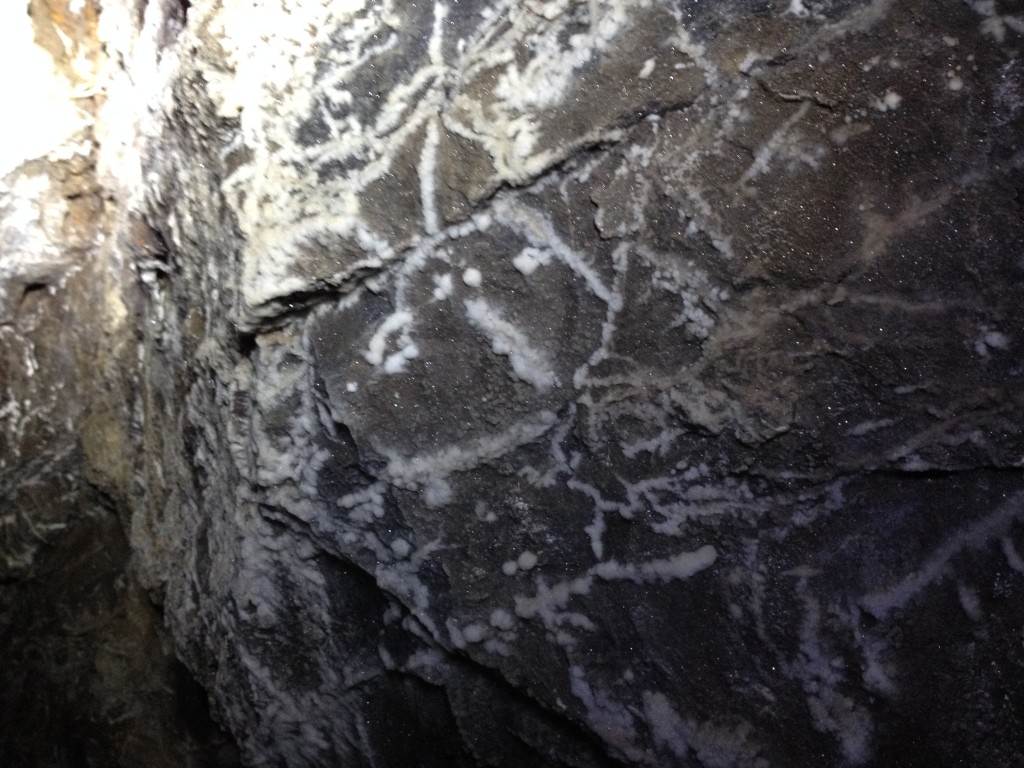
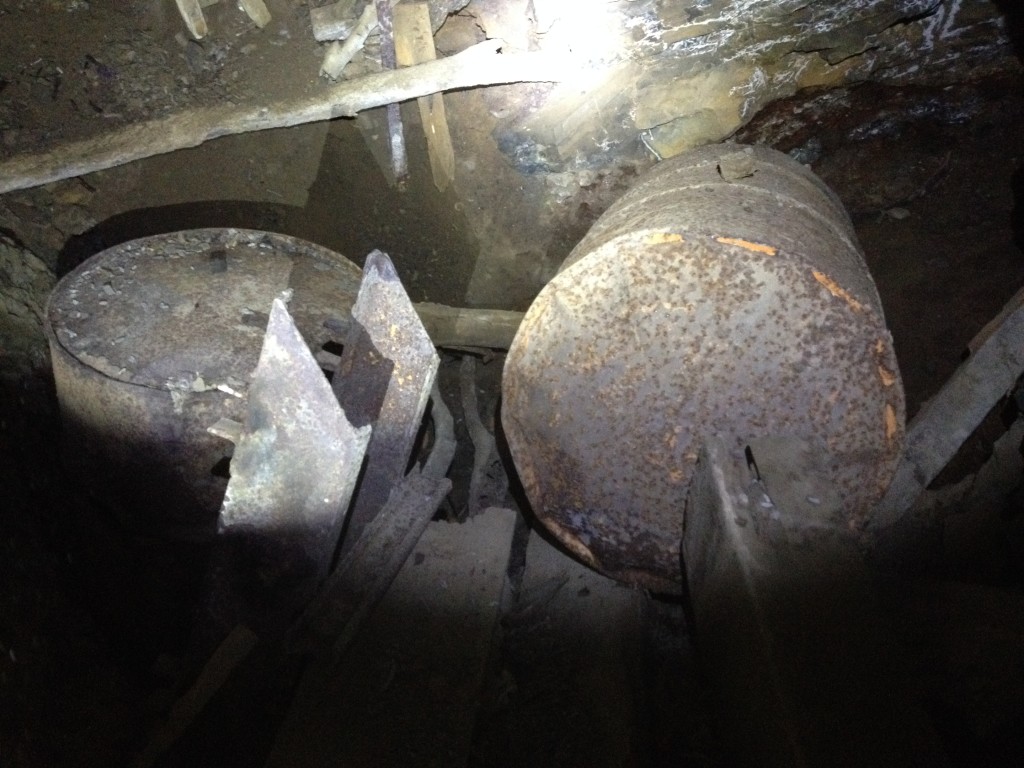
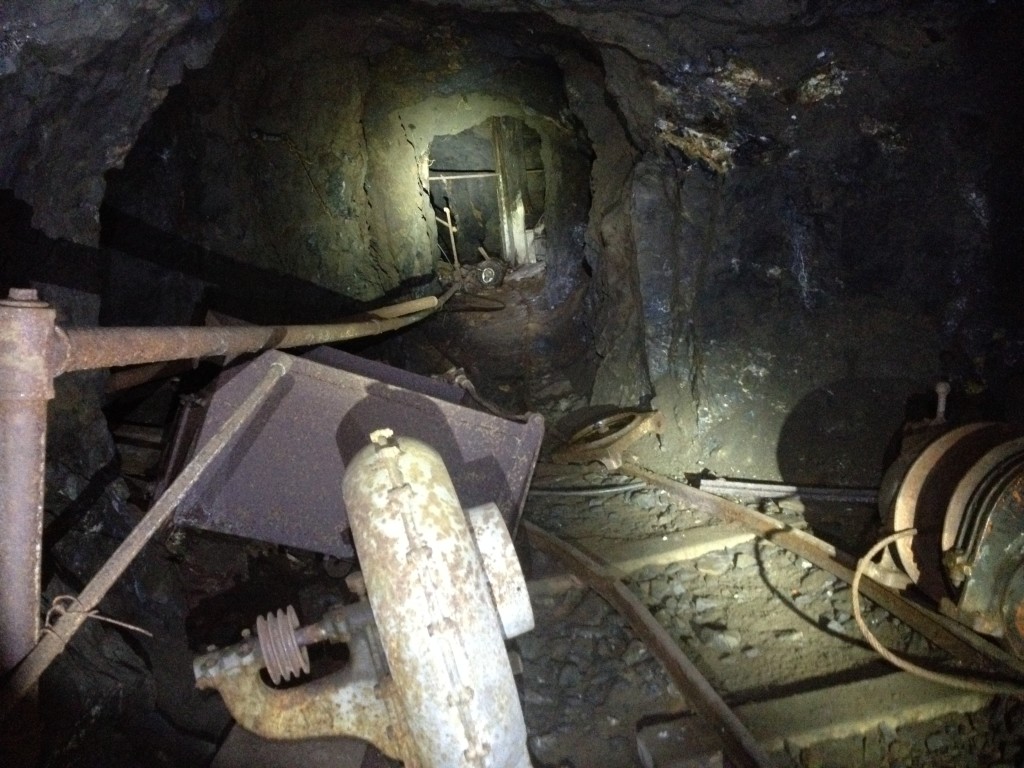
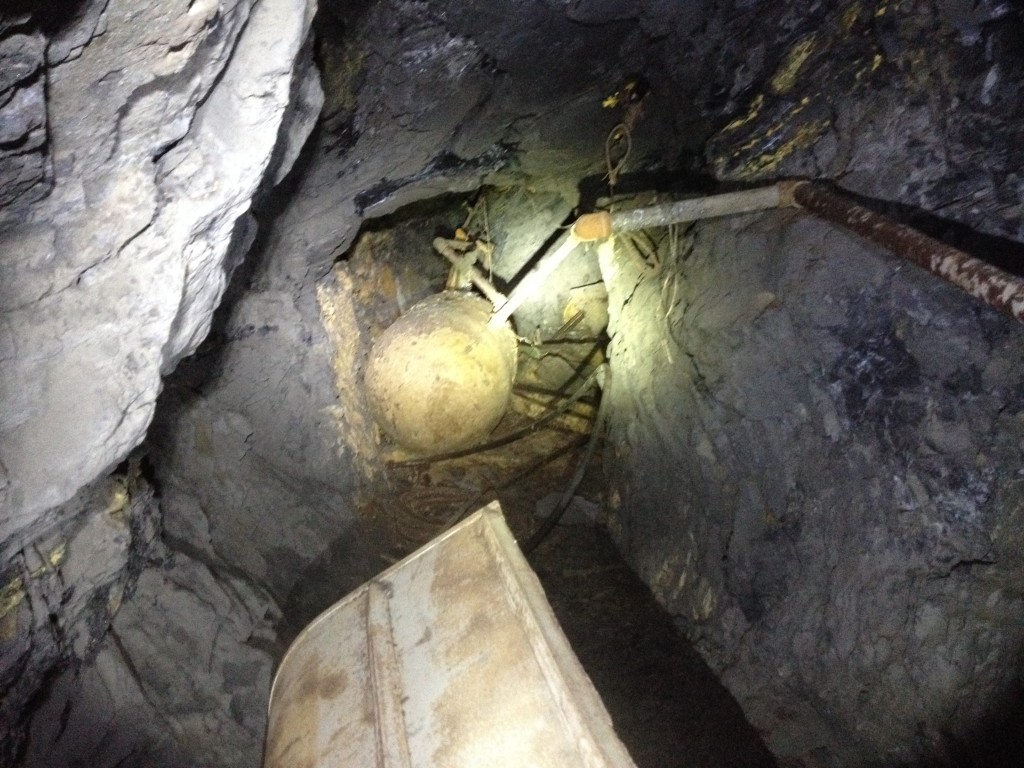
We discovered another side tunnel to a bigger room where there were giant green gears, a side dumping ore cart and lots and lots of very dangerous mold. We didn’t spend too much time in here because our oxygen sensors were alarming. I do not recommend you explore this area for your own safety!!
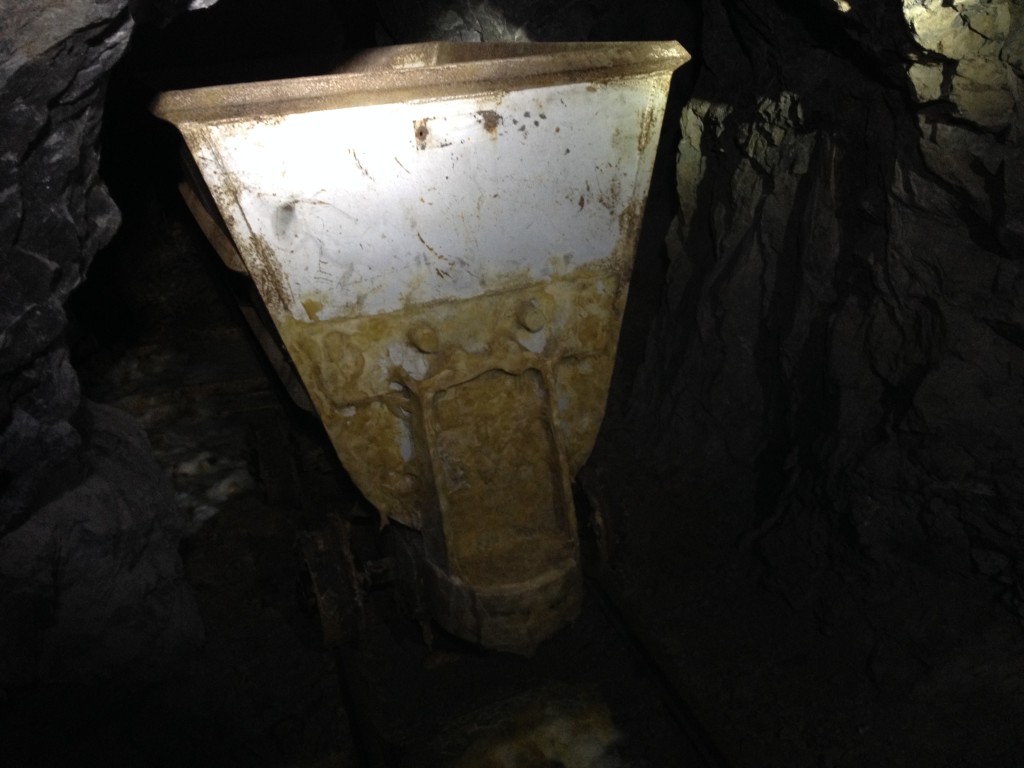

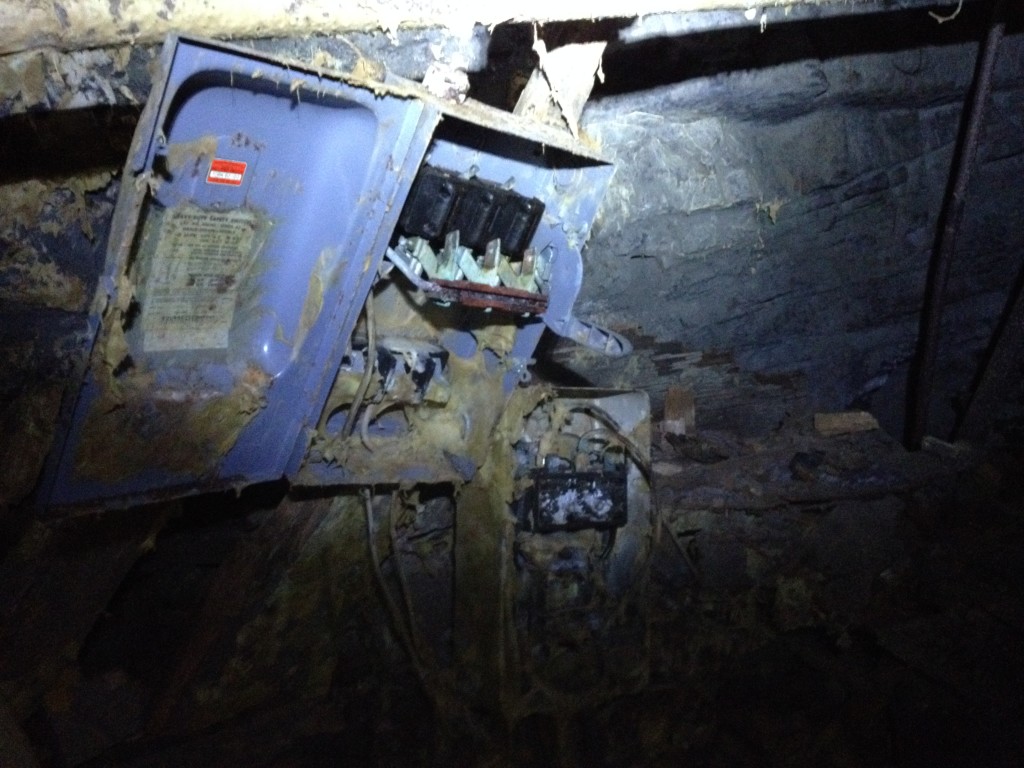
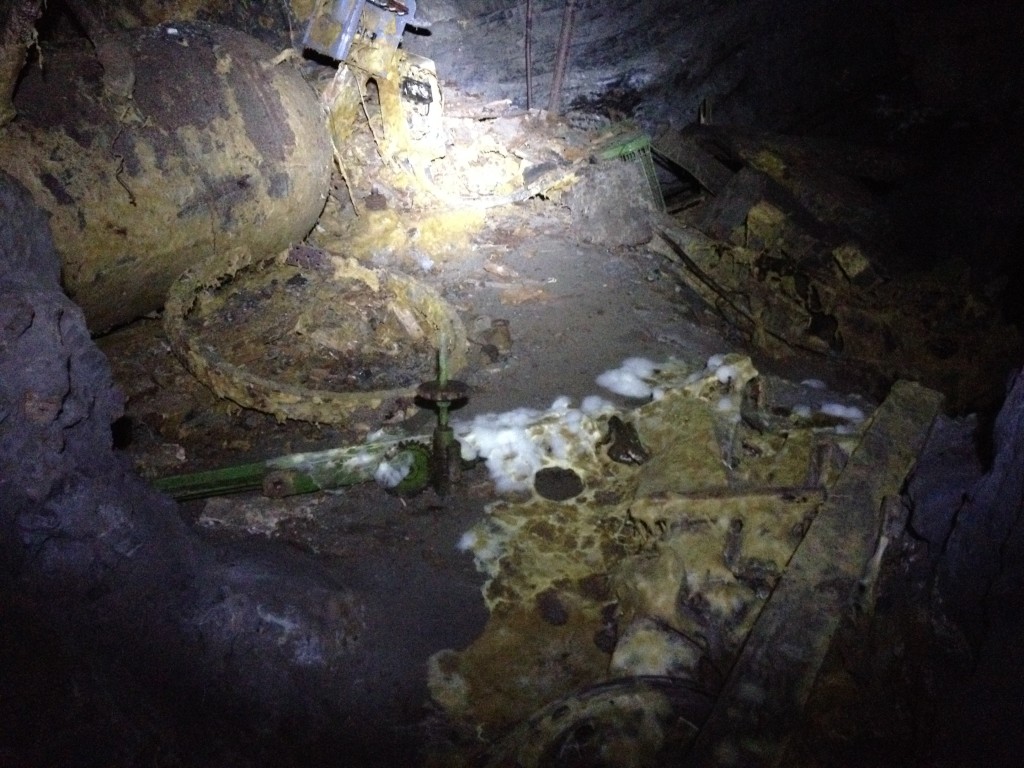
Here are the giant green gears which were on some wooden supports and now it is collapsed. There was another inclined shaft which seemed to go down much farther but like I said, our oxygen sensors were alarming so we took some cool photos of the “cloud” mold, gears and other stuff then left.

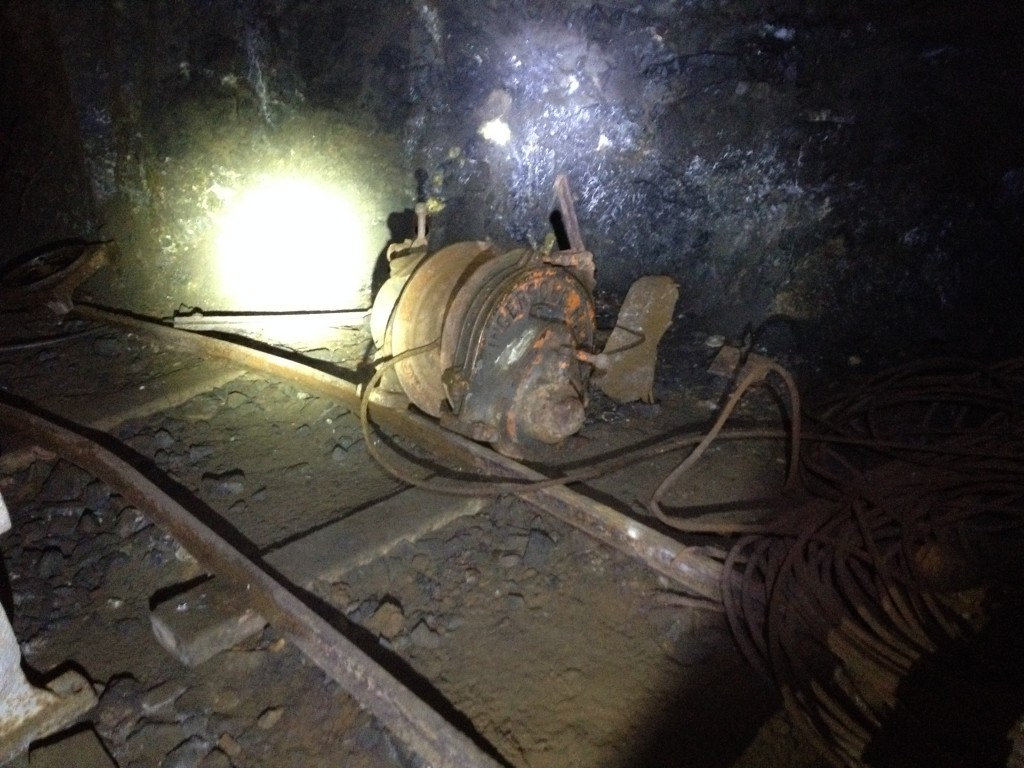
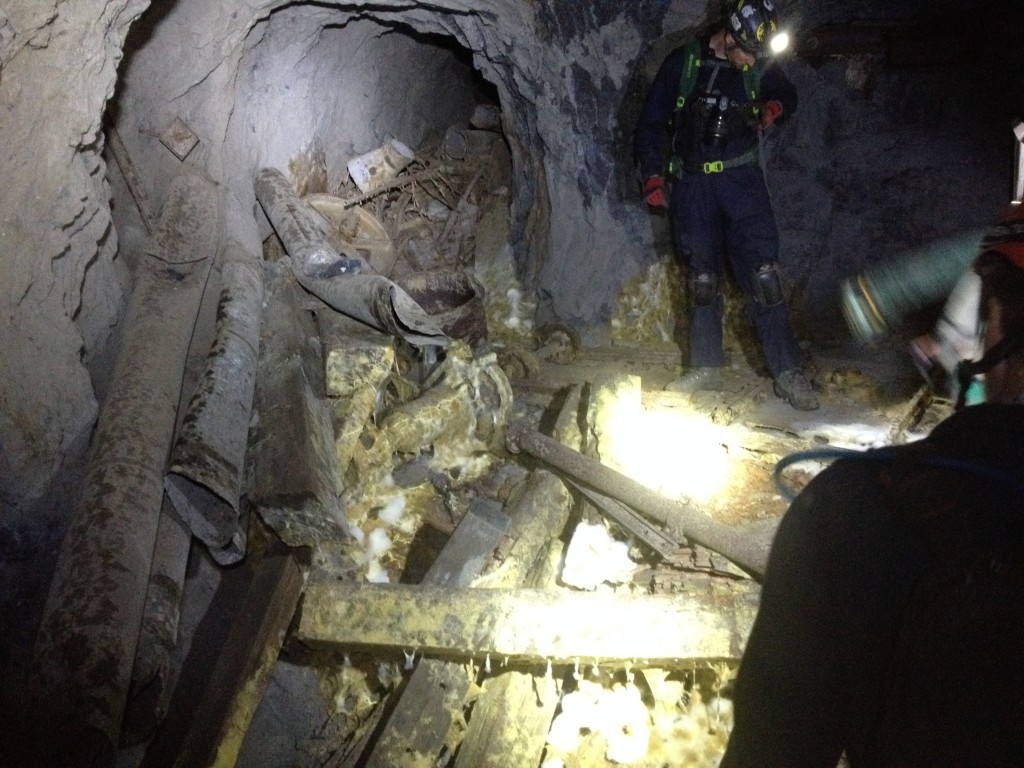 Here are the giant green gears and motor. In the bottom right of the picture below there is another declined shaft which seemed to go on for hundreds more feet. We didn’t explore too much of this are below.
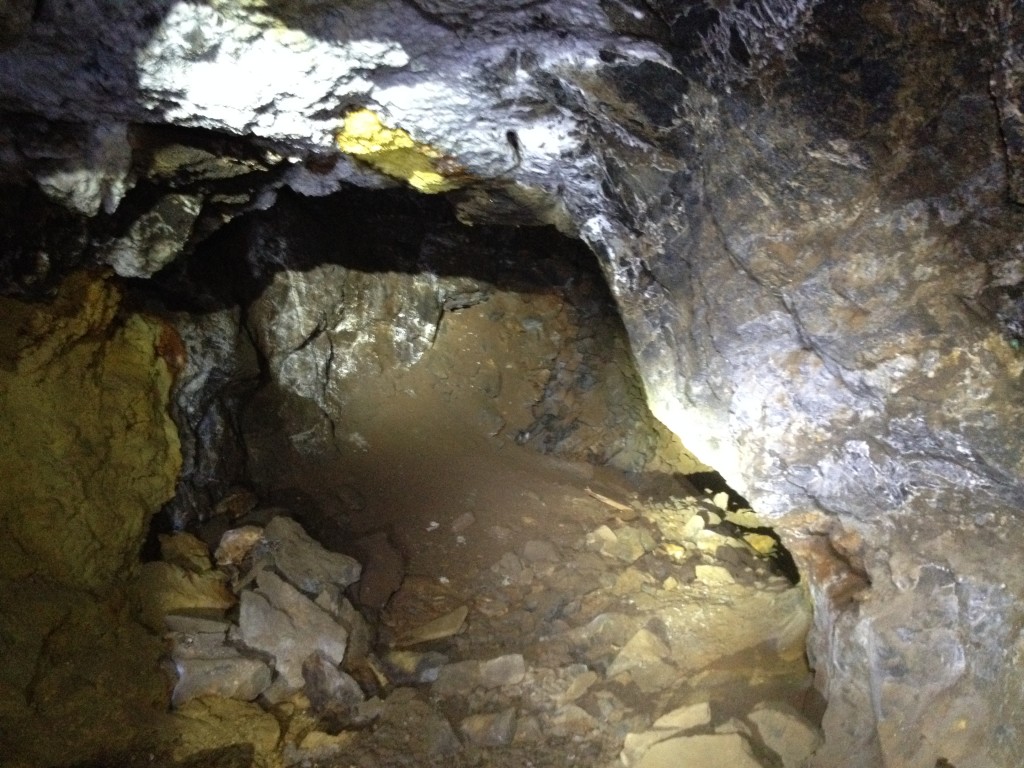
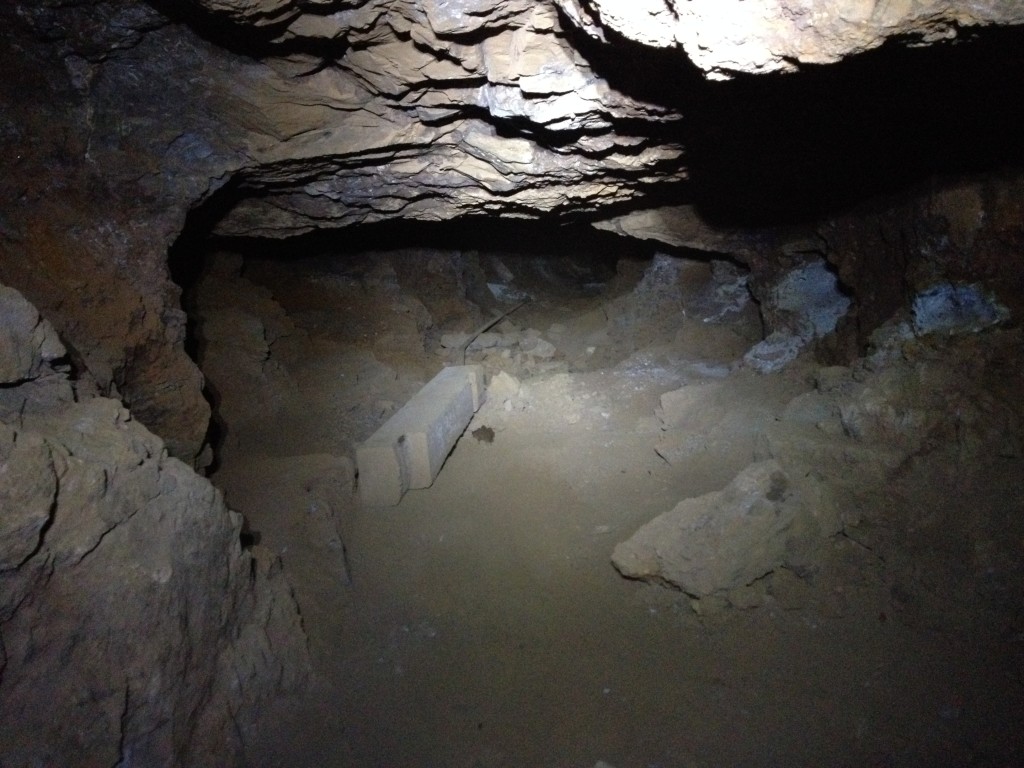
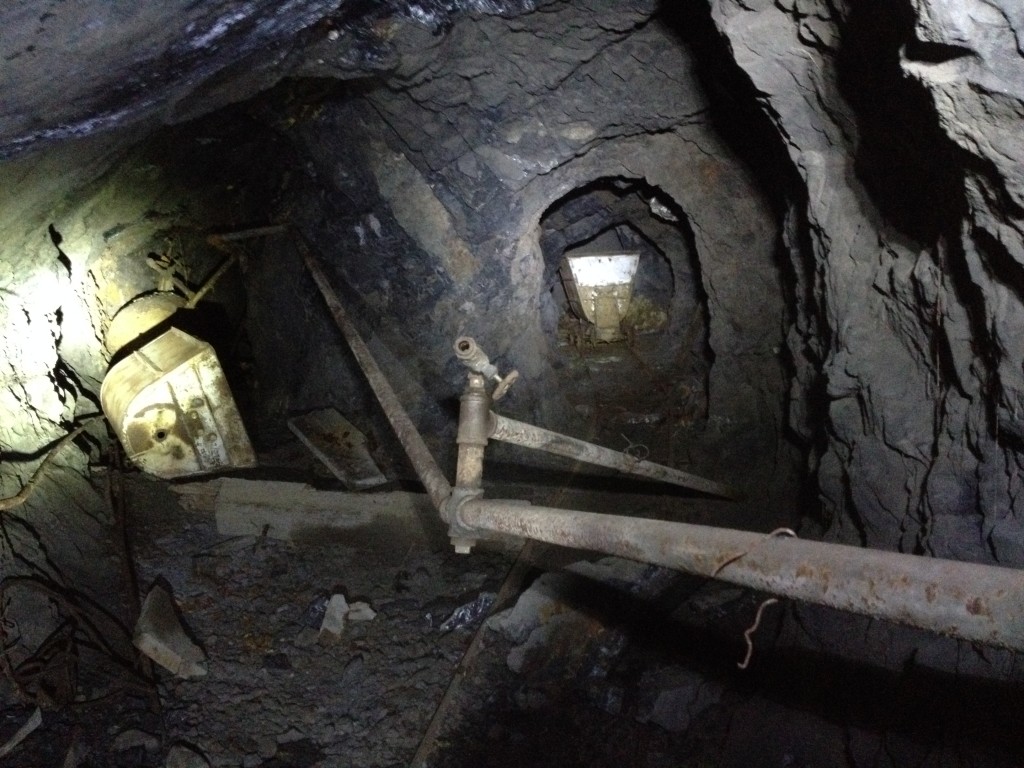
 A side tunnel in the same area as the green gears.
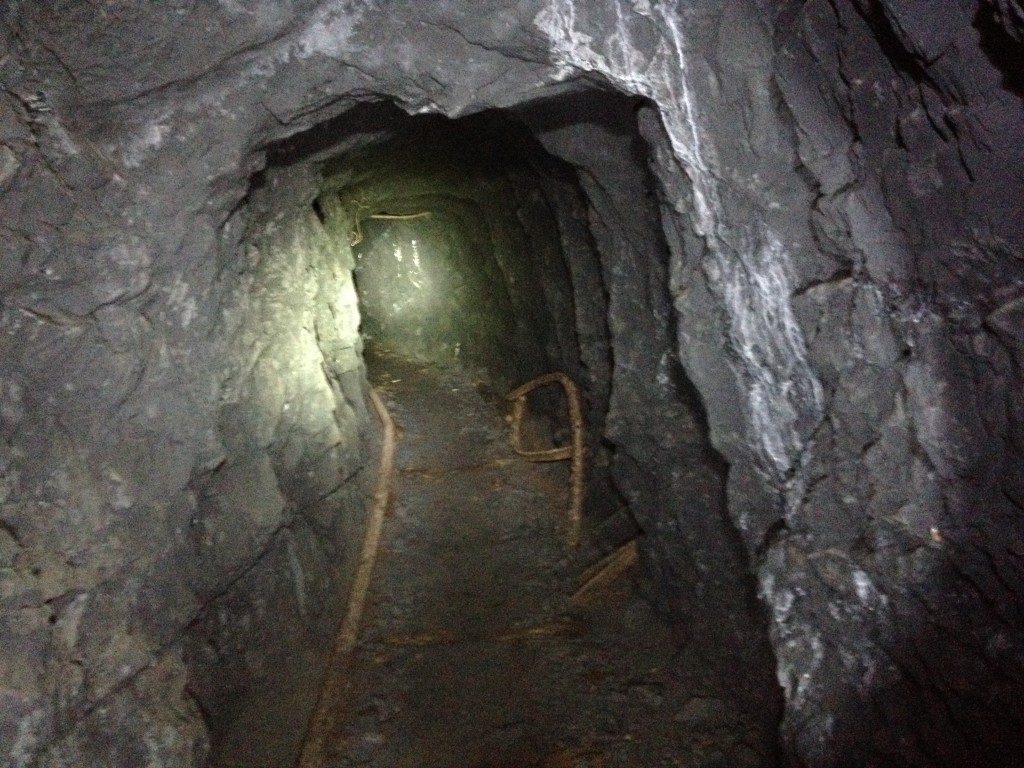
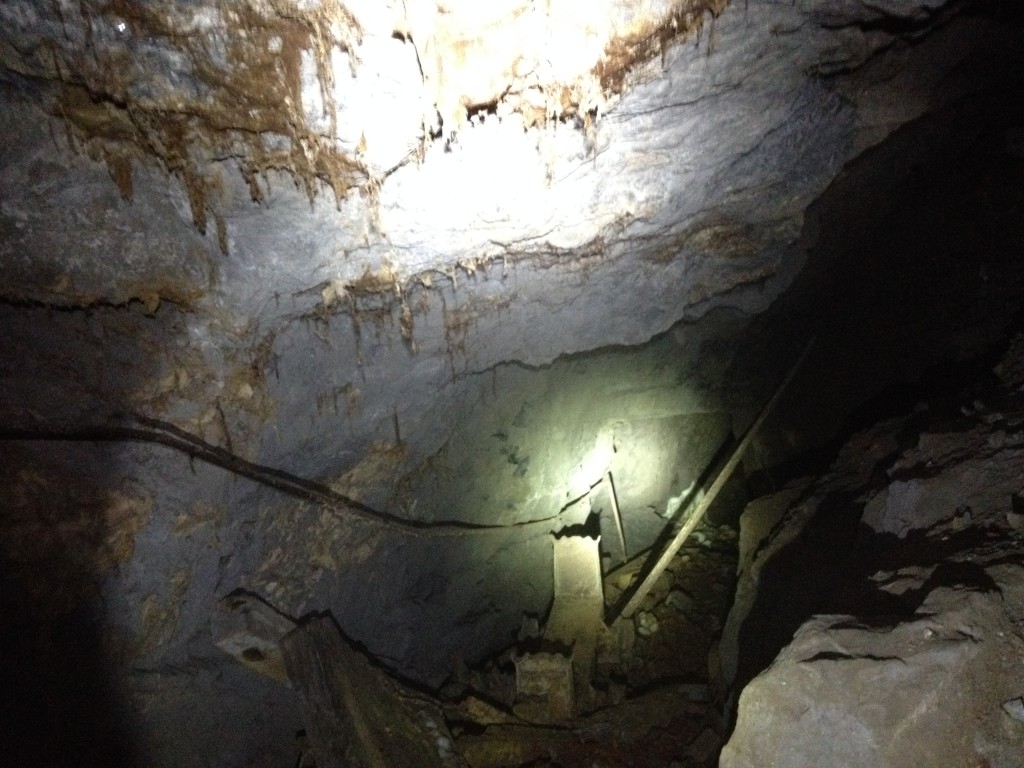
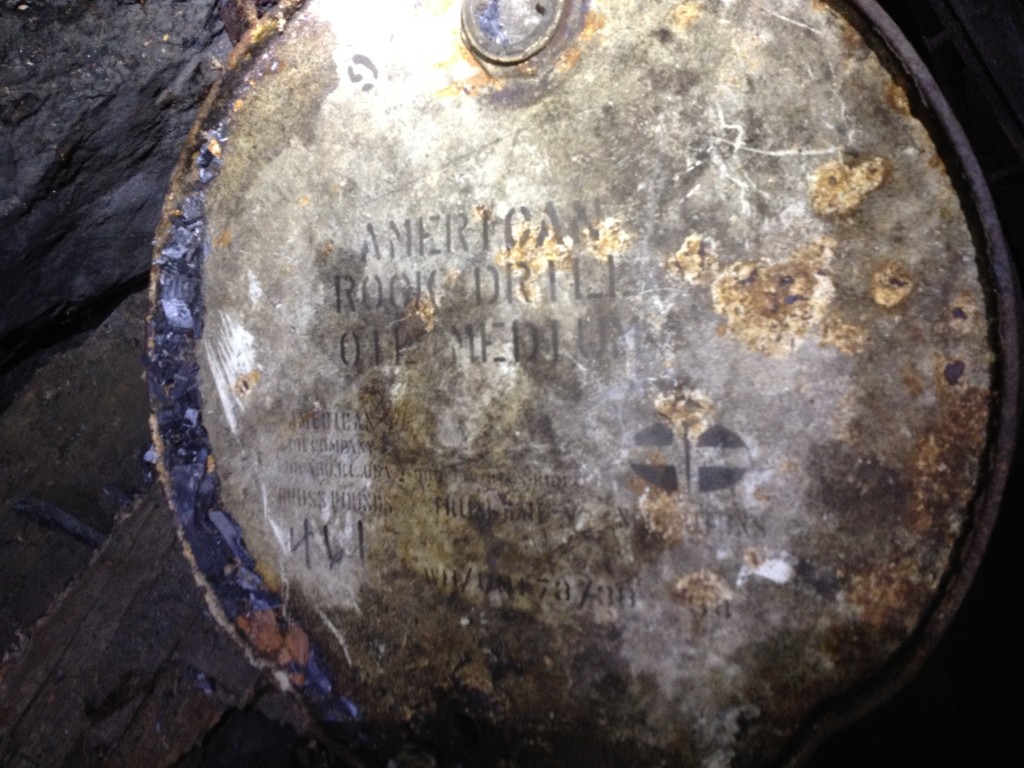
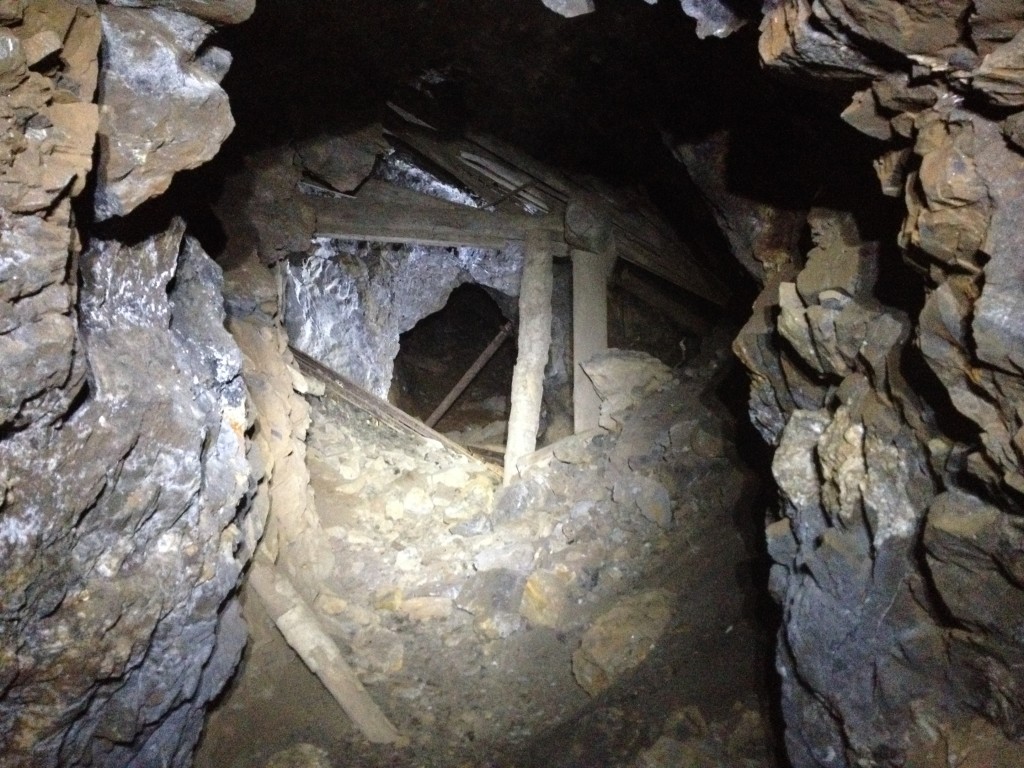
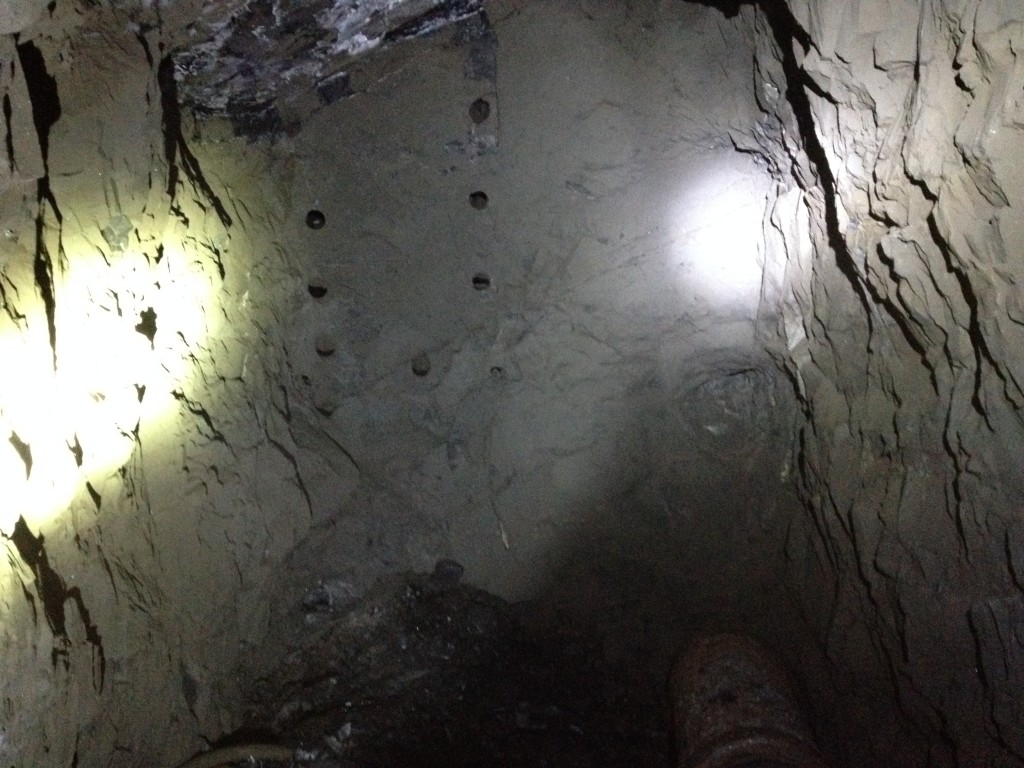
We went back out to the main haulage tunnel where the air was better and continued on down. We found the bottom fairly quick. It ended with a roof collapse so we couldn’t make it passed that part. We made the hike back up to the top and came out the same way.

Personal Thoughts
The Wandering Jew mine was very interesting to explore. It's exciting to visit these places that have lots of old artifacts still inside and in case you are wondering, we left them all inside and didn't take anything out so that the history can remain there.

Is there any way I could this to a good friend?
Hey Guy! I’m not really sure what you are asking here…
Wondering what you guys are using for air sensors? I would really like to start exploring some deeper mines such as this but would like to rely on a little more then the old lighter trick
The wandering Jew had some very bad air so I wouldn’t go too deep in this one. BUT….we used the MSA Altair 4 sensor 🙂