The Trek Details
The Trek in a snapshot
Salt Lake City, Utah
Unknown
Allowed
None
None
According to the sign at the trailhead: Camping groups cannot exceed 10 people. No camping within 200 ft of trails/lakes/streams. No camping or fires within 1/2 mile of roads
Good dirt trail. Lots of switchbacks up until Tolcat Creek then the switchbacks disappear and it’s literally just a straight up hike. Once you get to the Mt Olympus saddle you will need to rock scramble to get to the summit. This is a tricky area.
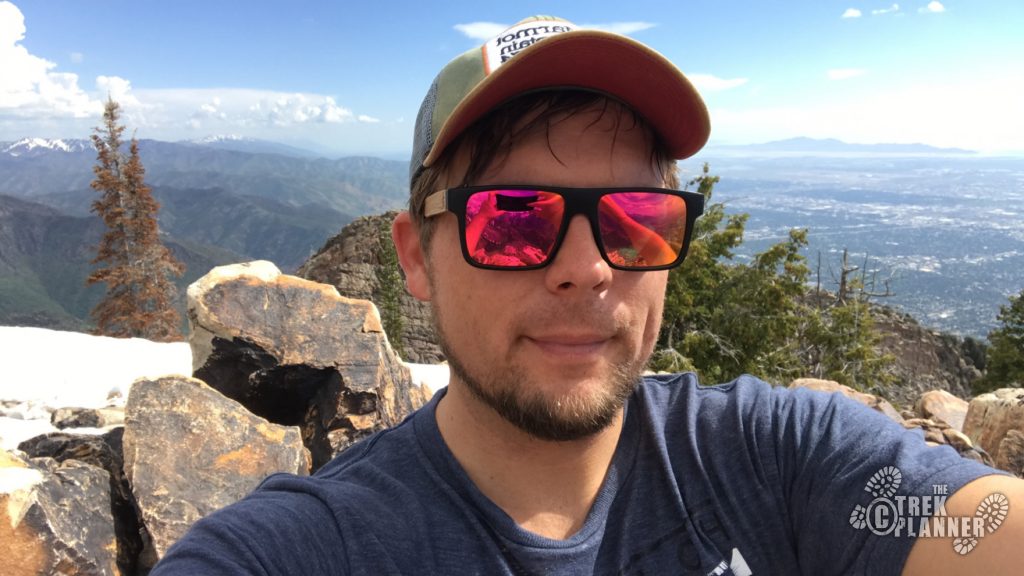
Mt Olympus. Amazing views of the Salt Lake Valley and beyond
I brought 3 liters of water and ran out on my way down. Luckily, I brought my Lifestraw and was able to filter some water at Tolcat Creek (at mile 1.5)
Late Spring, summer, fall. I have heard of people hiking this in winter though
8 miles roundtrip
5-8 hours
4,831 ft
9,026 ft
4,195 ft


Trailhead: 40.65185, -111.80614
Tolcats Creek: 40.65301, -111.78953
Mt Olympus:40.65671, -111.77107


The Trail
Follow along on our adventure then go out on your own!


Note: I think this trailhead is technically in Holladay but I put Salt Lake City because it’s located in the greater Salt Lake valley.
I have been wanting to hike Mt Olympus for a very long time now. People have told me it’s a “beast” to hike and now that I have done it I can see exactly why they say that. While hiking this trail, I caught up to an older lady who was taking a rest on a rock. She said “isn’t this hike punishing?” This truly is a hard hike and and I even consider myself to be in pretty good hiking shape!
The parking area is rather small but I noticed that people were parking down on the side of Wasatch Blvd. Right at the get-go you will be submitted to a very steep climb and some switchbacks. If you lose determination, never fear! Just go at a slow yet constant pace and you will make it to the top! The summit is roughly 3.5 miles from the parking lot.


Right when I started it took me about 1/4 mile to get in a good hiking rhythm for this trail. I knew I would be gaining more than 4,000 feet in elevation and it’s not good to start off super fast and lose most my energy by the time all the steeper stuff happens. I started out consistent and hiked at a good steady pace and took breaks as much as I could.


Once you get up the first steep area from the parking lot, it’s rather easy hiking until Tolcats Creek. There are long switchbacks which made this hike more enjoyable. I passed by lots of wildflowers, juniper trees, scrub oak, and what I think were some berry bushes at this first part. You will notice that this trail also connects with the Bonneville Shoreline Trail.


The trail winds up at the west side of Mt Olympus and then goes up through Tolcats Canyon until Tolcats Creek. You won’t be hiking down below in the middle of the canyon but instead the trail winds on the side of the canyon. There is a really cool waterfall (waterslide?) on the south side of the canyon. You will also begin to get incredible views all way to Draper.


Once you get to Tolcats Creek at the 1.5 mile mark, there is plenty of shade and water to help you recover and get ready for the steep climb to the summit! I’ve heard that this creek may not be running in the middle of summer so be sure to bring more water if you need it. I brought my Lifestraw water filter and used that to drink about 1/2 liter from the creek. It was nice to hang out and dip my hat in the cold water and get my hair wet. By this time, I was already working up a sweat! I then ate a few snacks and continued on.


From here the trail gets steeper. The switchbacks are now few and far in between and eventually the trail will just straighten out until the Mt Olympus Saddle.


The trail goes into a narrow canyon and you will pass over a small stream a few times. The trail has tons of small rocks in it so it was nice to have steps but there are literally no more switchbacks and I just got super tired here for some reason. I would hike up about 25 yards and then take a short break. I would do this lots more times until I came to the Mt Olympus Saddle. This was the area where the flies were bad too. They would land on my shoulder and bite my skin through my shirt. They kept doing this until I got paranoid and just kept randomly slapping my shoulders which apparently caused them to stop landing on me.
This last 1-mile section of trail before the summit is probably the hardest. Just keep a good pace and take breaks as often as you need to.


Finally, I made it to the saddle and got some incredible views of Twin Peaks and other mountains to the south. I encountered some snow at this point but didn’t need to walk through too much of it. The trail was very snowy/muddy in parts but the snow eventually dispersed and I was back on dry ground again for the rest of the hike.
I took a short break here for pictures and then turned directly north to climb Mt. Olympus. The trail was still steep but there are plenty of rocks and boulders to climb on to make this an interesting climb. I wouldn’t say it’s very dangerous but I would say you should be watchful of yourself and those in your party during this. The trail is kind of tricky to see but luckily lots of people were climbing down at the same time I was climbing up so I could just follow where they came from.


After another 20 minutes from the saddle I was on top of Mt Olympus!


I was expected to find Zeus himself standing on top! You can see the entire Salt Lake Valley, Antelope Island, and all the way into what I thought was Lehi. The views make this hike even more worth it!


Congratulations! You just hiked to 9,026 ft! The top of Mt Olympus can’t really be seen from street level unless you are far away from it. The summit is hidden by the false summit (the mountain in front of it) even though they are connected.


While I was eating my lunch on the summit, a few hikers were still on top too. I noticed they didn’t have any backpacks and each of them were holding a small water bottle that was probably only large enough to hold perhaps 18 ounces of liquid. I wondered how they made it to the top without any food or more water! I was nearly done with my 3rd liter of water and was excited to hike down to the creek to fill up some more! Anyway, I’m always a little over prepared for longer hikes.
Head back down the same way you came up. Going down is always easier despite my knees and thighs being very sore at this point. I rather enjoyed going down the trail!

Personal Thoughts
I would rate this hike as more than strenuous. It took a lot out of me but I was happy to do it! On the way down I saw tons of people who were making their way up. I definitely came at a less-than-popular time (I started just before 1pm). When I started, I only saw that one other lady hiking to the top and everyone else was coming down at this point. When I was coming down, I saw maybe 50 more people and all their dogs hiking too. This would be a very steep hike for dogs, but the dogs I saw coming down from Mt Olympus seemed to be doing just fine.