
The Trek in a snapshot

Trek Planner Maps
Beginning Parking Lot at Wildcat Canyon Trailhead: 37° 20.392’N, 113° 4.542’W
The Subway Trail Junction: 37° 20.403’N, 113° 3.573’W
The Canyon entrance for the Subway: 37° 19.053’N, 113° 2.465’W
The Subway (actual): 37° 18.559’N, 113° 3.120’W
Dinosaur Foot Prints: 37° 17.780’N, 113° 4.629’W
This is where you climb out of the canyon: 37° 17.330’N, 113° 5.136’W
The Exit Parking Lot – Left Fork Trailhead: 37° 17.081’N, 113° 5.754’W

Experience. Discover. Explore.
Follow along on our adventure then go out on your own!


You will be hiking on hard sandstone for about a quarter of the hike then once you get to the water areas you will be in and out of water. There are a few water areas where you will NEED to swim short distances. After you pass out of the Heart of the Subway landmark you will now be travelling in and out of ankle deep water for the remainder of the hike until the hike back up to the parking lot.
If this is your first time doing The Subway, I highly recommend you travel with someone who has already done this hike. Make sure you are confident in yours and their ability to navigate the entire hike. I have been through the Subway many times now and it never ceases to amaze me how some people are under-prepared as they underestimate this hike.
Driving Directions
The Subway is not a loop hike, meaning the hike does NOT start and end in the same location. You will need to set up a shuttle system to maximize efficiency and to save you heartache and trouble.
From Virgin Utah, travel on Kolob Terrace Road for about 15.5 miles until you come to a Parking Lot which I have labeled “Beginning Parking Lot” which is officially called the Wildcat Canyon Trailhead.
When I do the Subway with a group of people we always bring two cars. One car is parked at the Exit Parking Lot (Left Fork Trailhead) and everyone jumps in the other car and we all drive to the Beginning Parking Lot (Wildcat Canyon Trailhead) – it is about 7 miles from the Wildcat Canyon Trailhead to the Left Fork Trailhead.
Then once you finish the hike have two people get in the car you parked in the Exit Parking Lot (Left Fork Trailhead) and drive up and get your car which you parked at the trailhead.
Or if you just have one vehicle you can try your luck at hitchhiking! Drop everyone off at the Wildcat Canyon Trailhead, drive your vehicle down to the Left Fork Trailhead, and hitchhike back up to Wildcat Canyon Trailhead.
The Trail
You NEED a permit to hike this trail.
There is a group size limit.
Check the weather for any potential flash flooding.
Read here on how to get a permit and other information!
This is one of the most beautiful hikes that I have ever done. I would recommend you start this hike before 8am or 9am – this means be at the trailhead LEAVING by 8am or 9am.
This way you can have plenty of sunlight to find your way out of the canyon because it will take you about 7-12 hours to finish depending on your group size and experience levels of each person. Remember – you are only as fast as your slowest hiker!
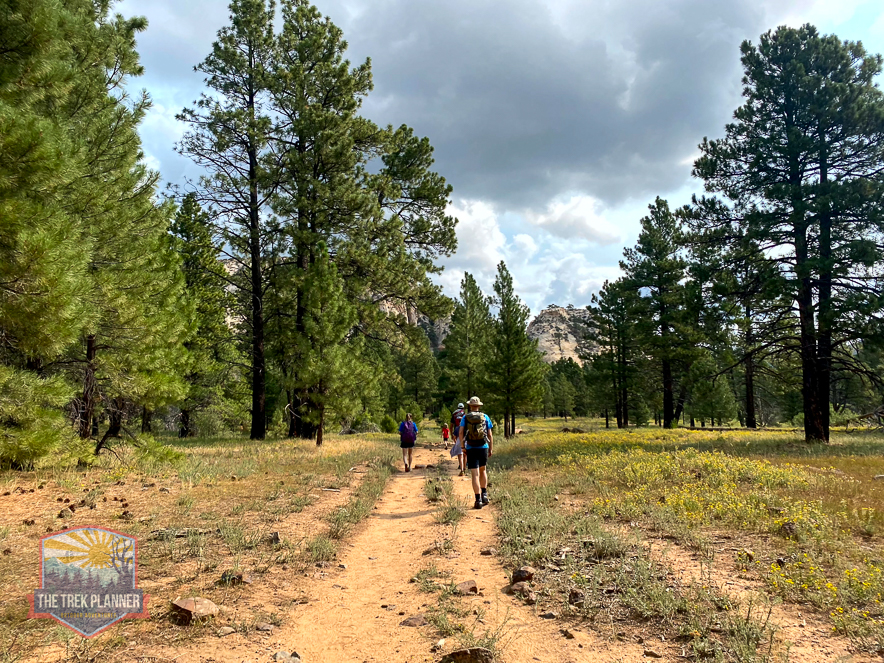
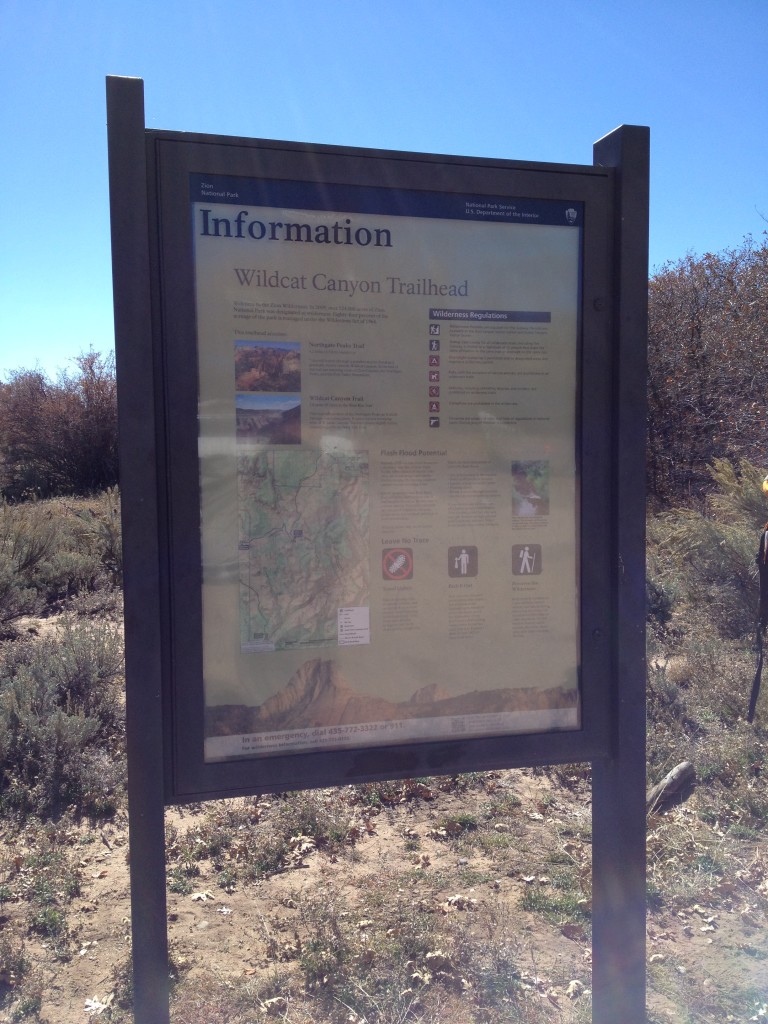
 You begin the hike at the Wildcat Canyon Trailhead. There is a nice size parking lot with an outhouse nearby. You will be travelling in an eastward direction on top of the mesa for about a full mile until you come to a split in the trail.
There will be a sign that points you east (to the left) to Wildcat Canyon several miles away, but choose to go south (to the right) and you will be led to the Subway.
Once you turn right you will now be headed in the right direction – this is only the start of trying to stay on the right path.
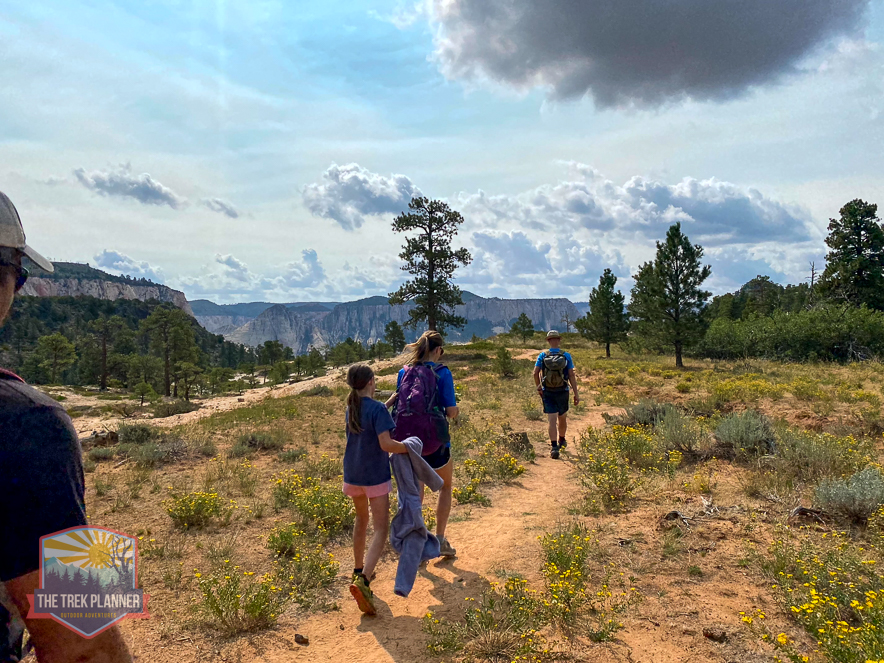
Until you actually get into the canyon where the Subway is located you will be travelling on hard sandstone where the trail is at sometimes hard too see. You will often see many paths but always make sure you are slowly headed in a southward direction, slowly losing elevation.
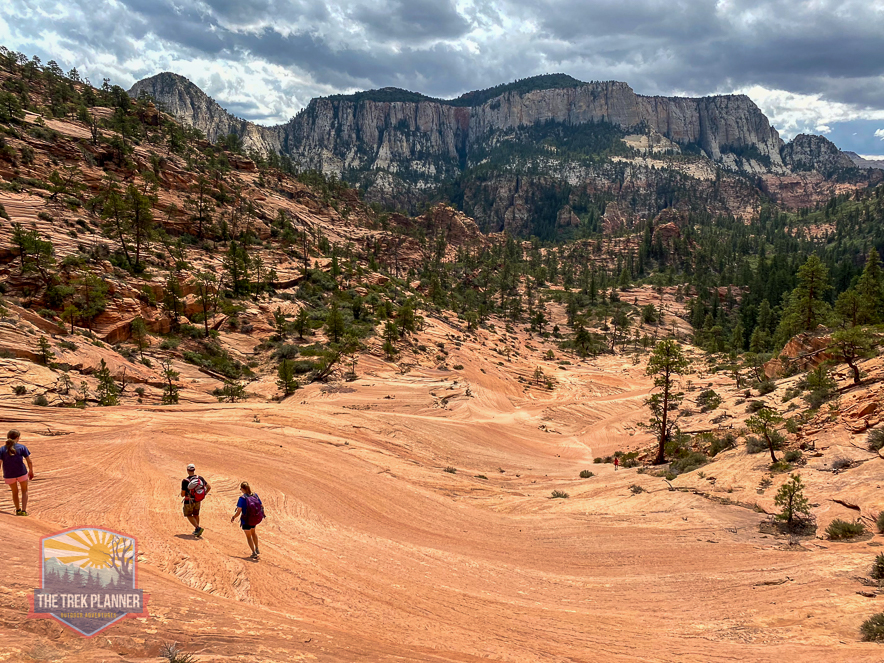
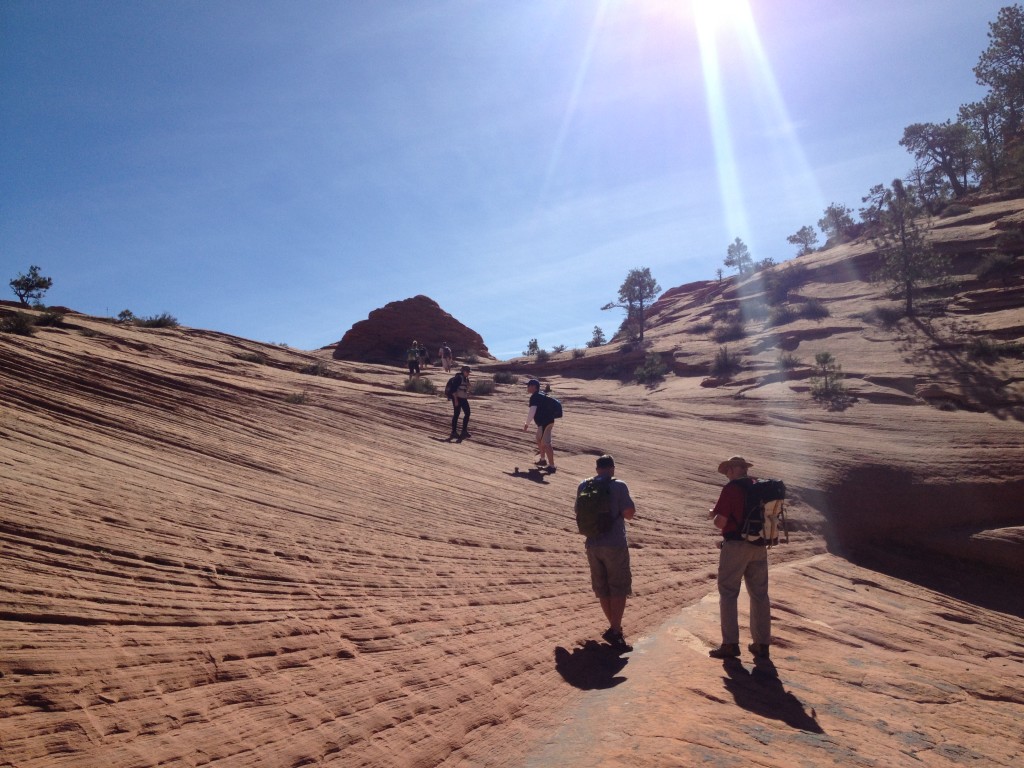
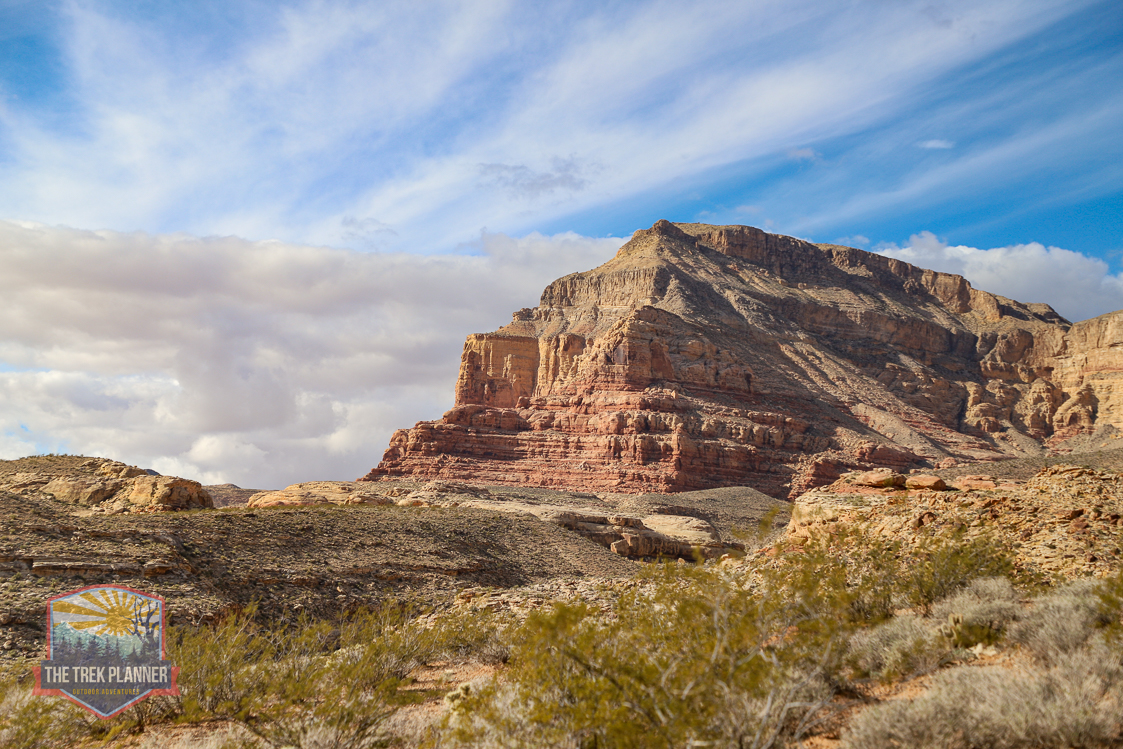
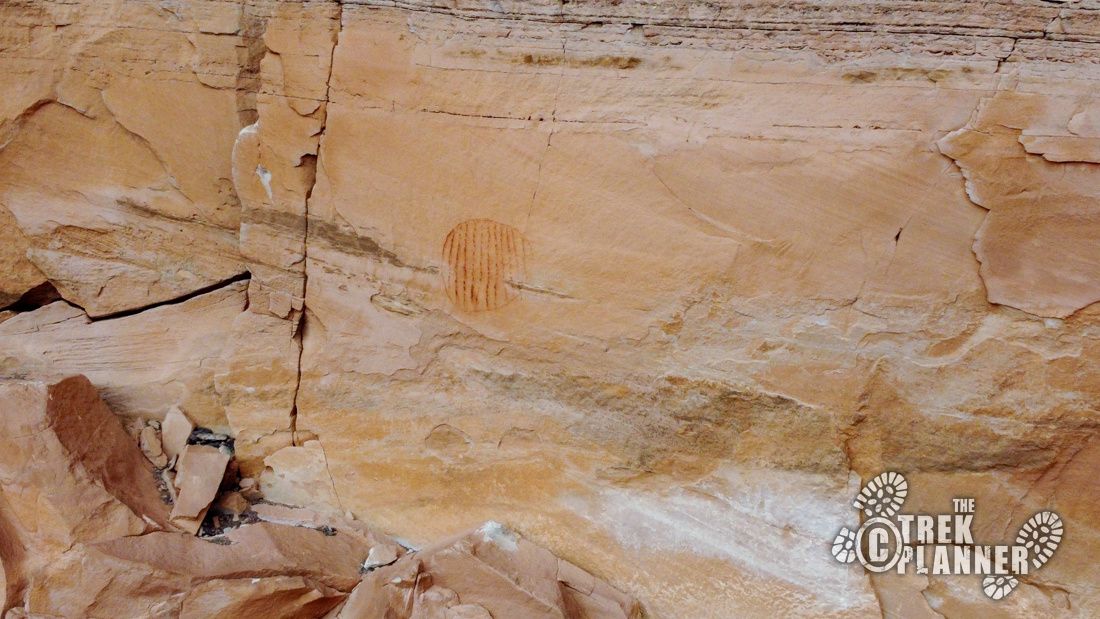
One helpful landmark that keeps us on the right path is a landmark we call “Dinosaur poo rock”. It is a childish name, but it helps us locate the rock at the top of a reddish sandstone feature that resembles, well, dinosaur droppings – as pictured in the top middle of the picture.
As you can see, the trail is hard to find but if you pay attention you will be able to see other hiker’s footprints and other noticeable trail features on the hard sandstone.
During this hike, there are many cairns set along the way to guide you.
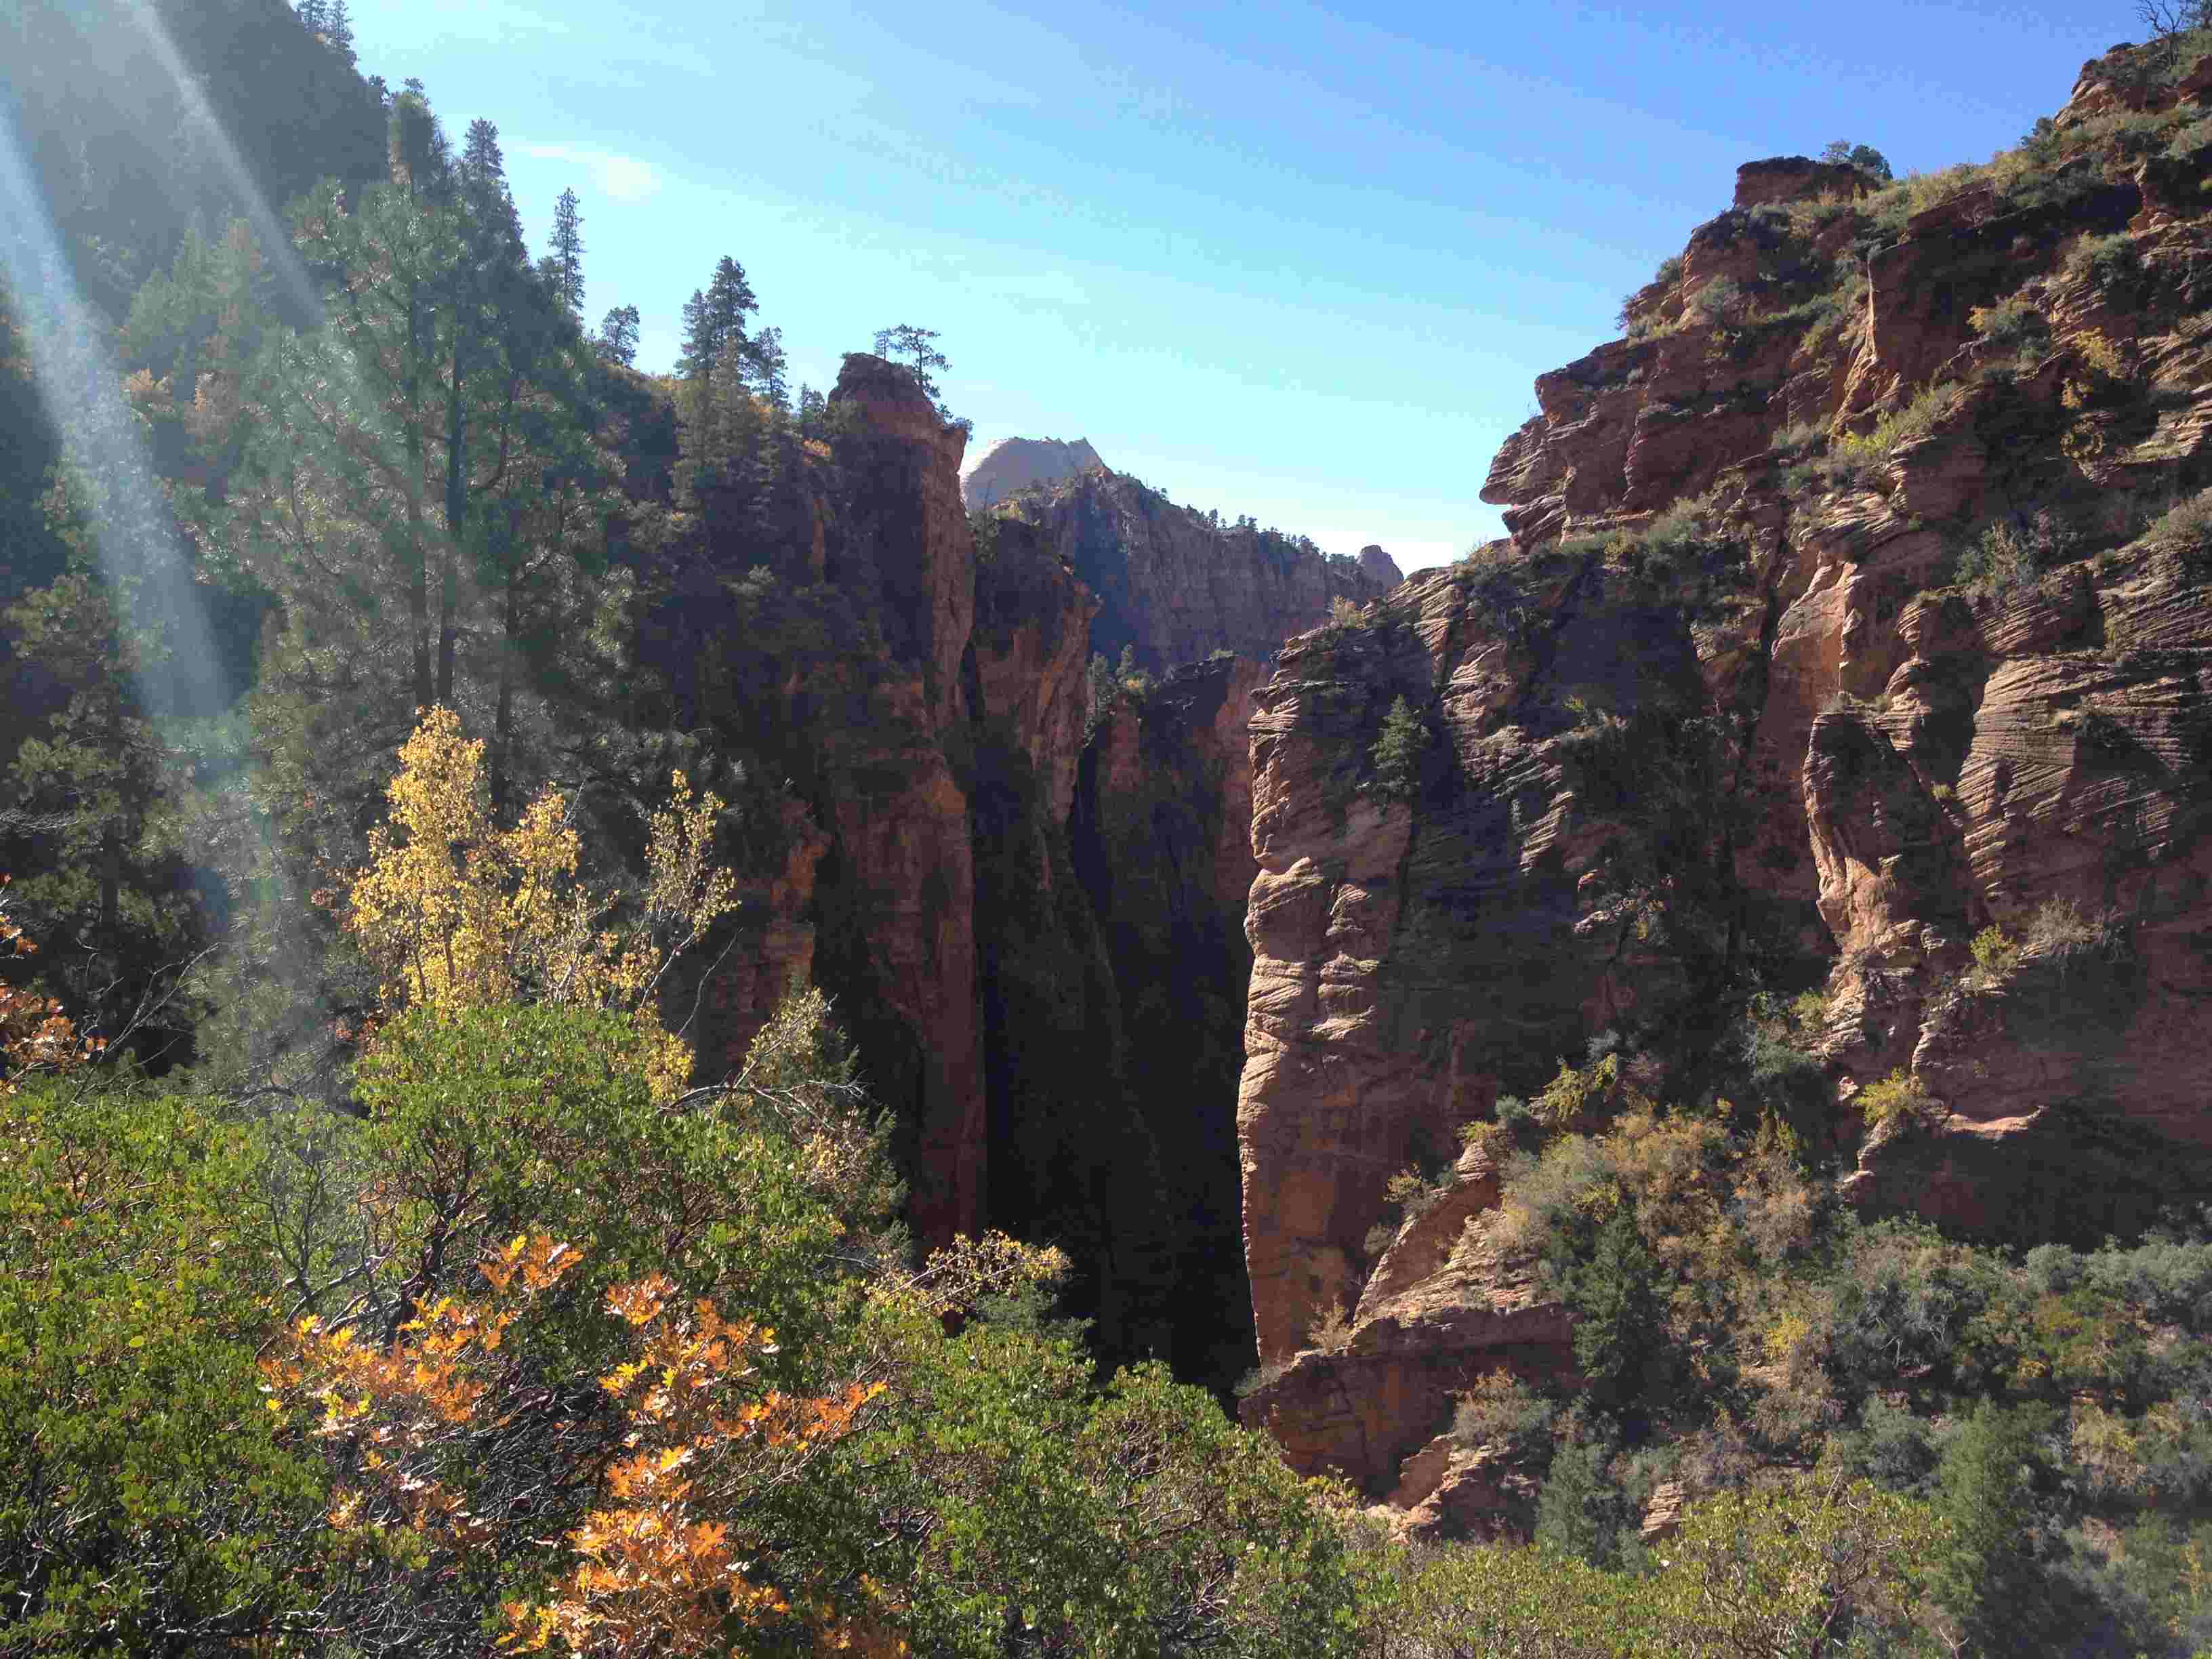
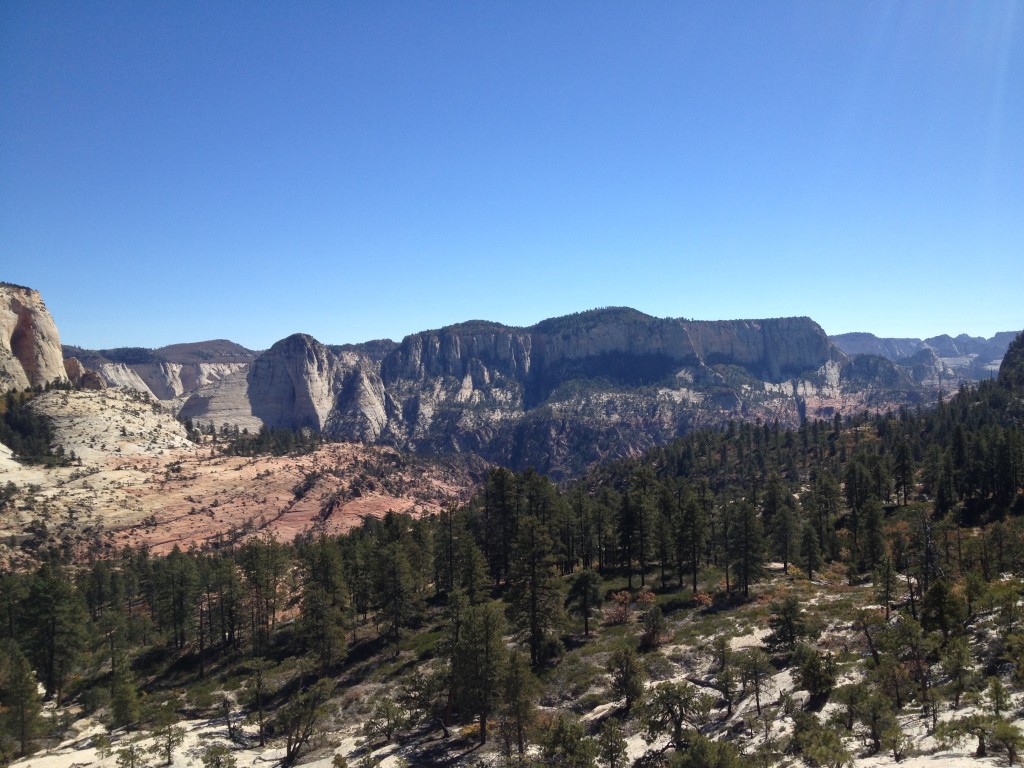
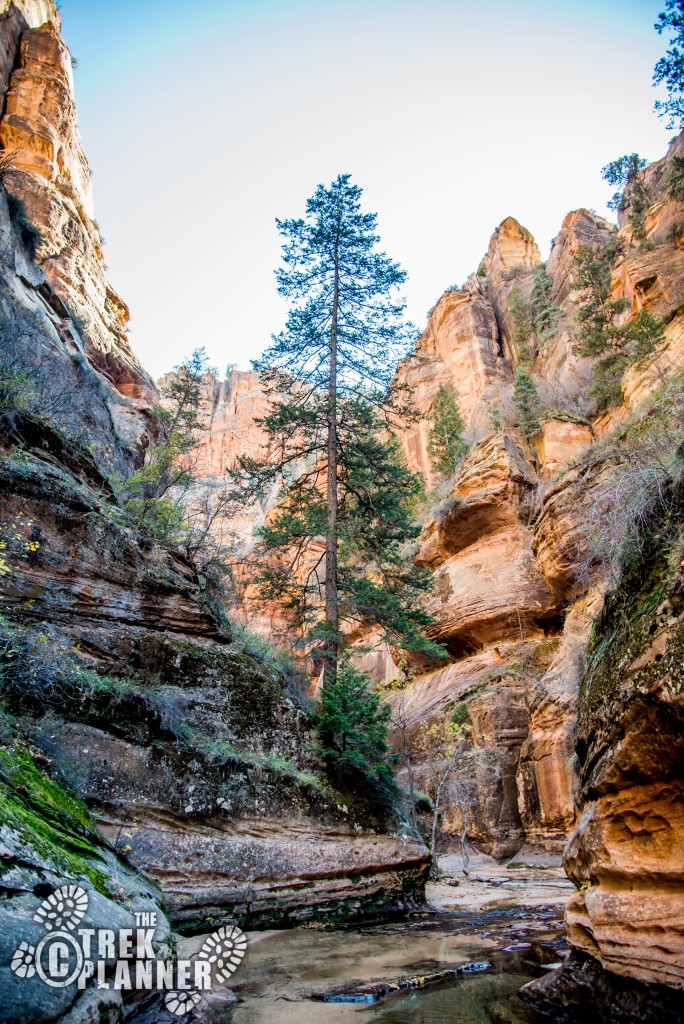
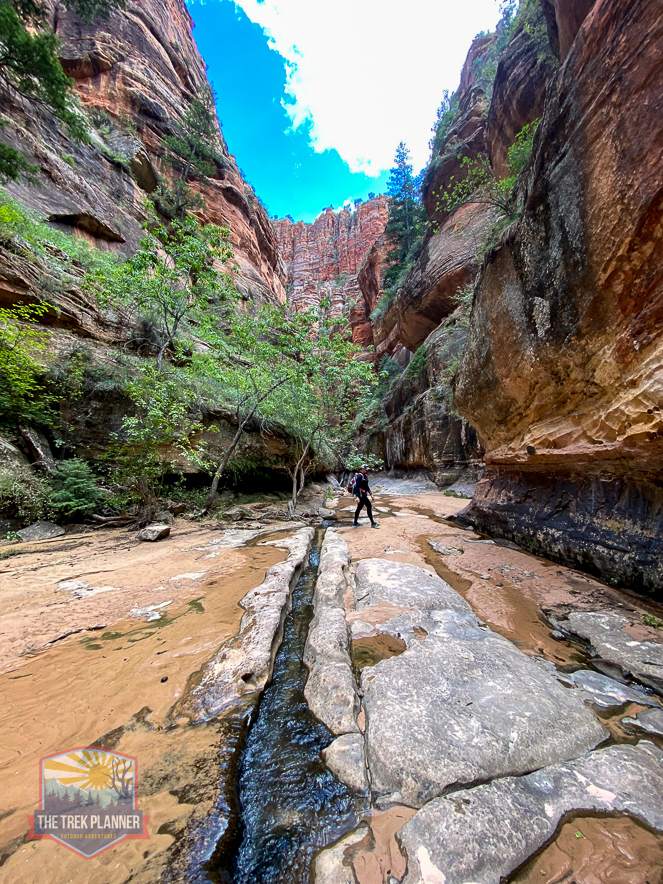
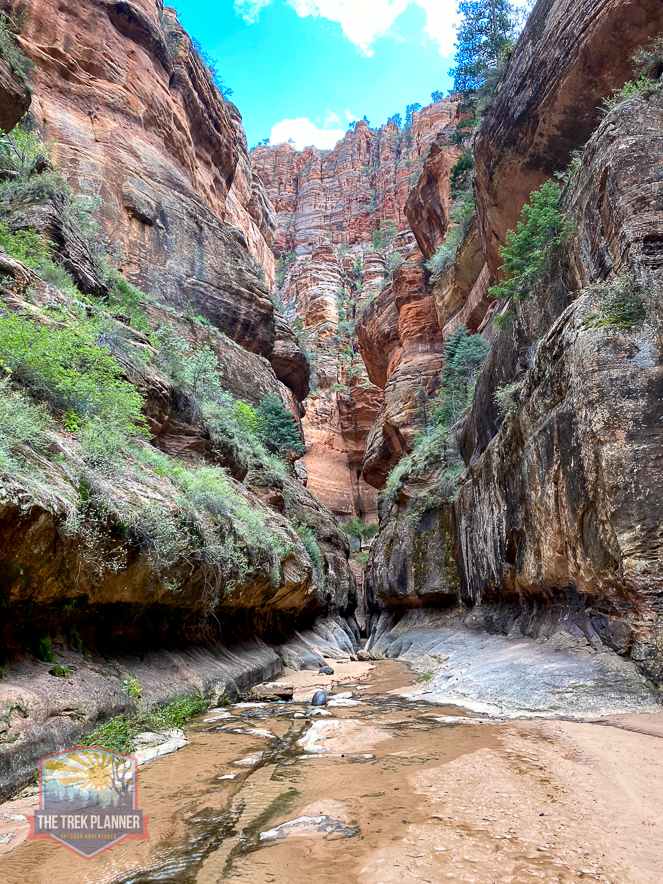
You will finally come to what seems to be the cliff edge. This is the part where you will need to down climb. Above is a picture of the canyon you will need to enter.
The down climb is rather steep and might be difficult for younger and older hikers. Always keep an eye on those in your group who may be having a harder time moving about.

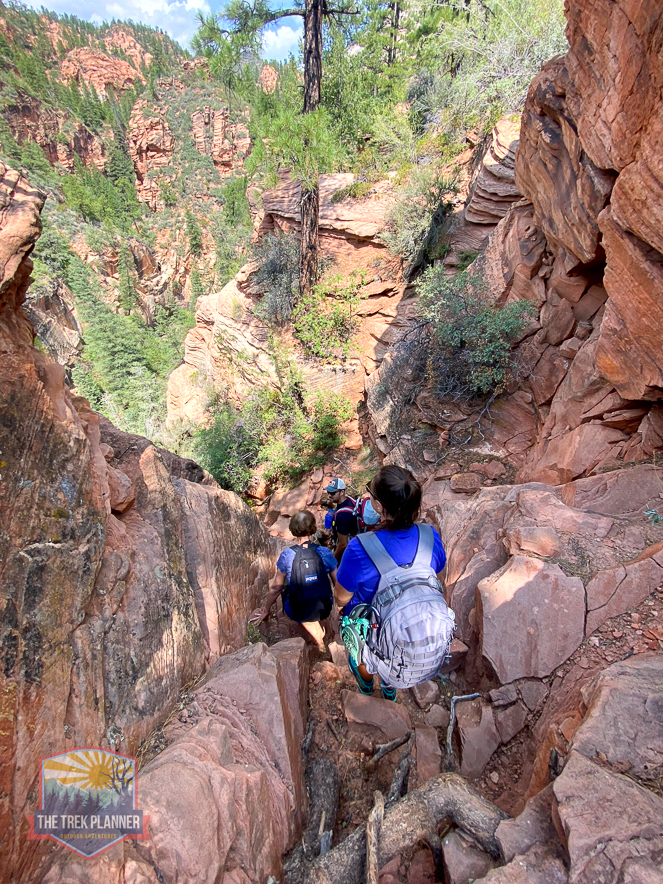
You can see my father doing a great job negotiating the rough down climb part!
I apologize for the bright sun but this is the only picture I have of this area.
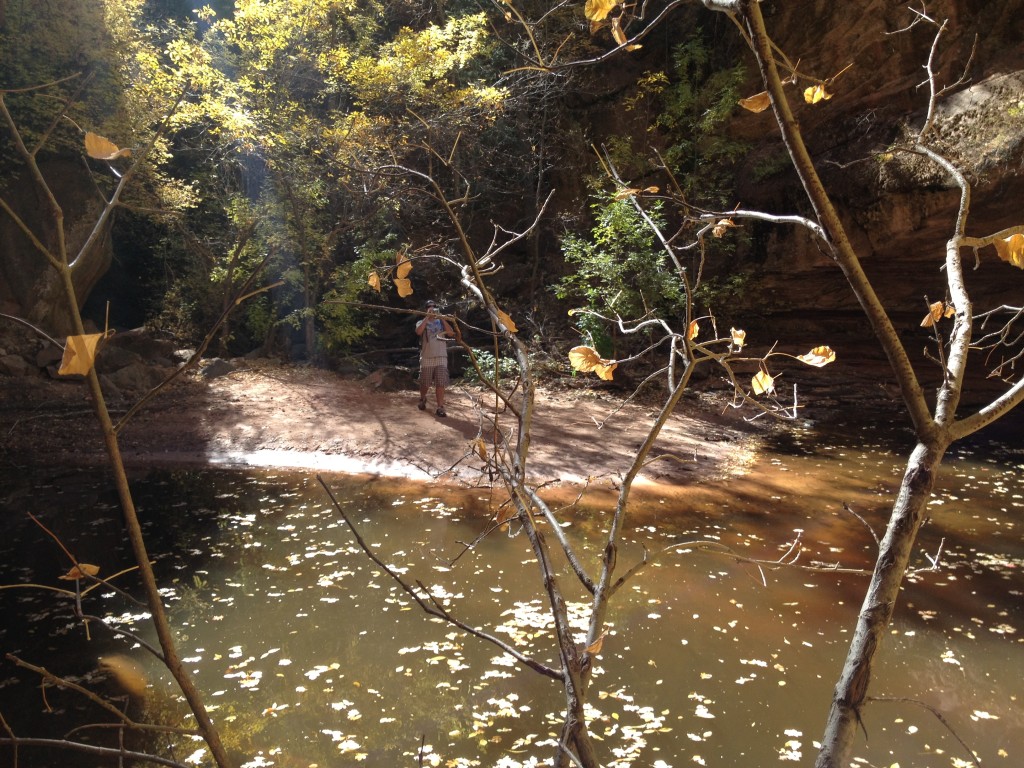
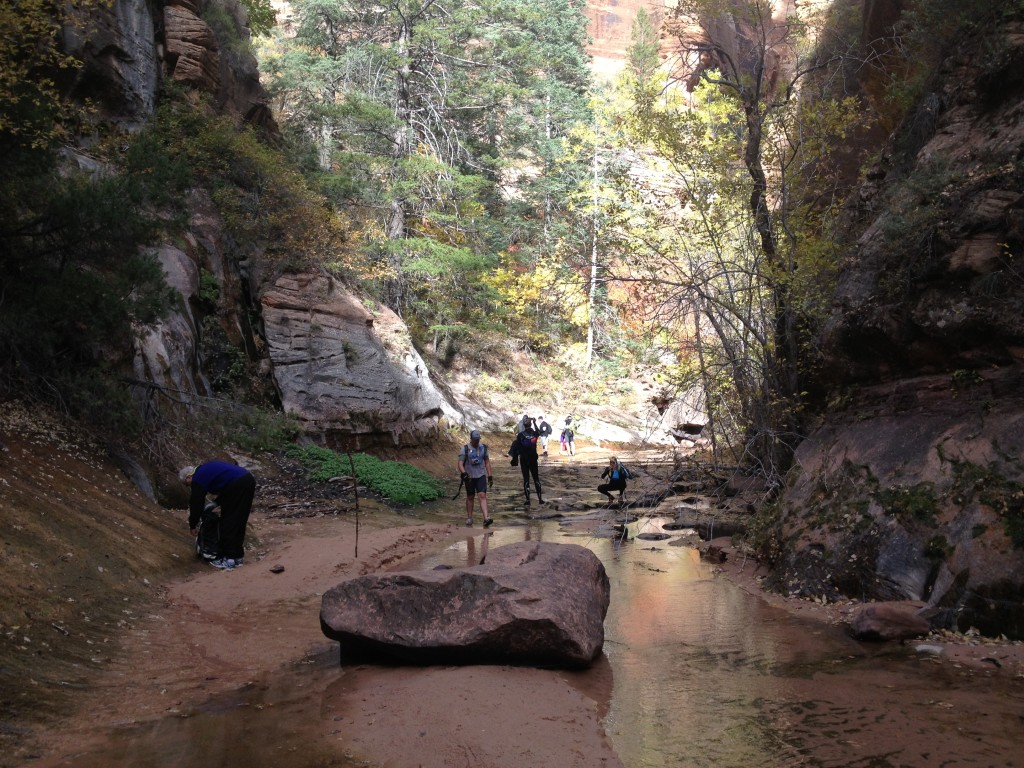
Once you reach the down climb area you will come to a good size pool area. You may be tempted to find another way around this pool but there is no other way.
If you brought wet suits or dry suits I wouldn’t put those on just quite yet. This pool is usually about chest level deep and if you slowly cross you will manage to get on dry land again before you know it. Depending on the month, this pool area can be shallow – it really all depends on how much rain happened recently.
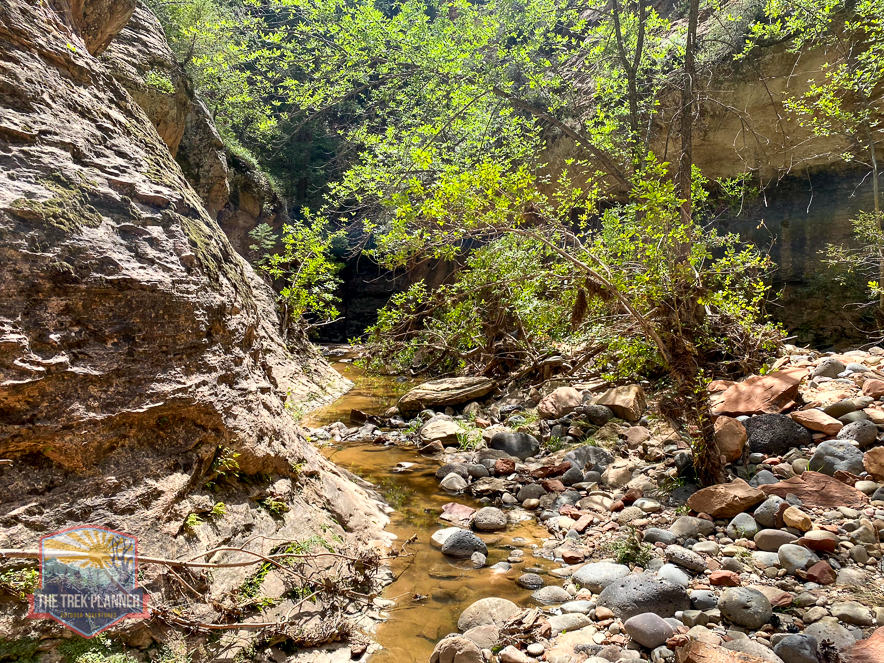
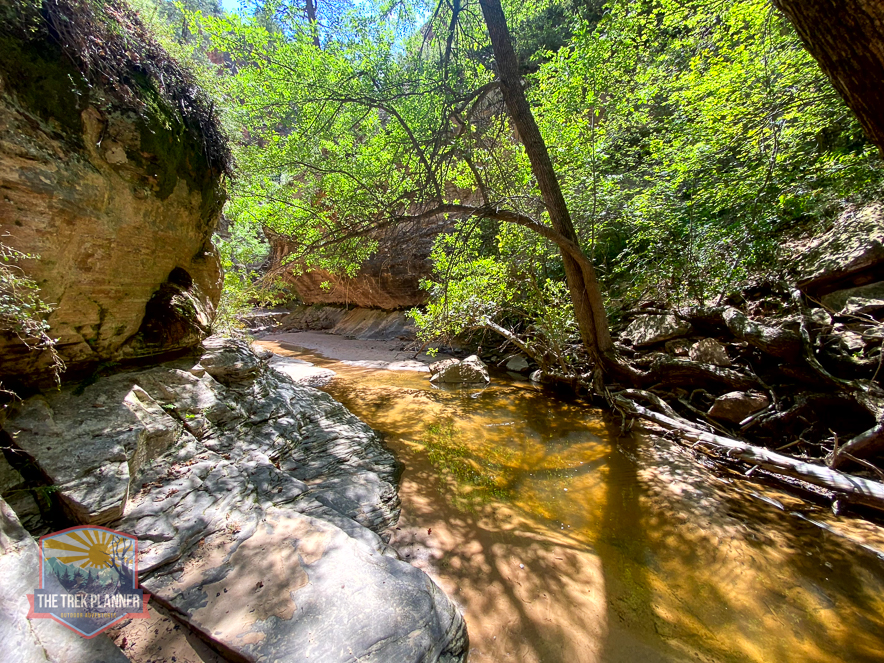
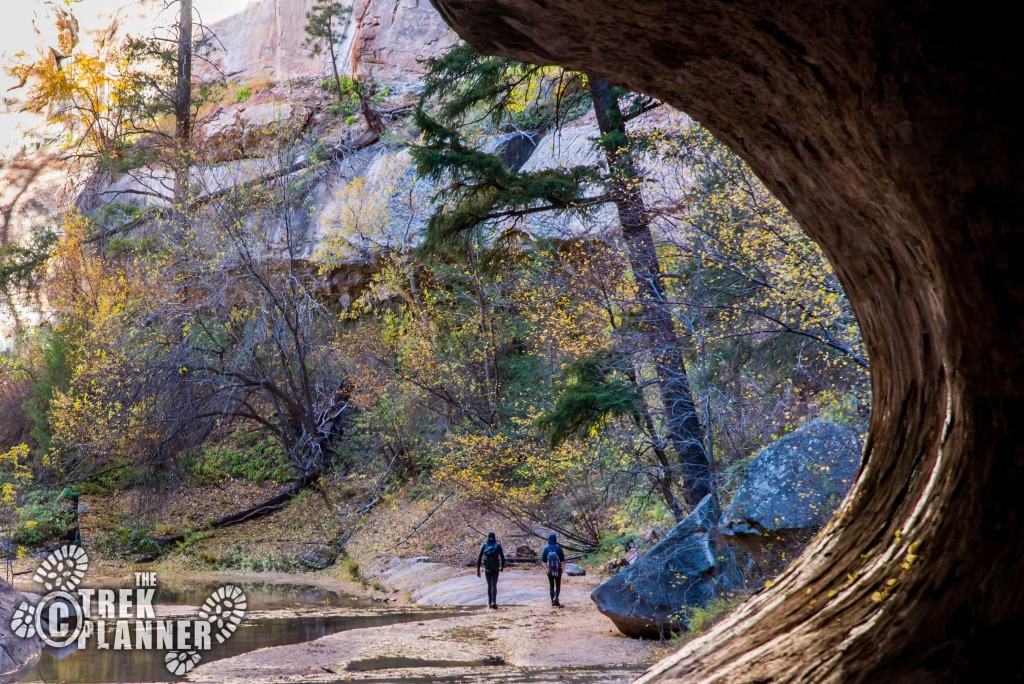
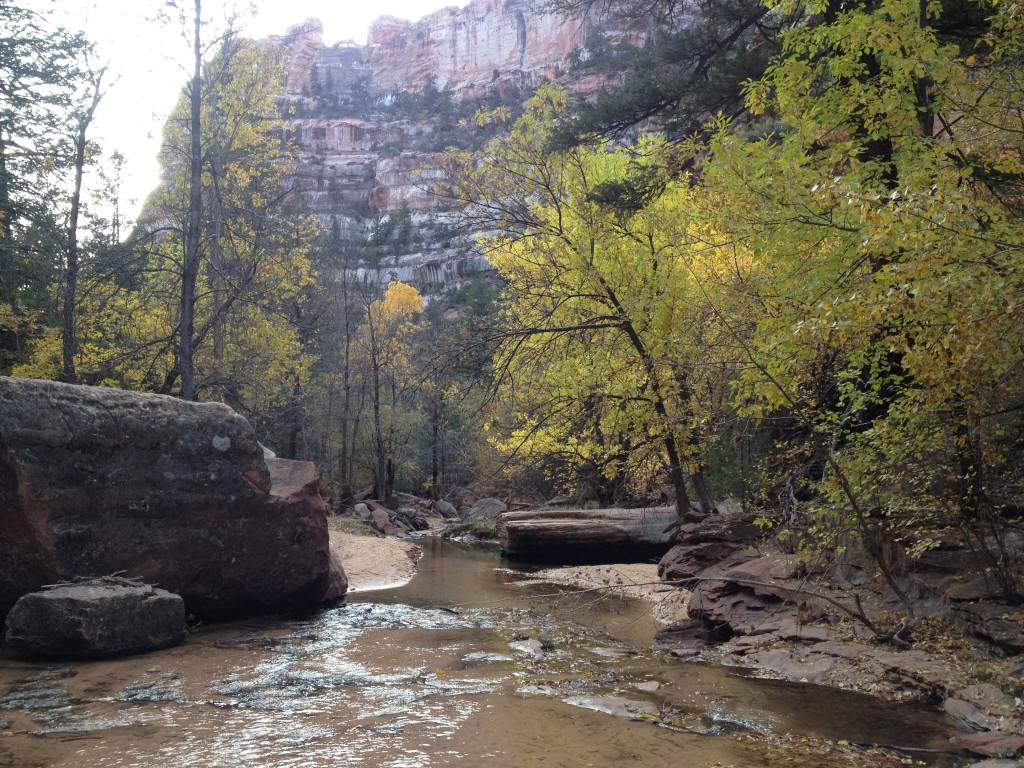
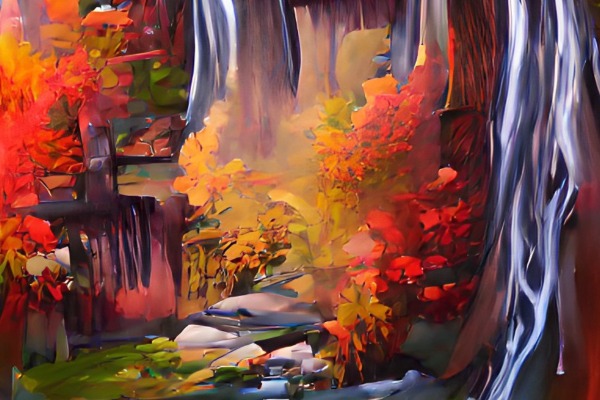
Keep hiking and you will see many different trees and even wildlife in the area. This is an exceptionally beautiful area in the fall when all the leaves change and the temperatures are cooler.
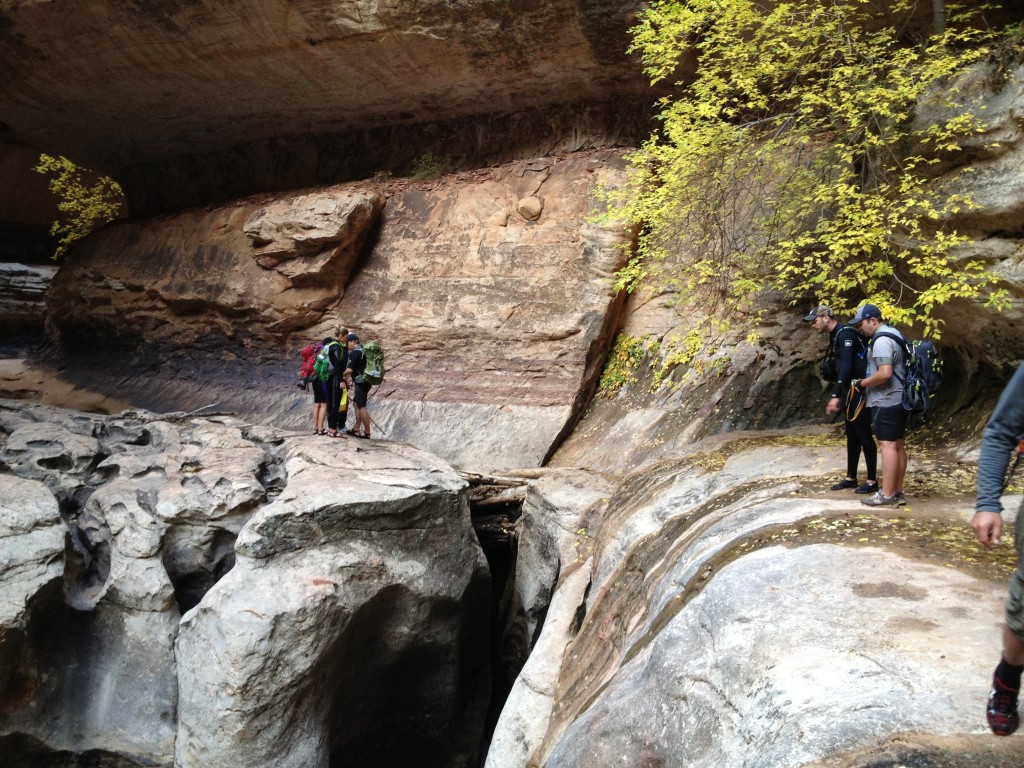
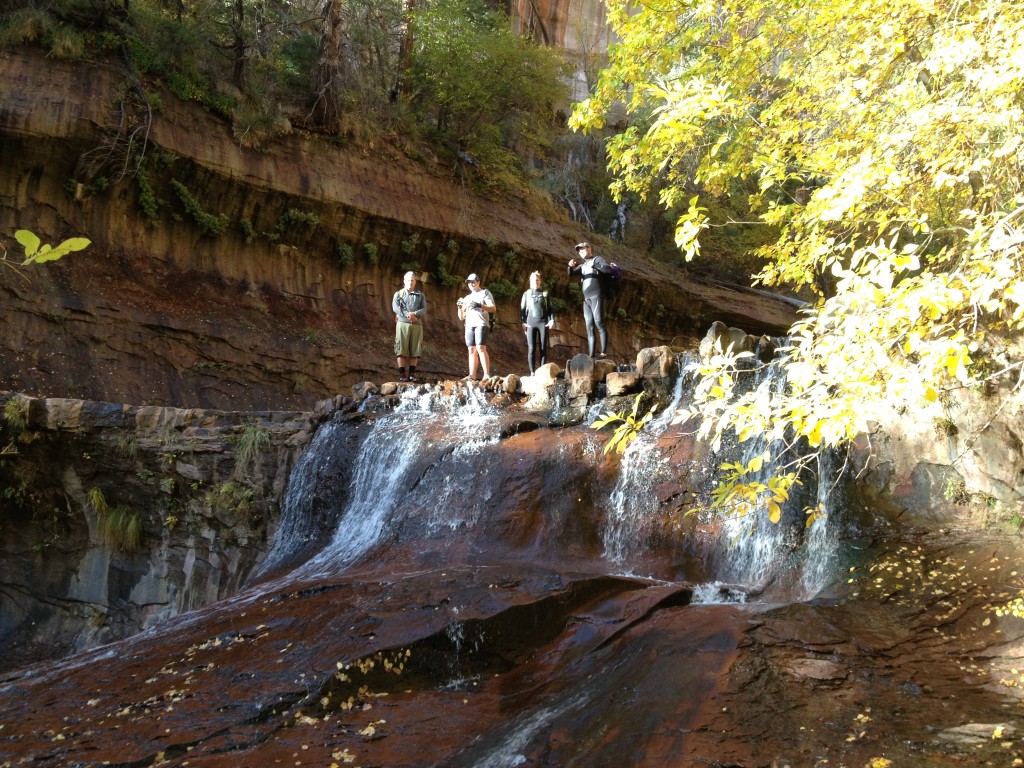
Soon you will come to a large boulder that you will need to climb down. You can either go to the right or go straight down the boulder face. This may be a good time to pull out the handline (and harnesses) to help those who may need it. There are anchors in the boulder so that you can quickly slide the rope through and guide people down the rock.
I have slid down this boulder many times with my trusty five-ten shoes and have ended up just fine. This boulder is tricky because just below it there is a giant pool of water that many people want to miss.
You can shimmy under the rock if you go to the right but it just depends on what people in your group prefer doing.

For the remainder of the hike, you will be travelling in and out of water.
Use this time to get familiar with how you are walking on the rocks underneath the water. You will be surprised by how much traction you have on your shoes. But you will also be surprised by how much traction you don’t have.
A basic rule of thumb is to always keep your hands on the rocks around you. This will hold you up right if you begin to slip.
After this boulder area you will soon come to the first swimming area. This swimming area features very cold water and I would suggest you put on your wet suits or dry suits. The water is usually stagnant and old and you will be swimming the length of about 40 feet total
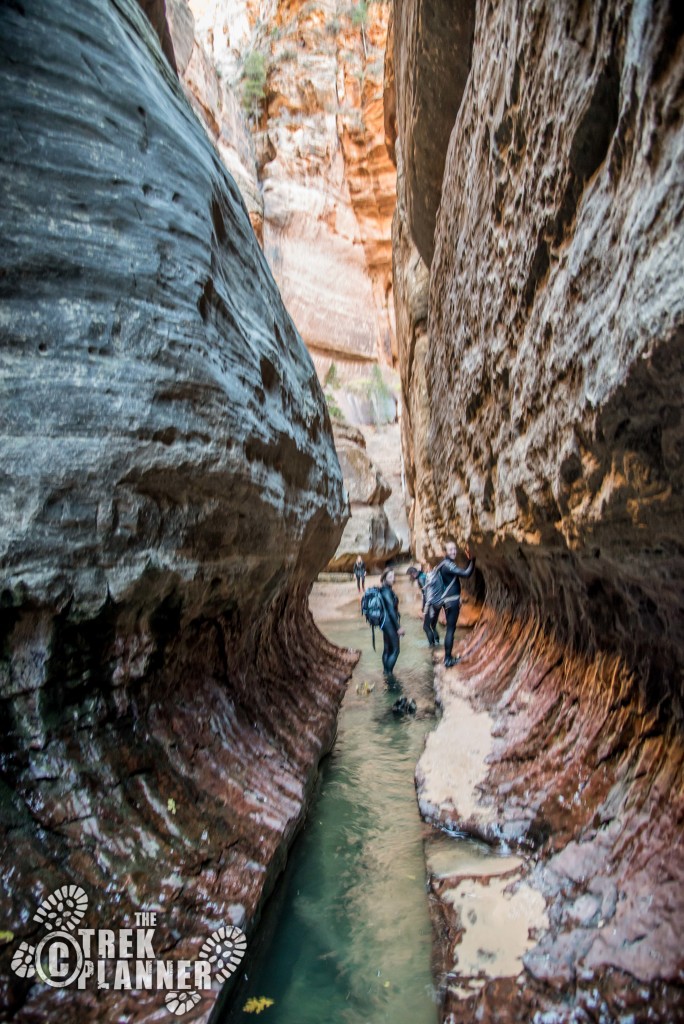
As you get deeper into the Subway you will find more sources of water being added to the canyon. There are several springs that come right out of the rocks and surprisingly will be somewhat warmer.
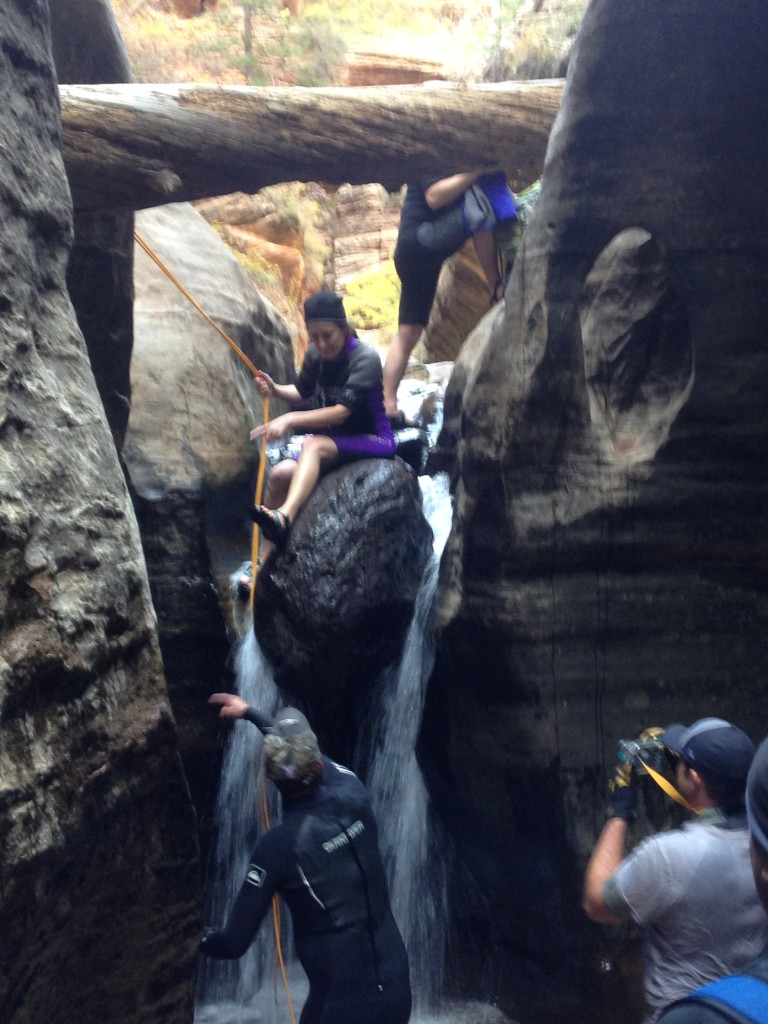
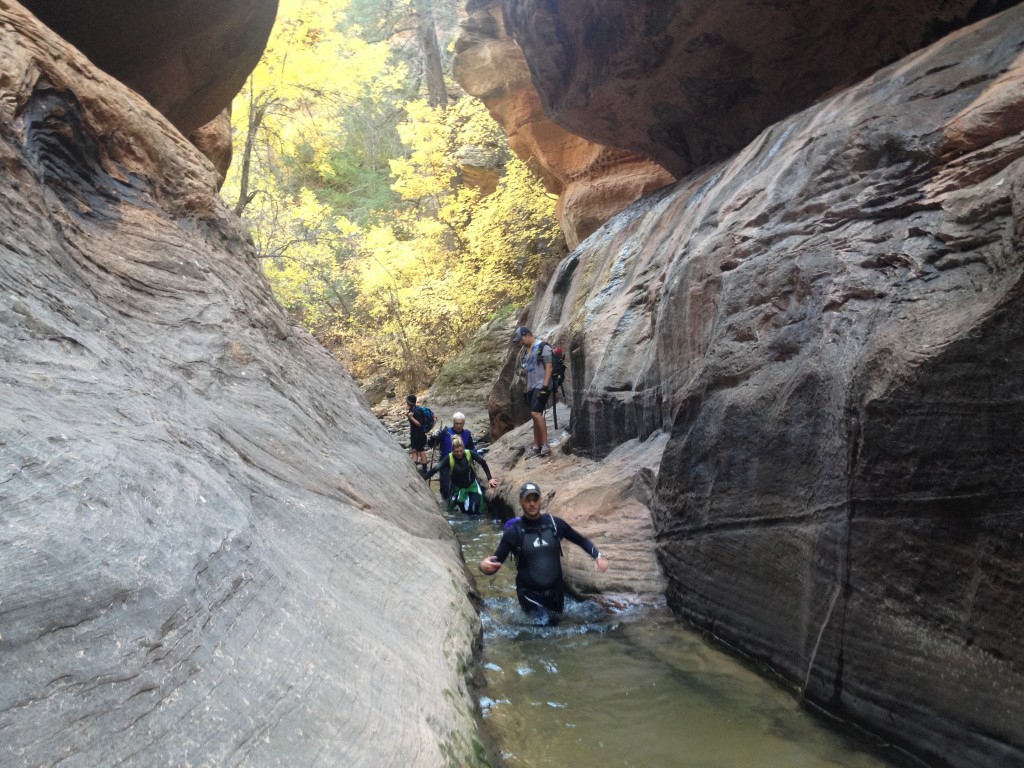
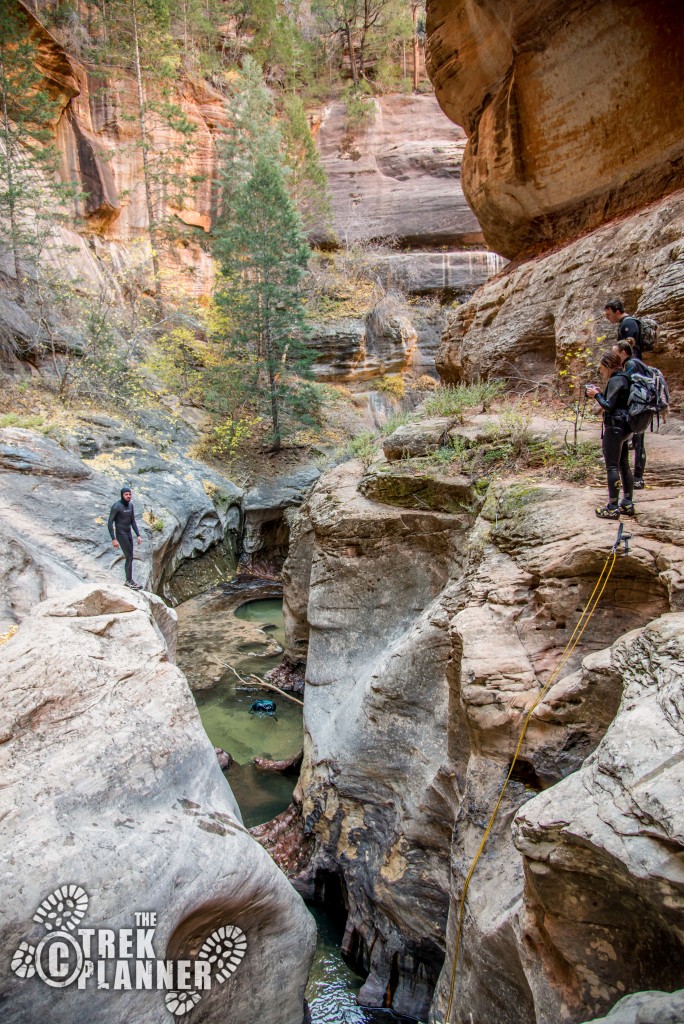
Sooner or later you will come to the 2nd tricky area which features a large stone stuck in the middle of where the water is pouring down. This area usually requires the use of the handline (which there are anchors on the right side.)
If you look closely in the picture above where the girl is sitting down on the rock. Just to her right you can see a natural hole or window. If you feel gutsy enough you can slide your arms through this window, pretending to give a bear hug, and carefully lower yourself down to the bottom.
It is roughly an 8 foot drop to the bottom.
This area is known as the Keyhole. If you look farther down the slot canyon you will see a big rock that is wedged in between the two sides of the canyon. Depending on water height you can usually just go underneath the wedged rock which has a little bit of clearance just enough for you to swim under it without dunking your under in the water. I have also been here when there are giant logs jammed up and we are able to climb over the wedged rock without going under it.
This area you will need to swim for about another 35 feet or so. Please keep careful eyes on people as they do this as this area is very tricky and requires special attention in order to pass it.
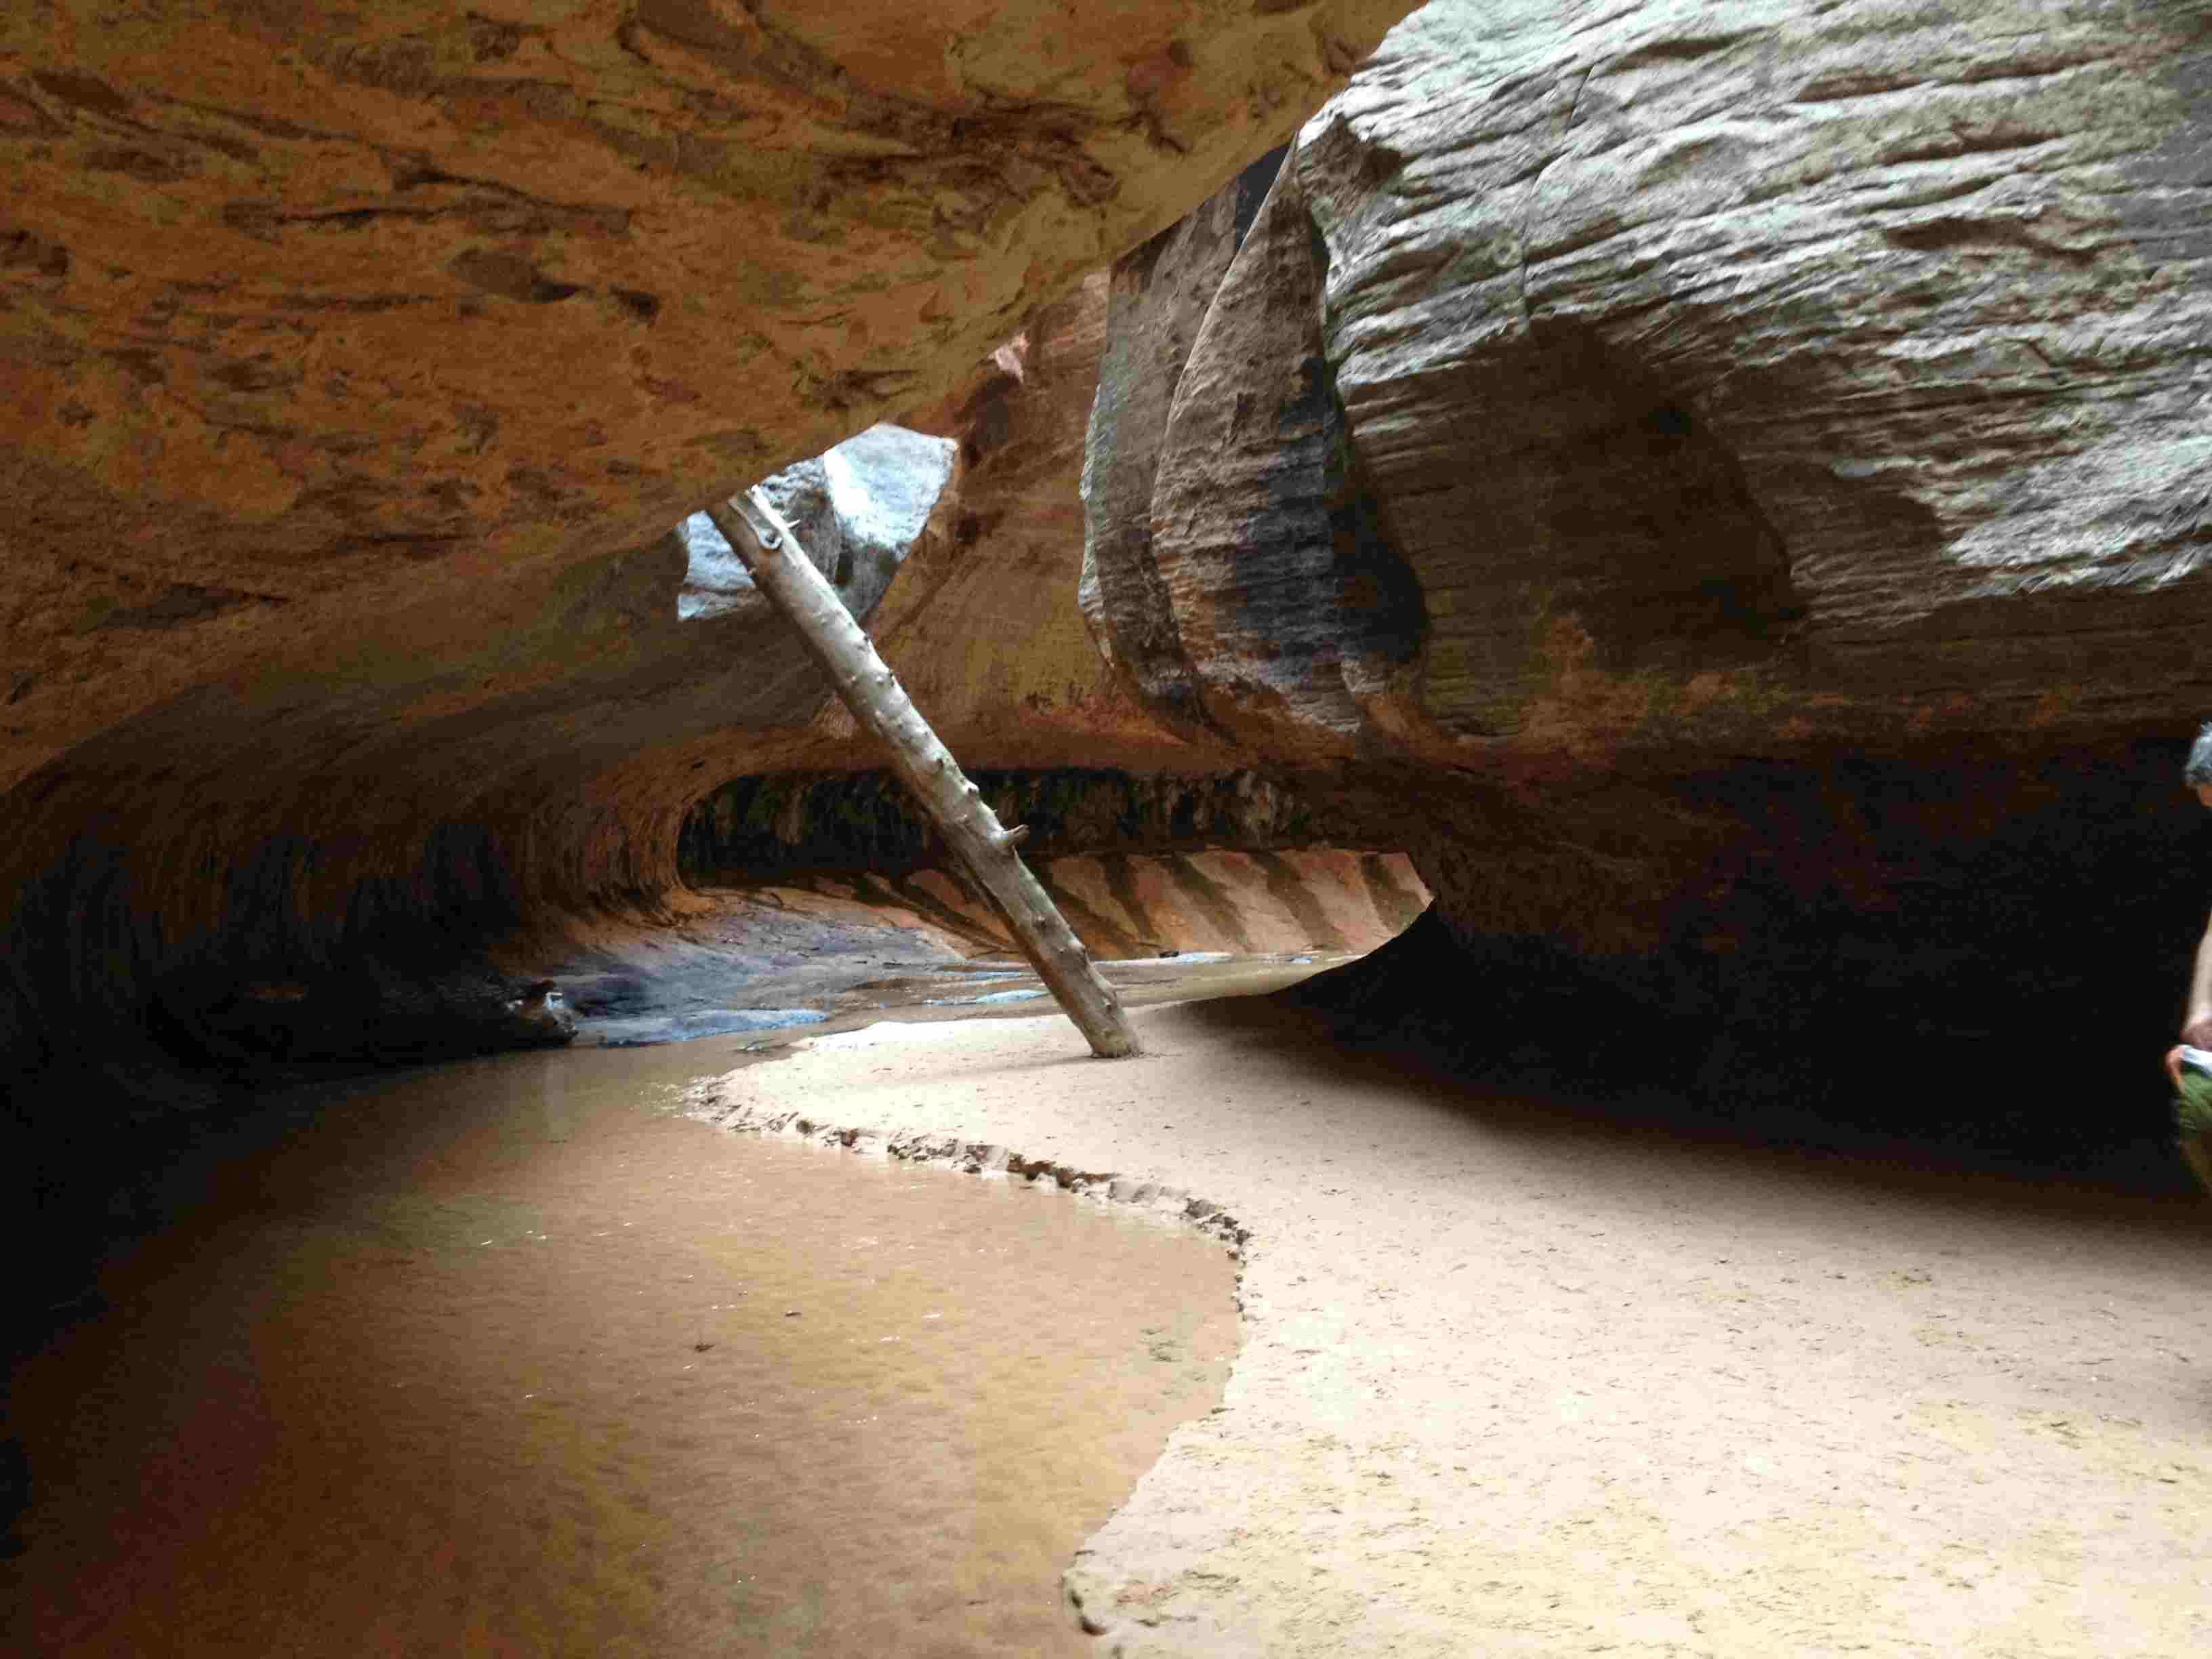
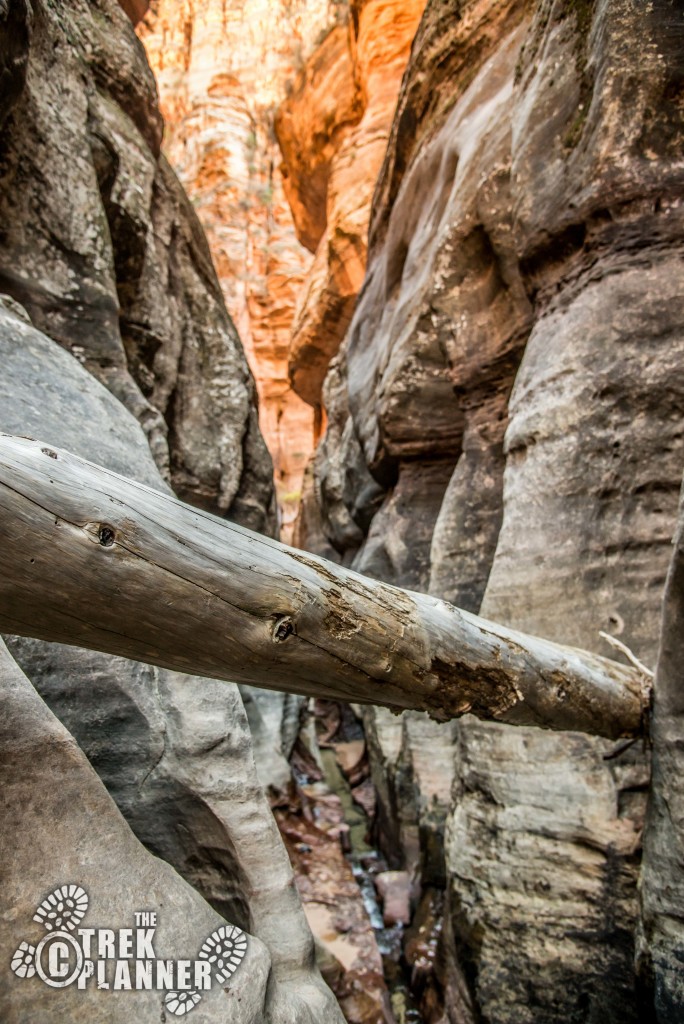
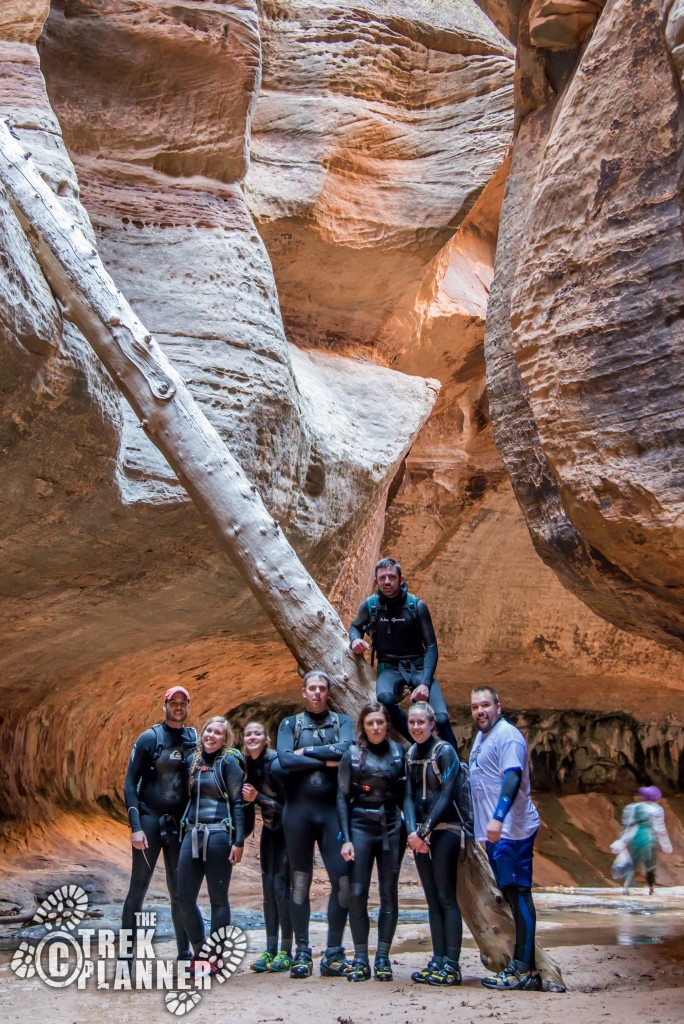
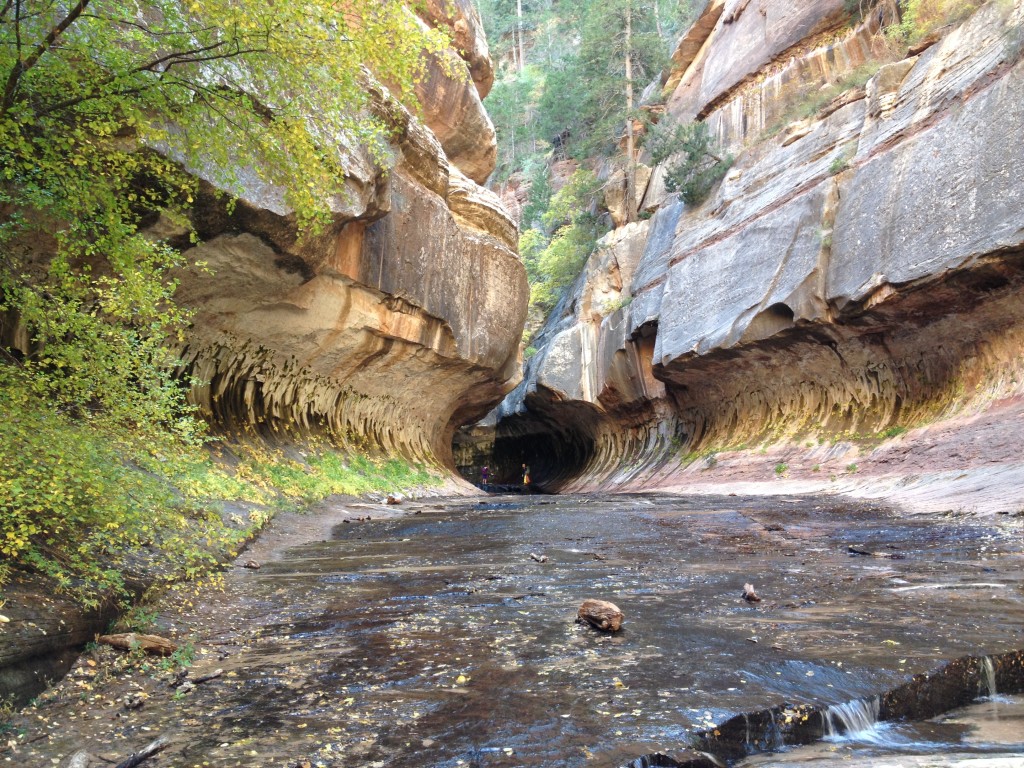
Travel a little ways farther and you will come to the famous tree log area. This area is where many famous photographs are taken. It is amazing to see this log still standing even after all of the flash floods and debris floating around.
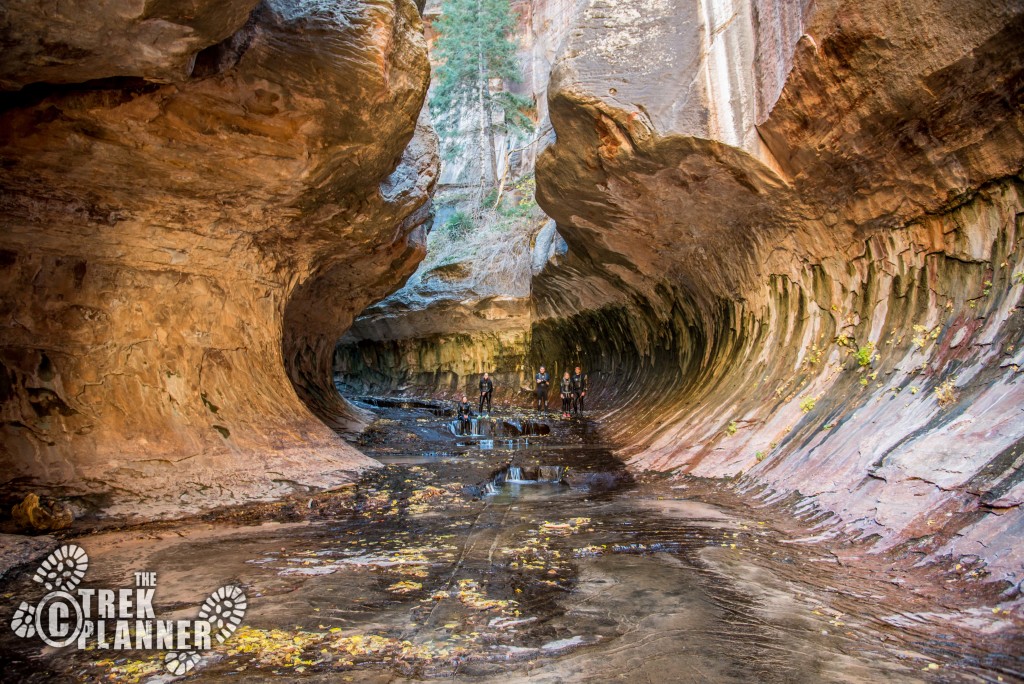
Keep going and you will now come to the official area which is known as “The Heart of the Subway”. You will hear a loud rushing of water, this is because the water is cascading down a 20 foot waterfall. In years past there has been a nice log debris buildup which allows hikers to walk across to the other side but the logs are long gone now. You can see the log bridge in the center of the picture above (this picture is from last October 2012).
I’ve seen people jump across the gap (DO NOT JUMP ACROSS) or if you look to your right before the gap you will see that someone was kind enough to put in anchors (most likely park rangers put those there). You can then use your rope and harnesses to get down here (see picture below). This is about a 20 ft. rappel where you will need your rope and harnesses.
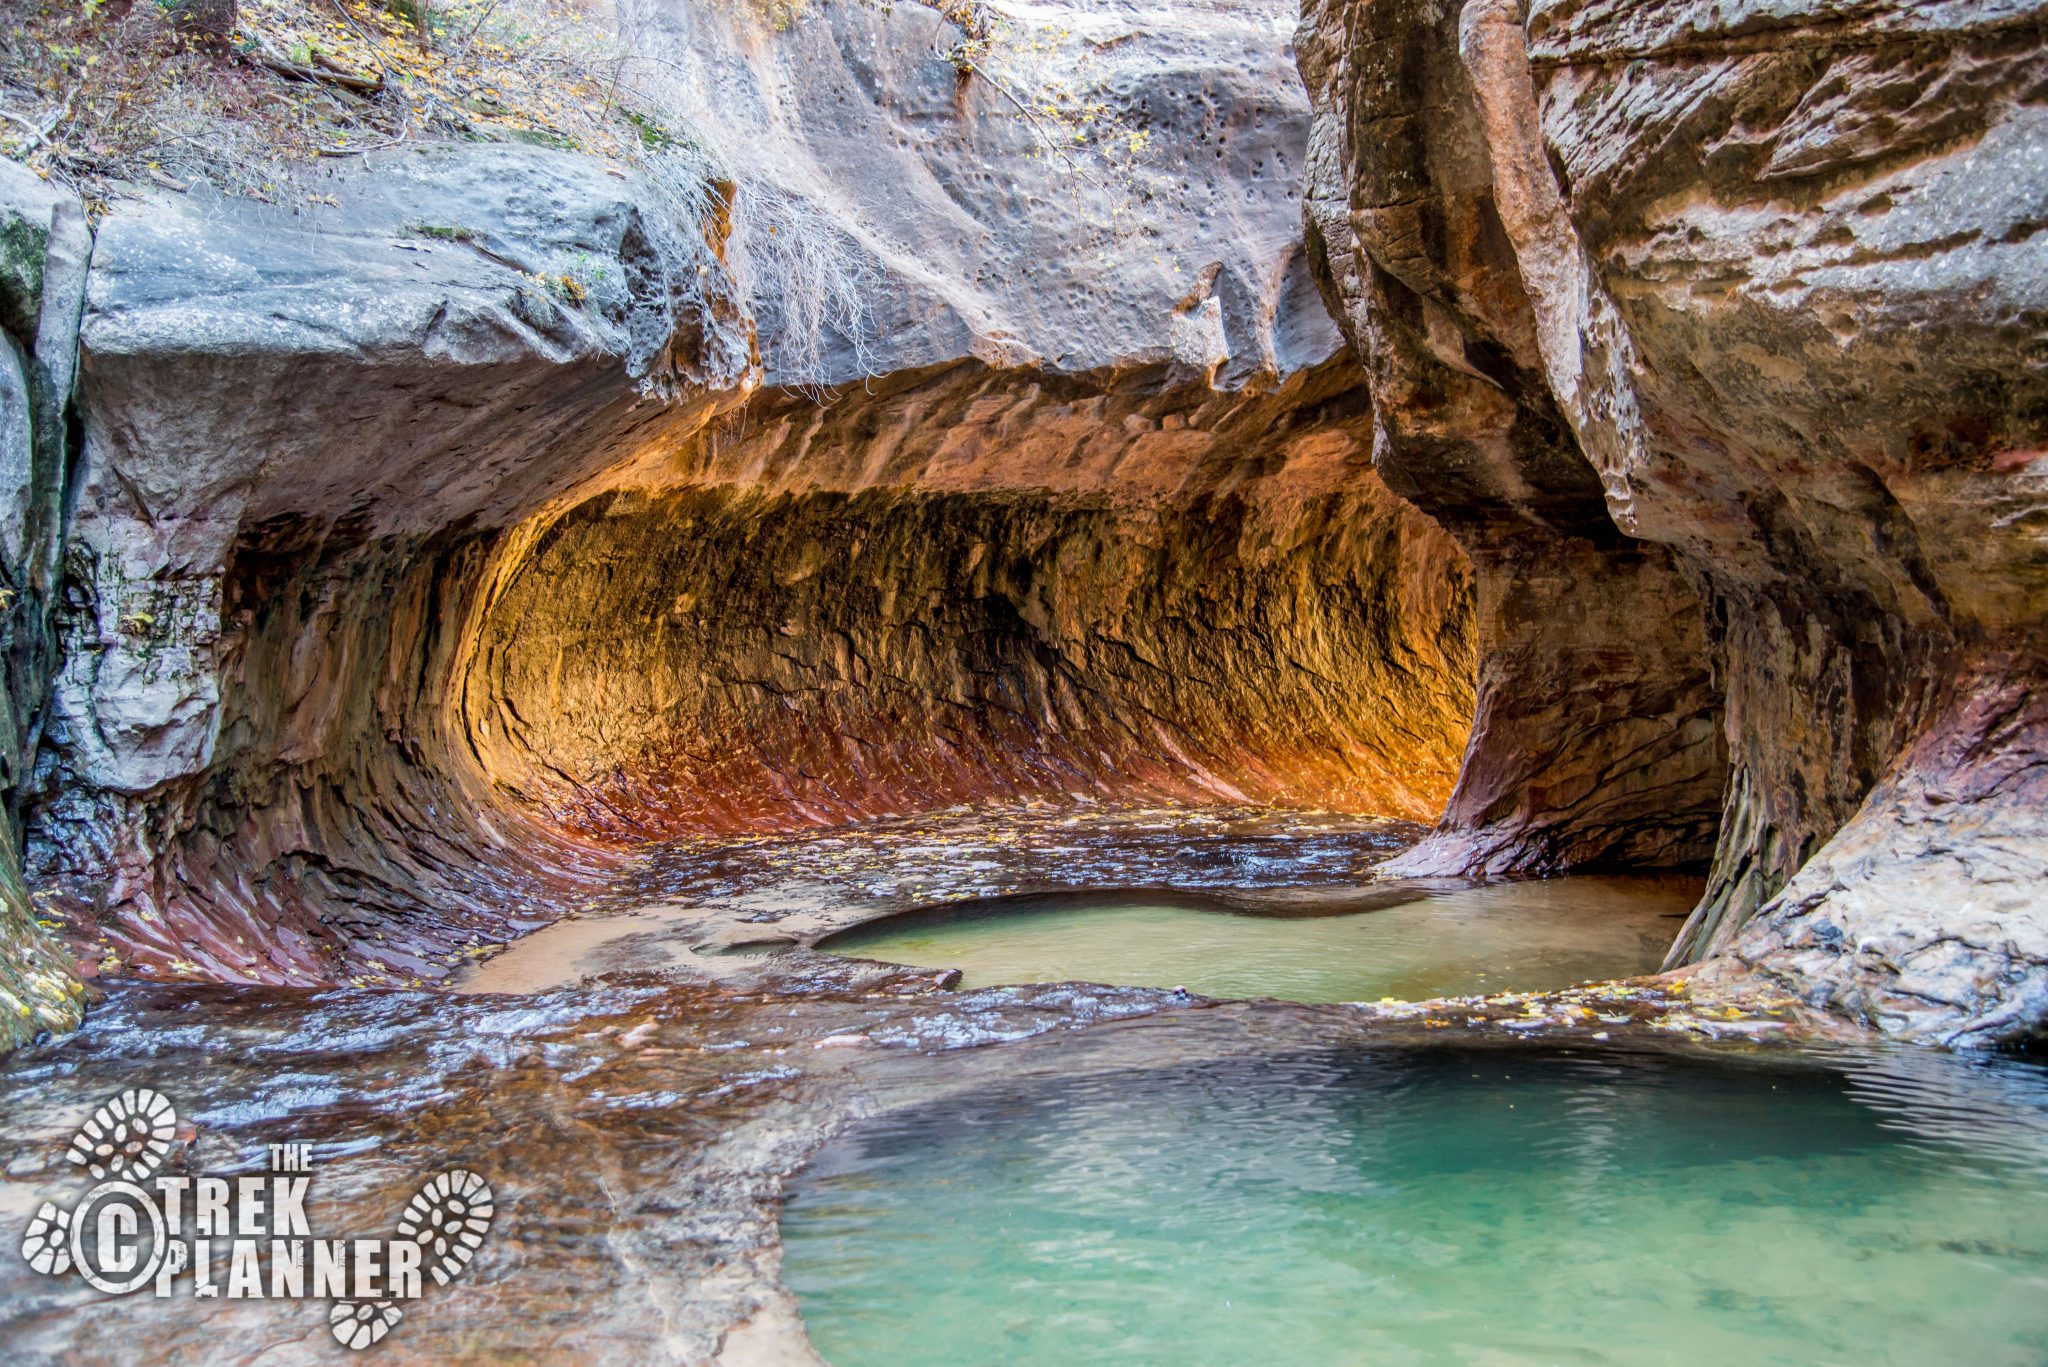
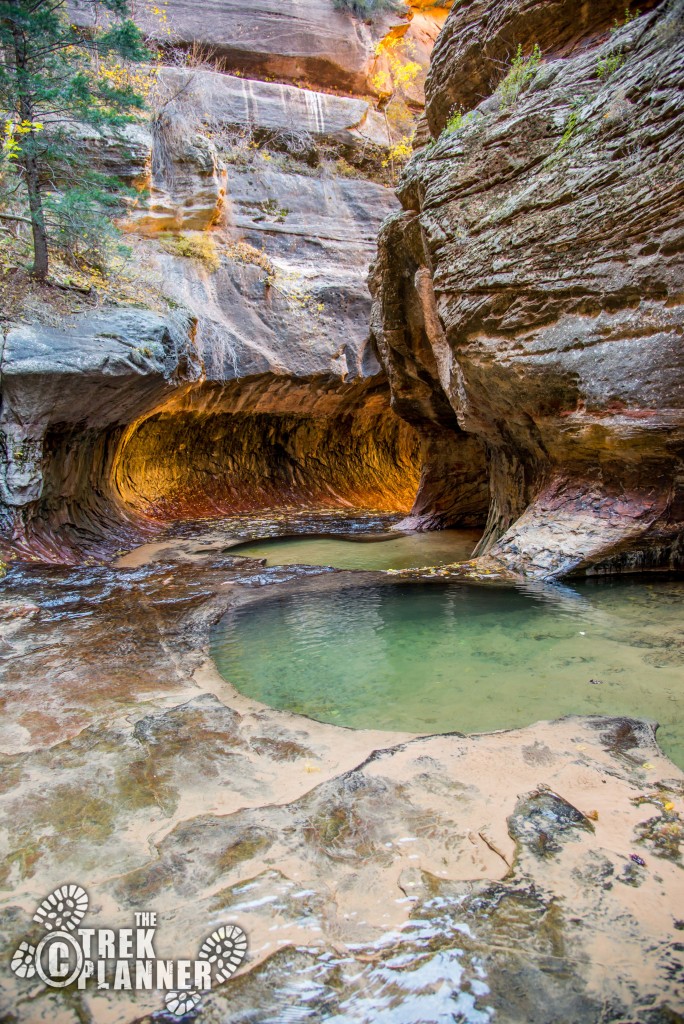
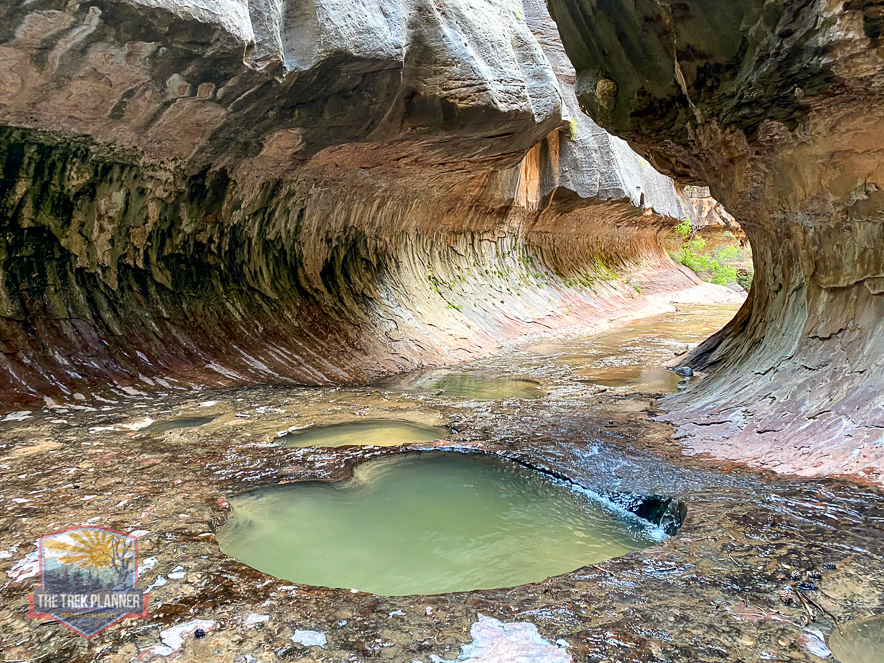
This is a beautiful area that will leave you in awe.
Large potholes filled with emerald colored water cascading down the rock face will impress all. If you are not impressed by this area you will need to visit a doctor upon your return home for a complete and thorough brain scan.

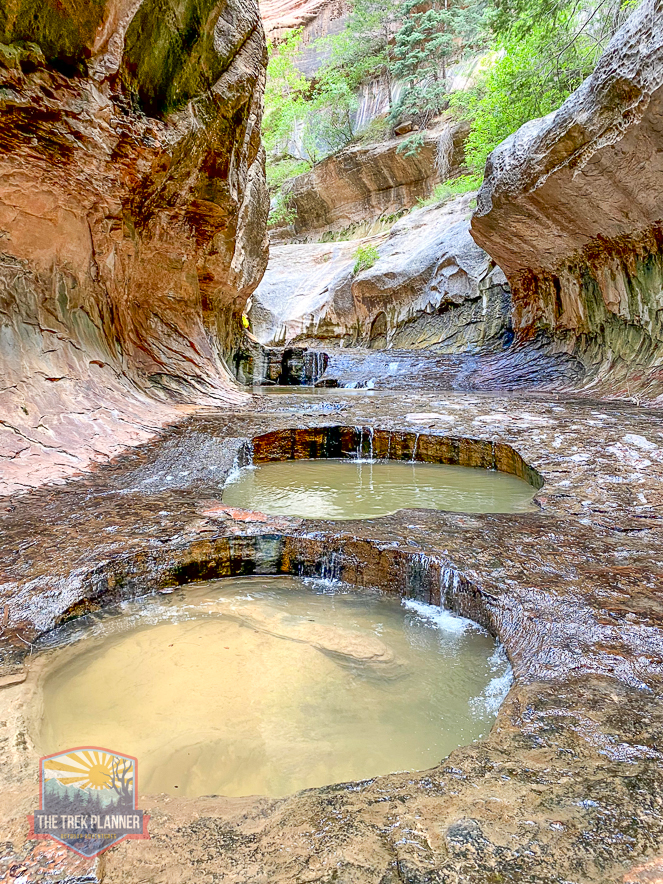
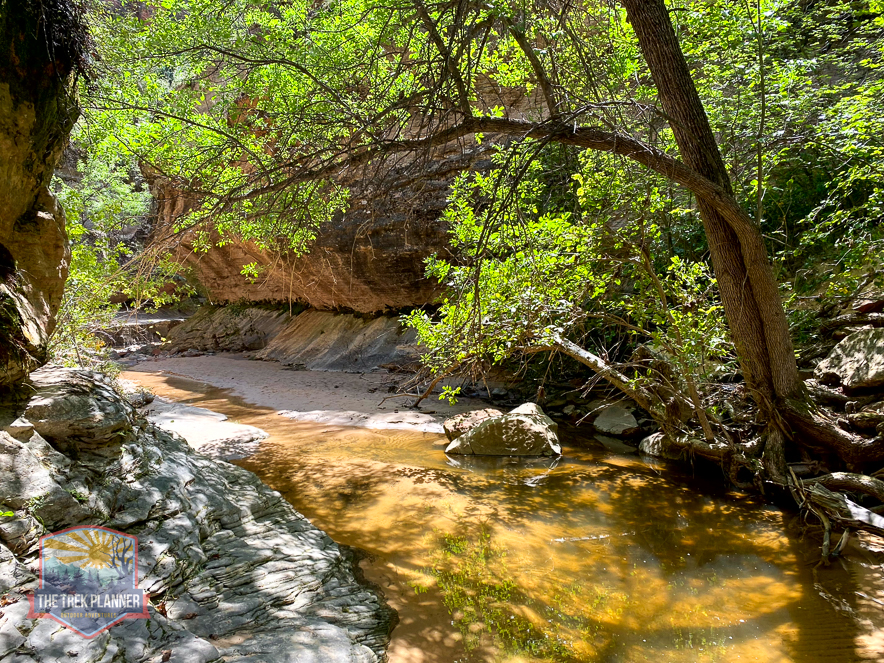
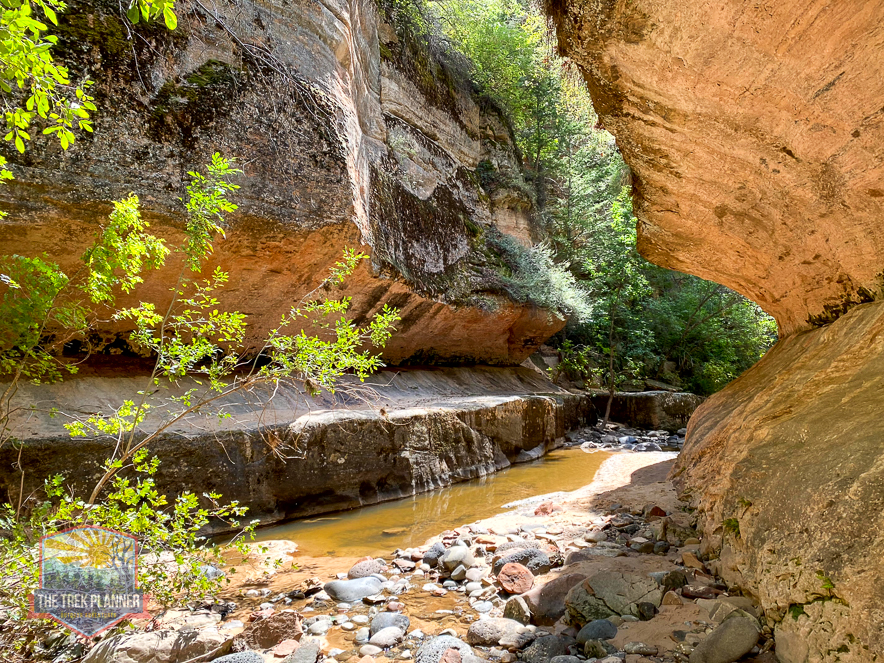
Once you leave The Heart of the Subway area you will essential begin your way out even though you still have several miles to hike through ankle deep water.
The water flows down many beautiful rock areas that are filled with ferns, trees and other plant life.
Just as a note, this area may be somewhat frustrating as you have now become tired and sore and may just want to rush to the parking lot. Please be patient as you are still a ways off and you will need to pay attention as you traverse across the creek, boulders and dirt paths that crisscross the rest of the way down.
Don’t be surprised to find fish in the deeper parts of the creek but you are NOT allowed to be fishing in this area.
The canyon slowly opens up and eventually you will come to a sign that points you to the parking lot of the Left Fork Trailhead. Pay attention to the sign as I have about missed it several times. There are two signs at the end, one is about in the middle of the creek and the other sign is on the right side of the creek.
From here it is about another 3/4 mile until you reach the parking lot.
The Return
You should have arrived at the Left Fork Trailhead parking lot which means you probably need to go get the car at the Wildcat Canyon Trailhead too…
The Subway Slide
Personal Thoughts
I love the Subway hike and I recommend it to anyone and everyone. I have hiked the Subway many times and it is just as incredible as the first time I did this back in 2000! This is a brutal hike that takes a lot of energy and 7-12 hours to complete. I recommend if you have not done this hike to find someone that has done it and have them take you through it your first time. Some hikers do not take heed and have ended up getting lost, stranded, exhausted or have even died travelling through this hike - it is not an easy hike. I have brought my mother and father on this hike and they loved it. Granted, it was very difficult for them at times but thankfully there were many of us that have done this hike before and knew what to expect. If you are confident in the ability of all your older children then this would make an excellent family adventure!
Been hiking the Subway since there was no parking lot, no trailhead, and no trail. Its unfortunate to see what the crowds have done over the years. Fortunately the lottery system limits traffic (though its becoming difficult to land a permit). Even still, I never tire of this hike. You might want to remove the photo of someone jumping into the pool from the south side of the canyon, as it might encourage others to attempt this and/or to jump the gap, which I believe is prohibited. Numerous people have broken legs doing just that, and its an expensive helicopter… Read more »
Thank you for your comment, Darren! Got the photo removed.